
Yesterday Hamza and I finally concluded the point of no return campaign.
The first two reports of this campaign can be found here: http://thedesertscorpions.com/x-wing-point-of-no-return-battle-report/ and http://thedesertscorpions.com/x-wing-point-of-no-return-battle-report-pt-ii/
We were now up to the last game in this campaign, the one that would define who would be the overall winner.
The captain of the CR90 is now fully into the Rebel Alliance and must navigate an Imperial mining operation in order to deliver the transmissions and Tibana Gas to the Rebel base.
Mission setup is as follows: The Rebels get the CR90 with the usual upgrades as found in the mission booklet and may be equipped with one upgrade for each mission won. In Hamza’s case he had one two, so two free upgrades (WED15 repair droid and engine booster). Next to the CR90 he got to spend a 100 squad points. Hamza invested these in Chewbacca in the Millennium Falcon, push the limit, C-3PO, engine upgrade and Nien Numb. The Falcon got support from two X-Wing rookie pilots, both with an astromech (R5 mech and R2-F2).
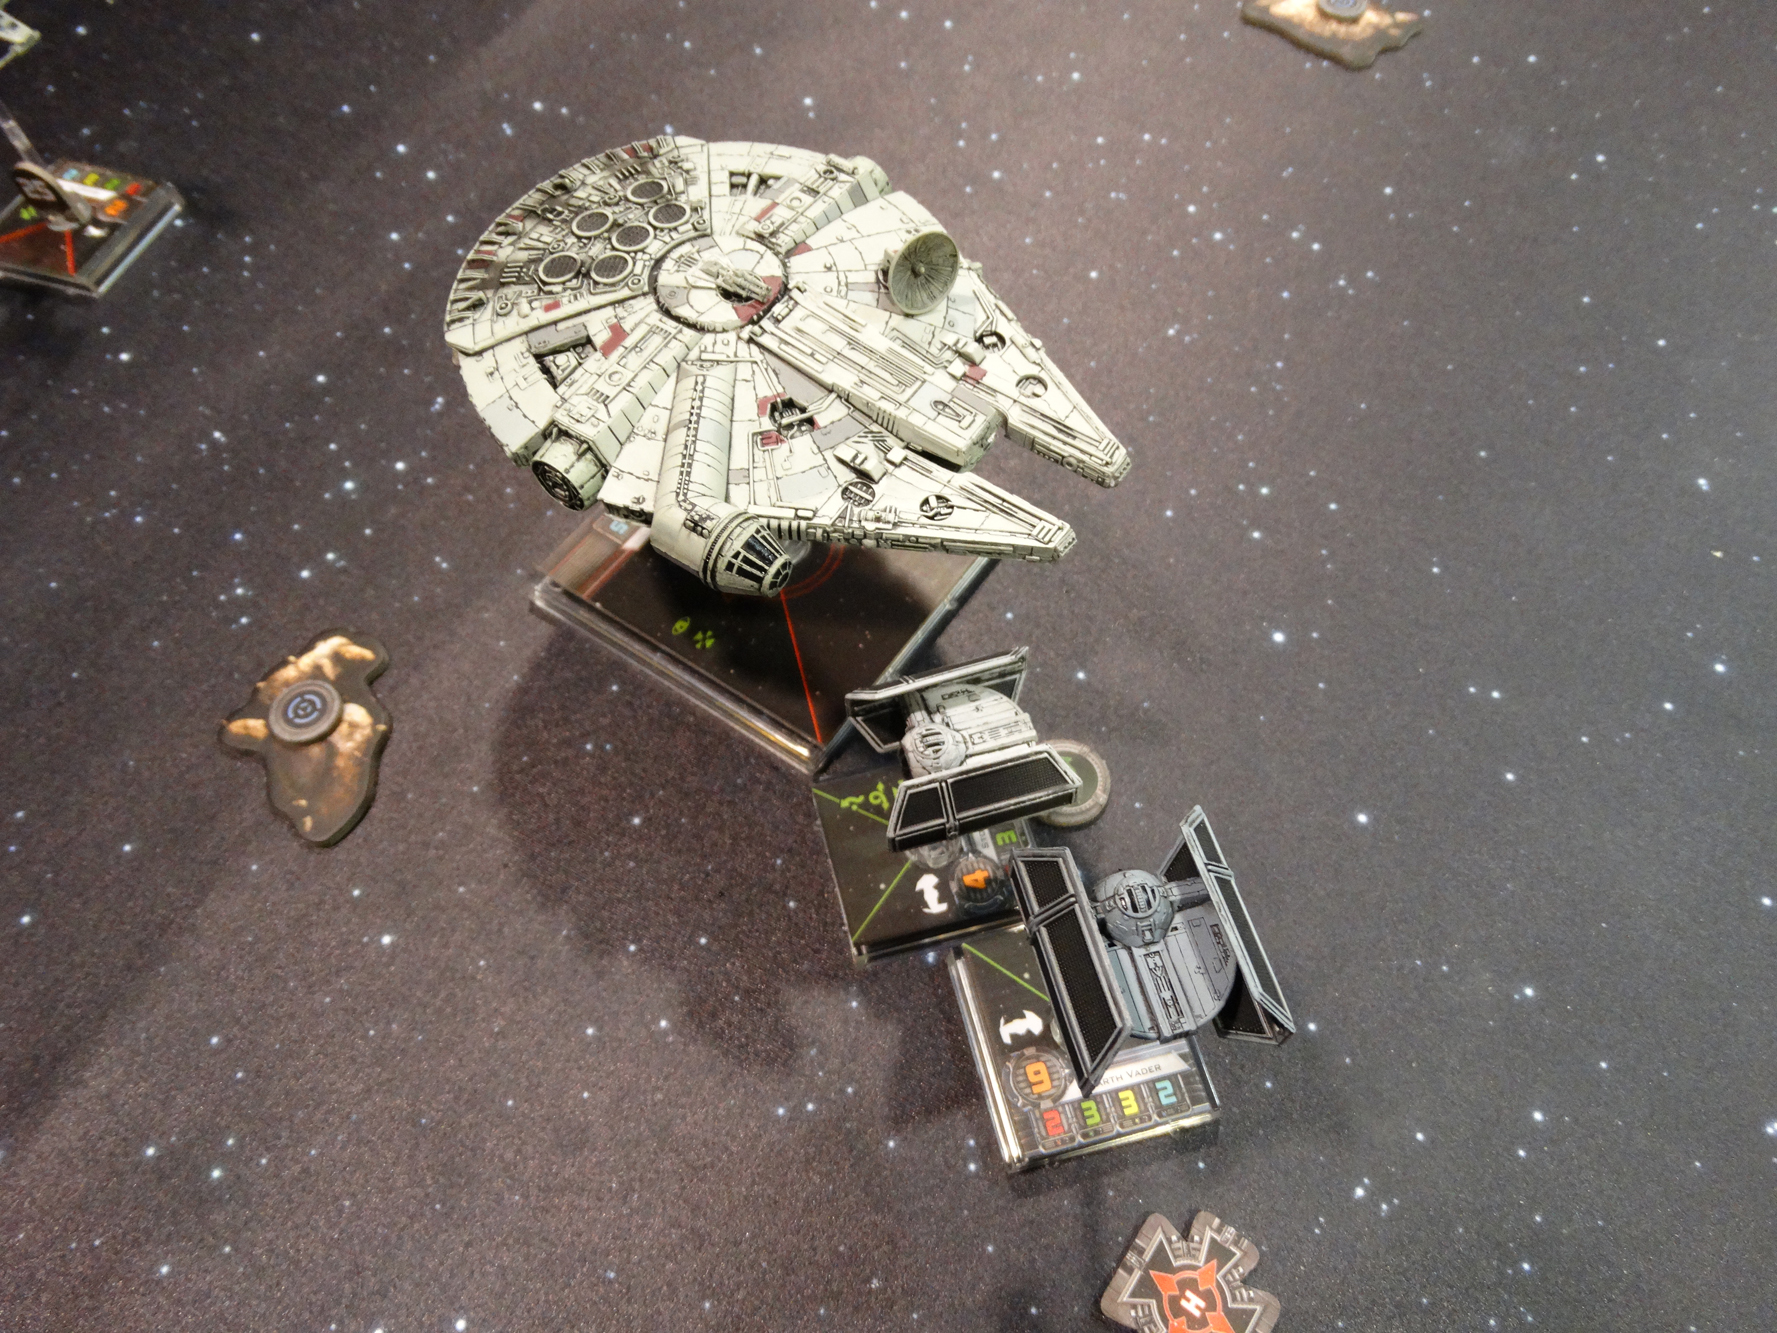
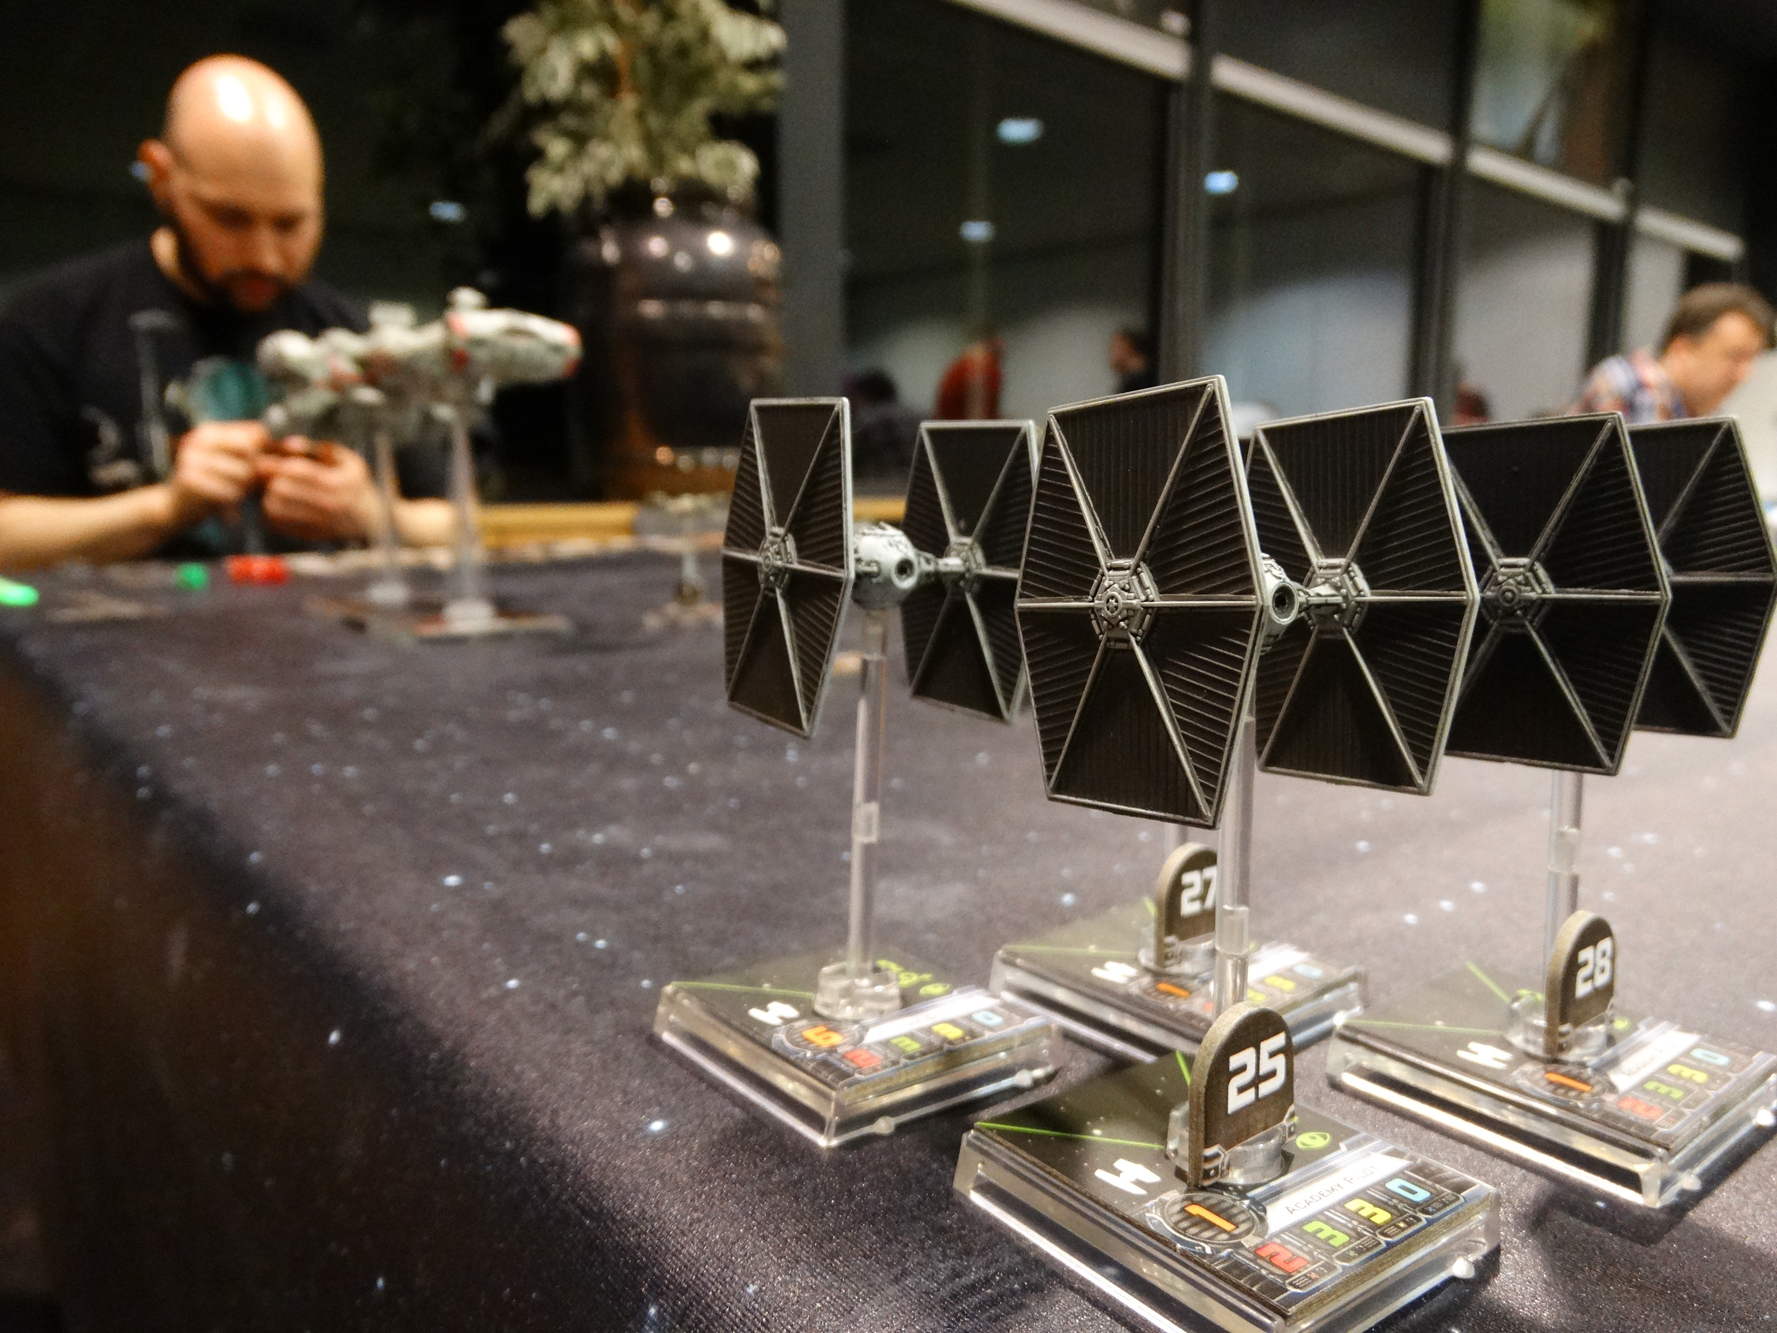
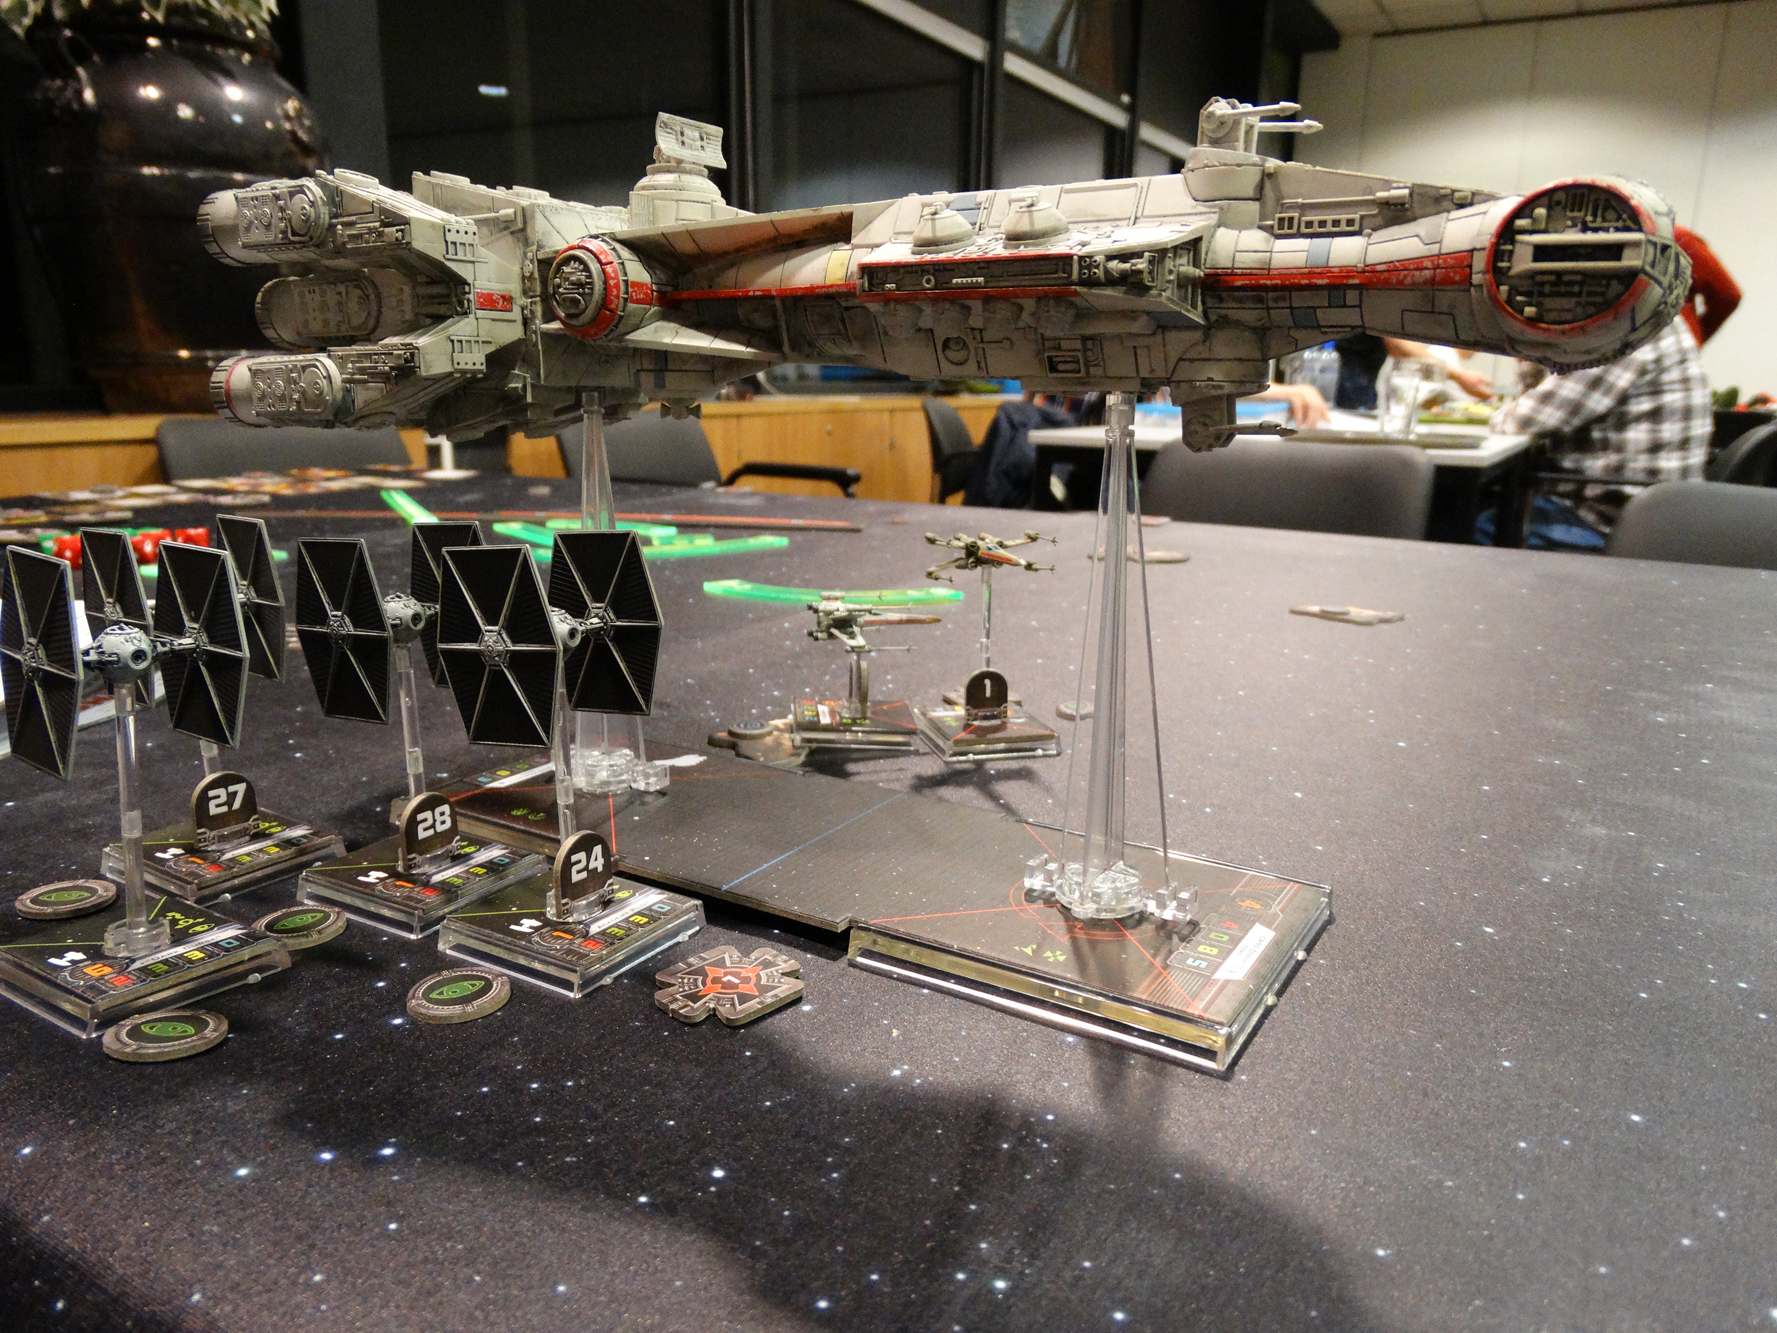
The Imperials get 240 squad points in total, but these must be divided in 4 groups of 50-70 points each. Group one consisted of only one ship; Boba Fett in the Firespray, upgraded with proximity mines, cluster missiles, elusiveness and a mercenary co-pilot. The second group was made up of Darth Vader in his TIE Advanced, upgraded with cluster missiles, advanced targeting computer (cheap because of the free TIE Adv. upgrade) and Deadeye. He was accompanied by a Storm Squadron Tie Advanced with cluster missiles. Group three consisted of Turr Phennir in his trusted TIE Interceptor with Marksmanship, a Saber Squadron TIE Interceptor with expert handling and an Obsidian Squadron TIE Fighter. The fourth and final group was Dark Curse in a TIE Fighter together with 4 Academy pilot TIE Fighters.
The play area is 3′ x 6′. The Imperial player places 6 astroids in his deployment zone. Than he gathers the charge tokens (all dud tokens and two active tokens plus one for each won game, so I got three total) and puts these on the astroids of his choosing. Then he places 6 scope tokens on the table edges according to the placing rules in the booklet. The Rebel player gets to remove a scope token for each won mission. So Hamza got to remove two. The Rebels get to place their ships in their setup area and the Imperial player can put his first squad near a scope token of his choosing (within range 1). This is the squad with the least squad points (Boba Fett in my case). The player who won the most missions has initiative (the Rebels).
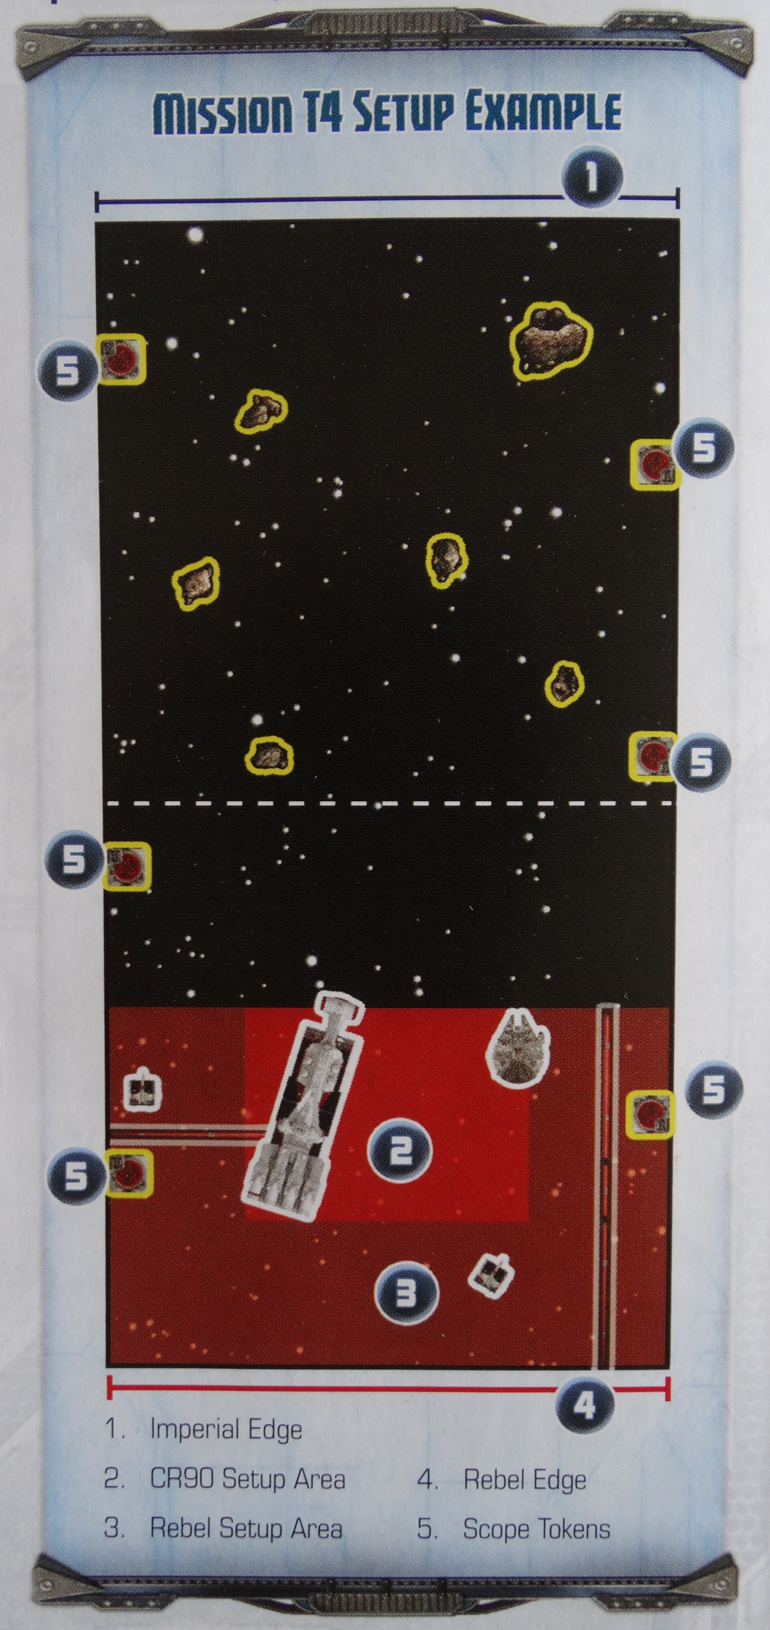

At the end of round 1, 3 and 5 the Imperial player gets to place one squad in range one of a scope token. Starting with the fewer squad points total and going up. And at the end of each round the Imperial player can choose to detonate one of the charges on the astroids. If this is an active charge all ships within range 1 get a chance to get some damage. Three attack dice are rolled and the outcome is dealt to the ships within range. If it is a dud nothing happens. The Rebel player has no idea which ones are duds though.
The Rebels win if the CR90 is able to fly off the opposite table edge and the Imperium marches to victory when they destroy the CR90.
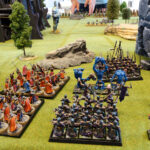
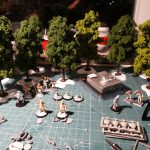
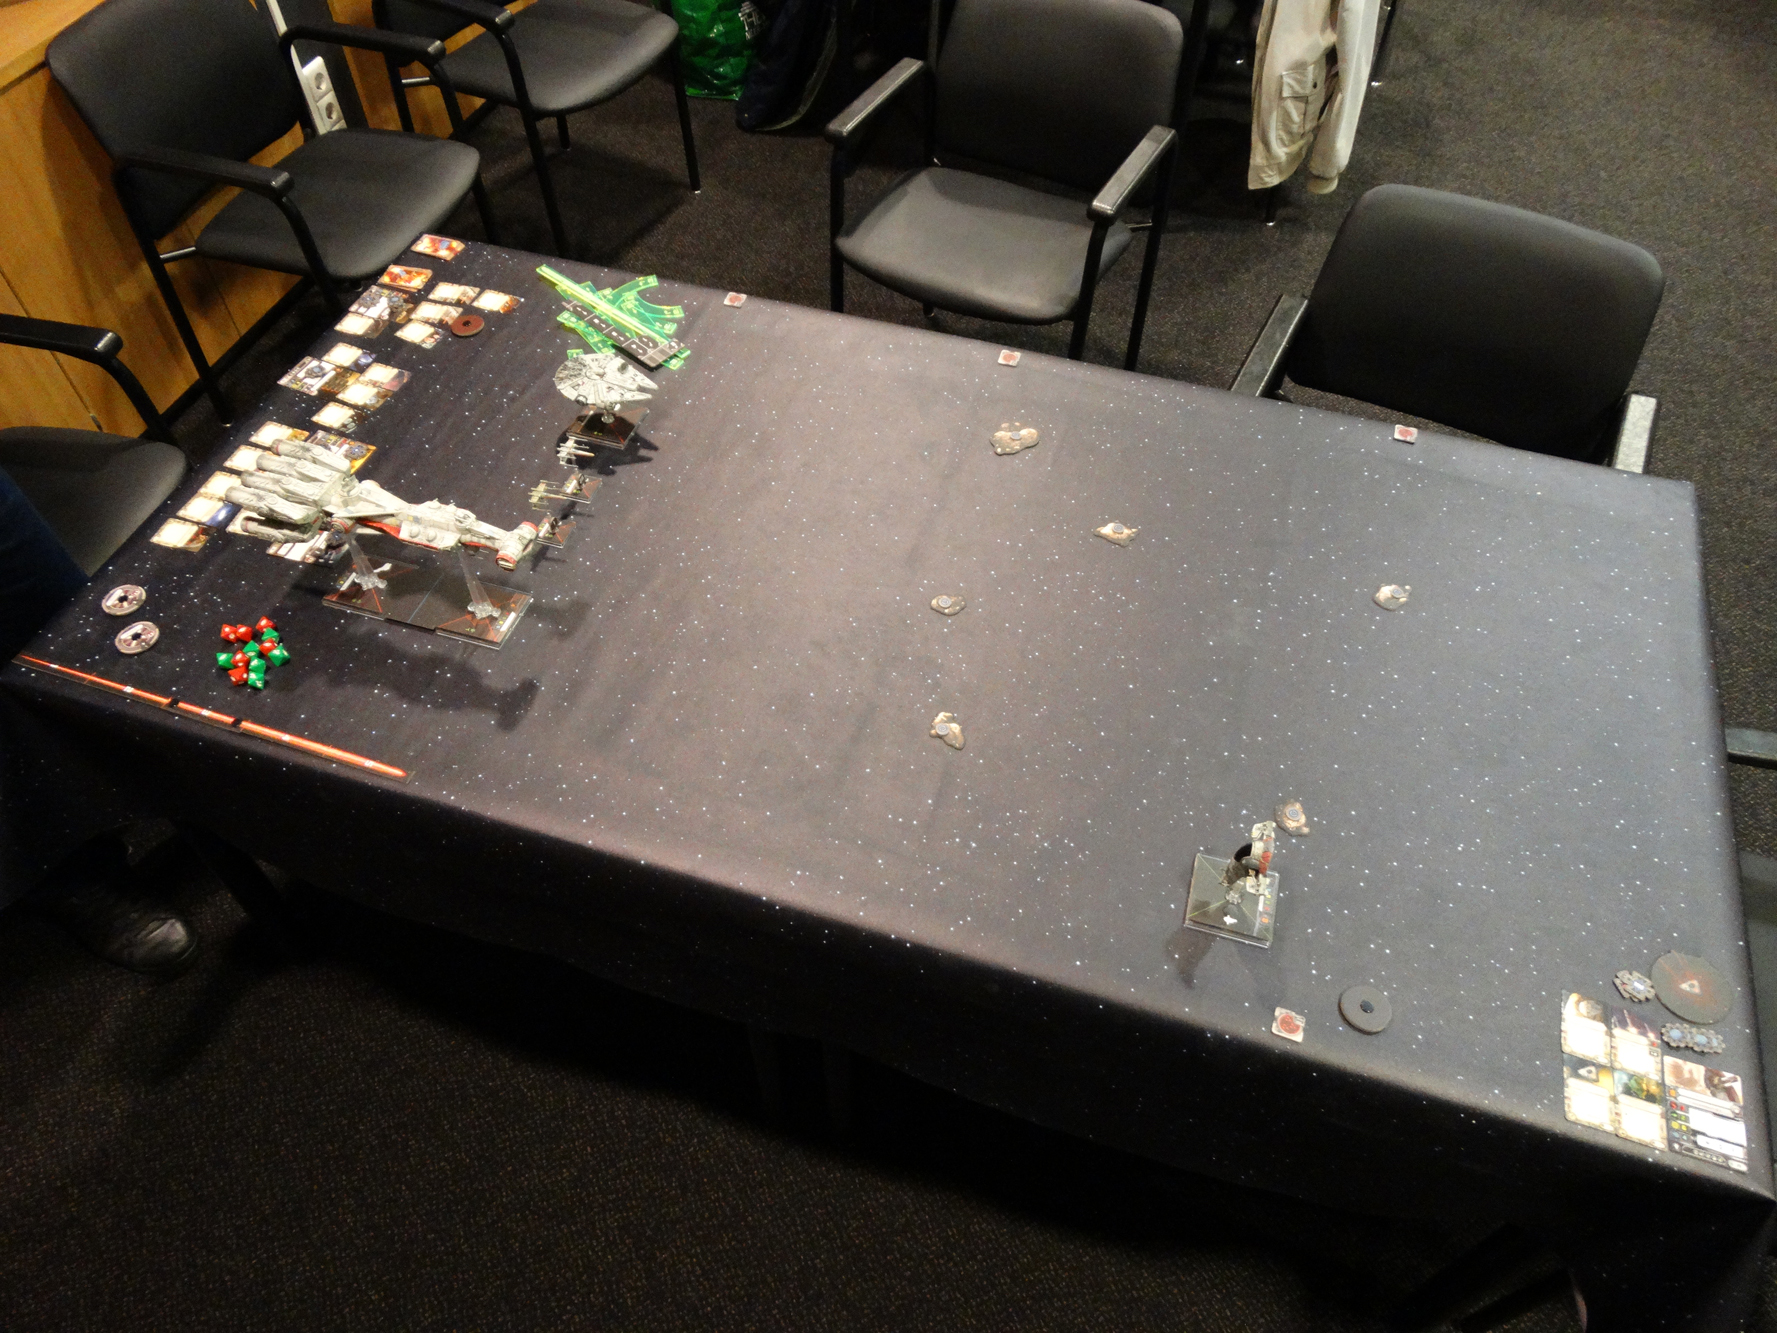
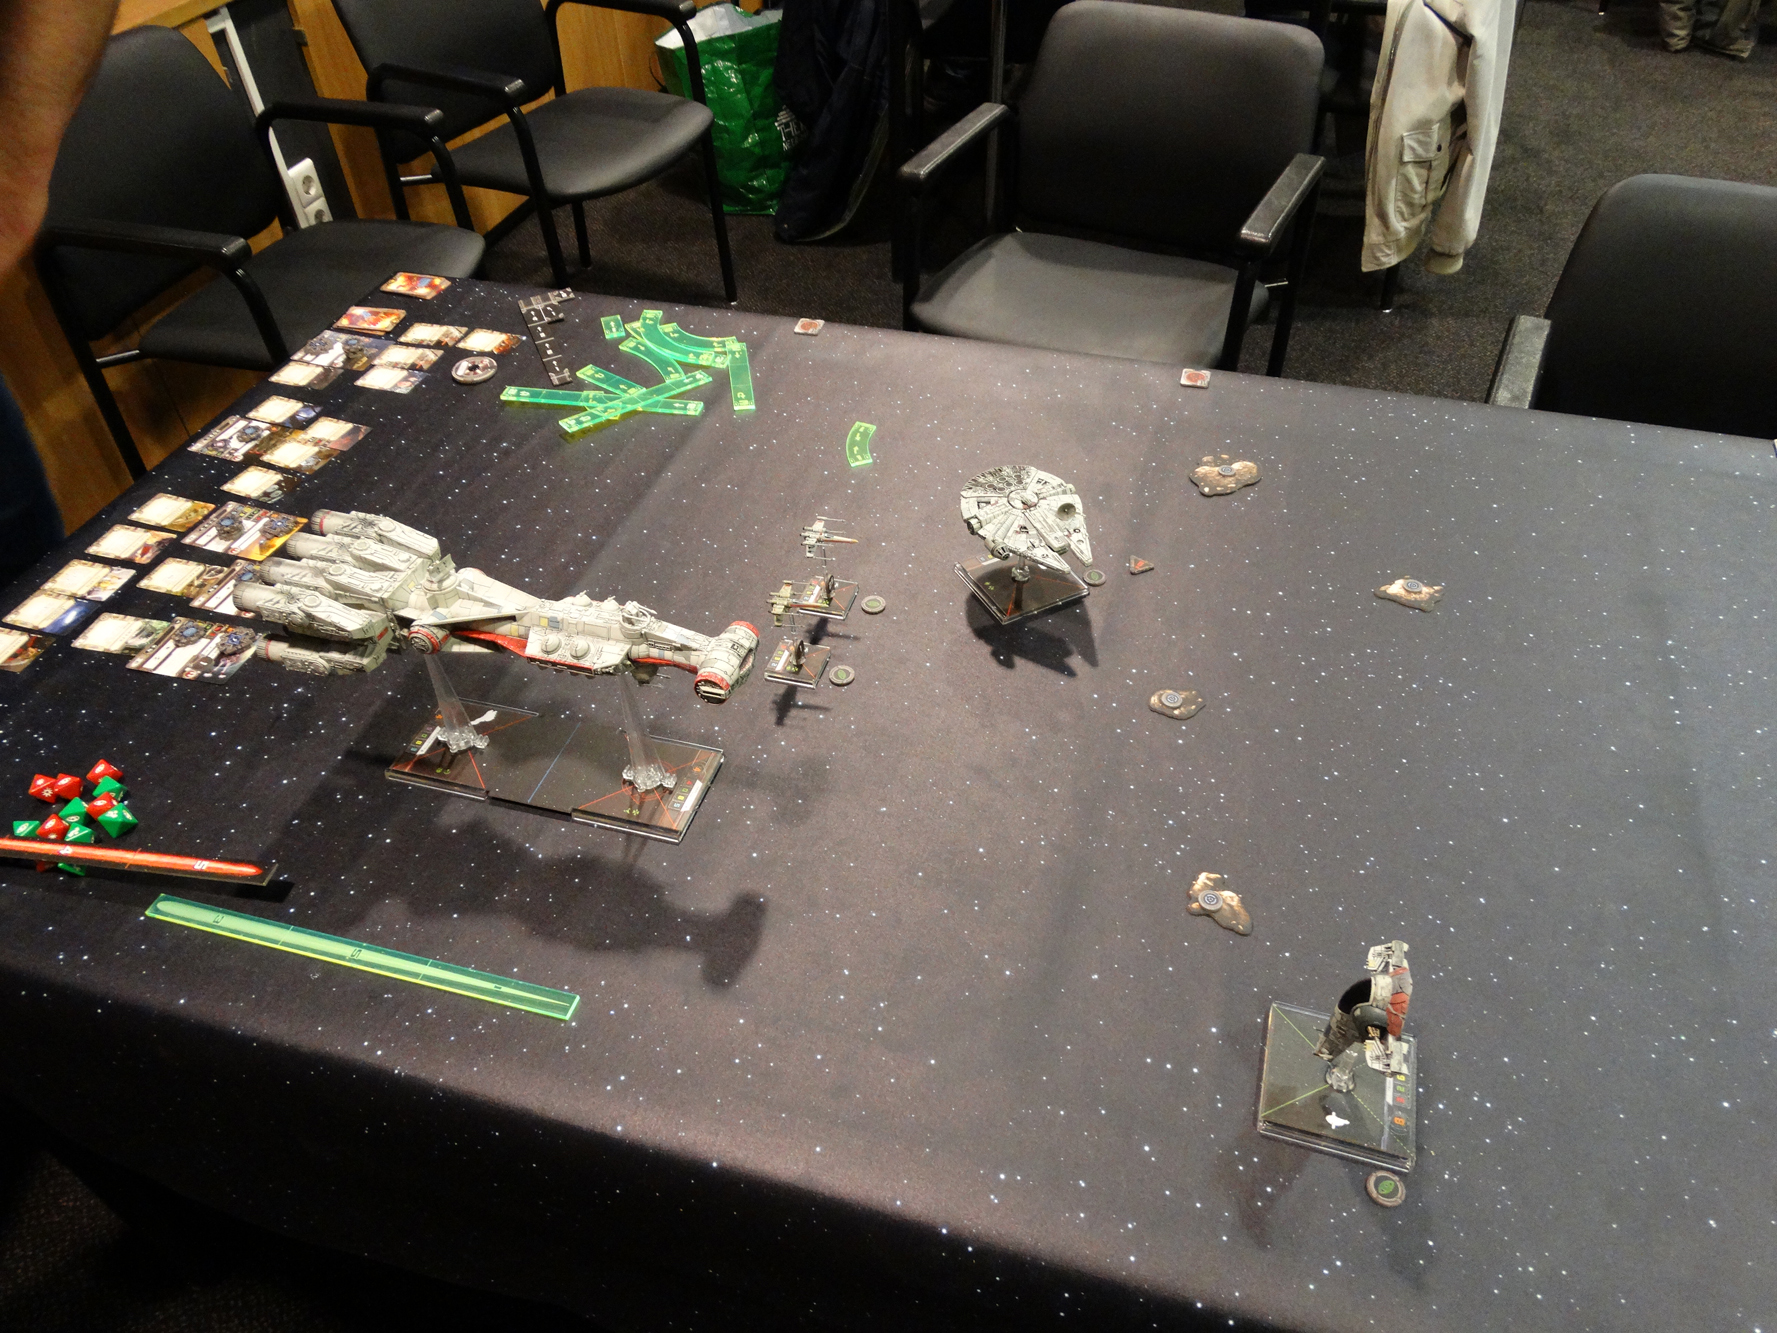
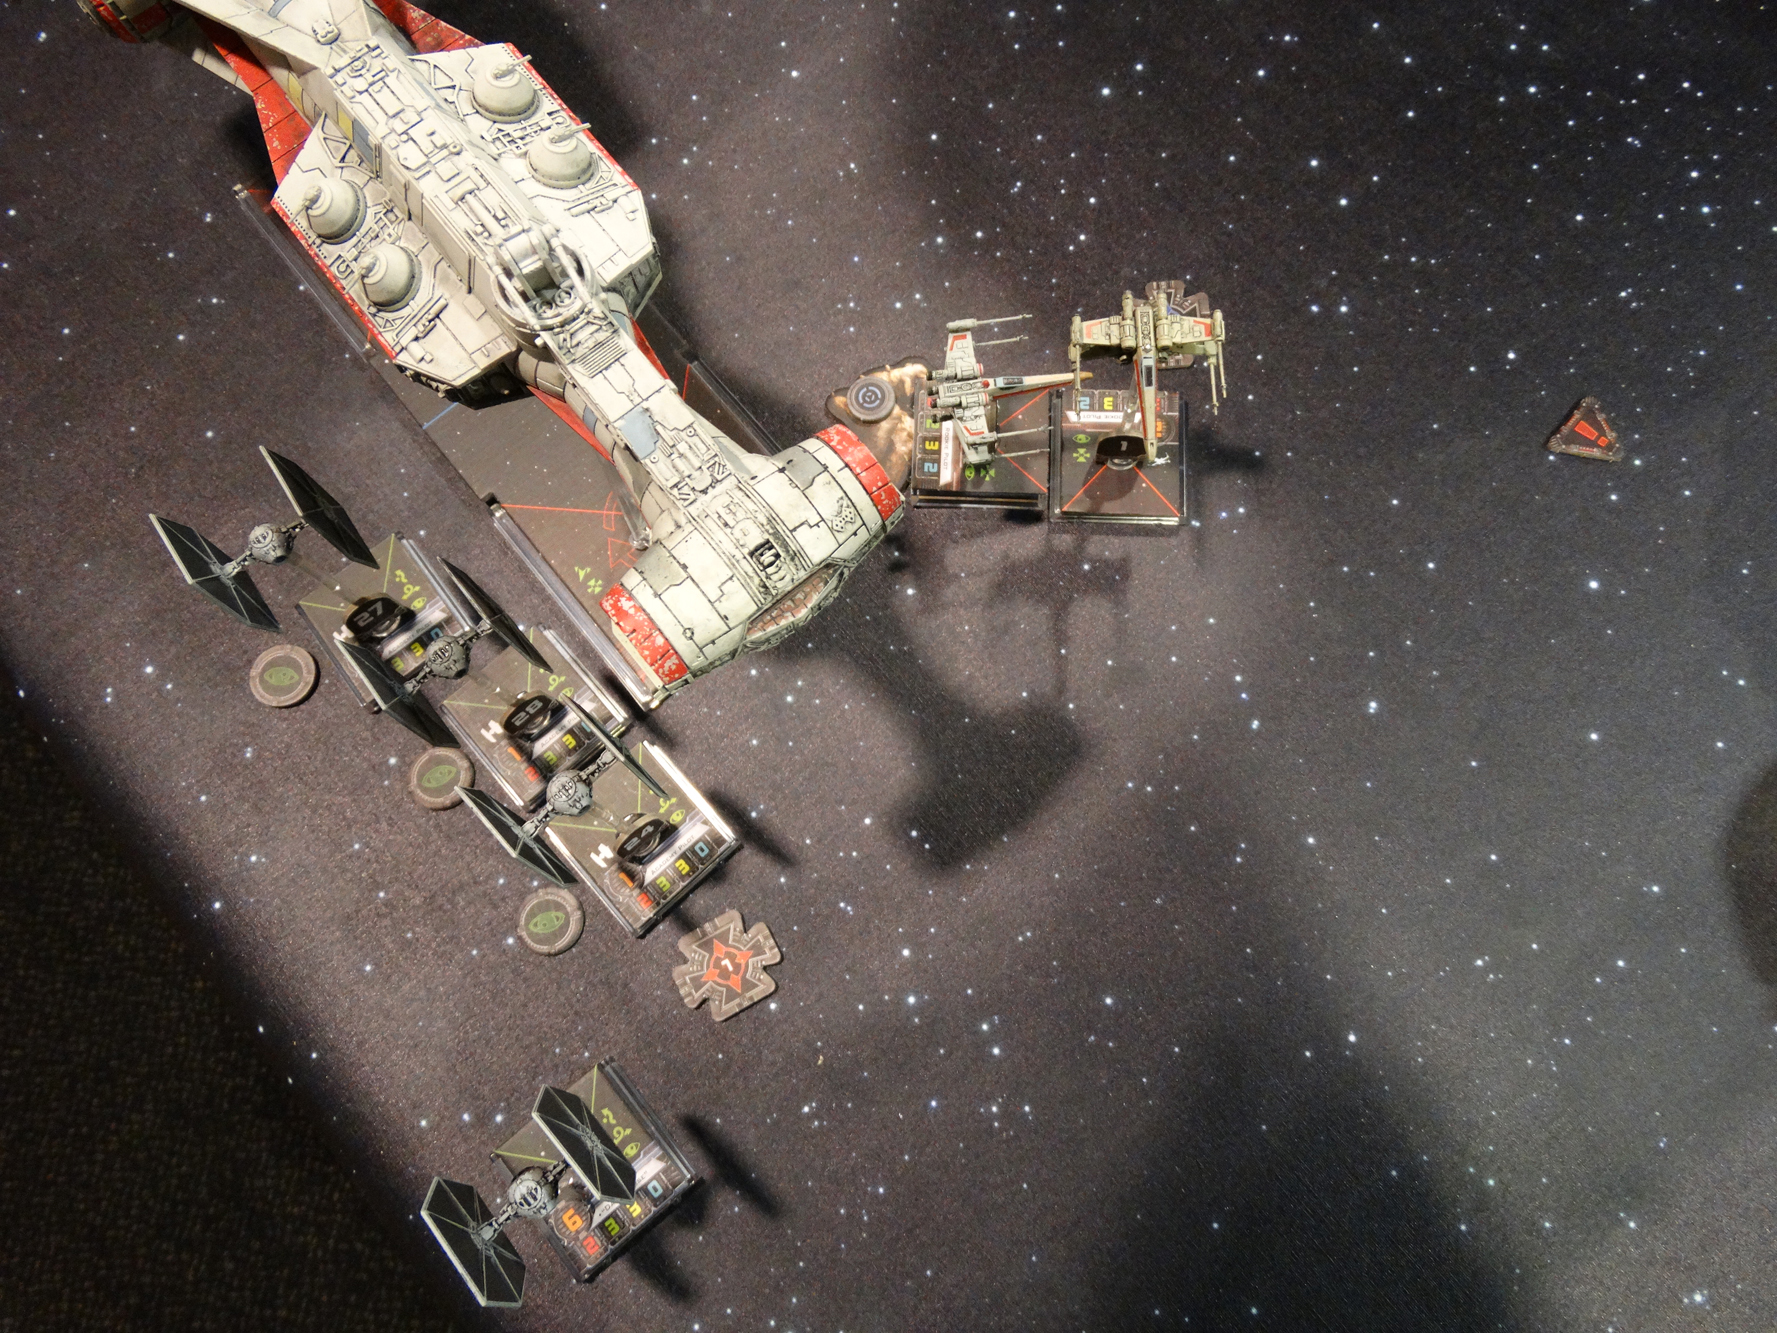
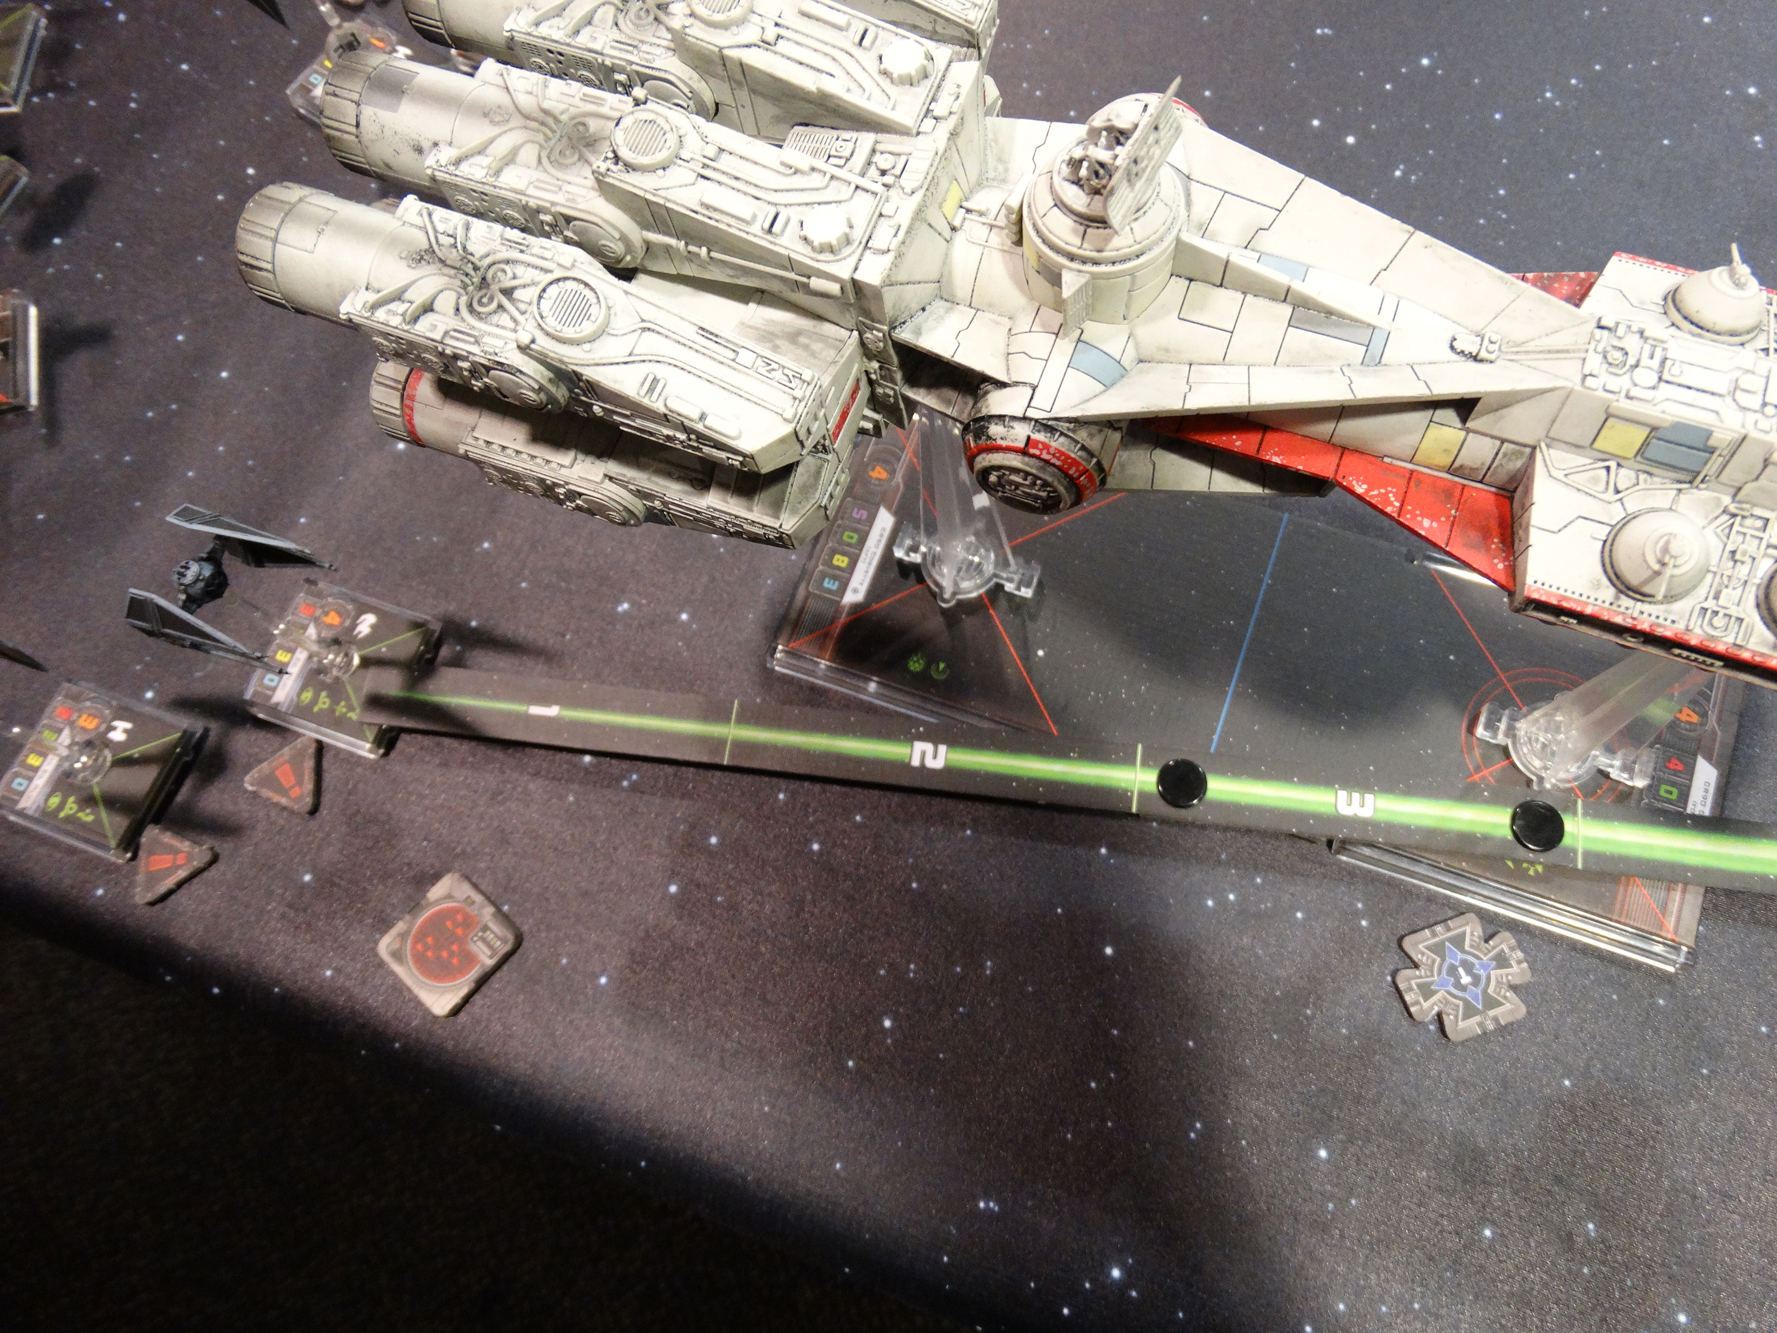
Our initial setup:
Turn 1: All ships move closer to each other, the Tantive races ahead. No wonder, the sooner it gets to the other table edge the better. The big vessel also takes a shot at Boba Fett with it’s primary weapon and manages to destroy one of the shields. Other than that there is no shooting since all other ships are out of range. My plan for Boba is to get as close as possible as fast as possible. Then take a shot at the Tantive with the cluster missiles and fly on leaving the proximity mines so that the CR90 has to fly over the bomb token. At the end of the turn Darth Vader’s squad enters the field. They appear at the same scope token as Fett.

Turn 2: All ships move closer together again, several target locks are taken and tensions rise. Darth Vader takes a shot at the Millennium Falcon but no damage occurs, mainly because of the blasted golden droid on board. Boba Fett fires his cluster missiles at the Tantive front section, blasting 3 shields to oblivion. The Millennium Falcon uses his target lock on the Firespray to get three solid hits, but I manage to roll a perfect defense and evade all hits. Now the Tantive opens fire and targets Darth Vader’s TIE Advanced. This causes the Dark Lord of the Sith to loose one shield. No big problems there. Boba has some more trouble with the advancing X-Wings and looses two shields. At the end phase I detonate one of the charges where the Millennium Falcon is close to. This causes the famous piece of junk to loose two shields.
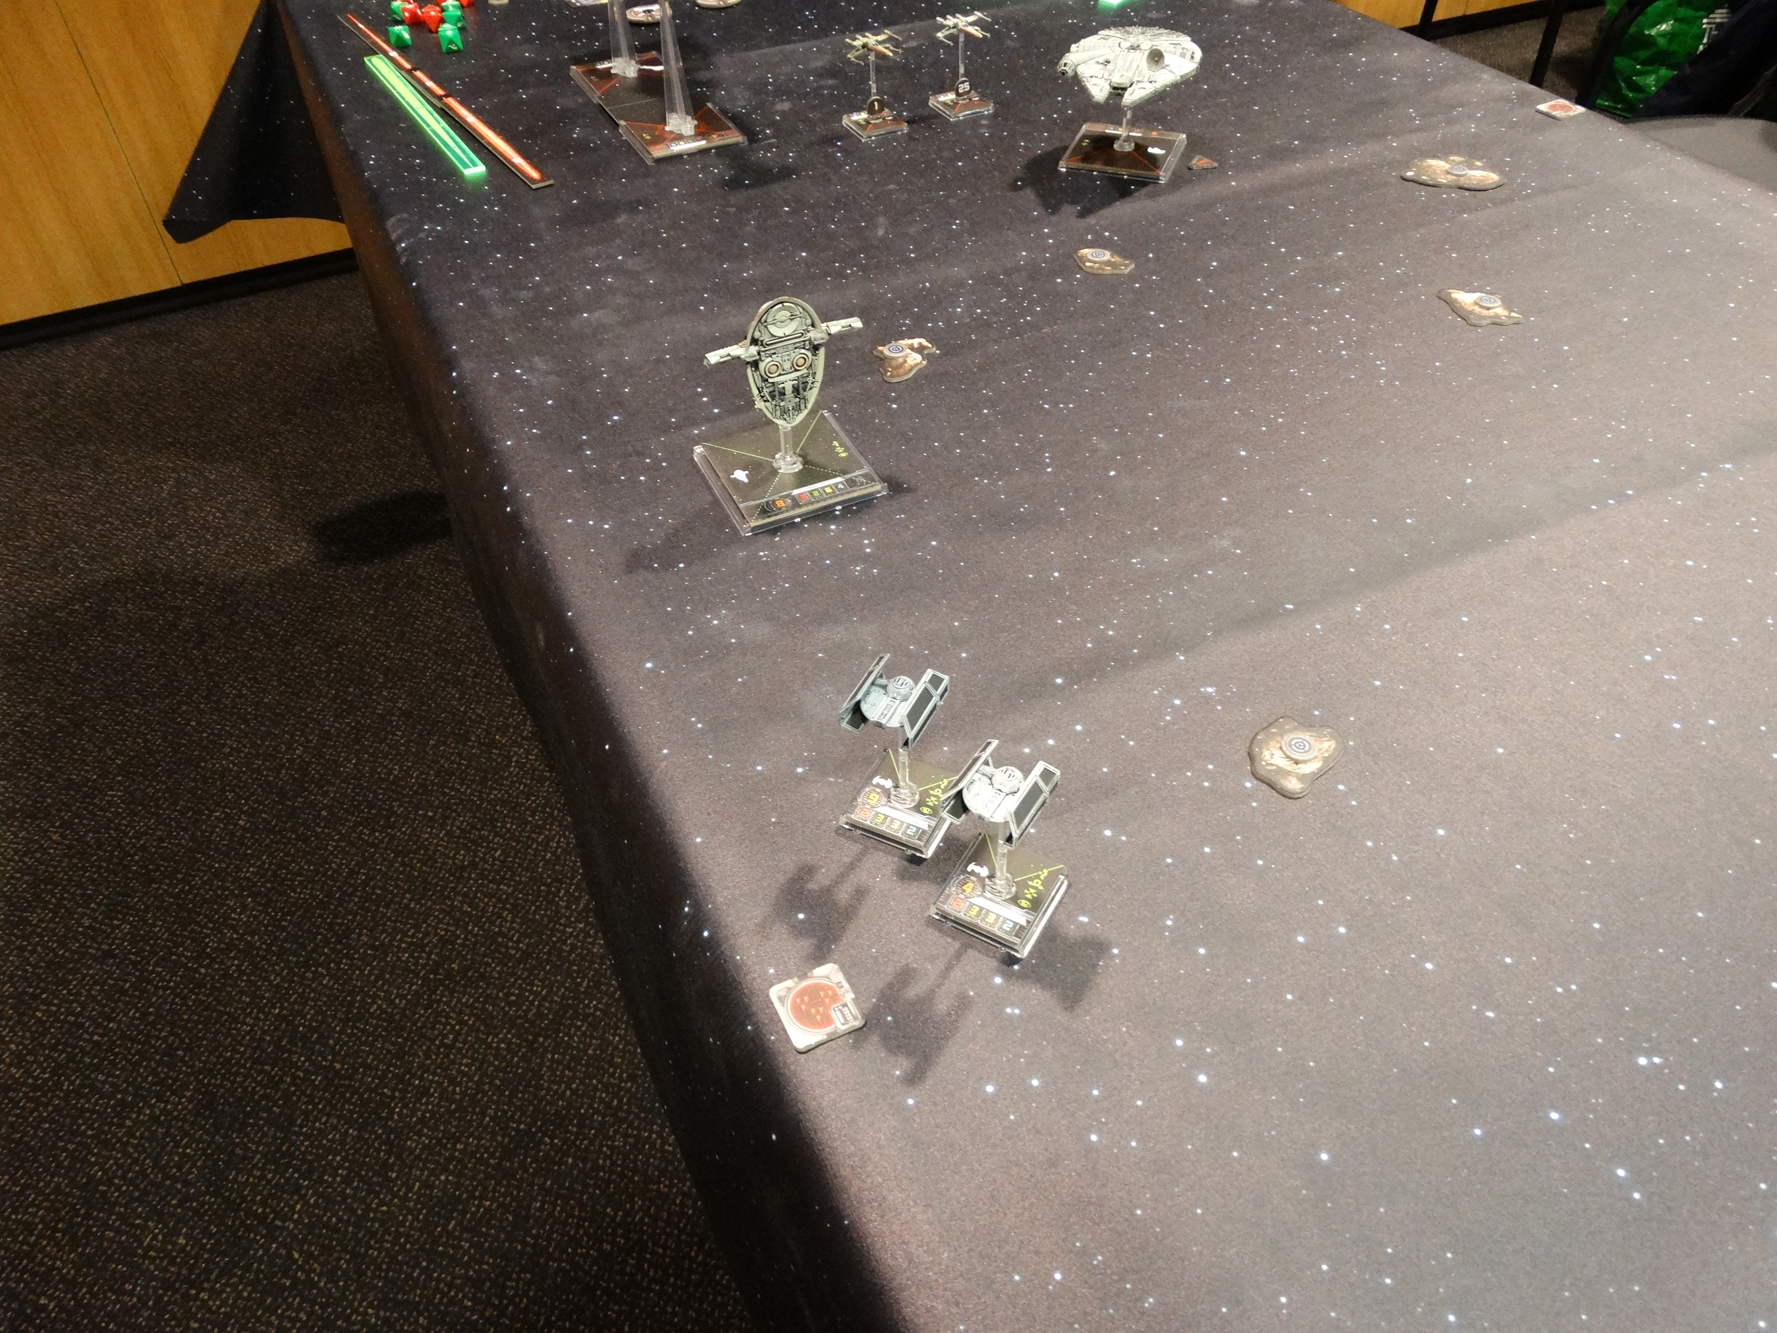
Turn 3: I take a gamble with Boba Fett. Since he has used his cluster missiles his other asset is the proximity mines. I intend to fly past the CR90 and then drop the bomb. Unfortunately I have misjudged the distance and the Firespray collides with the big vessel. This causes a big explosion in which Boba perishes. The only good thing of this suicide run is that the Tantive also gets one damage. But that was not really the effect I was hoping to achieve. Darth Vader bumps with the other TIE Advanced and gets no actions this turn. Fortunately he still has the target lock on the Falcon. This does not help him at all since all hits are expertly evaded. Just witnessed how it’s done, Darth evades all hits the Falcon gets on him. (His helmet obscures his smug face, I on the other hand wear no helmet and the expression on my face is not hidden). Hamza clearly has seen this and opens fire with the CR90 on Vader, causing him to loose not only his last shield, but also gives him a critical damage in the form of a blinded pilot. So he can not fire in the next turn. This is not good since I had him lined up for an attack run on the Tantive with his cluster missiles. Both X-Wings have nothing to shoot at. During the end phase my next squad enters the fray in the form of a lot of TIE Fighters led by Dark Curse. I line them up from the same point as the other squads straight towards the onrushing Rebel gunship. I now opt for as much firepower as I can muster from as close as I can get them.

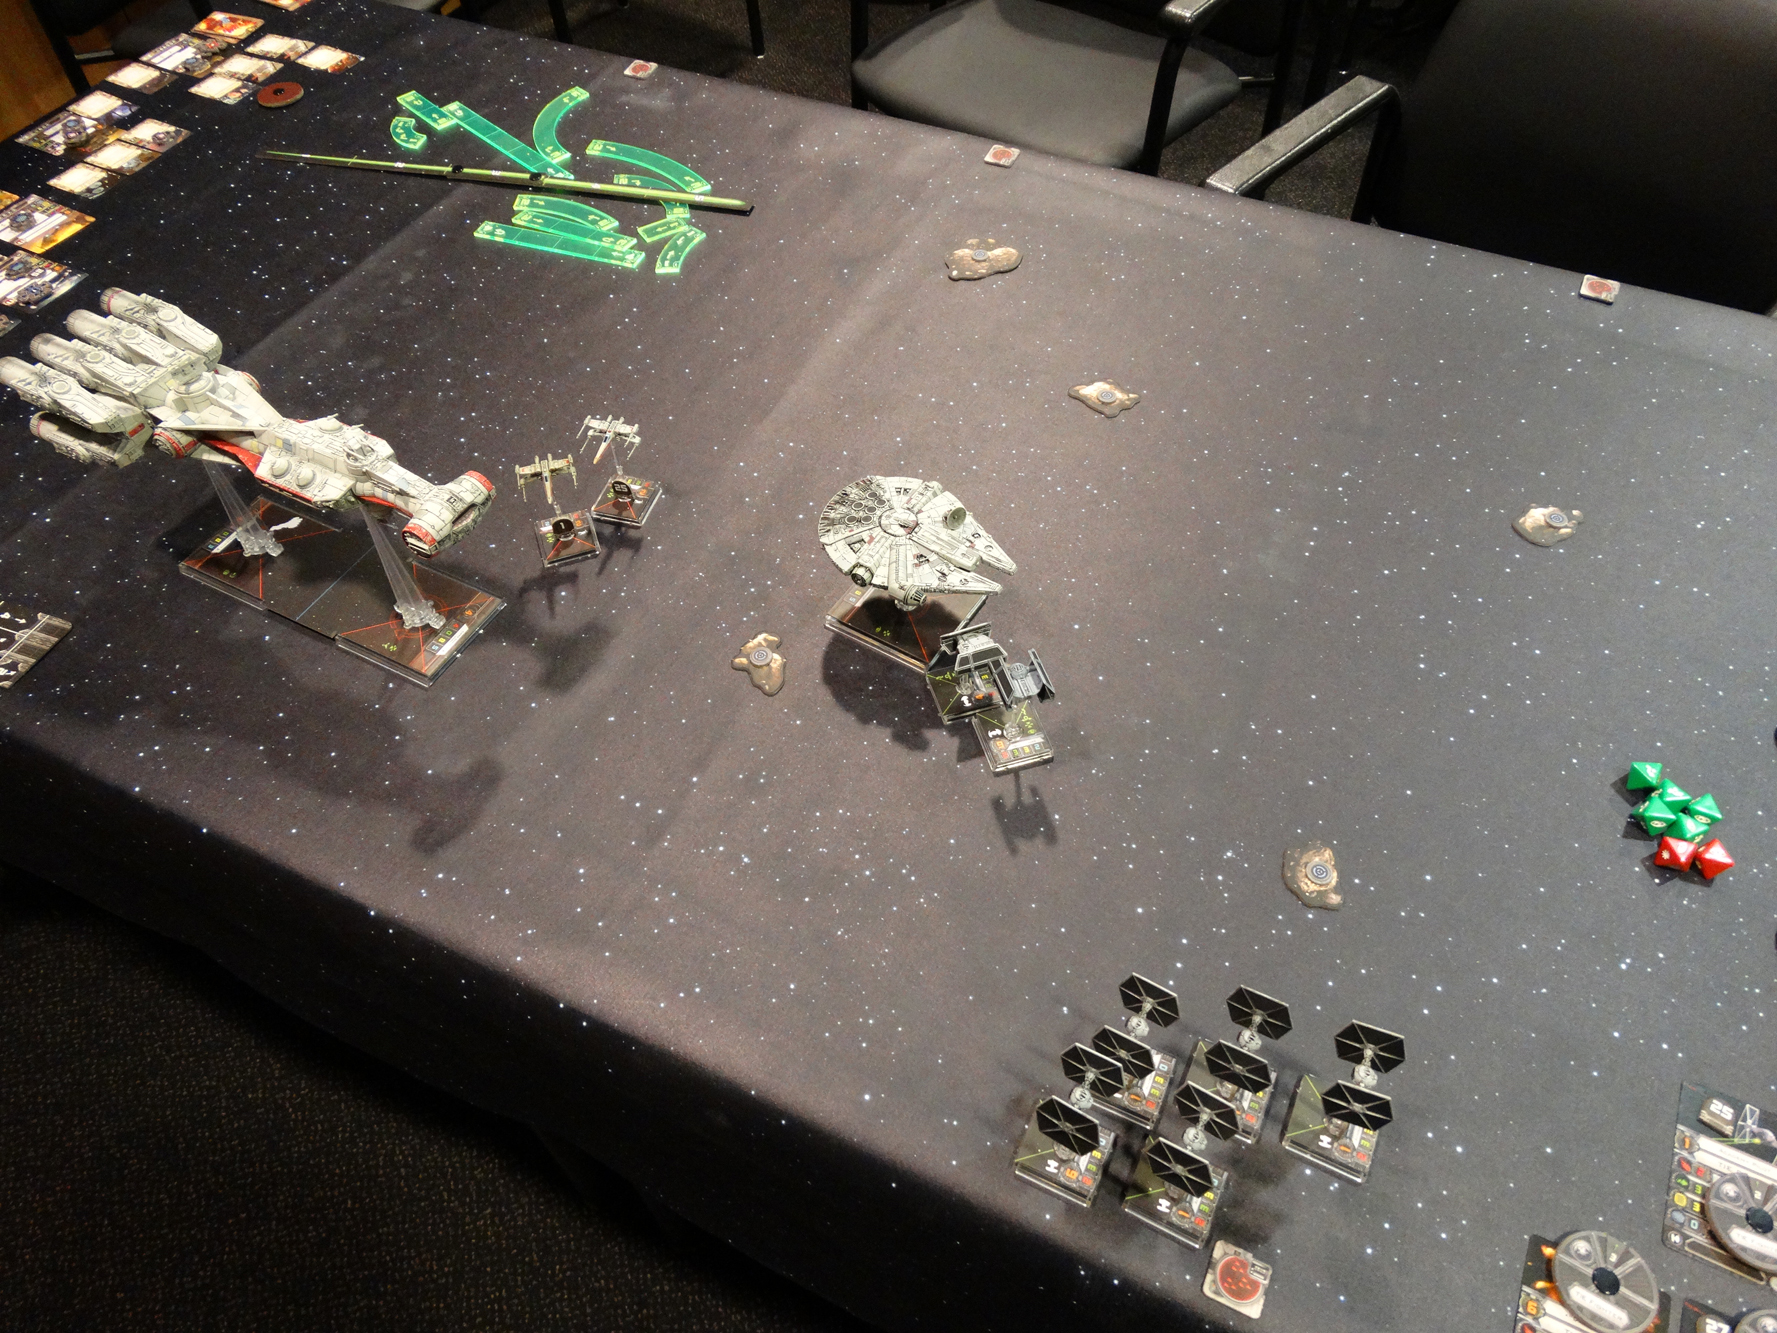
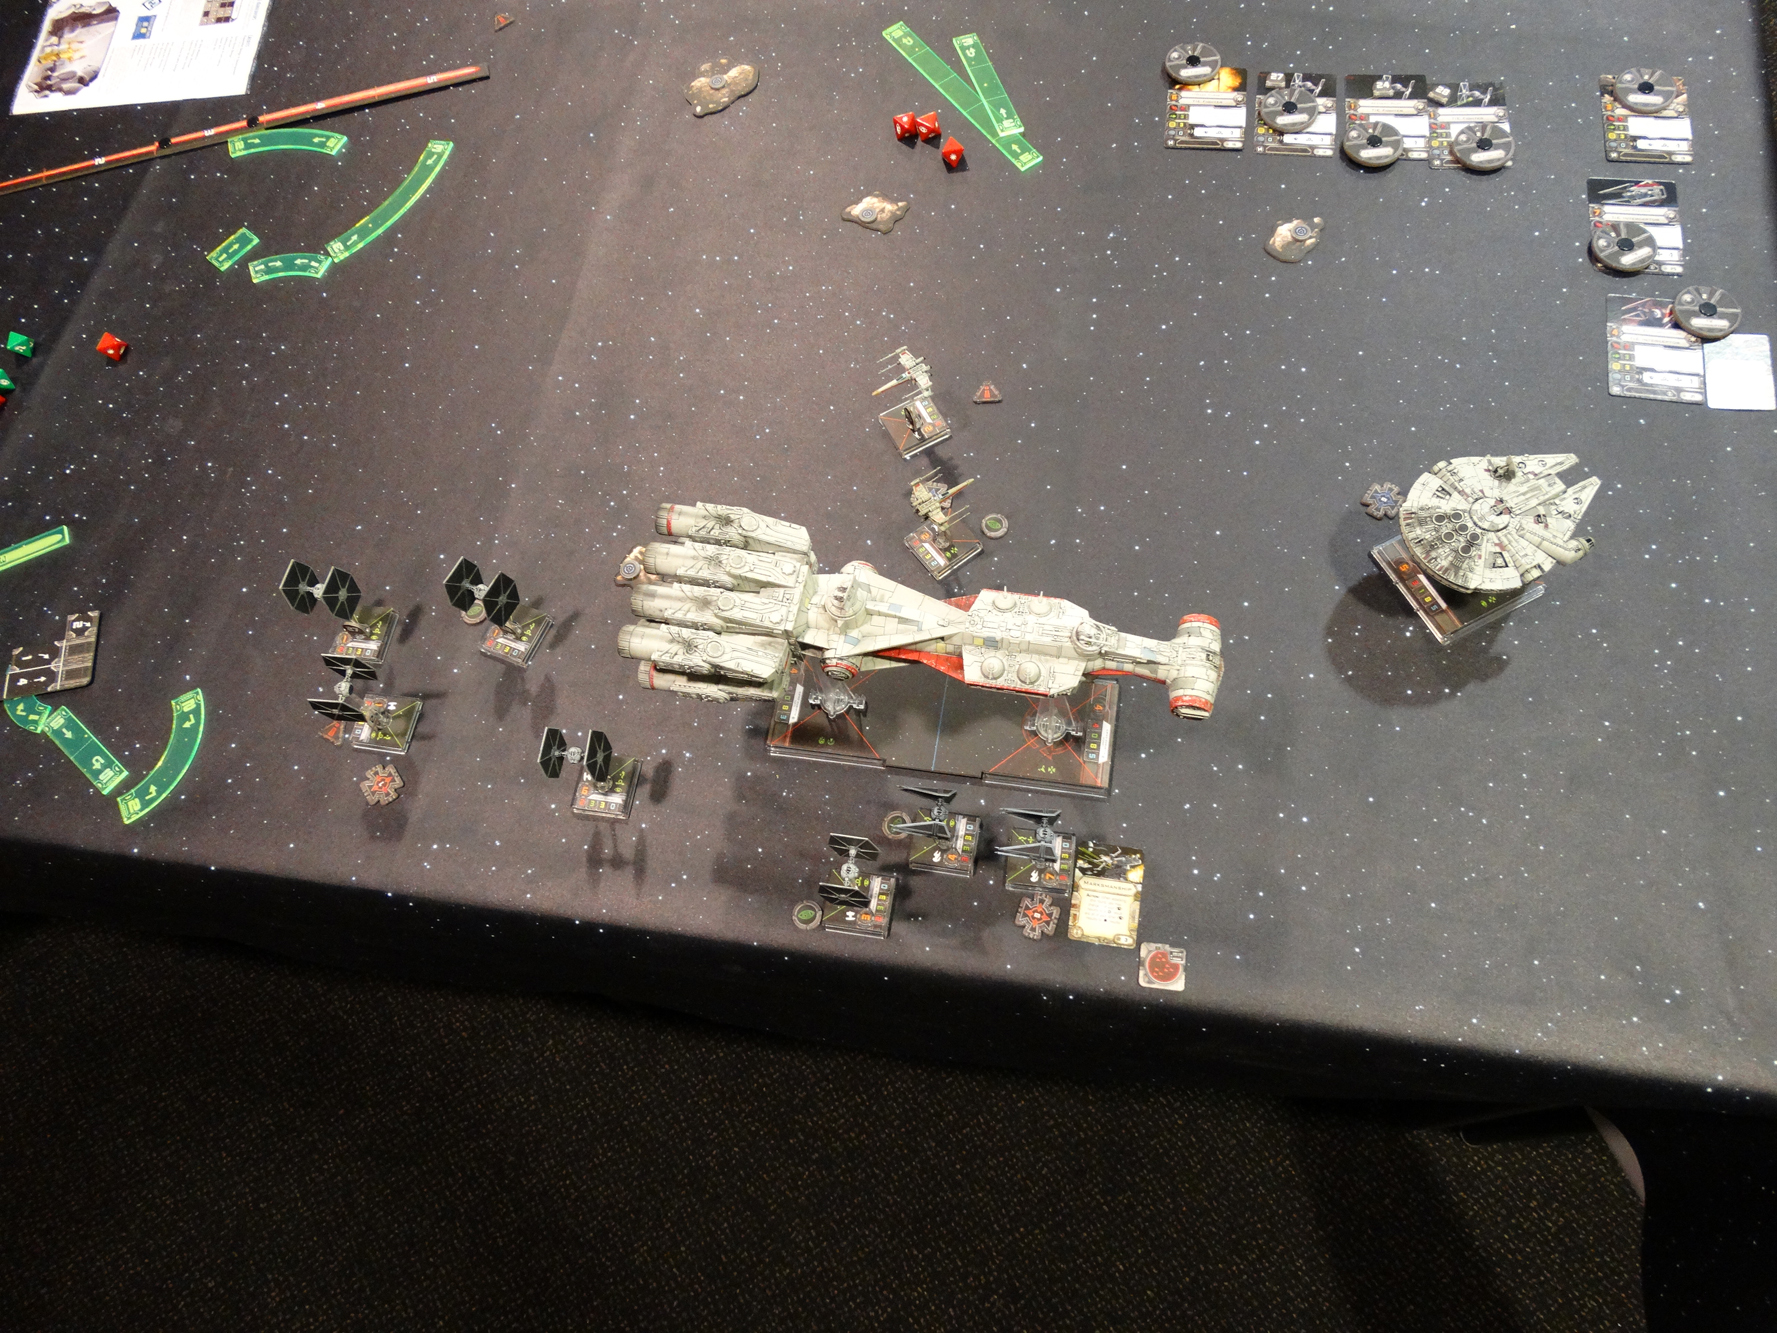
Turn 4: The TIE’s charge forward as fast as they can while both X-Wings were desperately trying to evade the Tantive’s progress and had veer off in the other direction. Another miscalculation on my part makes Dart Vader collide with an astroid and he loses another hull point, leaving him with just one left and still blinded this turn. The Tantive uses his engine boost to gain more forward momentum and races ahead. The other TIE Advanced finds himself in the path of the behemoth and gets smashed to bits. Another setback for the Imperials. Eventhough the CR90 takes one damage form the impact this is not a really good trade off. Especially not when he has enough energy left to restore 4 of it’s lost shields on the front section. Dark Curse takes a solid shot at the Tantive and blows away 2 shields. As a repercussion Darth Vader gets destroyed by fire from the Millennium Falcon and the CR90 gets in two solid hits on one of the TIE’s. Another hit from an X-Wing destroys the TIE Fighter. The four remaining TIE’s are in close range with the Tantive and open fire, causing alle remains shields to collapse under the barrage, get one critical hit (destroying the gunnery team), another critical hit (every action now costs energy) and three normal damage to boot. The front section now only has 3 hull points left. Not bad for some Academy pilots.
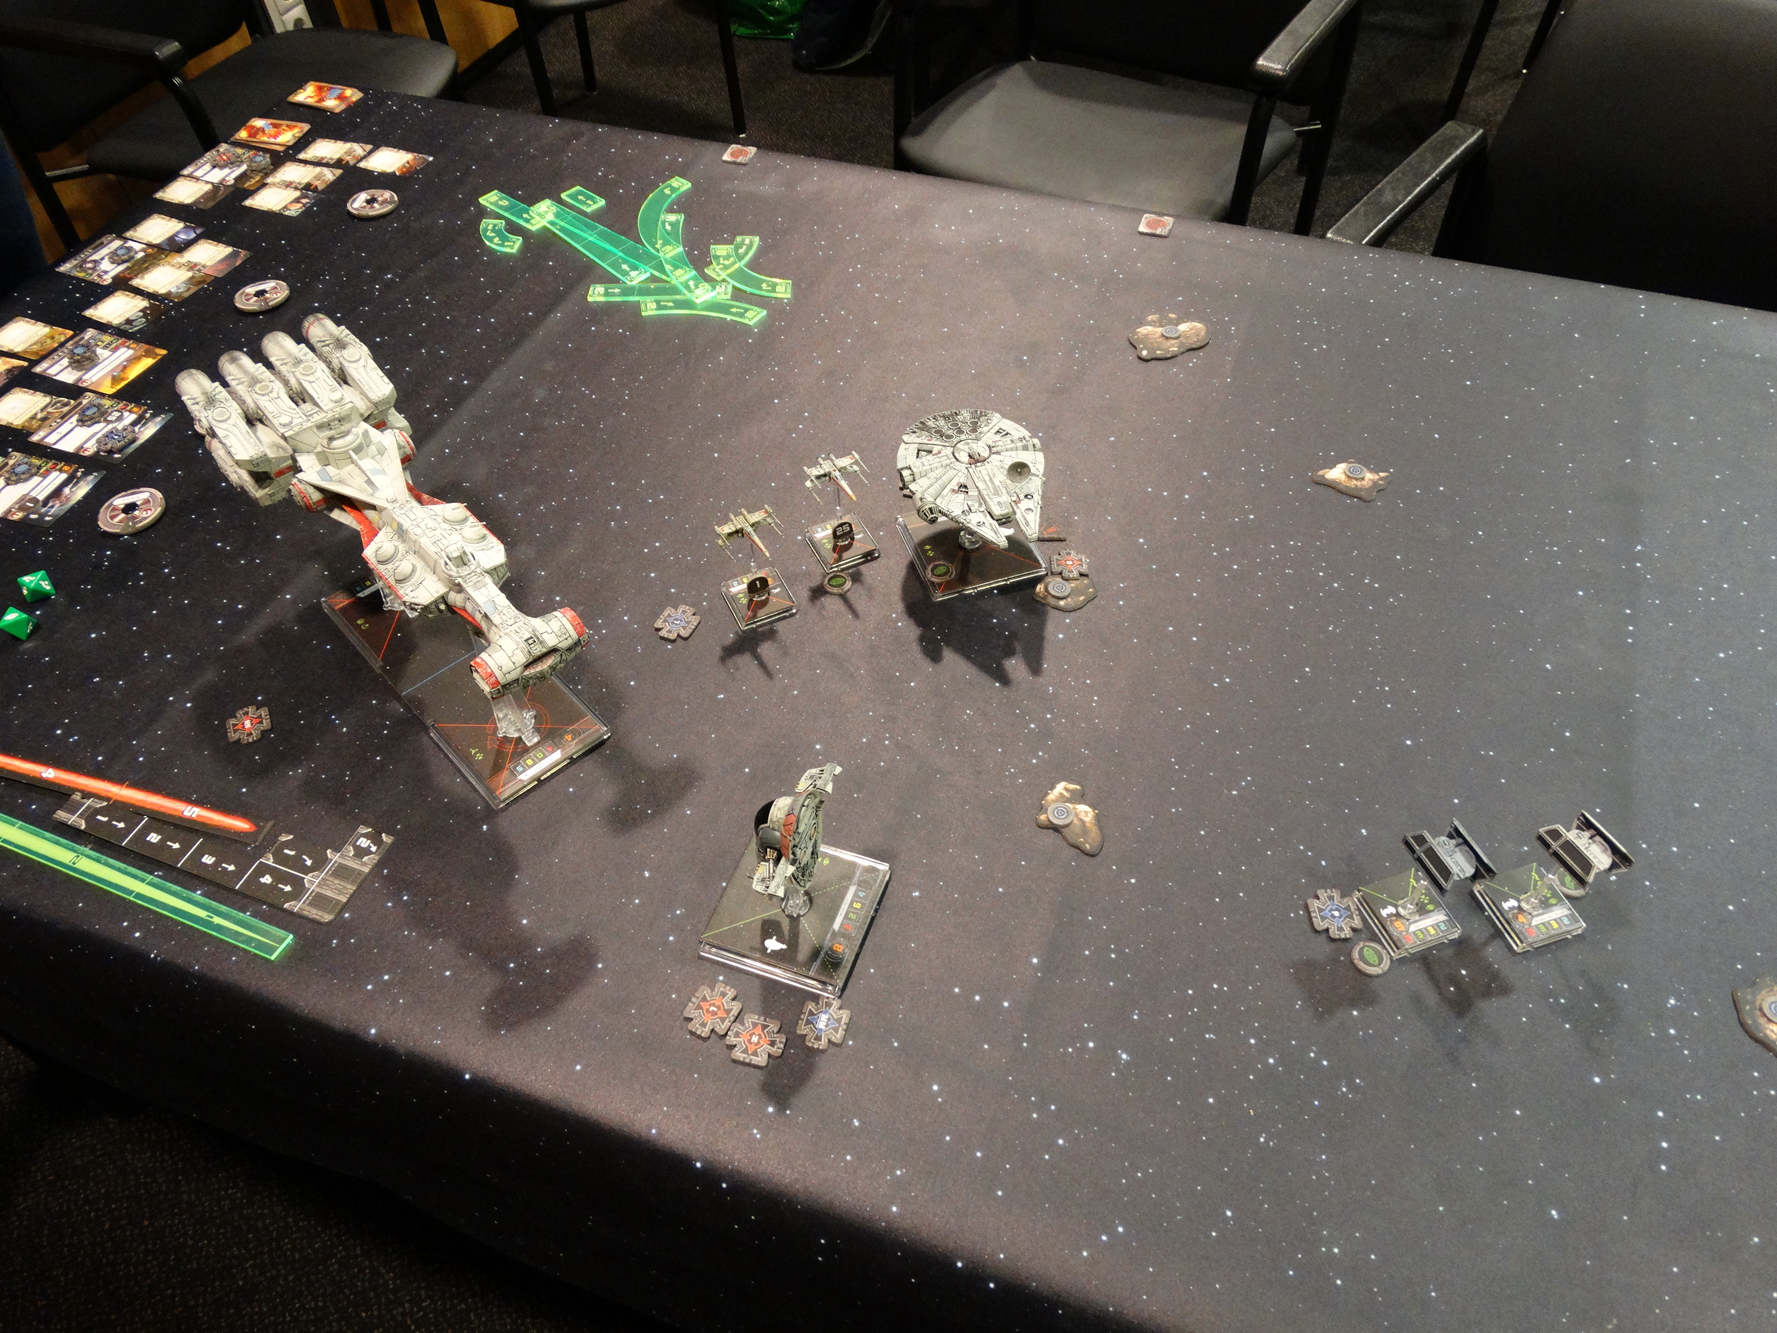
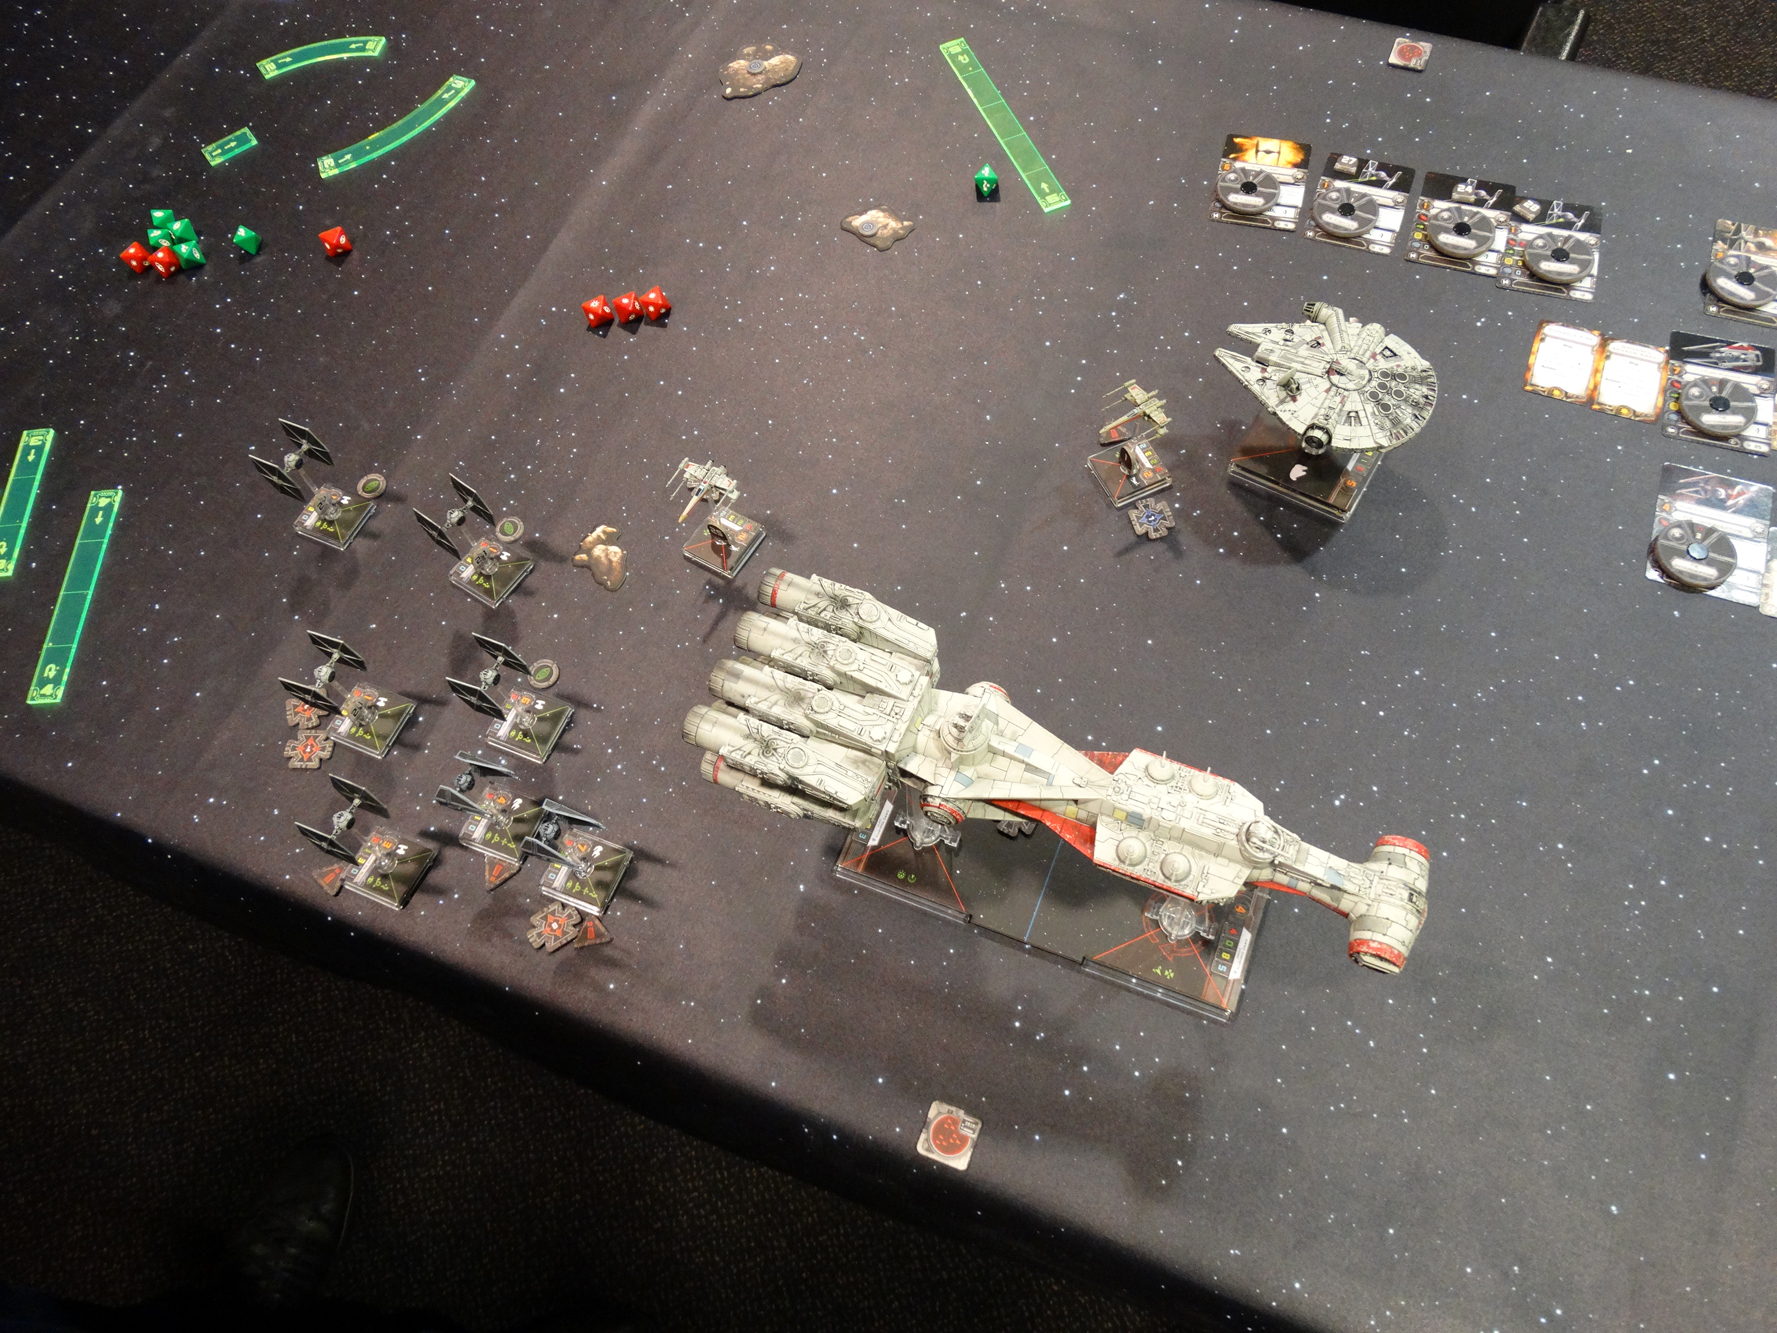
Turn 5: The TIE Fighters slow down considerably, hoping the Tantive will not get too far ahead and leave them still in close range. An X-Wing hits an astroid and looses one of it’s shields. The CR90 still rushes forwards, gaining less energy every time it does this. The few bits of energy it gets it spends on discarding the critical damage which makes all actions cost energy. Dark Curse, the Falcon, The Tantive and both X-Wings have no firing range at all, so the only shooting taking place this turn comes from two TIE Fighters. They target the aft section of the CR90 and manage to destroy all remaining shields, cause 2 normal damage and 1 critical damage (no more reinforce action). A detonation next to the Falcon causes it to loose another shield. And my final squad enters the fight on the same spot as all other squads did. The two Interceptors and one TIE Fighter line up for a new attack run alongside the Tantive, seeing how effective the TIE’s were.


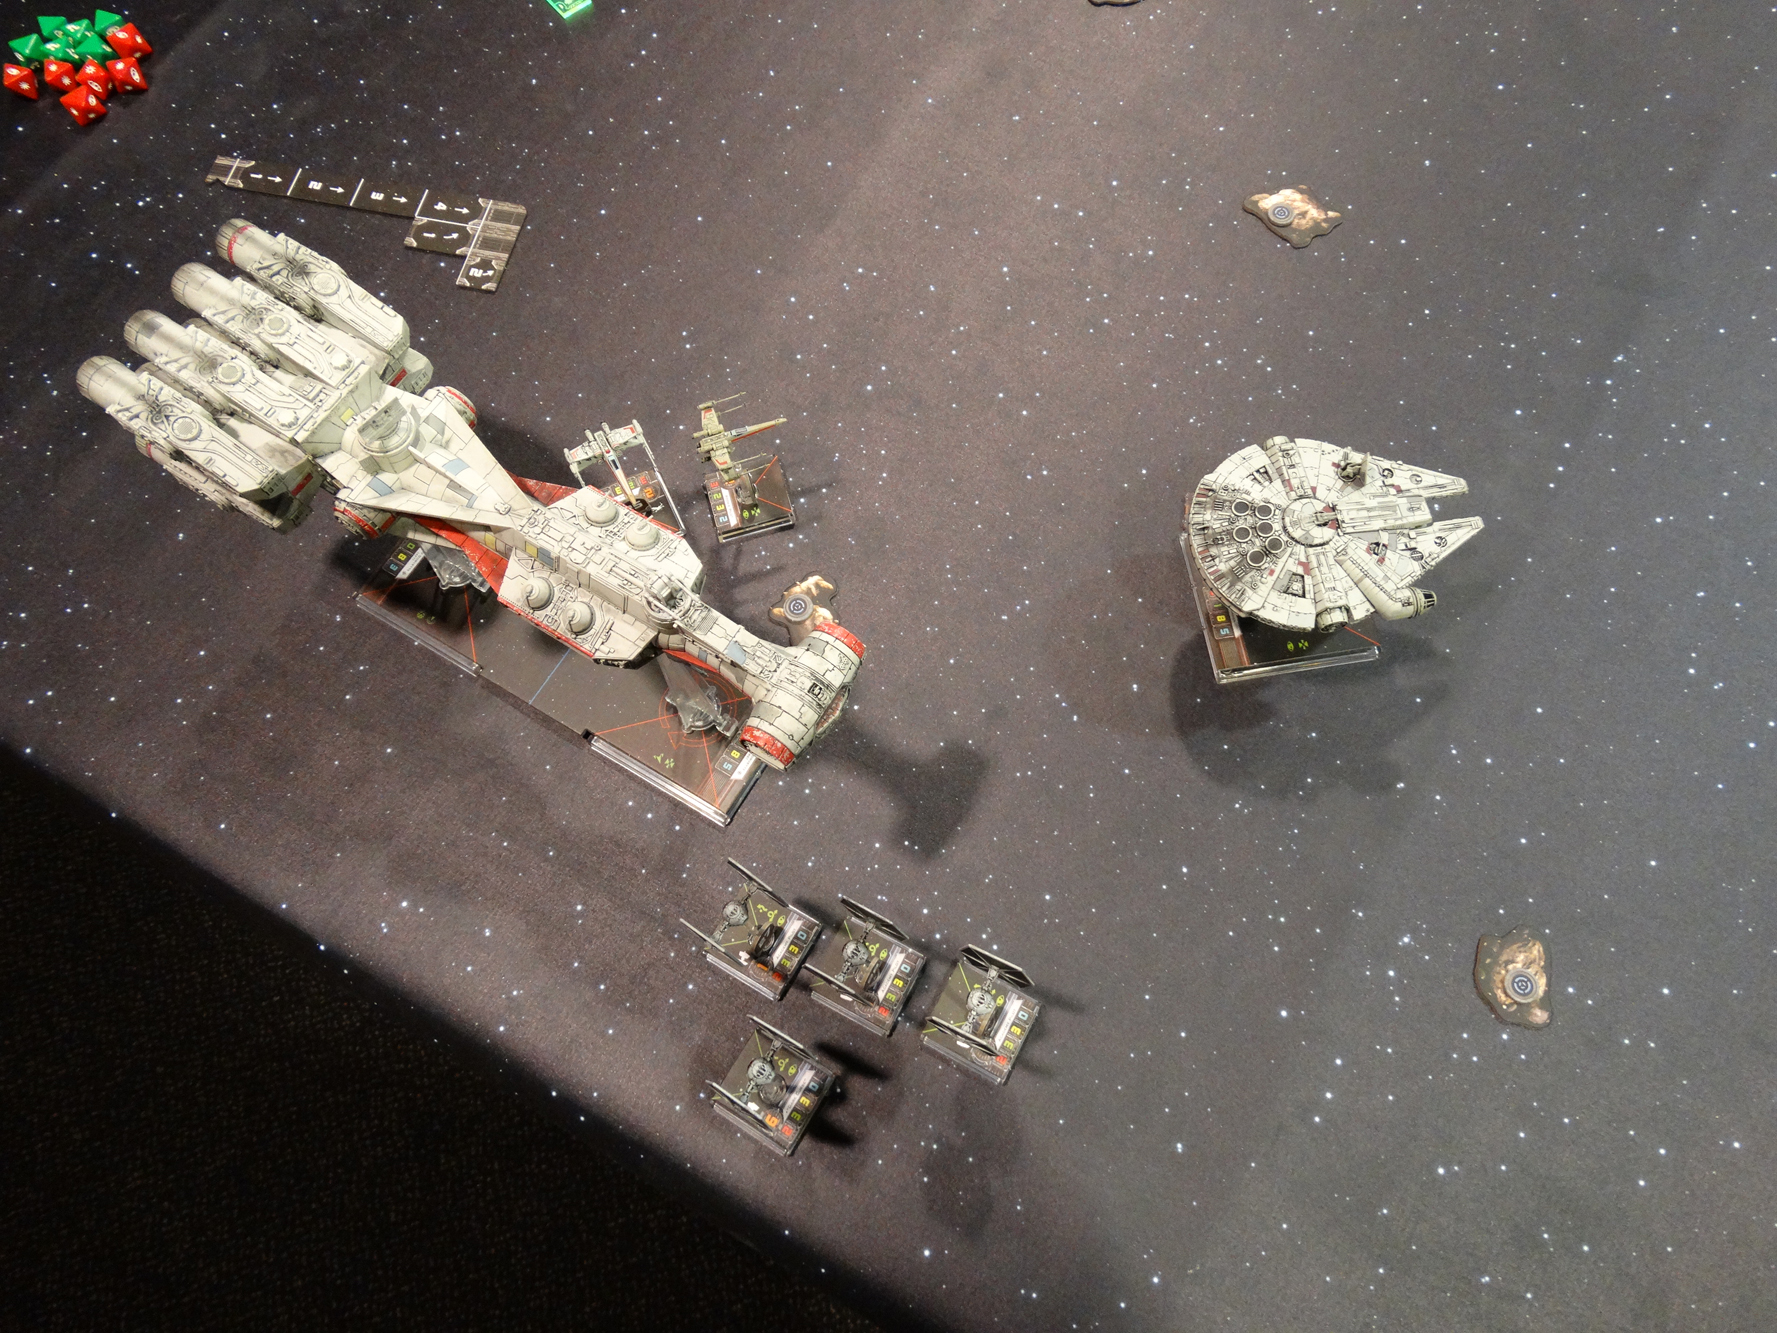
Turn 6: The Interceptors rush forward while a lot of the TIE’s try to make sharp turns to get some more shots at the aft section and set in the pursuit. In the shooting phase Turr Phennir manages to get two critical damage on the front section of the CR90. It now has only one hull point left. Dark Curse tries to hit an X-Wing, but it is too quick and evades.Clearly the Rebels see Turr as a threat because both the Falcon and the quad laser cannons of the Tantive sent shots his way. This mauls him badly and gives him two critical damage (damaged sensor array and console fire). The other Interceptor shoots at the aft section and manages to get two normal damage through and one critical (causing all energy on the aft section and it’s upgrade cards to be lost). Two TIE Fighters can fire at an X-Wing and the aft section of the Tantive, but to no effect. At this point the Rebel gunship is very near to the table edge, but can not reach it in the next turn yet. And it is badly damaged. It has 1 hullpoint left on the fornt section and 2 on the aft section.
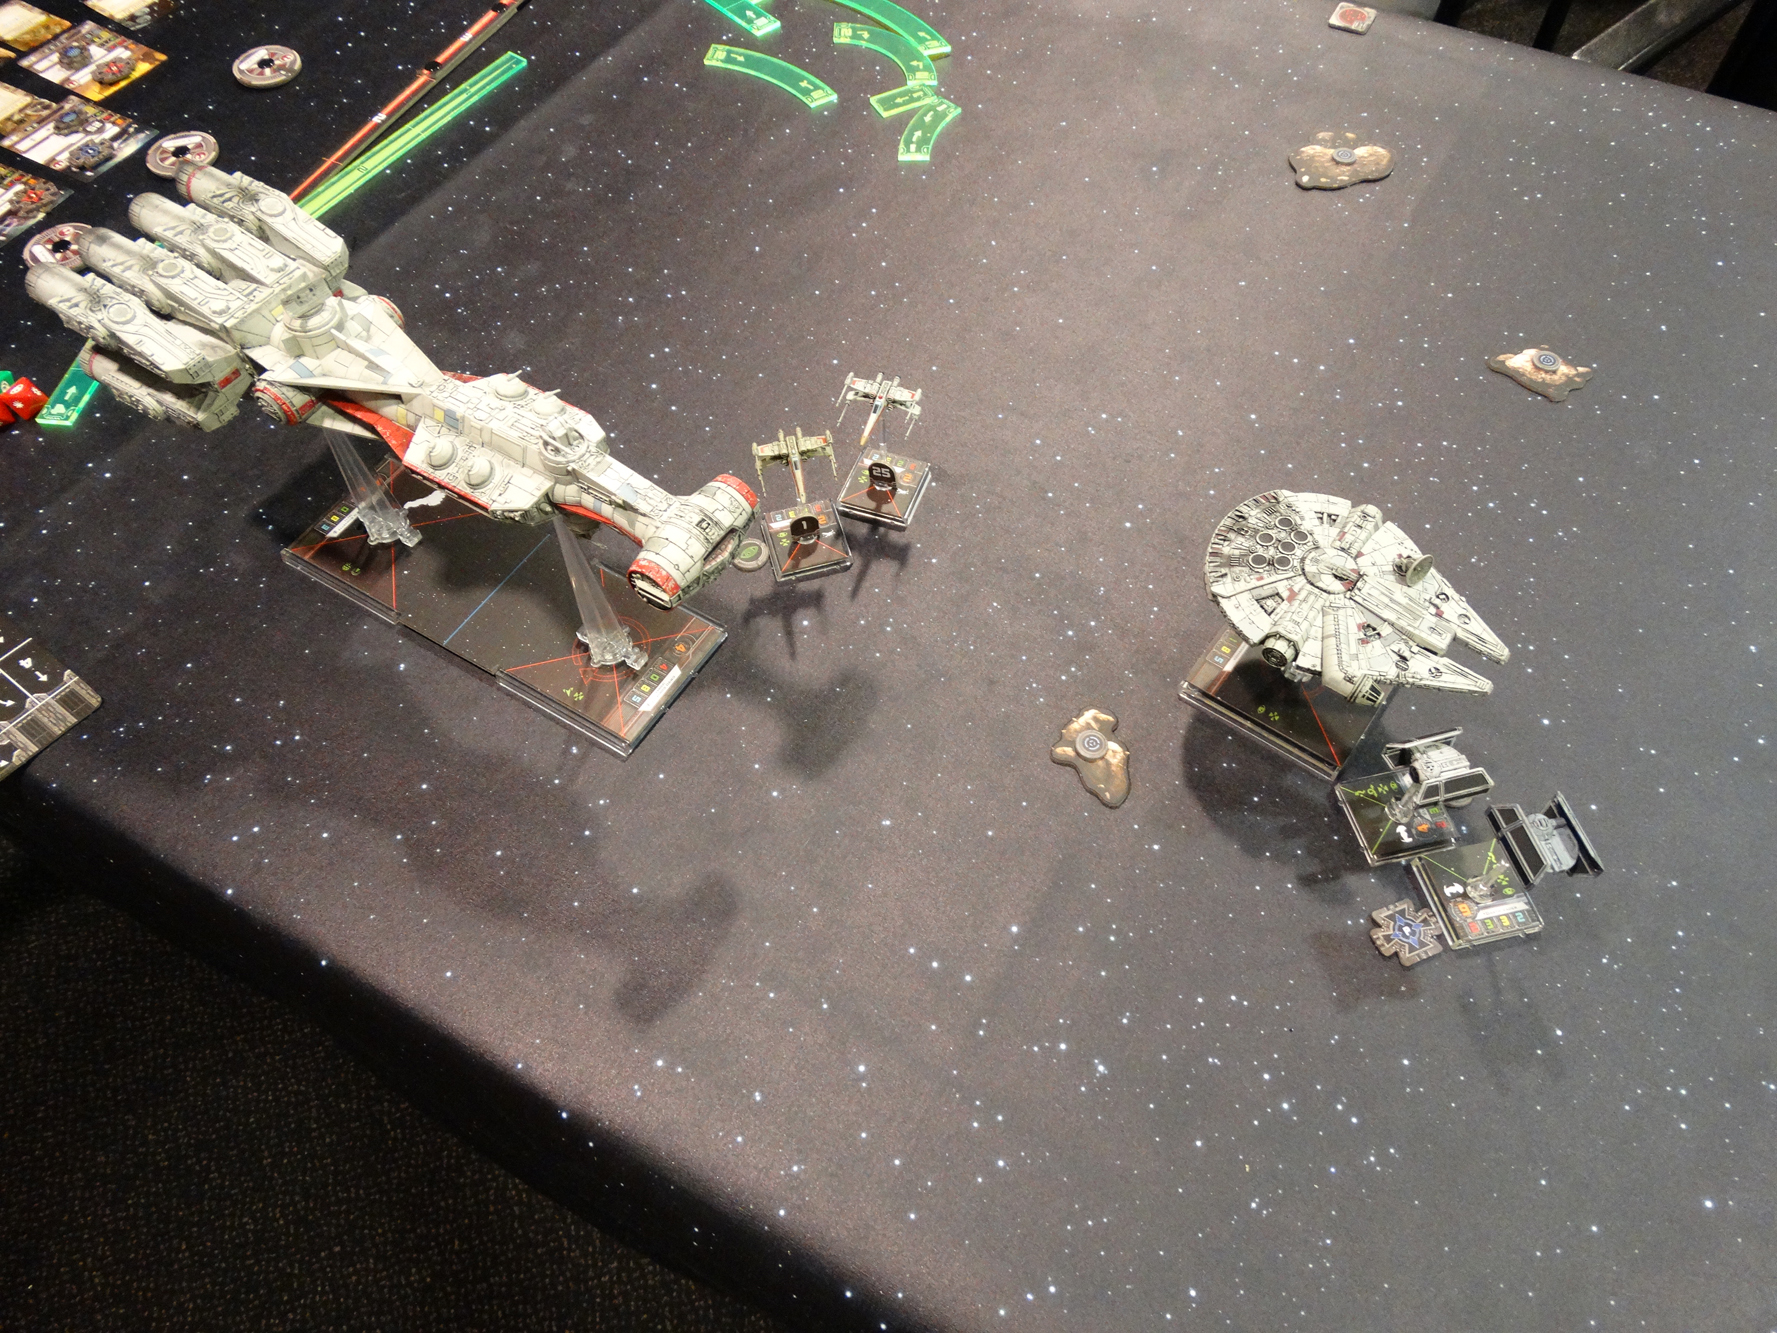
Turn 7: The TIE’s go in hot pursuit, trying to make sharp turns, k-turns or just race after the damaged vessel as fast as possible. The Tantive restores on damage to it’s aft section with the gained energy and Turr foolishly ignored his console fire when he had his prey in sight. This causes him to blow up. Dark Curse gets a solid hit on the aft section. The Falcon is out of range and can do nothing this turn. The Tantive targets the remaining Interceptor but all hits are evaded. The big ship returns the favor and evades the hits from the Interceptor as well. A TIE Fighter tries to hit the aft section but fails. An X-Wing also sees his shots evaded by a TIE Fighter and all hope lies on two TIE’s who take range three shots at the Tantive’s aft section. They miraculously manage to cripple it and that gives the ship limited movement next turn. This is my chance to finish it off. If I do not succeed in the next round it will most definitely reach he table edge in the turn after that and win the game.

Turn 8: All or nothing. Just one hull point left on the front section. But unfortunately I can only get two of my fighters to race ahead with 5 movement. The rest of them will not be able to shoot at the front section because the aft section is in the way. If the Tantive can not fly very far my two fighters might get a shot at the front section and win this campaign, bringing glory to the Galactic Empire. The Rebels have other plans though and use a boost and 3 movement to get the vessel out of range. My ships can get no straight line between them and the front section without the aft section in the way. This means that in the next turn the Rebel ship will reach the table edge in the movement phase and therefore wins this game with only one hull point left.

Another very close call. If I had not put too much faith in well equipped ships and had gone for more ships instead it might have gone differently. But still I managed to get very far. For the Rebels to win with just one hull point left we had to play a long and exiting game. And that makes it all worthwhile.
The overall conclusion is that we both very much enjoyed playing this campaign. 3 out of 4 games were so balanced that the games were very close and all came down to one last turn were it could be decided in both ways. This makes for the best games in our opinion. We have concluded that we want to try the other missions that come with the epic ships as well. Let’s hope these are just as balanced and give as much fun as we had with this one.