All my vehicles have the same desert camo color scheme. Here is a step by step of the proces.
When the model is cleaned and put together (as far as I want it) I apply a base coat from Flames of War: German Armor (desert) or Plastic Soldier’s US Olive Drab (Since the Flames of War spray cans are hard to get a hold of).
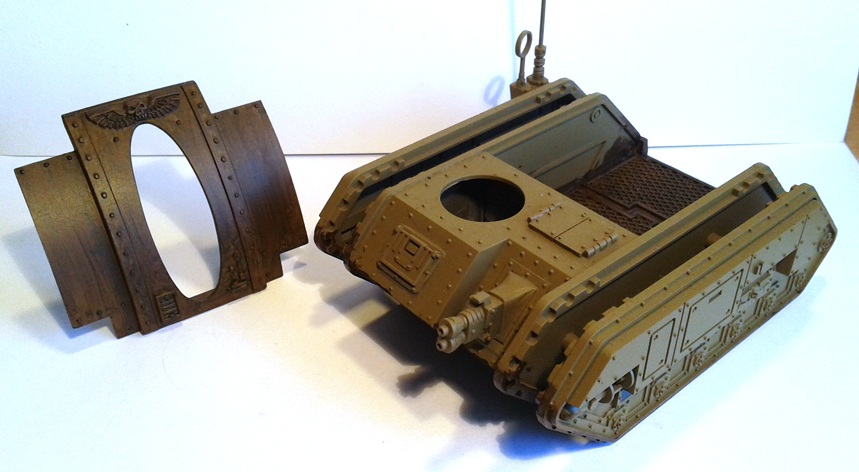
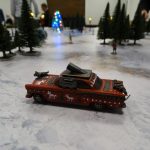
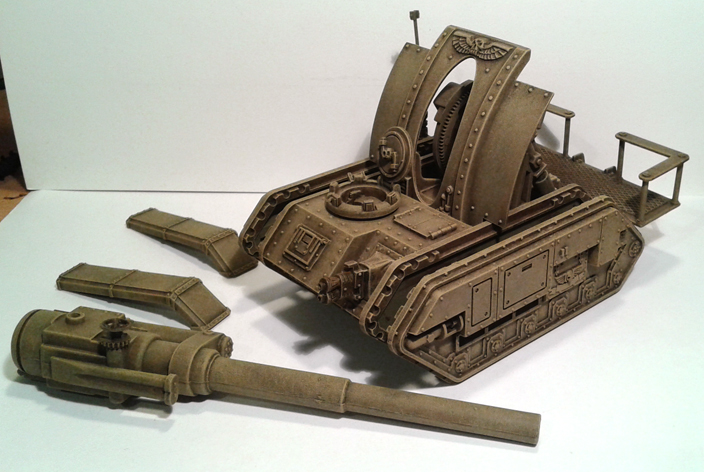
This picture shows the main body with only the base coat on it.
When dried I apply a wash of Smokey Ink (Game Color). I make sure it gets in all the deeper part of the model.
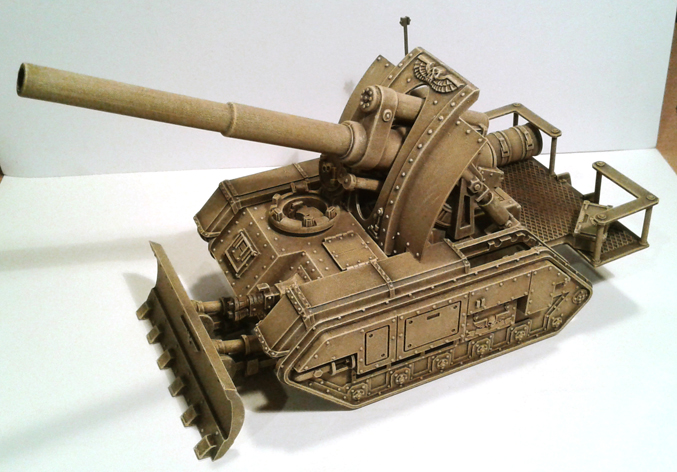
Then I start to apply the varies layers of drybrushing. The last couple of years people have been thrashing this technique saying that proper painted miniatures are only painted with the wet pallet blending technique and such, but I find drybrushing in the case of dusty/sandy themed armies fits perfectly.
The first layer is done with Graveyard Earth (Citadel). I use a large drybrush for the vehicles.
Then a layer of desert yellow (Citadel)

Followed by Tausept Ochre (Citadel)
And with increasingly lighter strokes we come to Iyanden Darksun (Citadel).
The final highlights (also lightly drybrushed) are done with Bleached Bone (Citadel).
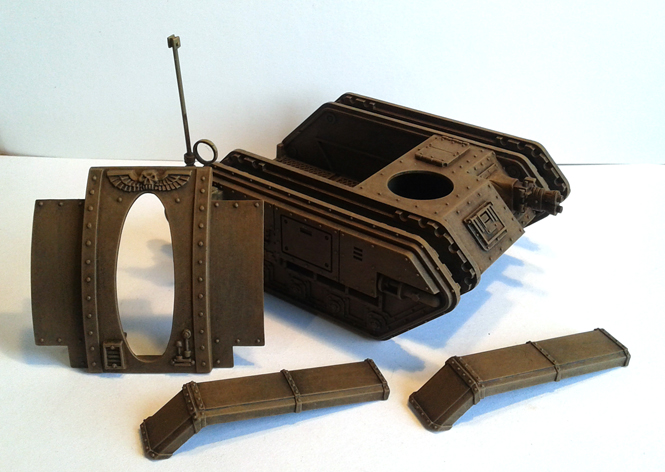
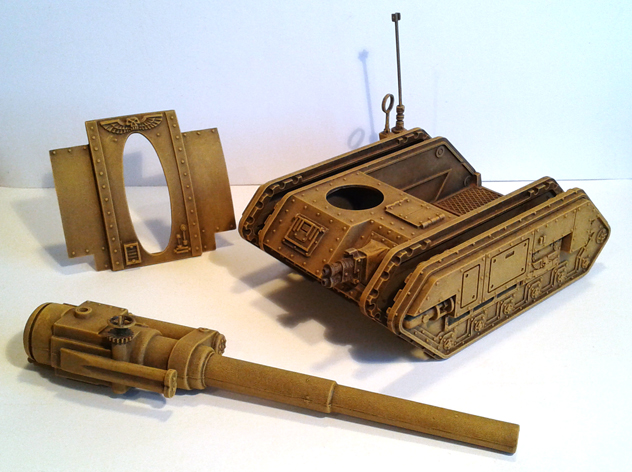
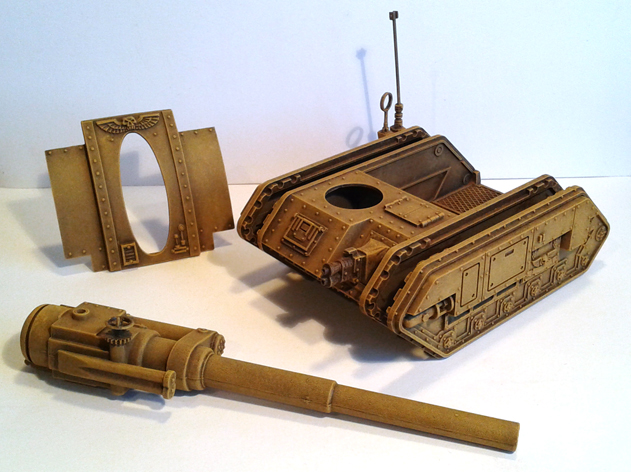
The model is not assembled yet, all the parts are still loose (only dry fitted for the picture).
Now the base yellow/dusty color for the camo effect is done. Next post I will cover the darker parts of the camo scheme, which are a lot less work.