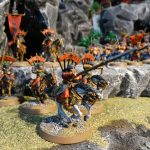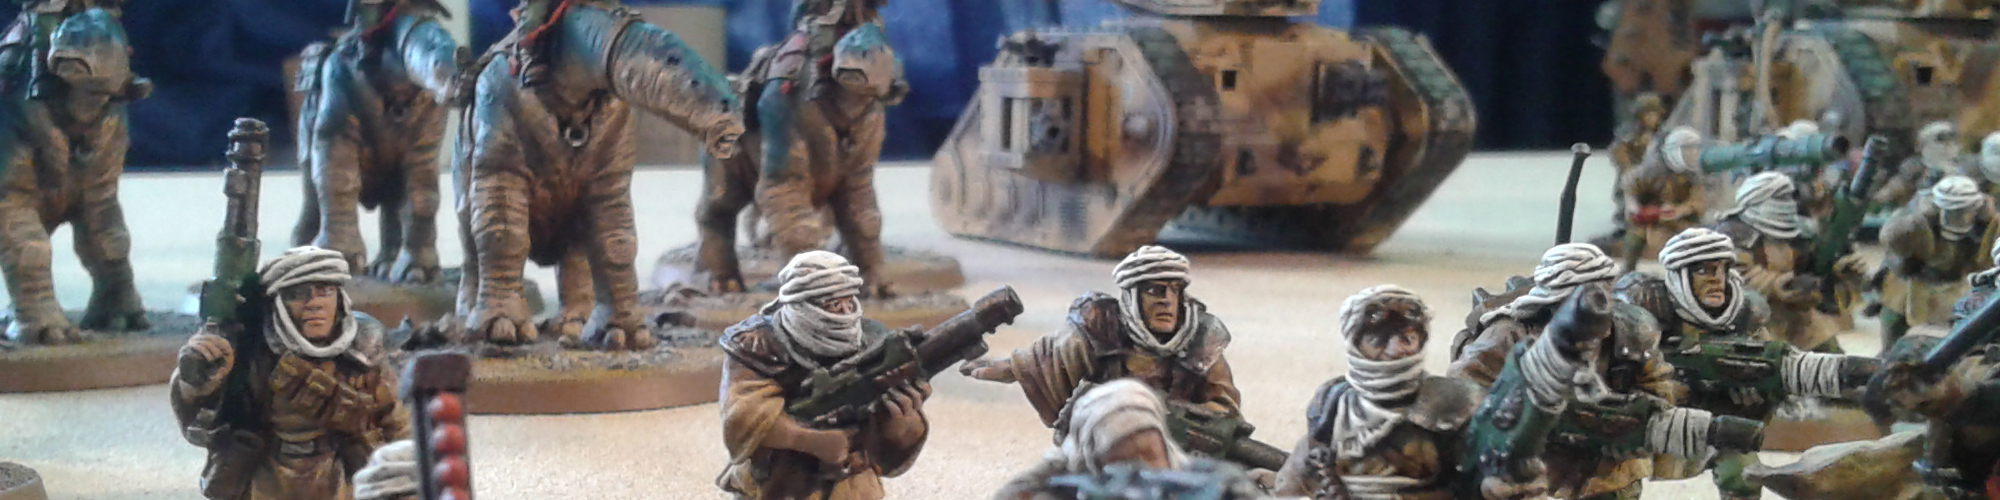
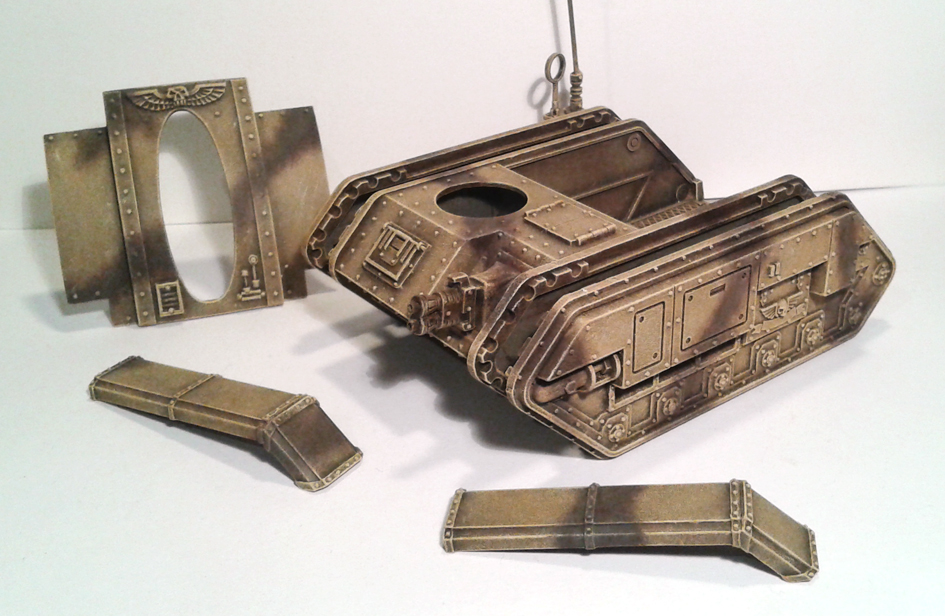
The next step for the desert camo colors is bringing in some streaks of darker brown. This is a pretty easy and straightforward part. I use a medium dry brush and start with scorched brown. I apply the streaks at random and try not to repeat the same pattern on multiple models in one unit. I always figure out the pattern as the model would be when fully assembled. I do nut glue anything in places yet, but dry fit as much as possible. That way I can figure out where the darker streaks will meet on the individual parts.
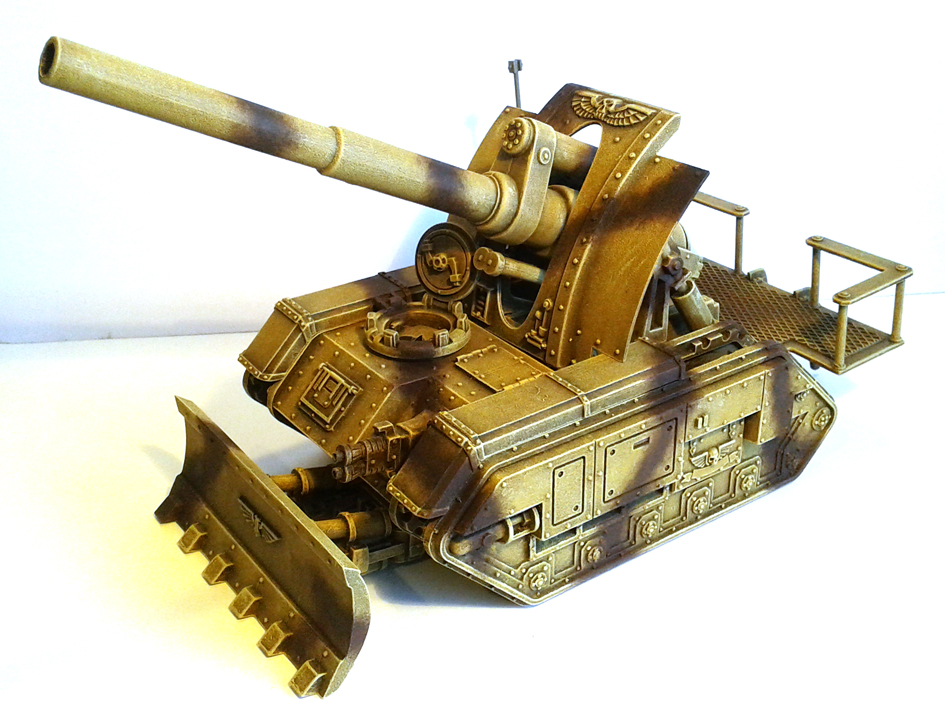
Once the general pattern is laid out in this color I simply use bestial brown to somewhat highlight the color.
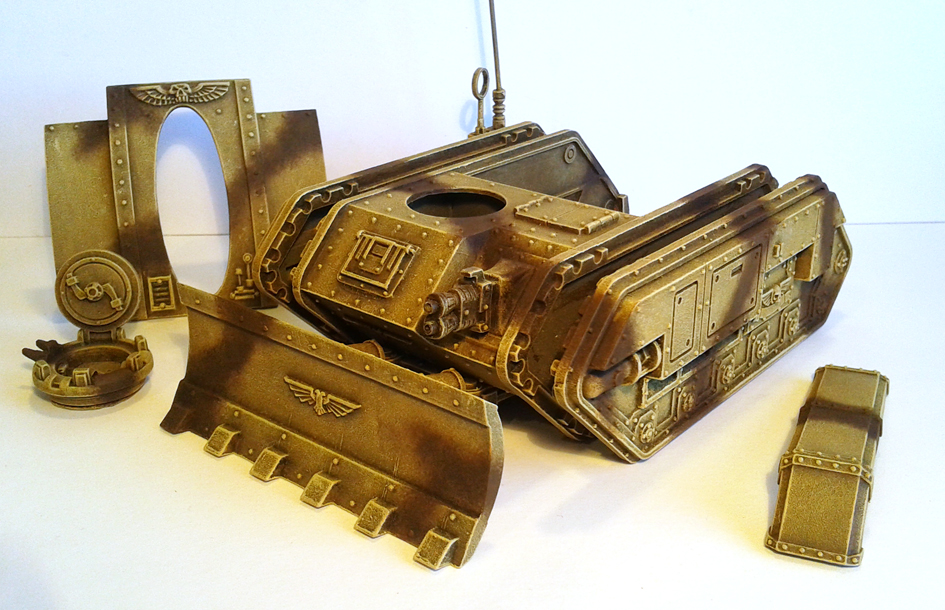
And finally bleached bone for as a last highlight to let it blend in more with the yellow/dust colors which also had bleached bone as a final highlight.
Now this is all done it is time to work on the metal parts and weathering of the camo paint in places where it has chipped off. Stay tuned!