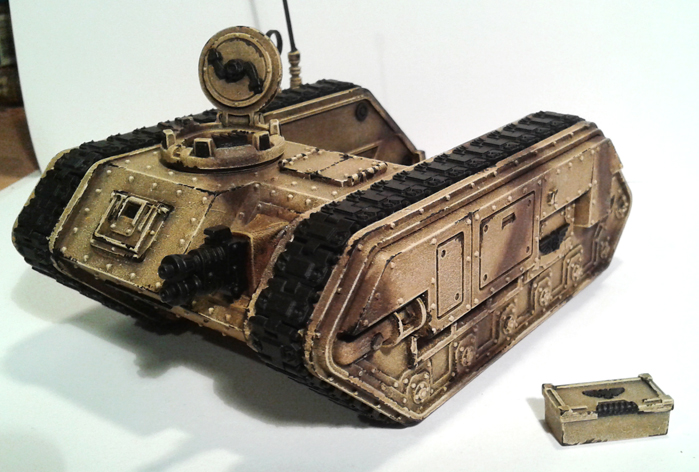
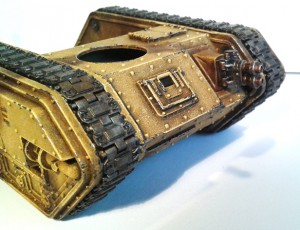
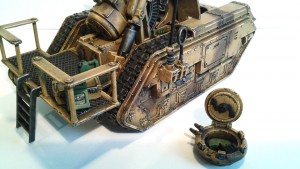
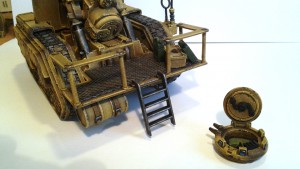
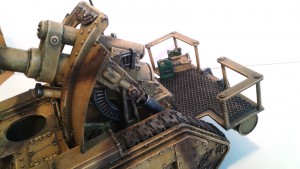
Now that the base is finished (the desert camo colors) it is time to start on the metal. I first paint all things that will be metallic (and details like viewports etc.) black. I also paint all the scratches black first.
I do this for all parts while still unassembled for the most part.
Then I dry brush all the larger black parts with boltgun metal. I use the same detail brush to paint all the scratches with boltgun metal, keeping the metallic within the black so that a small edge of the black is still visible.
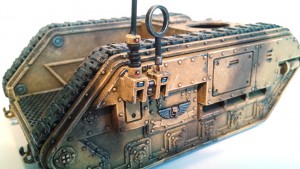
The tracks get an additional light dry brush with tin bitz. And all the parts like gun nozzles and Imperial Eagle signs and such.
The tin bits parts (except the tracks) wil get some further dry brush/highlight layers of brass, bronze and gold. The gold is only used on a few parts such as highlights of the Imperial Eagle sign. And finally all metalwork except the scratches get a highlight of silver.
To finish off the metallic I use a black wash over all metallic bits, including the scratches.
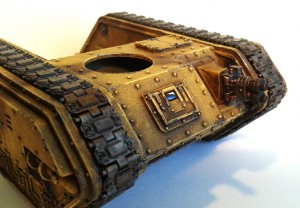
After that the details such as viewing blocks are added.
The windows are made by painting a dark blue over the black surface, but only from halfway to the bottom of the window. On top of this, but halfway down the dark blue to the bottom I paint a light blue color. To finish it off a thin stripe of pure white is added at the top of the window onto the black. When the window is a bit larger you can use some more shades of blue to make a nice transition. The same technique is used on things as the red dot lights.
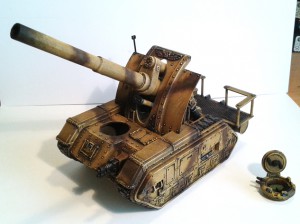
By this time the tank can be put together some more since a lot of the difficult to reach spots have now been painted.
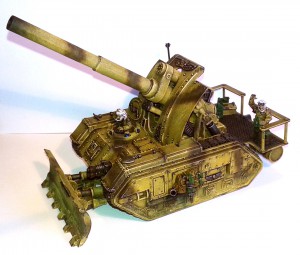
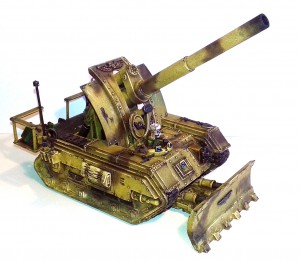
And as more and more individual parts get painted as described above the more it can be assembled. And we get the final result.

