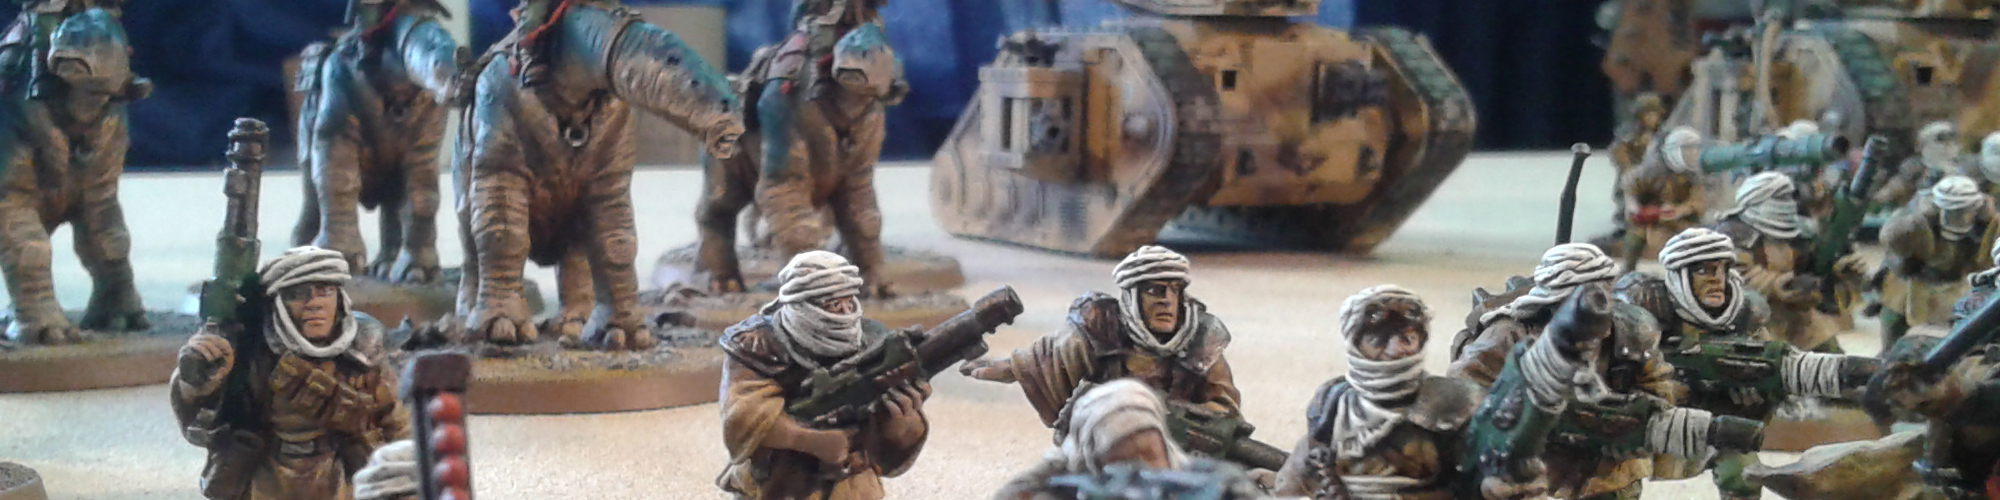

Harrr! It’s time for some treasure hunting!
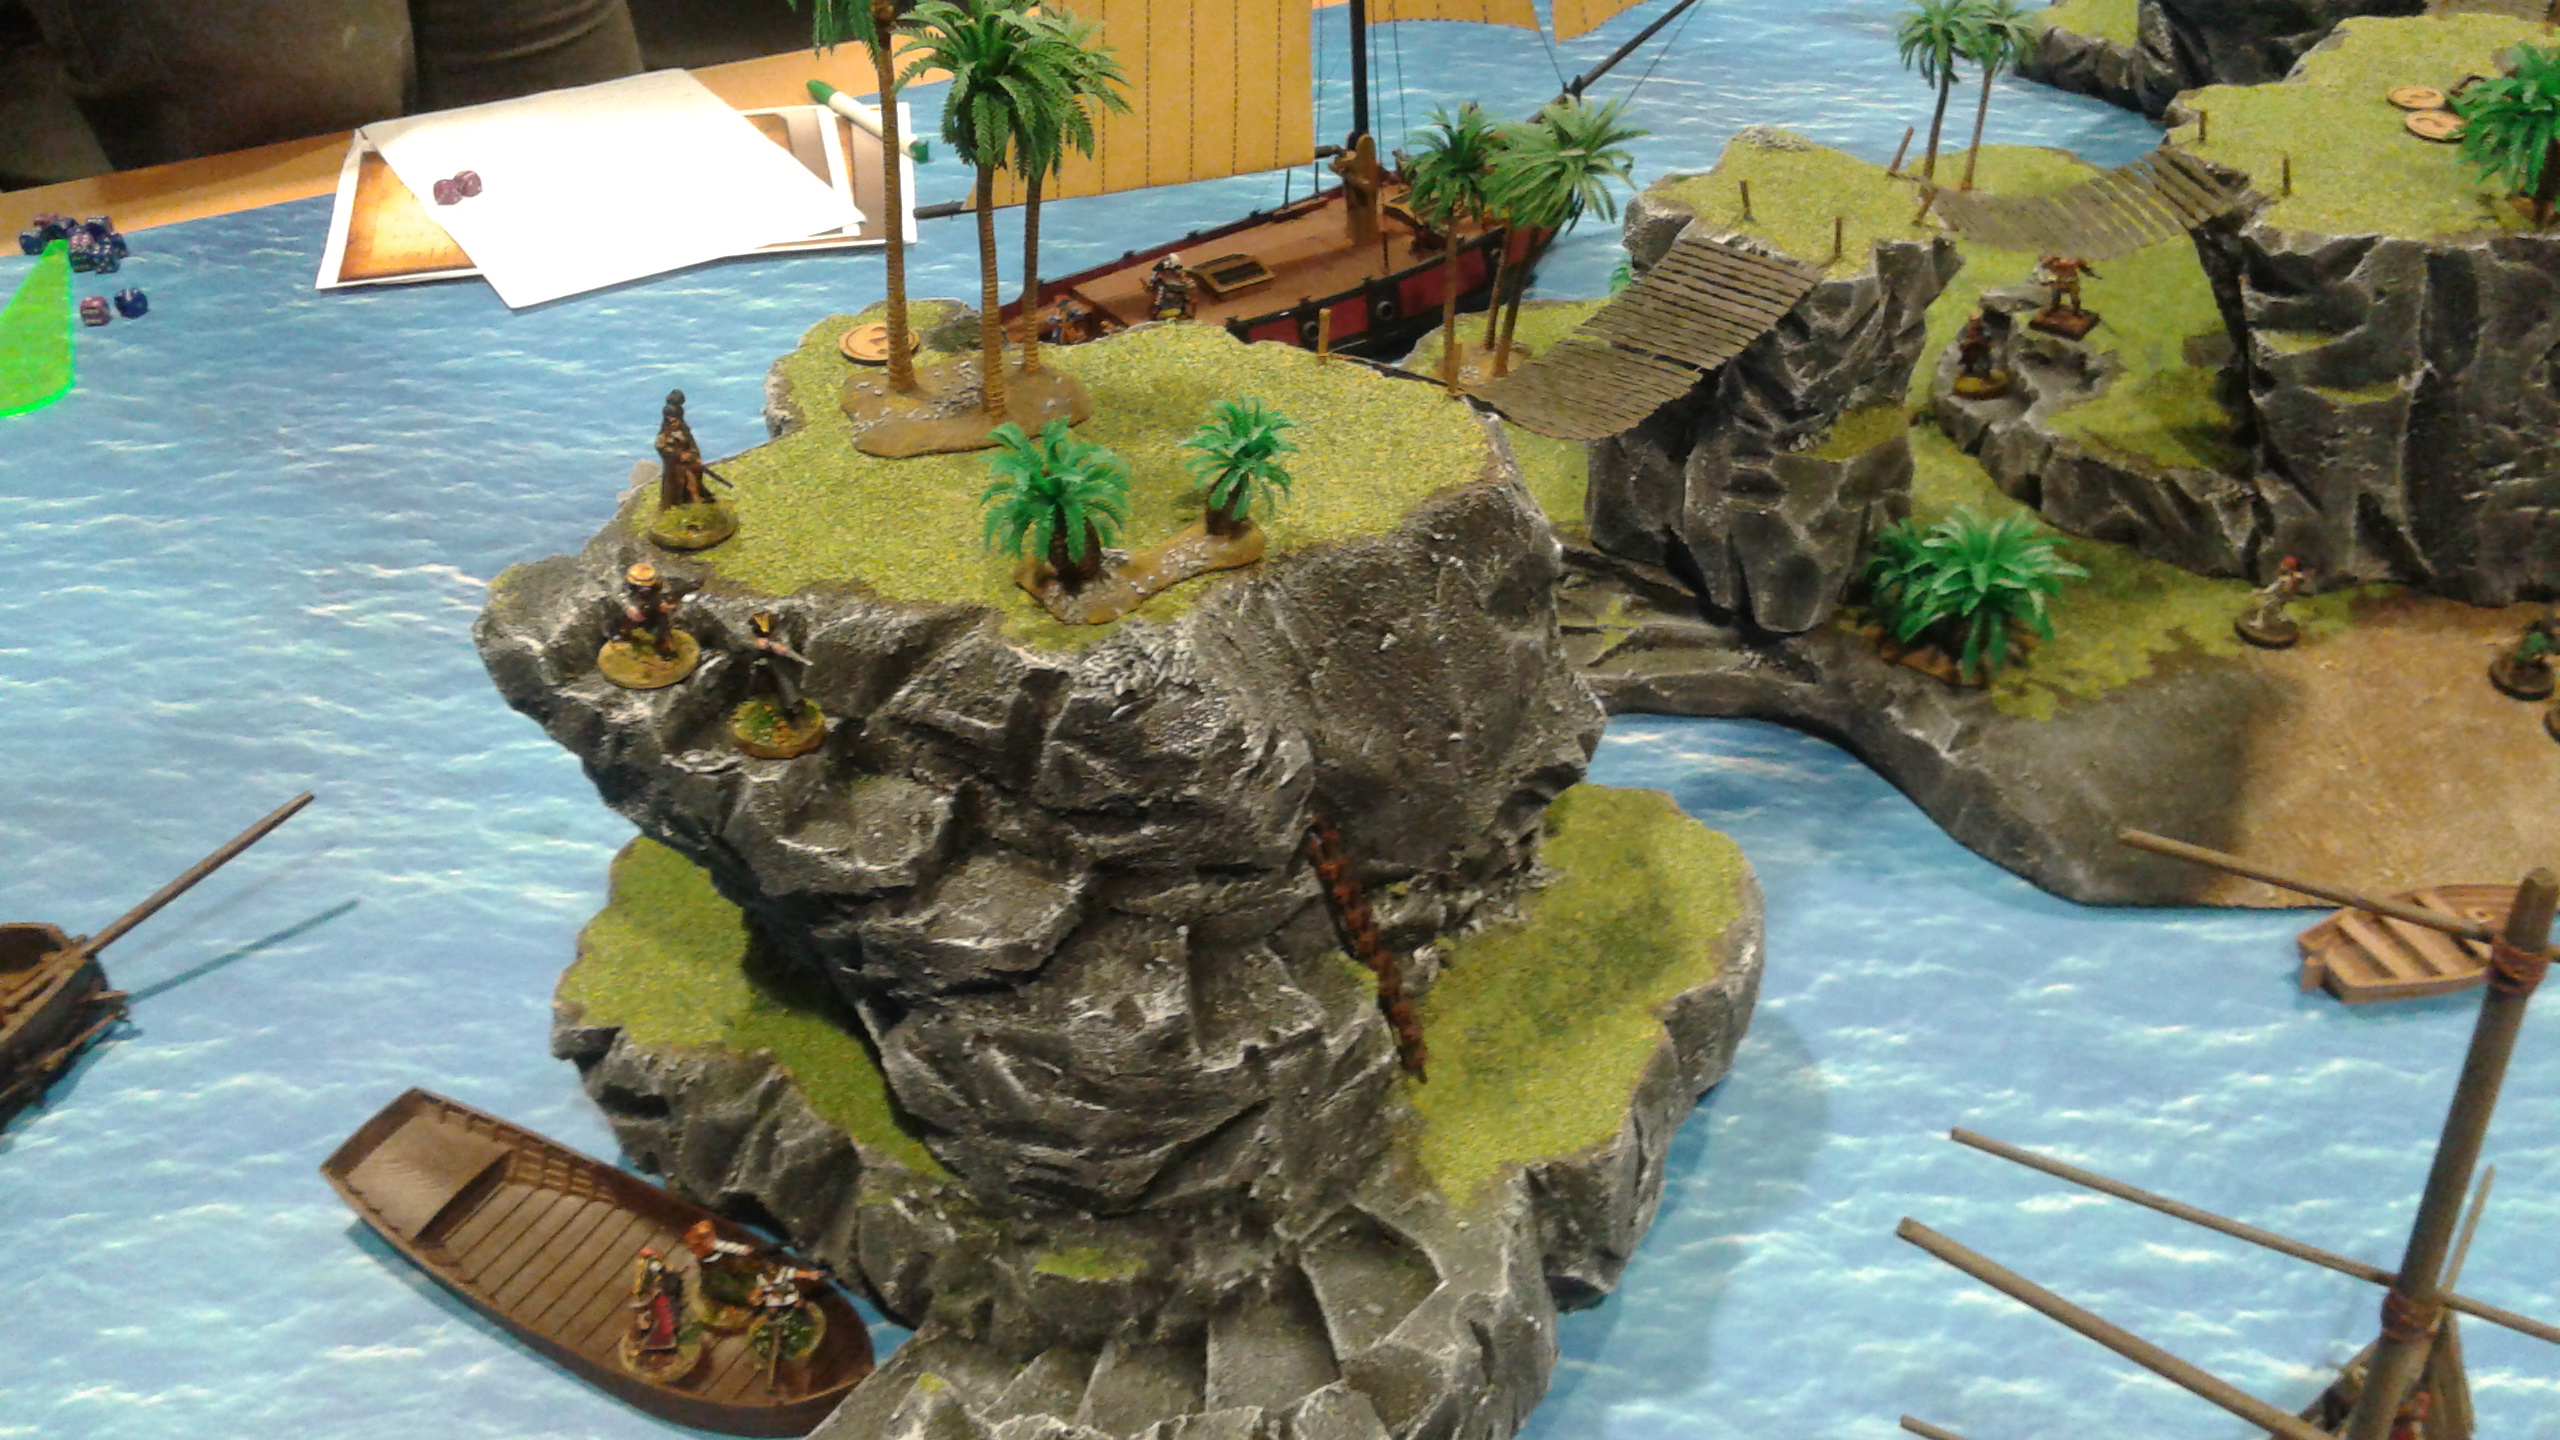
By now the Legends of the High Seas campaign at my local gaming club has started in earnest. We have already attacked Port Royal twice in order to free a certain pirate captain and her crew. This resulted in lots of backstabbing and such. Very pirate-like things and all. Another thing pirates need to do is go for a treasure hunt. Now, as it was my turn to take care of a scenario, I instantly had the idea of making a nice treasure island on which our crews could run around and make amok. But it had to be more than just a piece of land. I wanted it to be more challenging than that. So I came up with the idea of making multiple island that would be connected by bridges and such. Bridges were men could fall off. I imagined risky sword fights on rickety water soaked planks spun between rocky outcrops.
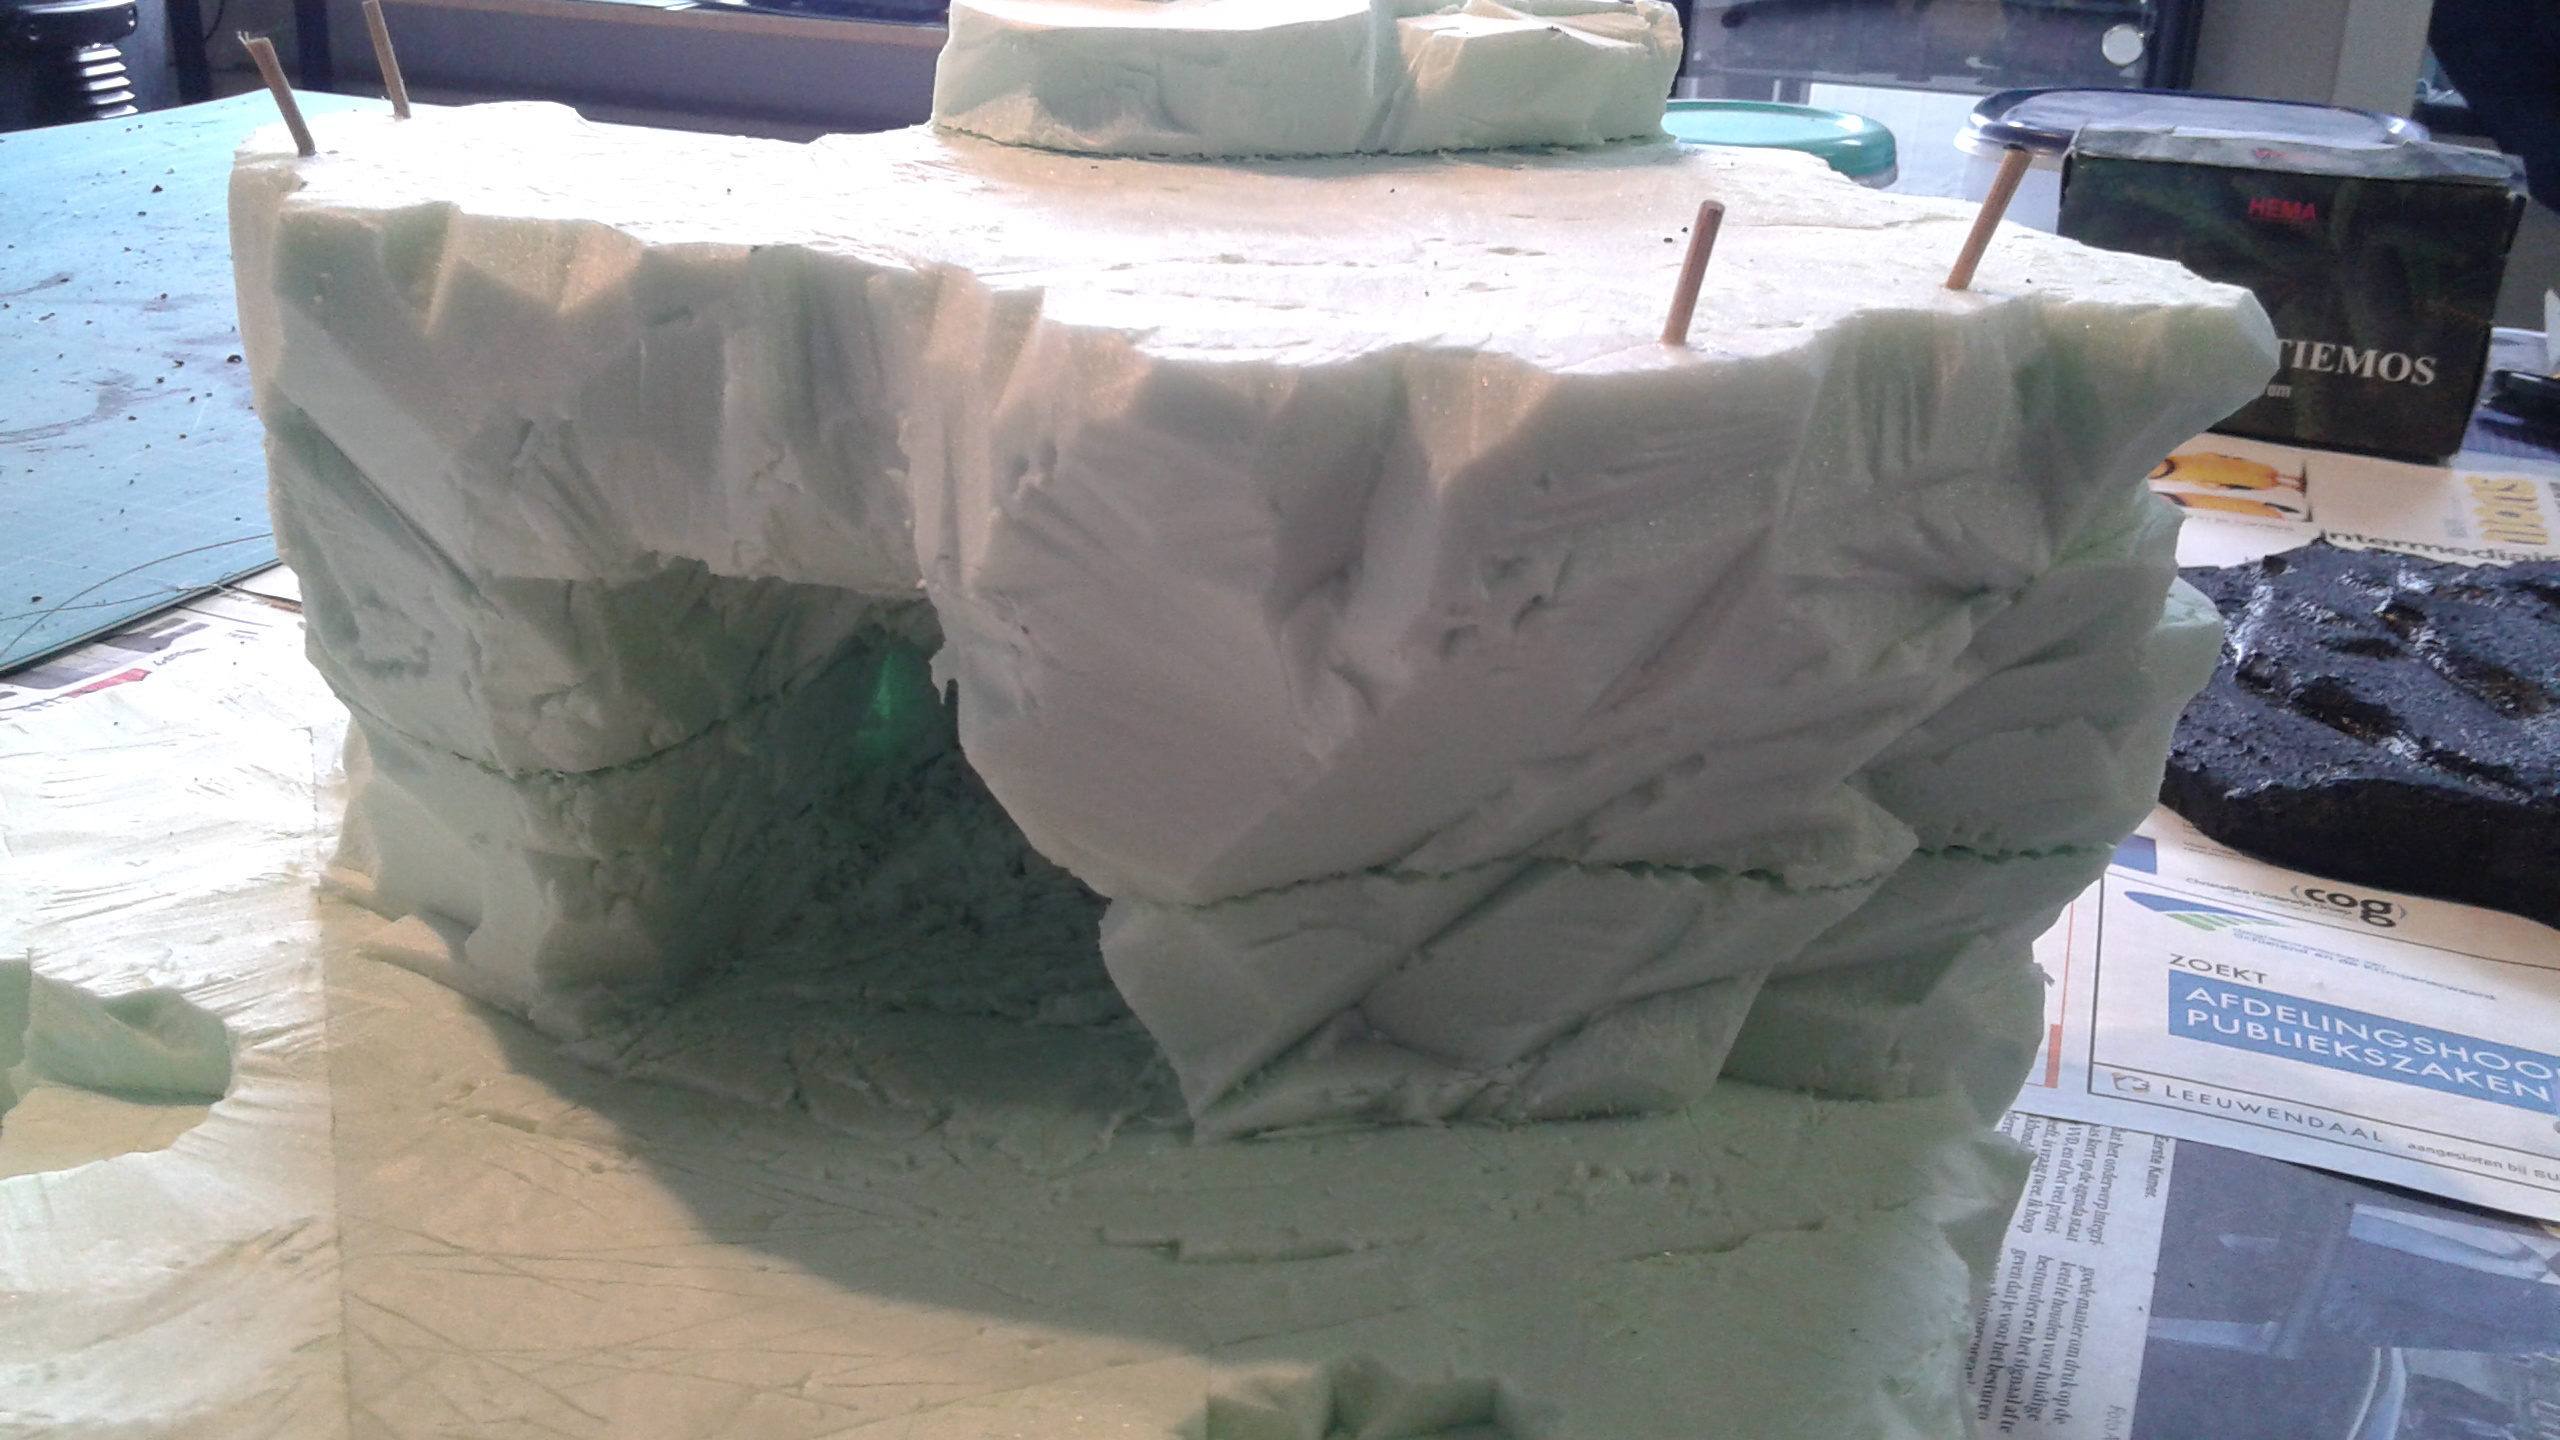
So I needed some islands. I started with some solid blocks of polystyrene foam. The advantage of this is that is easily shaped with a knife and hard enough to roughly sculpt rocks. I glued them together with a hot glue gun.
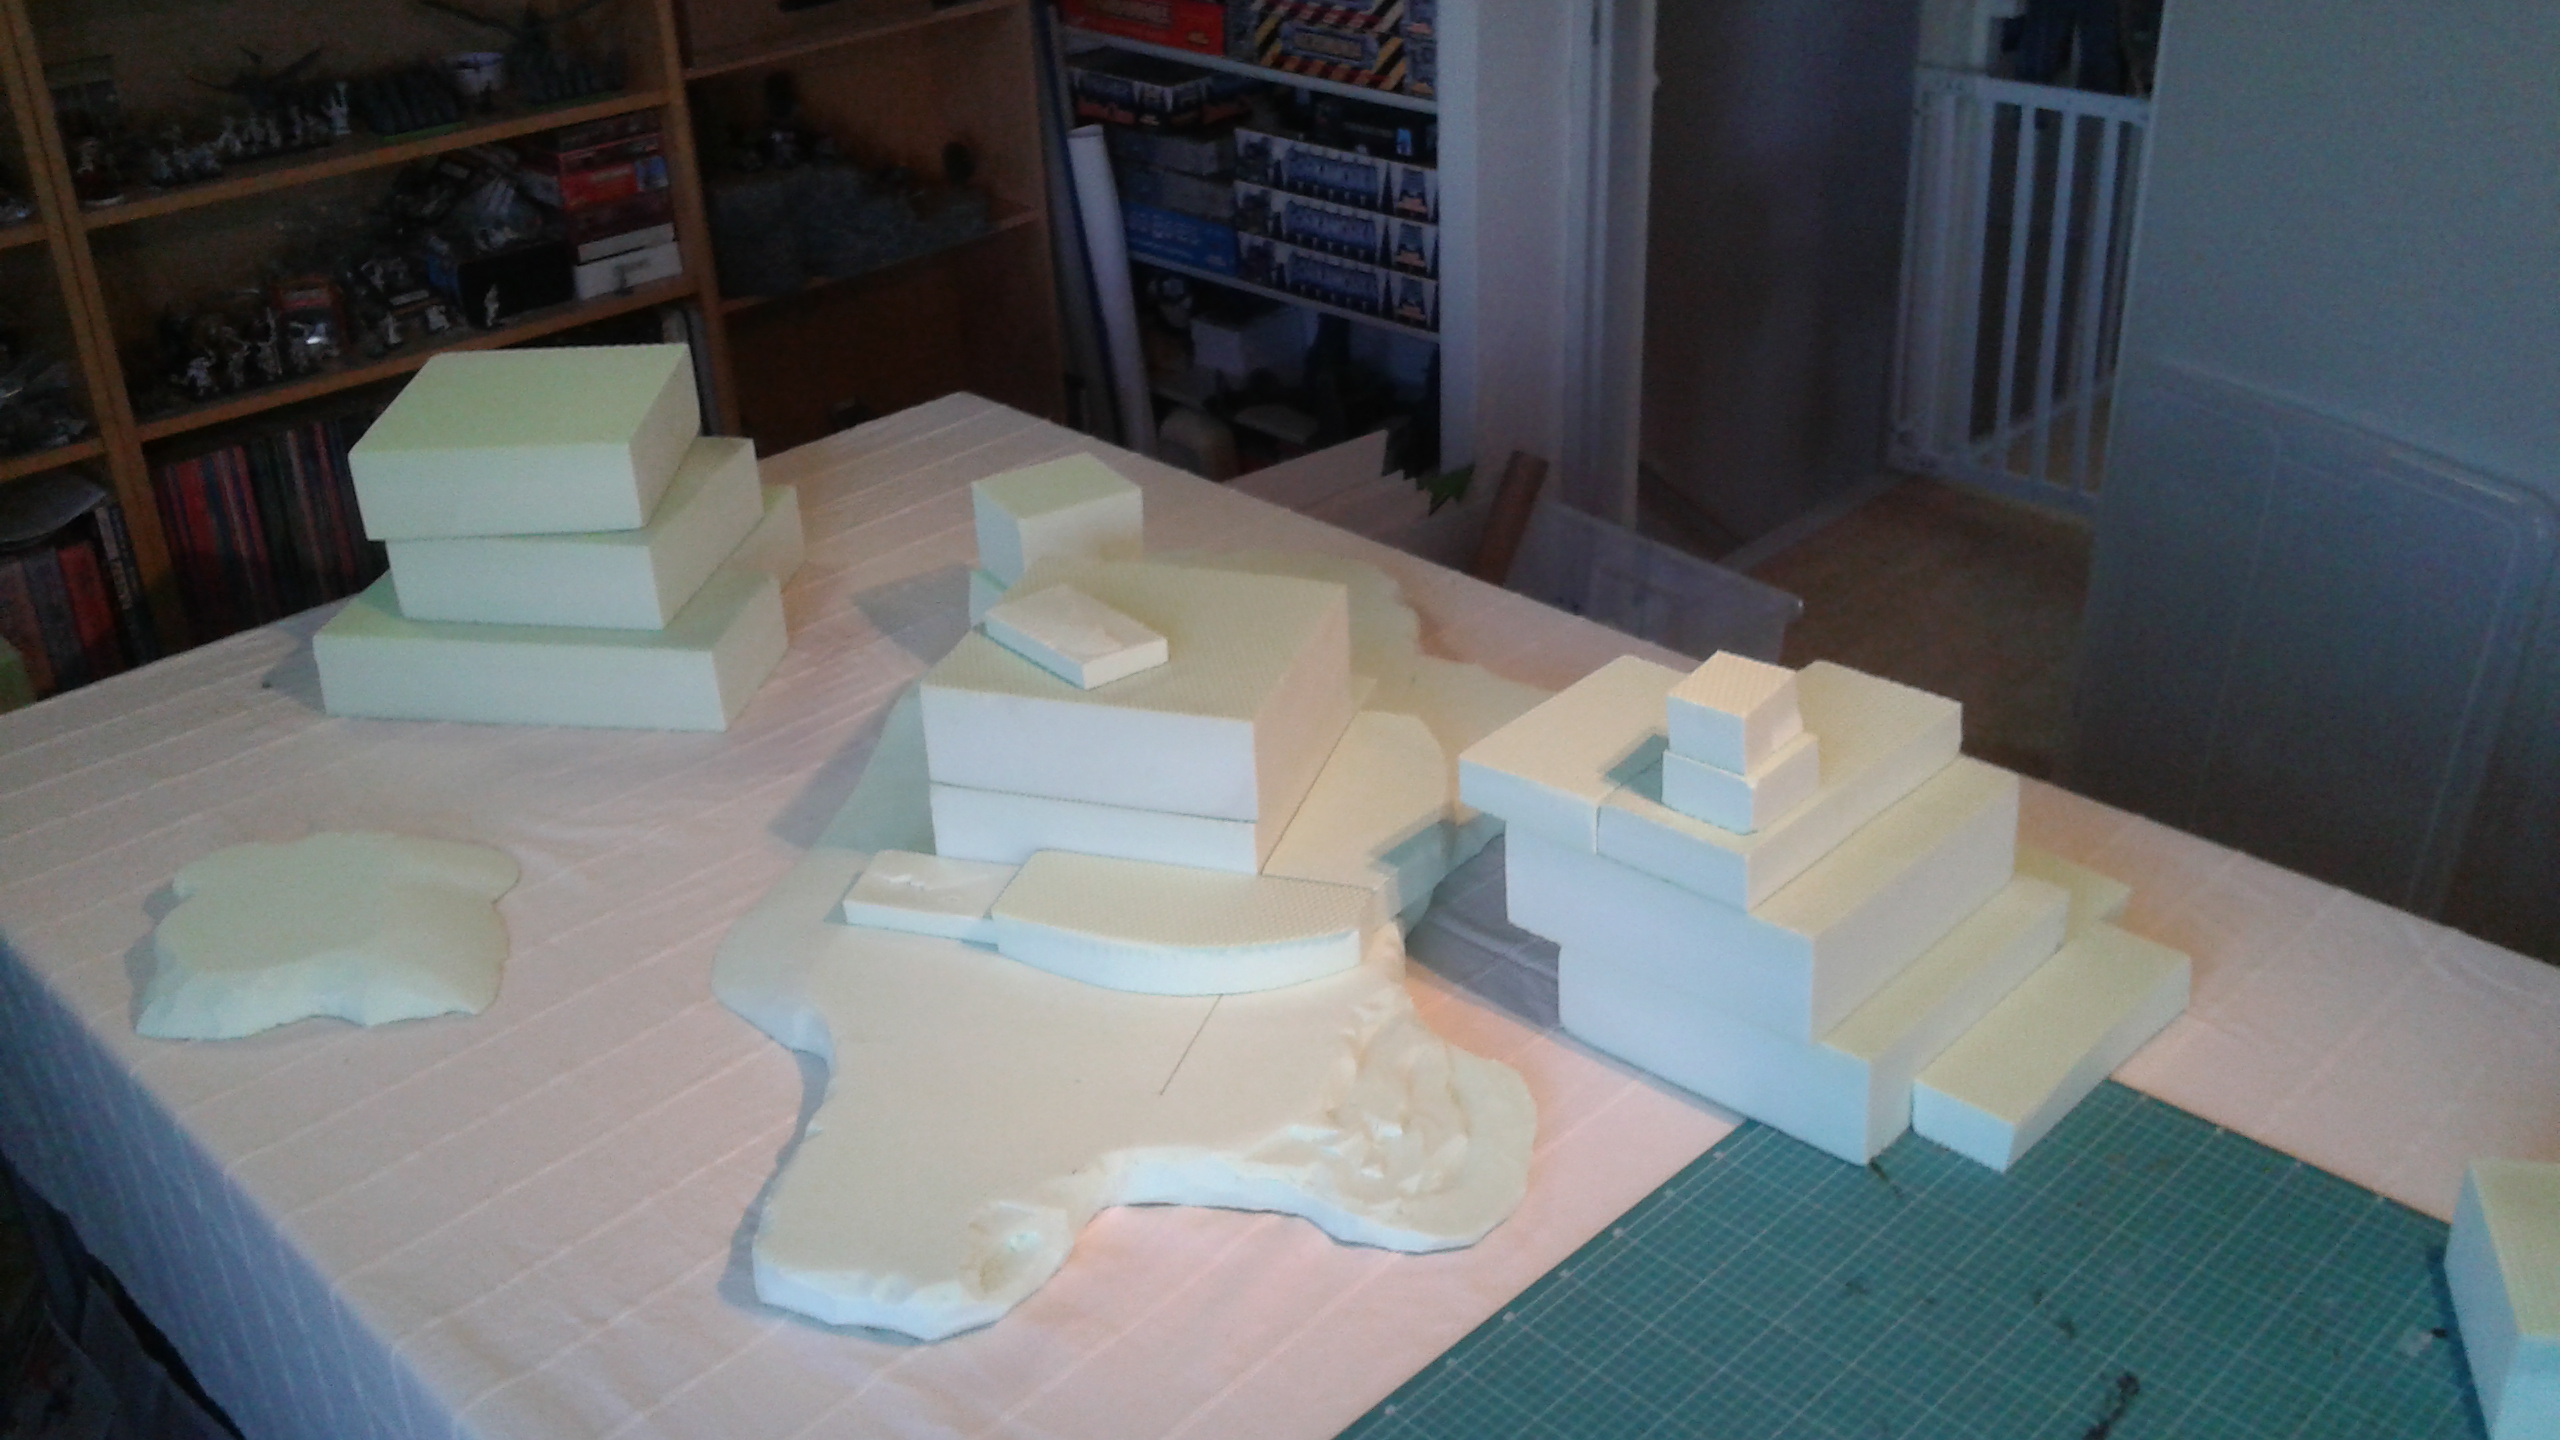
These are the general outlines of the islands. I had some idea of how I wanted to shape them, but so far these blocks were the base I started with. I already had in mind to make the rope bridges on the highest points of the individual islands so I positioned the island parts so that I could imagine were the bridges would come in the end. This helped in the way I sculpted the rocky outcroppings. I used a simple (sharp) hobby knife to carve the shapes. Make sure to replace the knife regularly because the foam blunts the knife edge pretty quick.
Here and there I drew out some outlines and followed these when carving. The process of shaping was long and almost got me some more stitches in my fingers, but in the end all worthwhile.

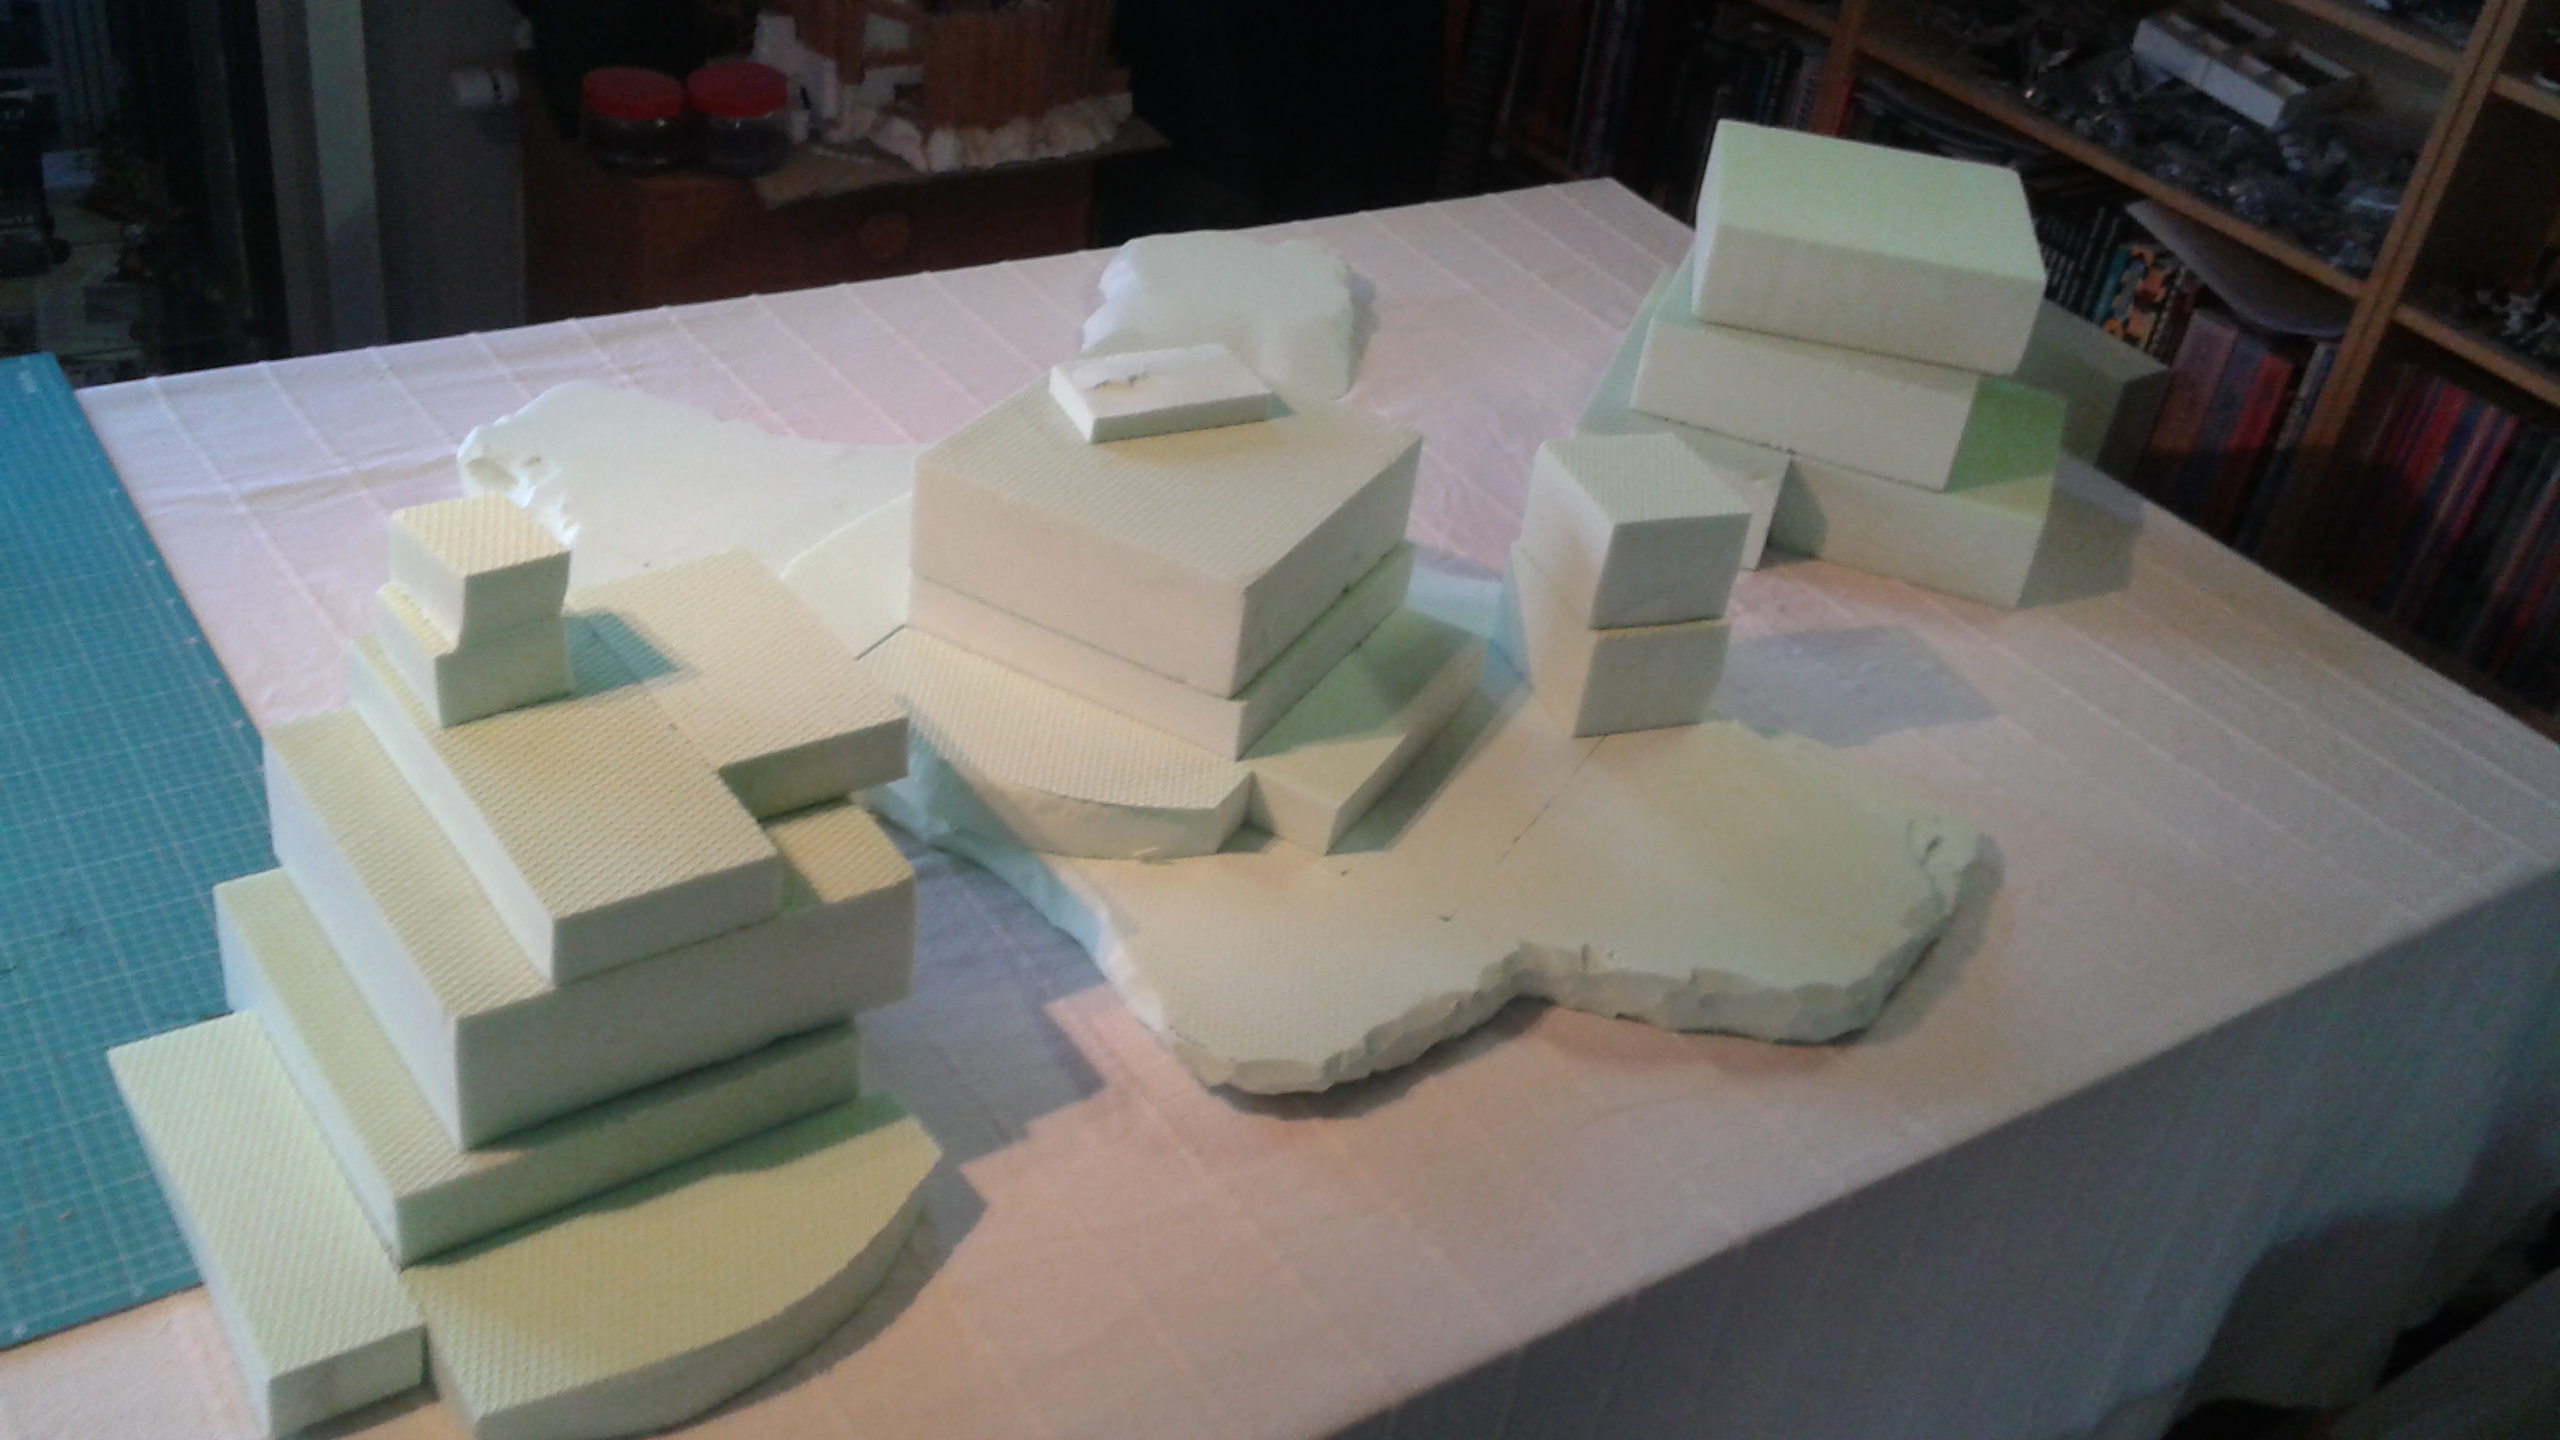
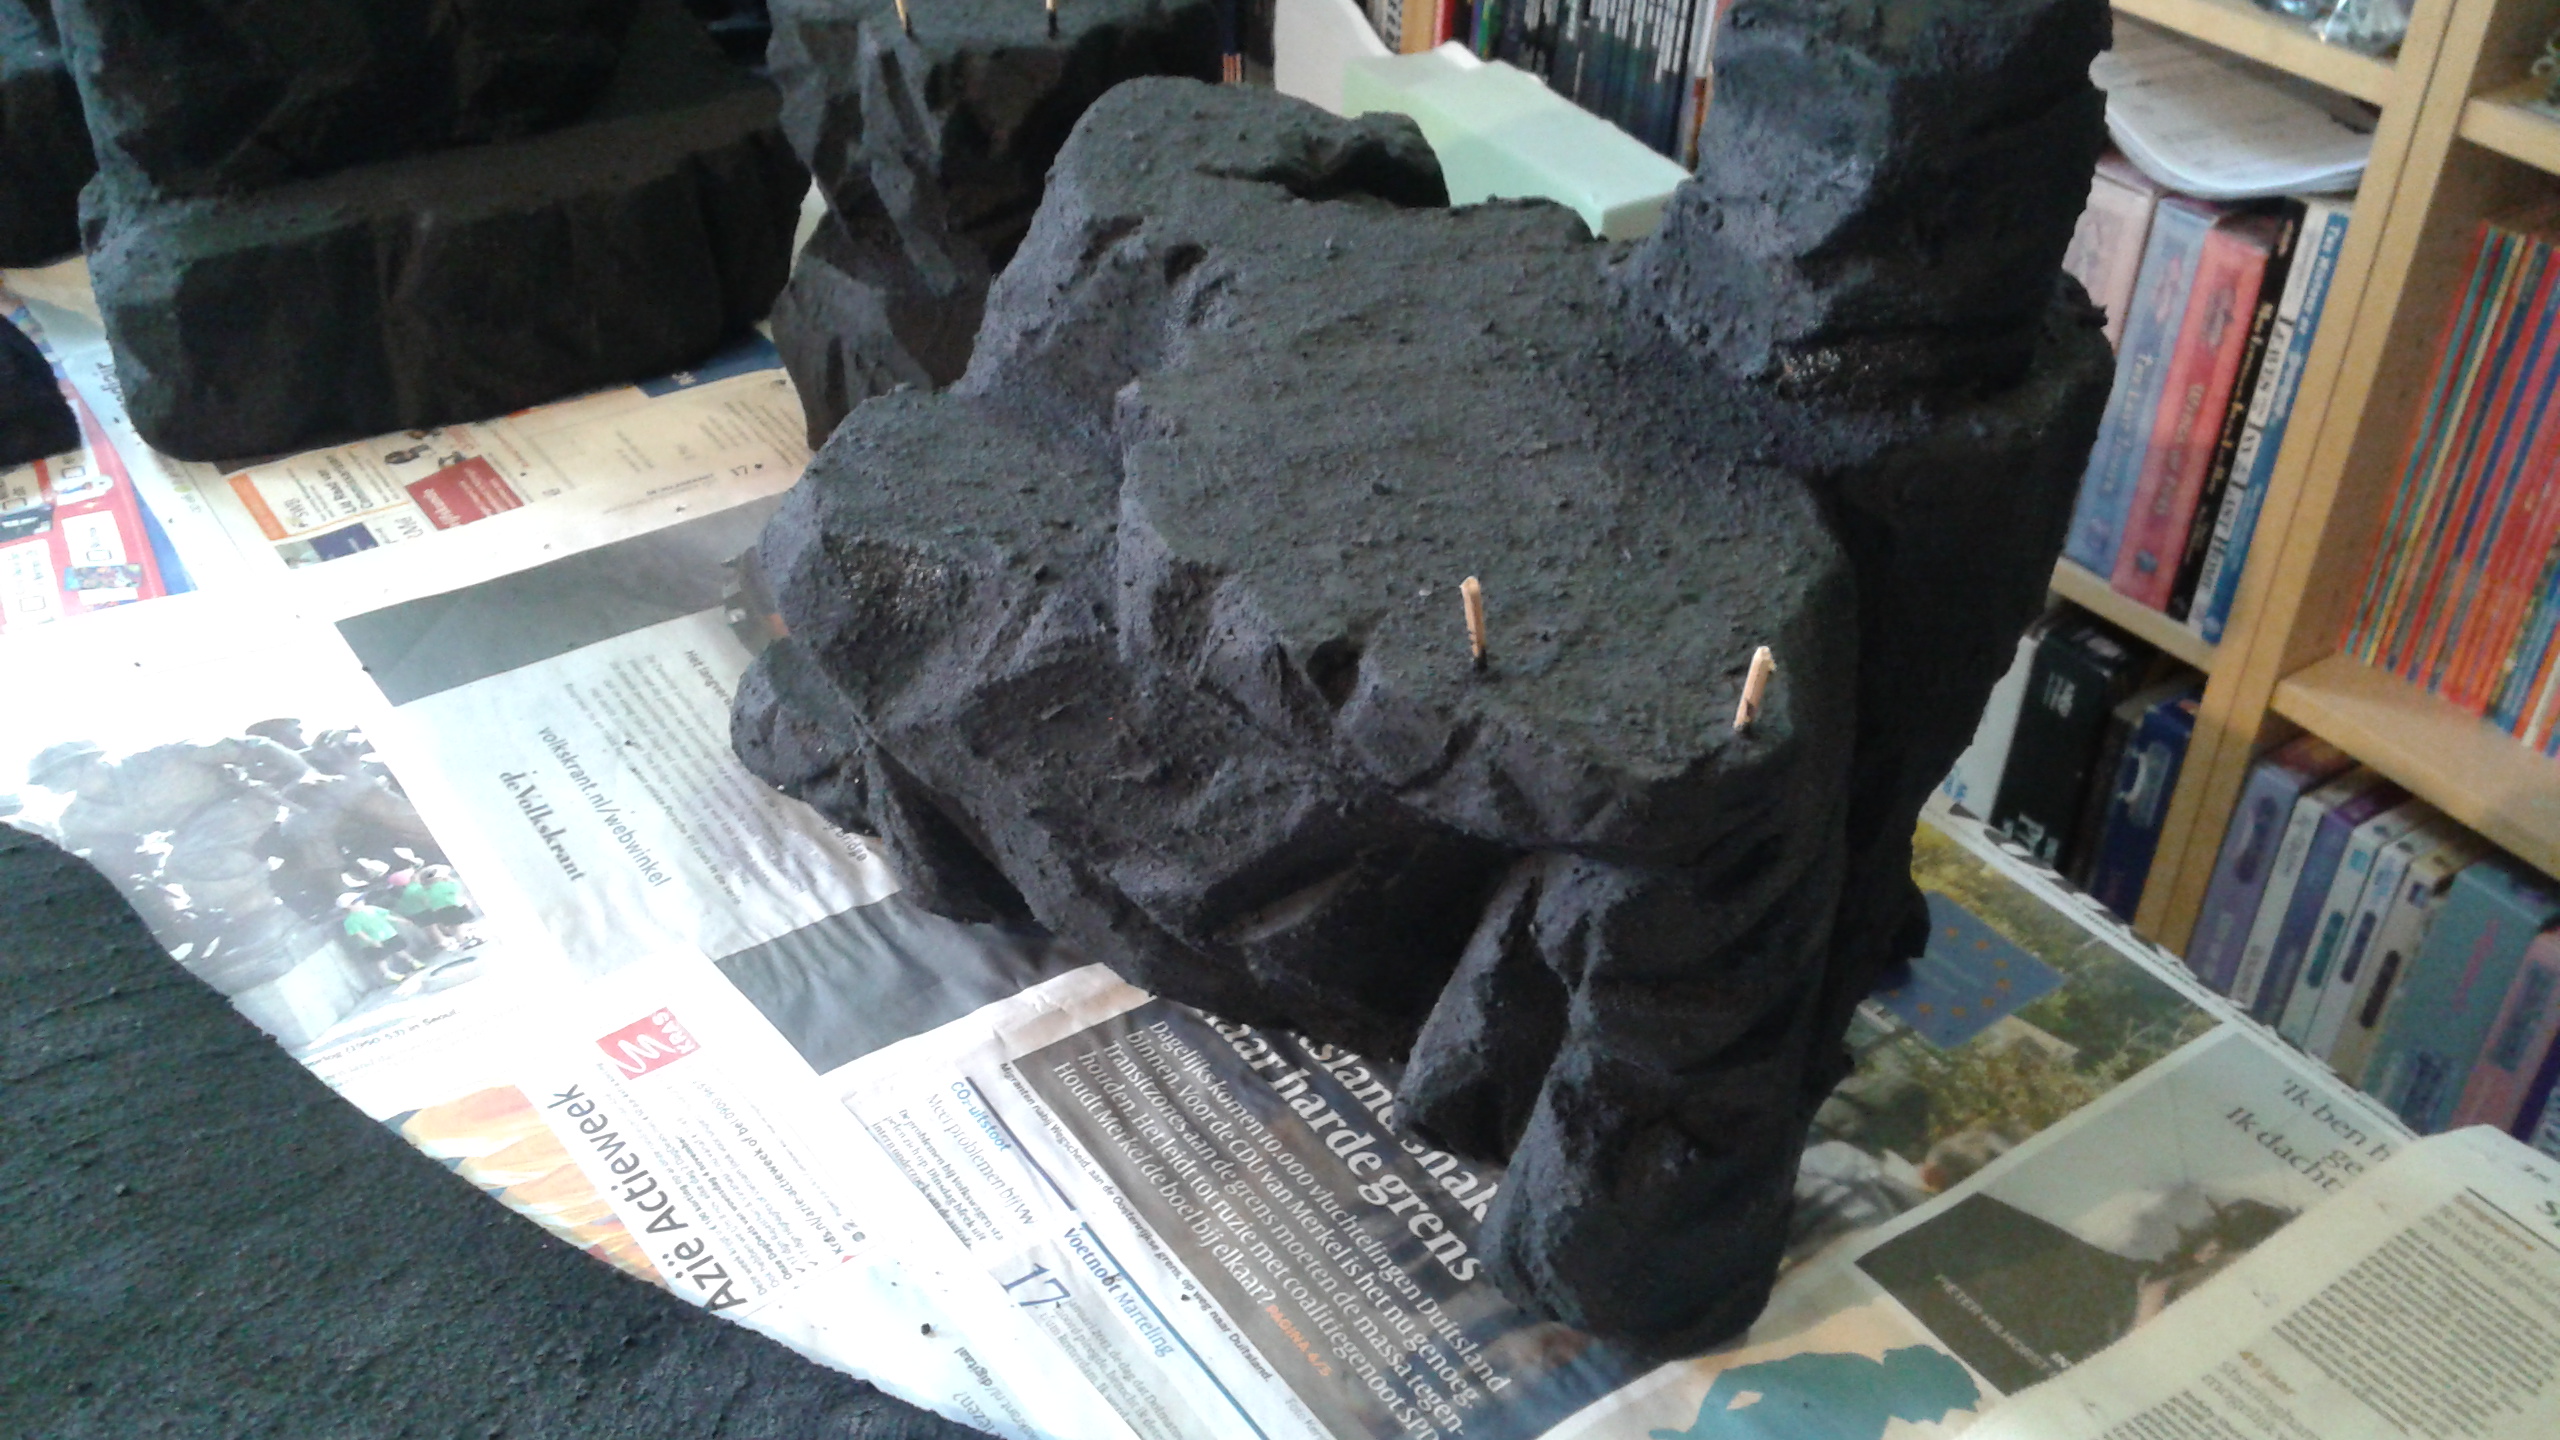
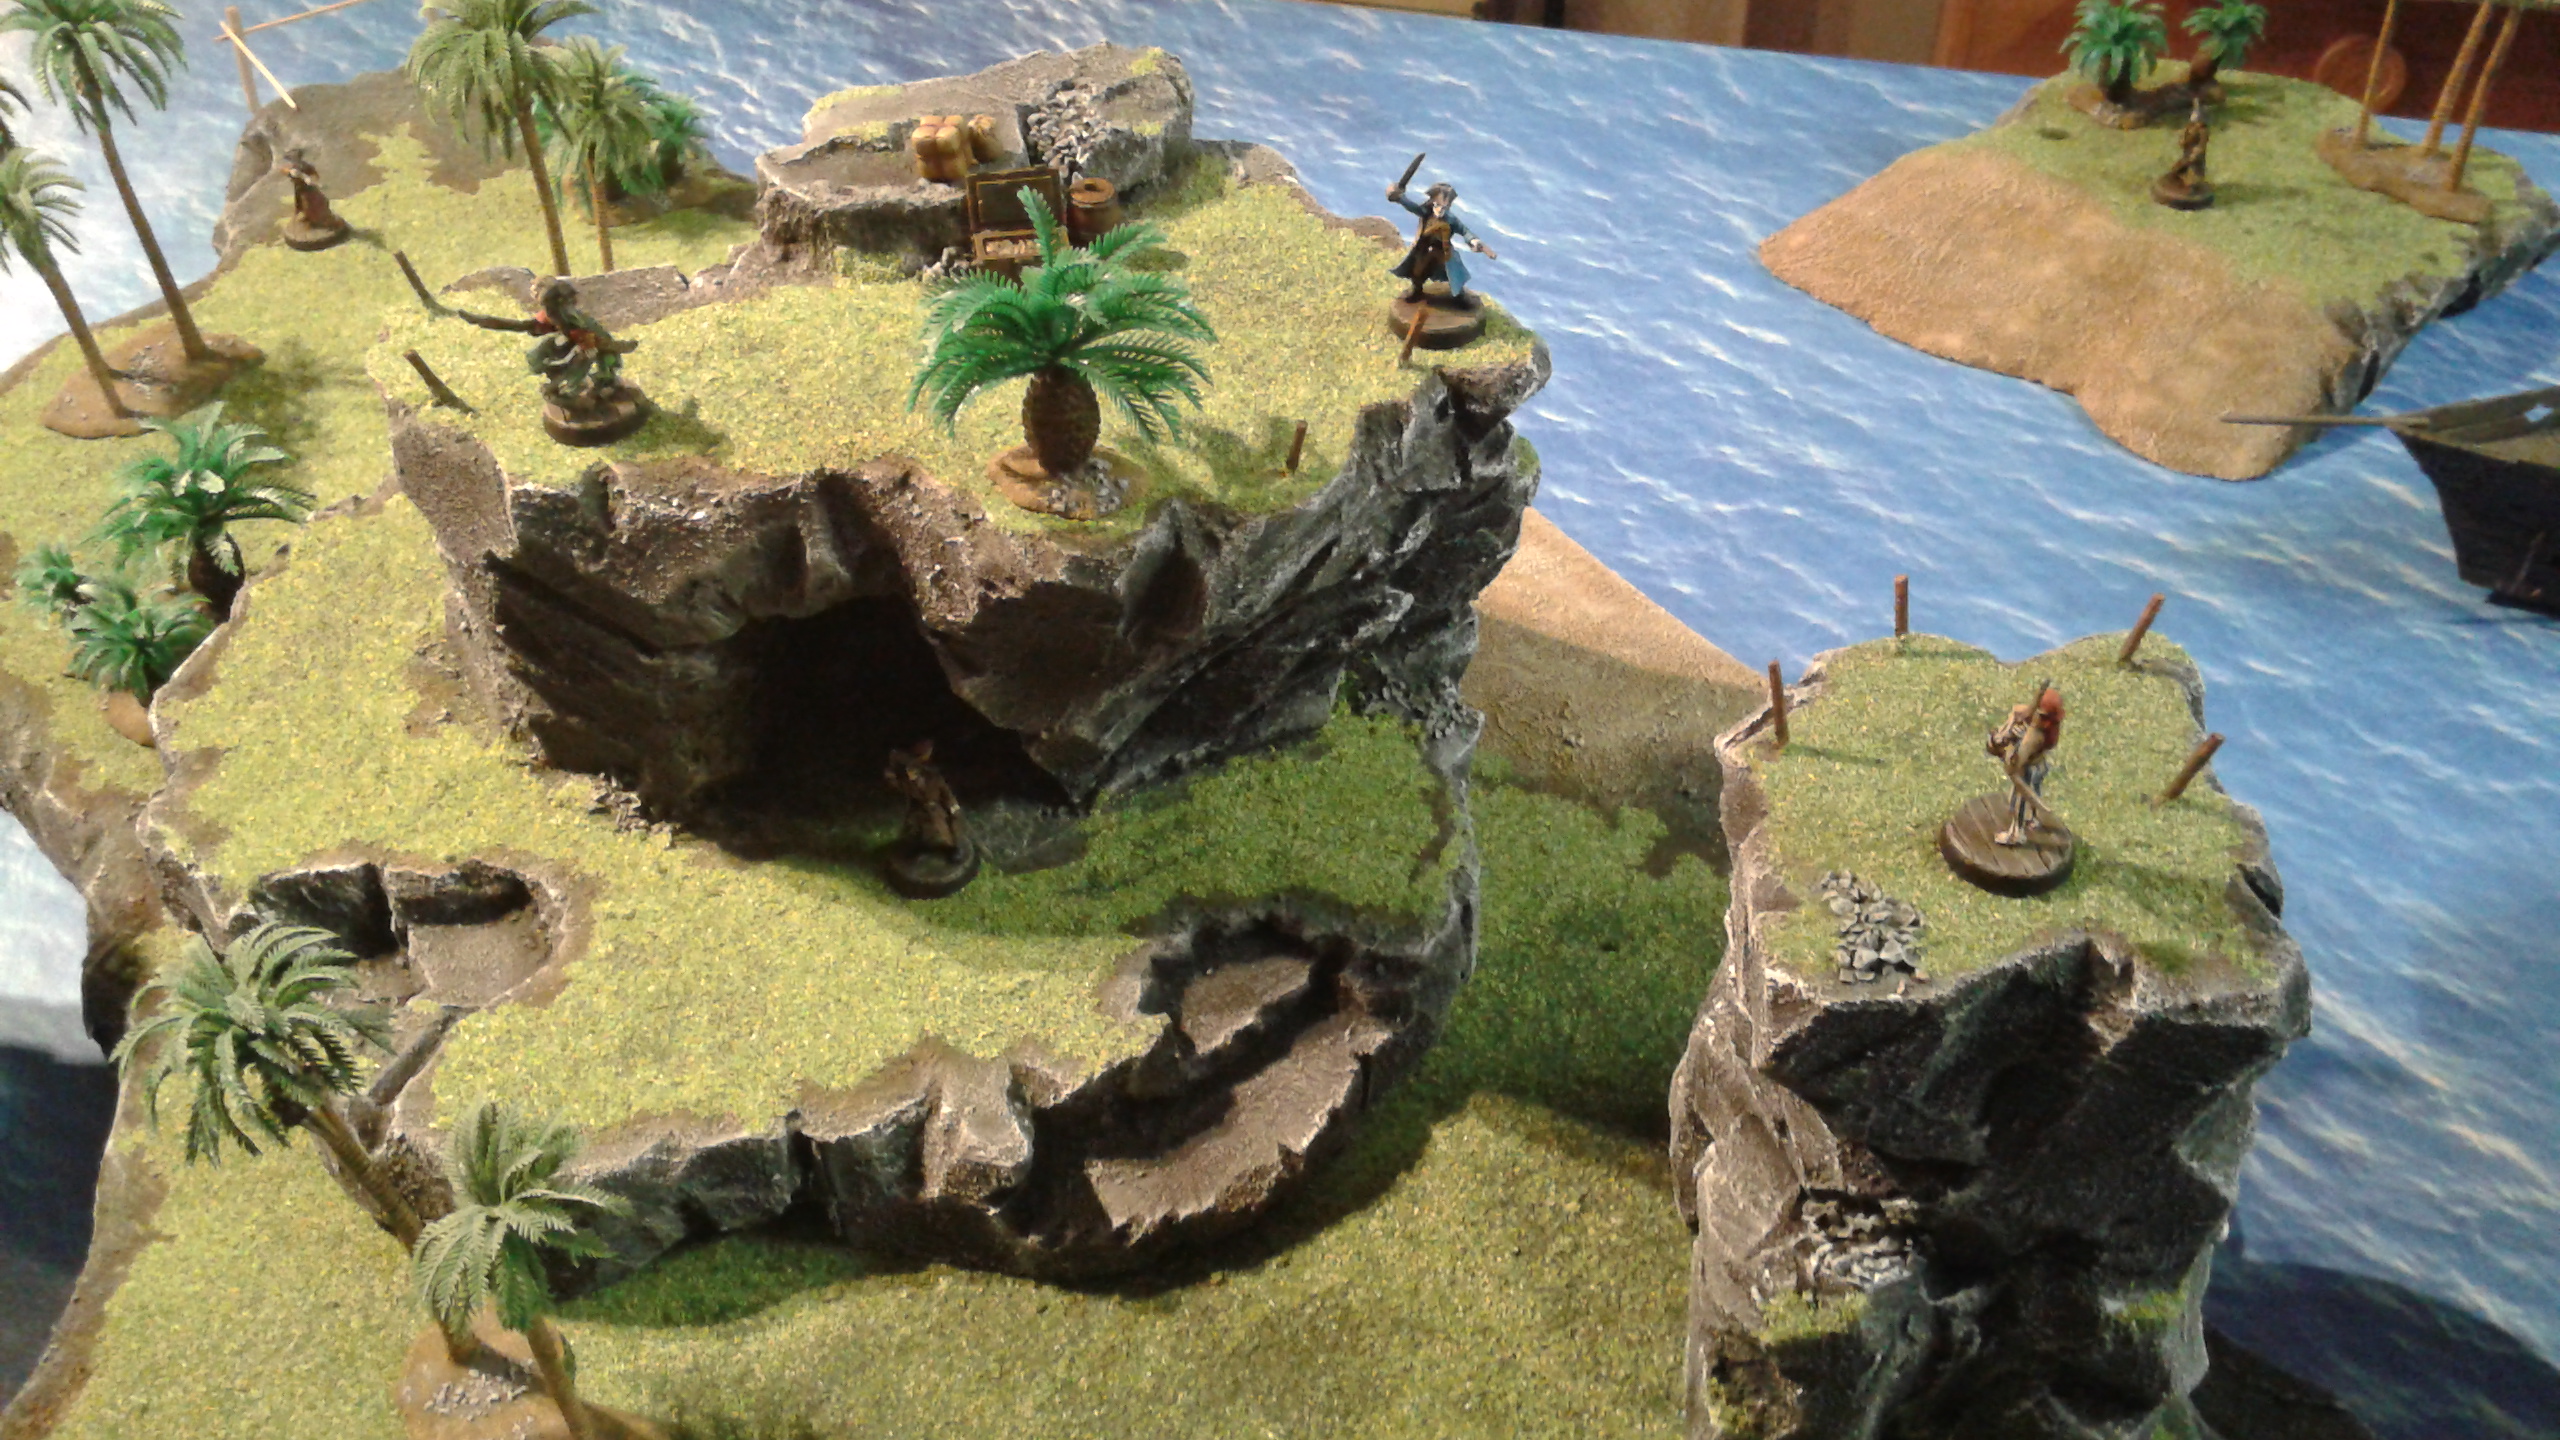
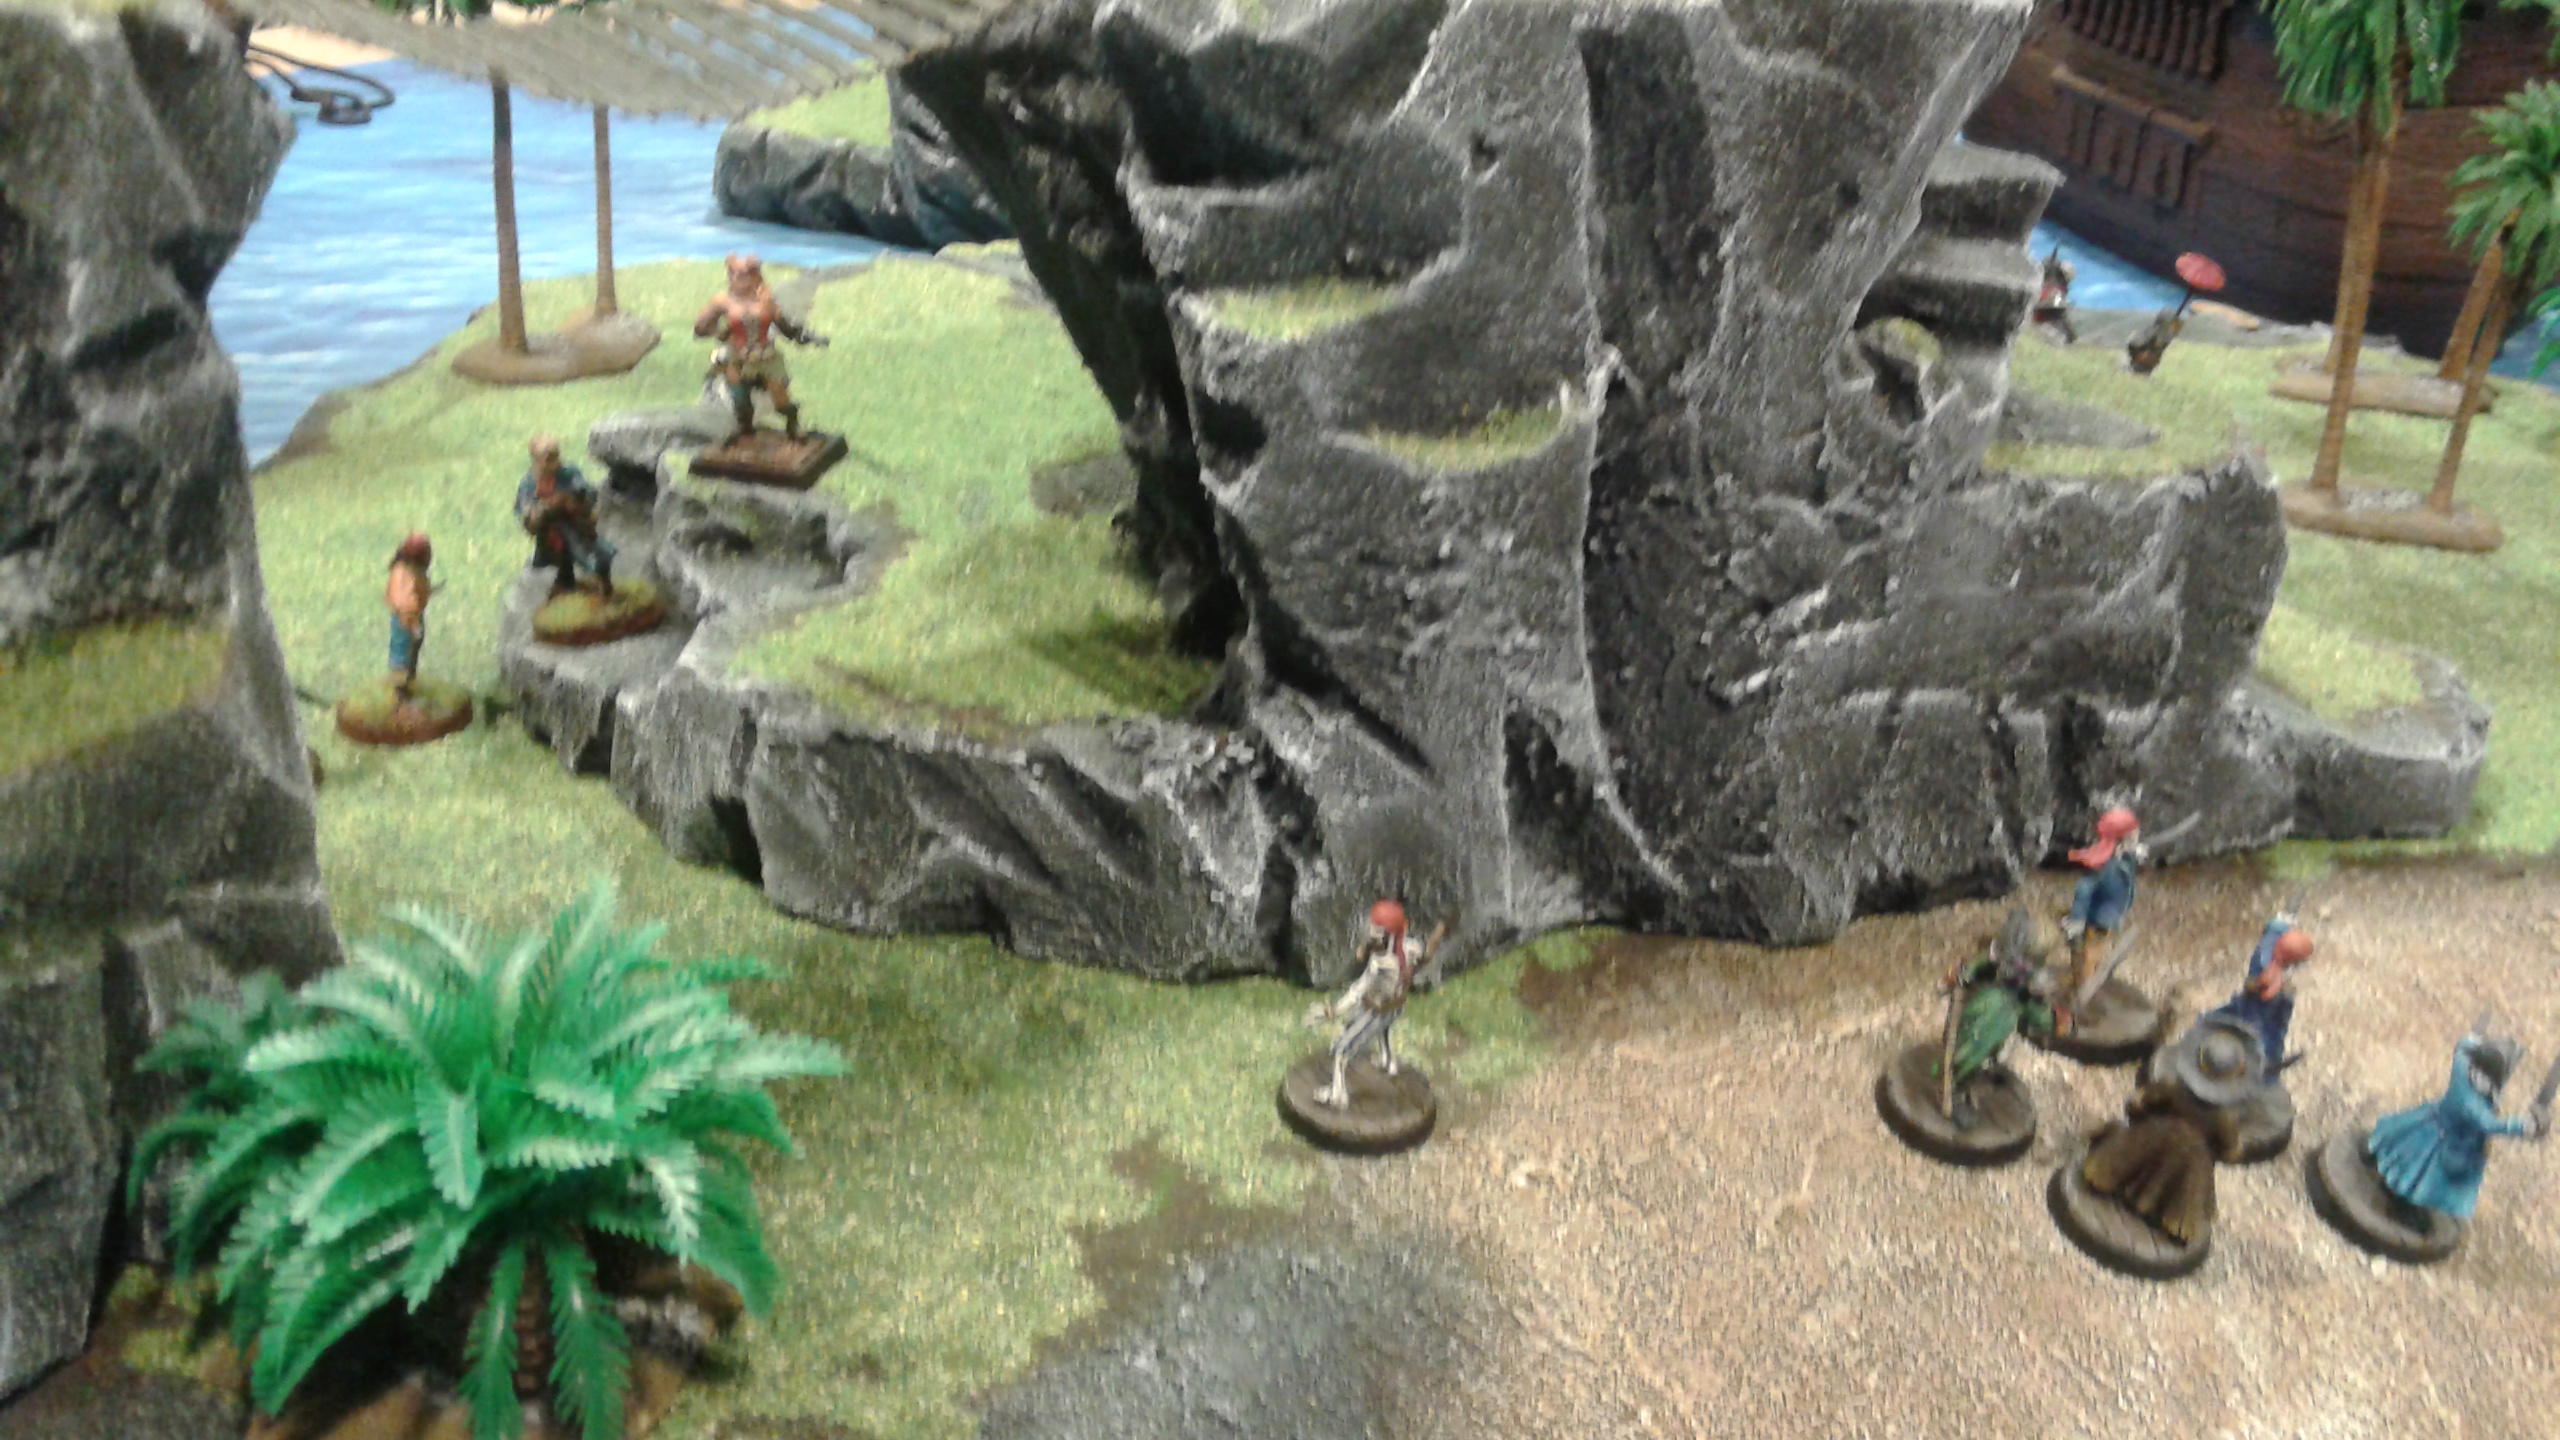
I first followed the outline all the way down so I got a rough outline before I started shaping the rocks. I also made some final decisions on where the bridges would come and started thing on how the miniatures could reach these bridges. In order to move the miniatures around while steadily ‘climbing’ the cliffs I made steps that are large enough for the round bases. It’s not all natural looking any more, but it would make the game much easier instead of trying to balance the miniatures on rocks. It also gave the players an immediate view of where the crew could move normally while scaling the hills. As I said, this process was somewhat long and daunting (not to mention the mess it made in the house), but in the end it all paid off and it was made easier because I had a clear idea of what the end result should be and how I wanted to achieve that. Planning in advance usually works out well.
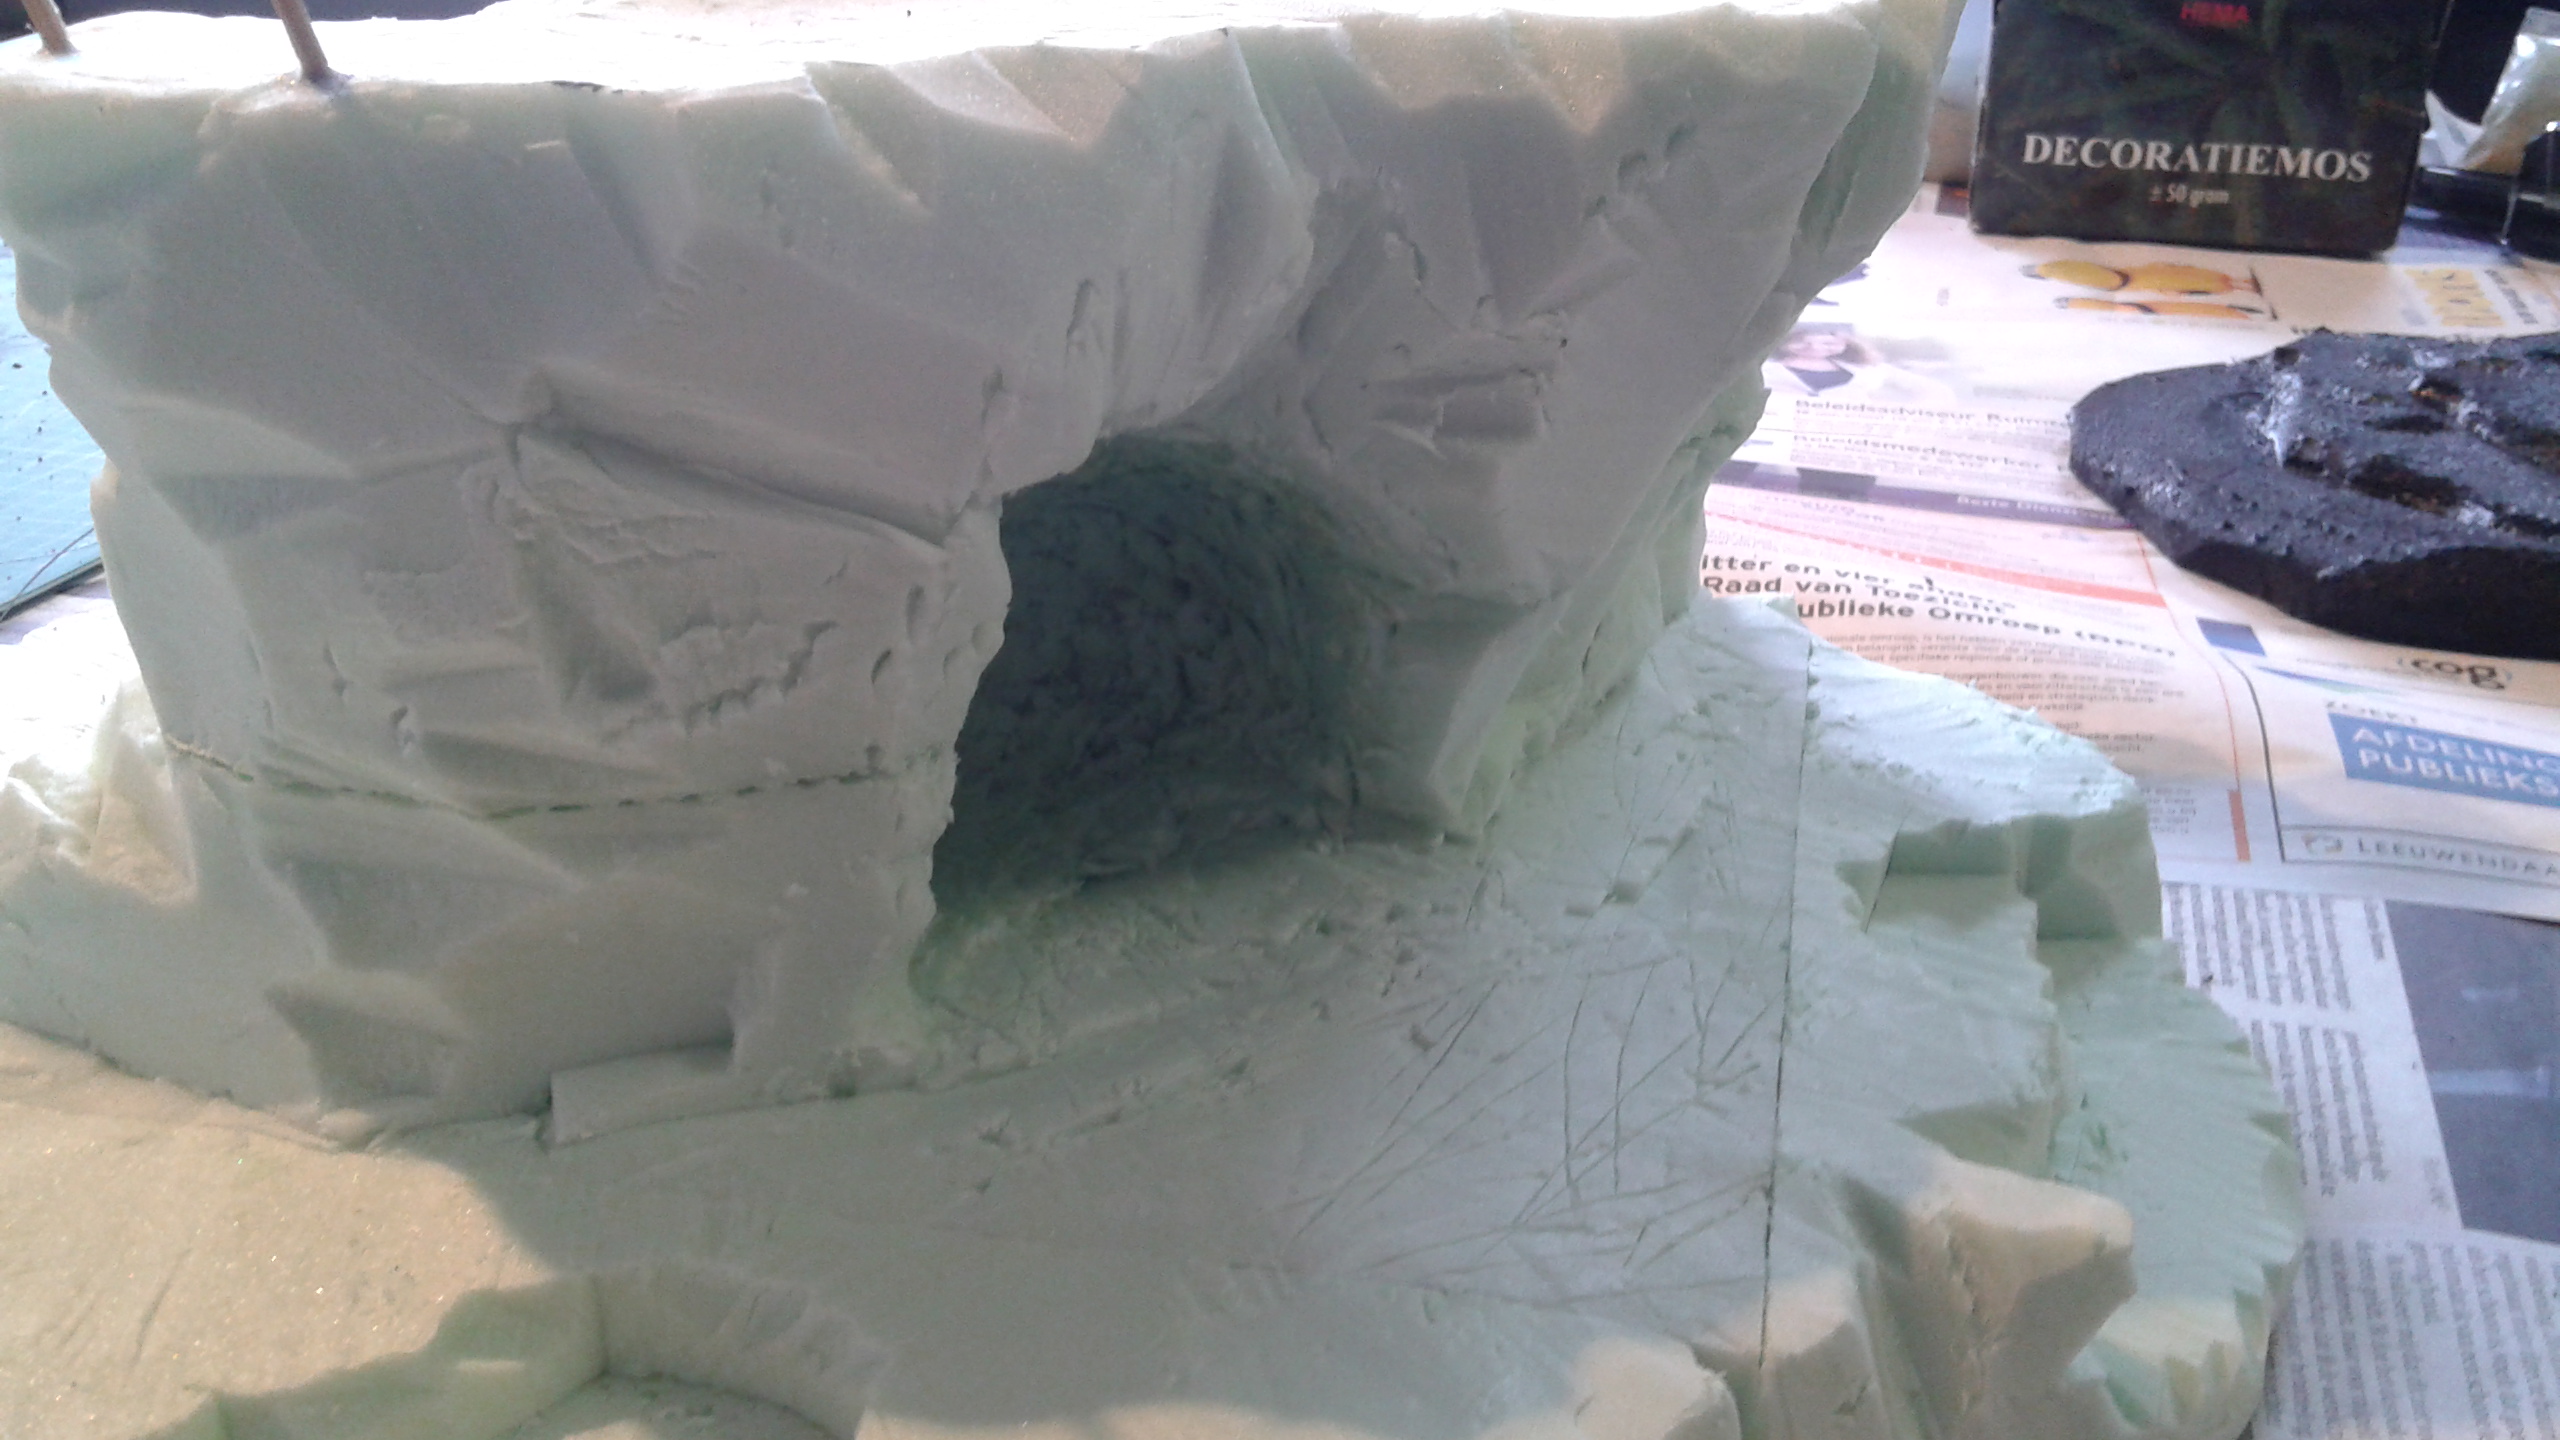
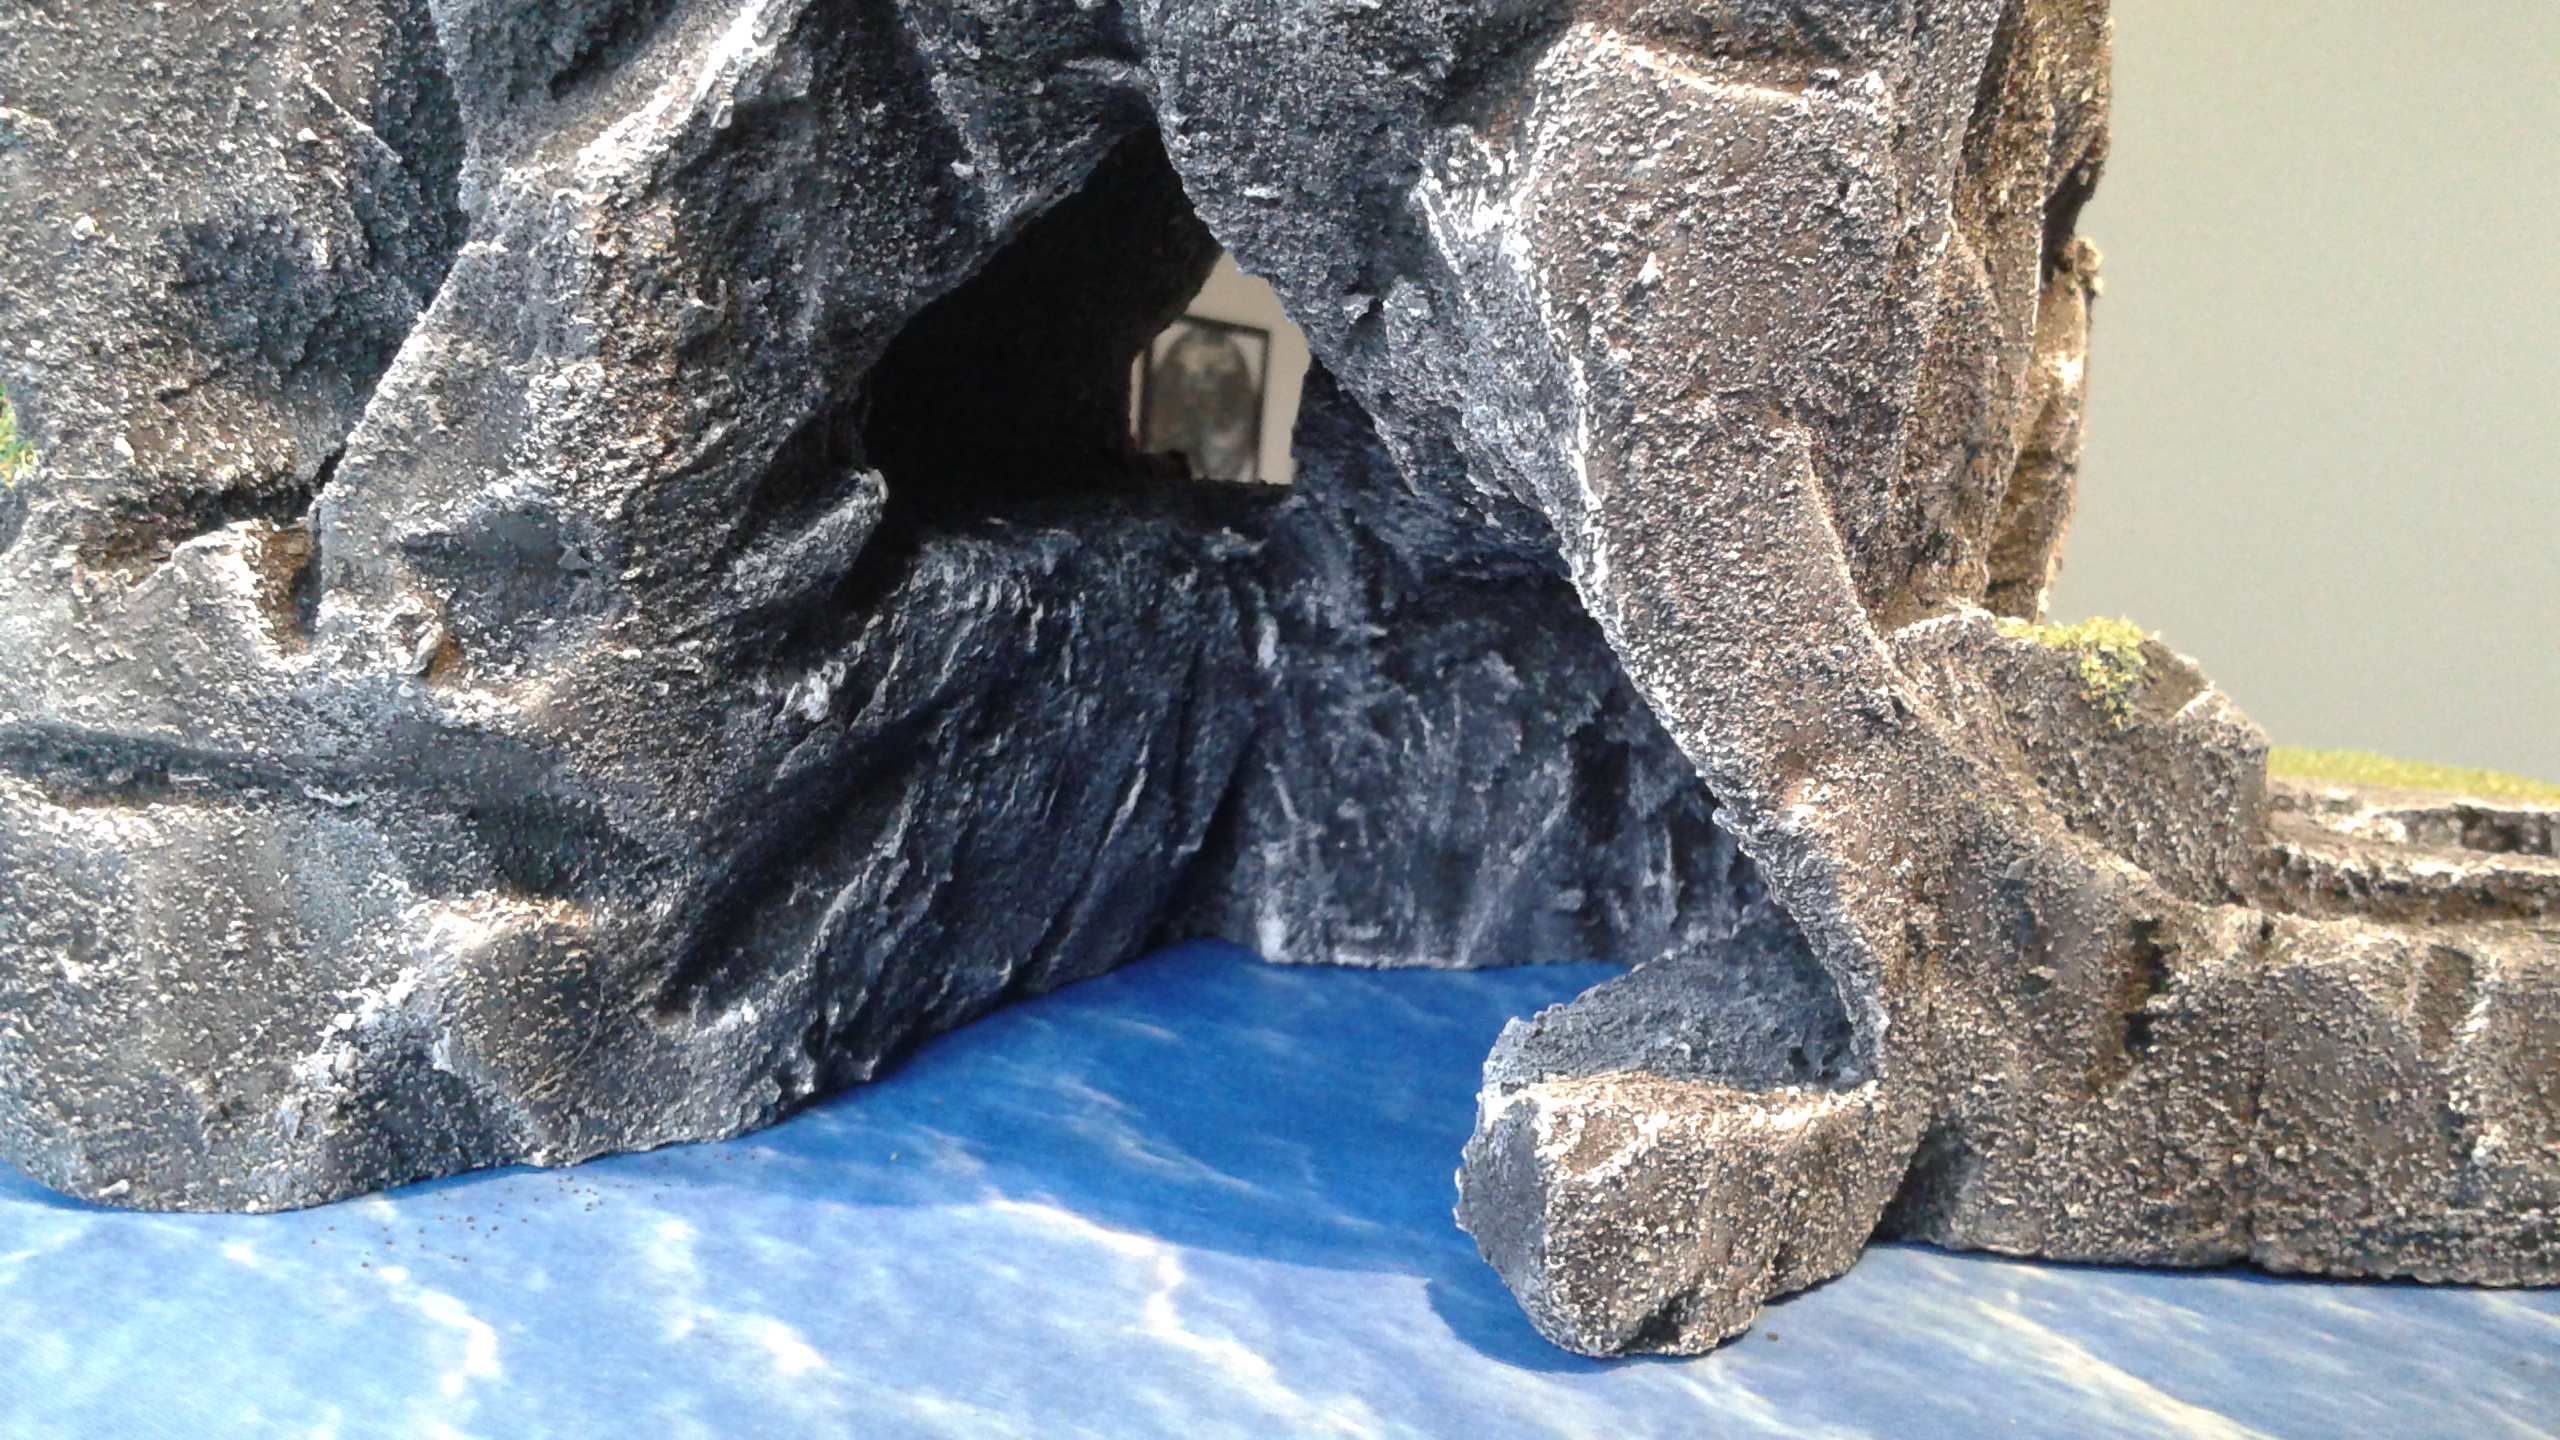
I also made some caves in several of the islands. I simply drew an outline on a cliff wall and merrily started hacking away.
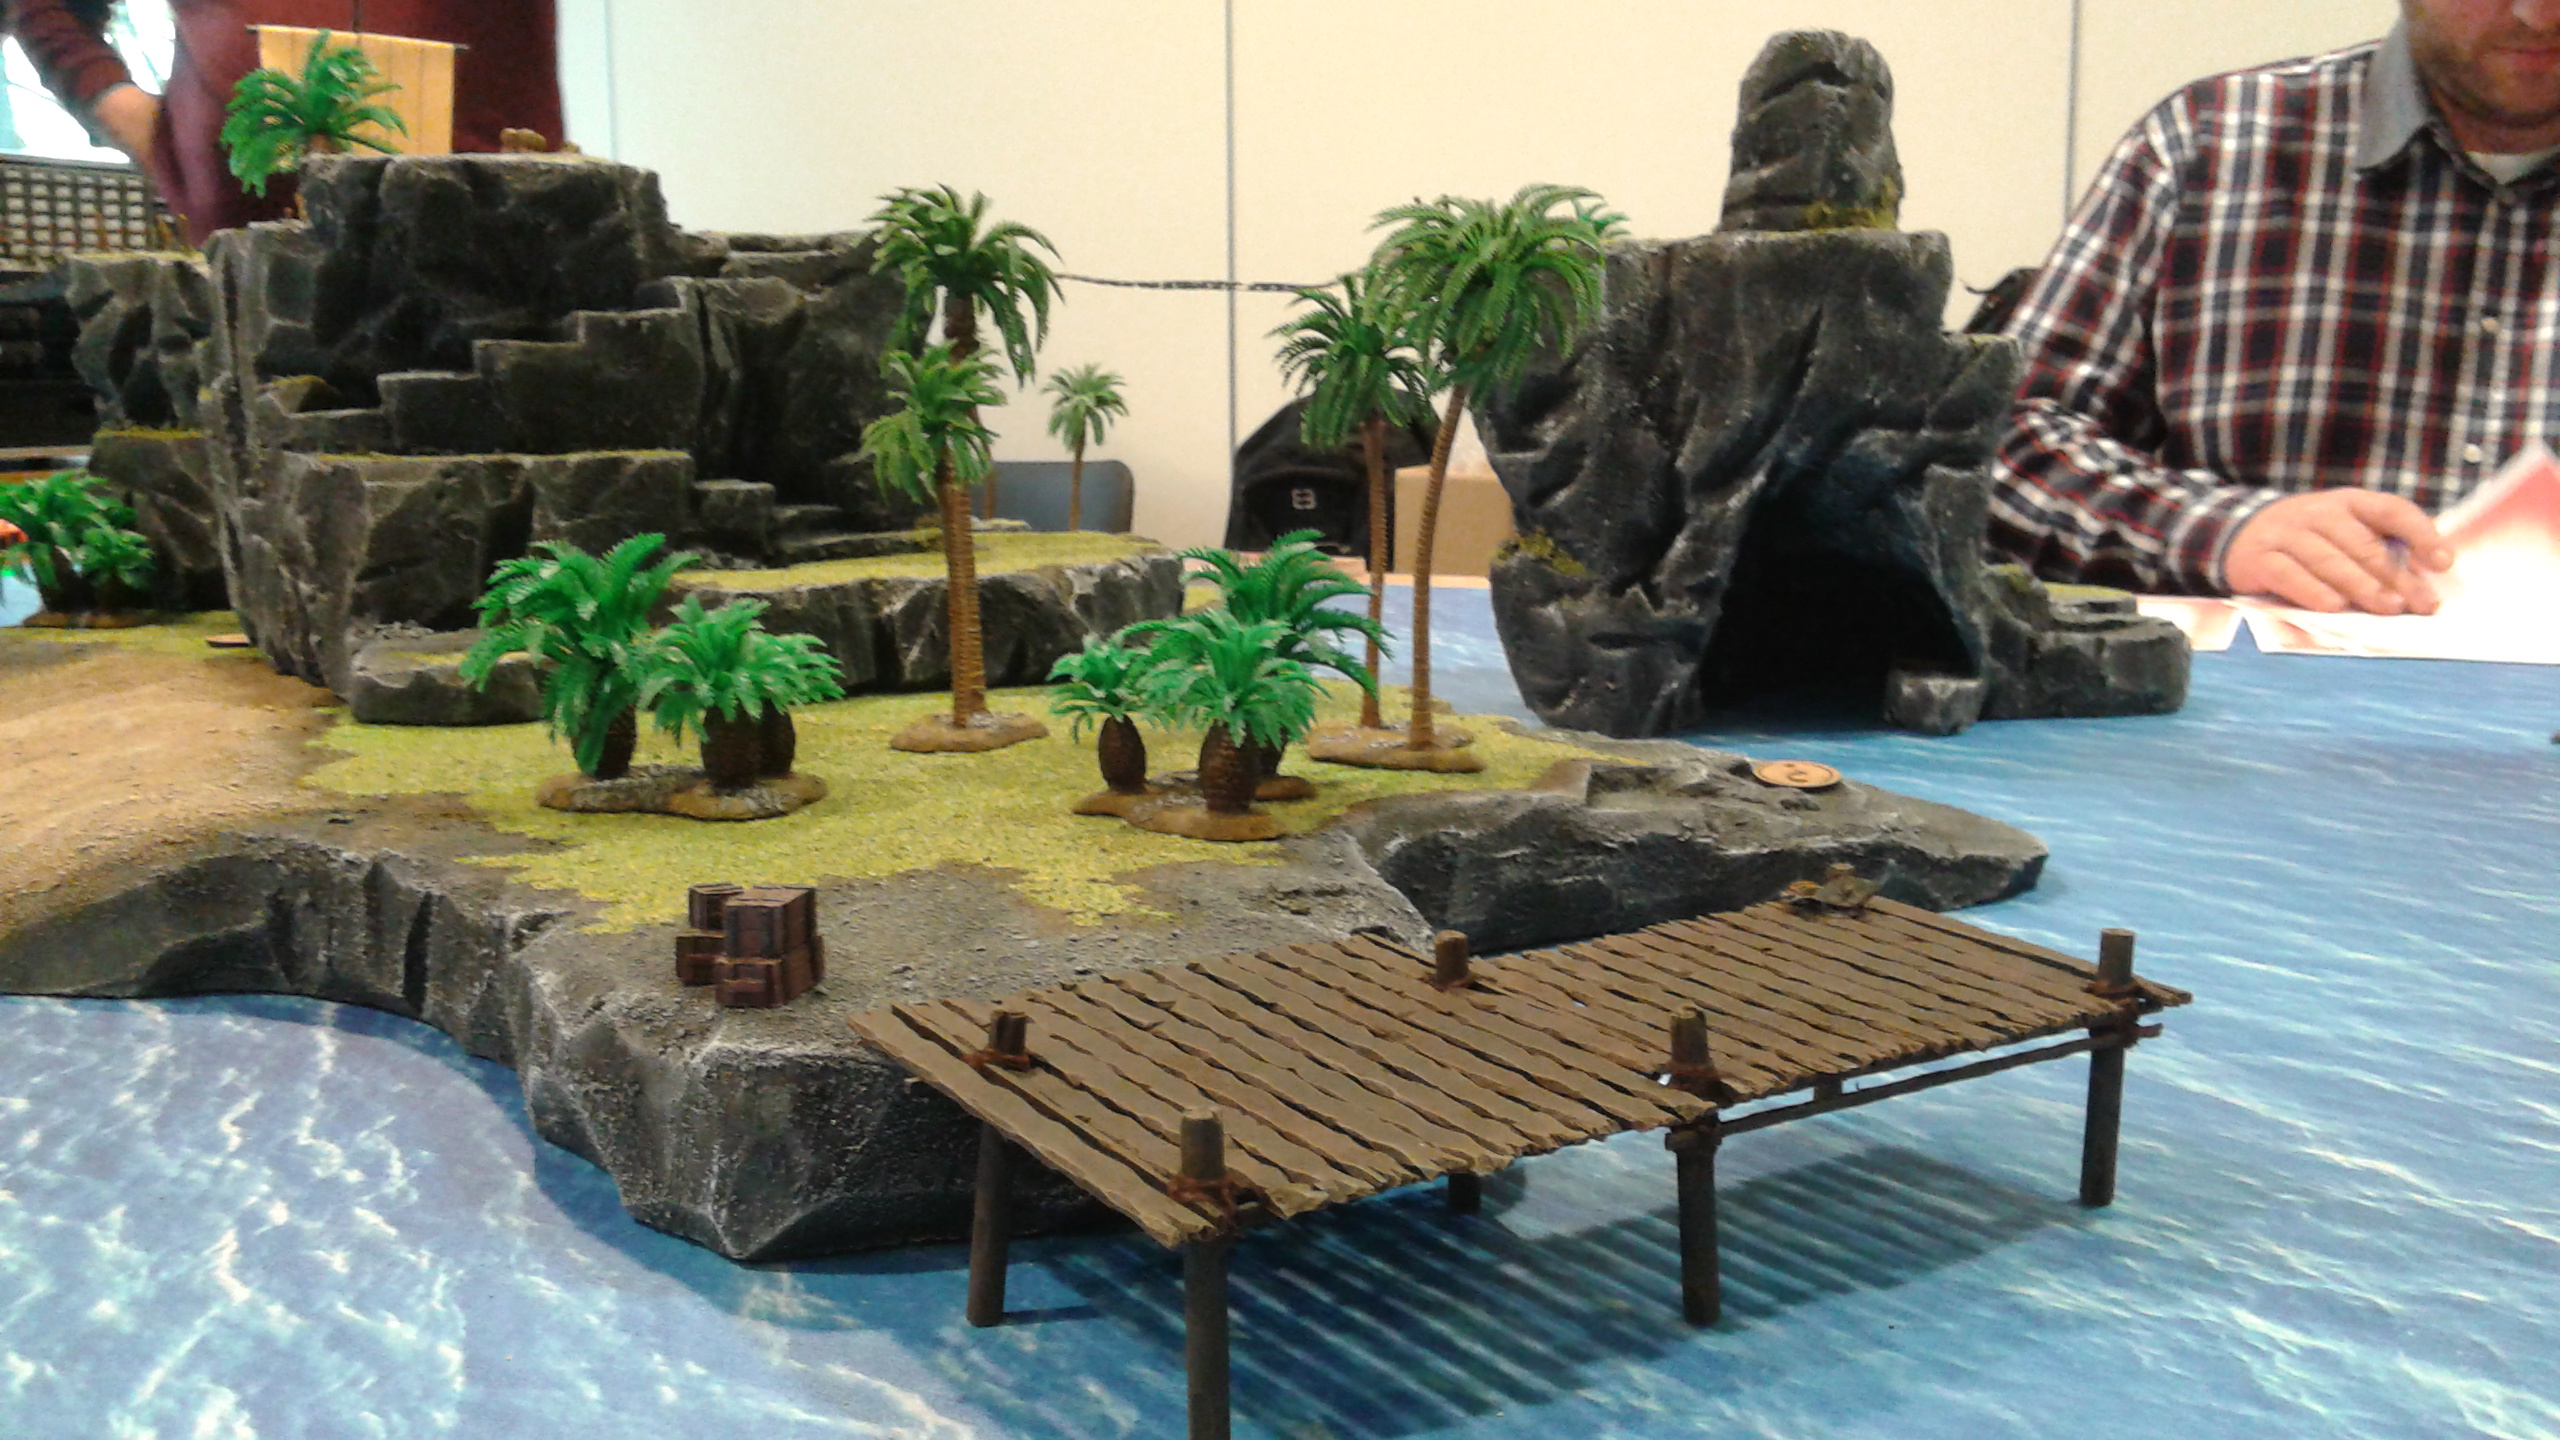
The tops of the cliffs and such are kept as flat as possible. This is also so that the models can easily be moved around. Extra scenery would be added later on (such as trees) so that these flat surfaces would not be too boring.
As you can see I added some wooden sticks where the ropes of the bridges could later on be attached. In order to move all the pieces from my house to the club it all had to be able to come apart and transported in parts. I added these sticks before I started to paint the ail ands so that they would be nicely incorporated int the whole.
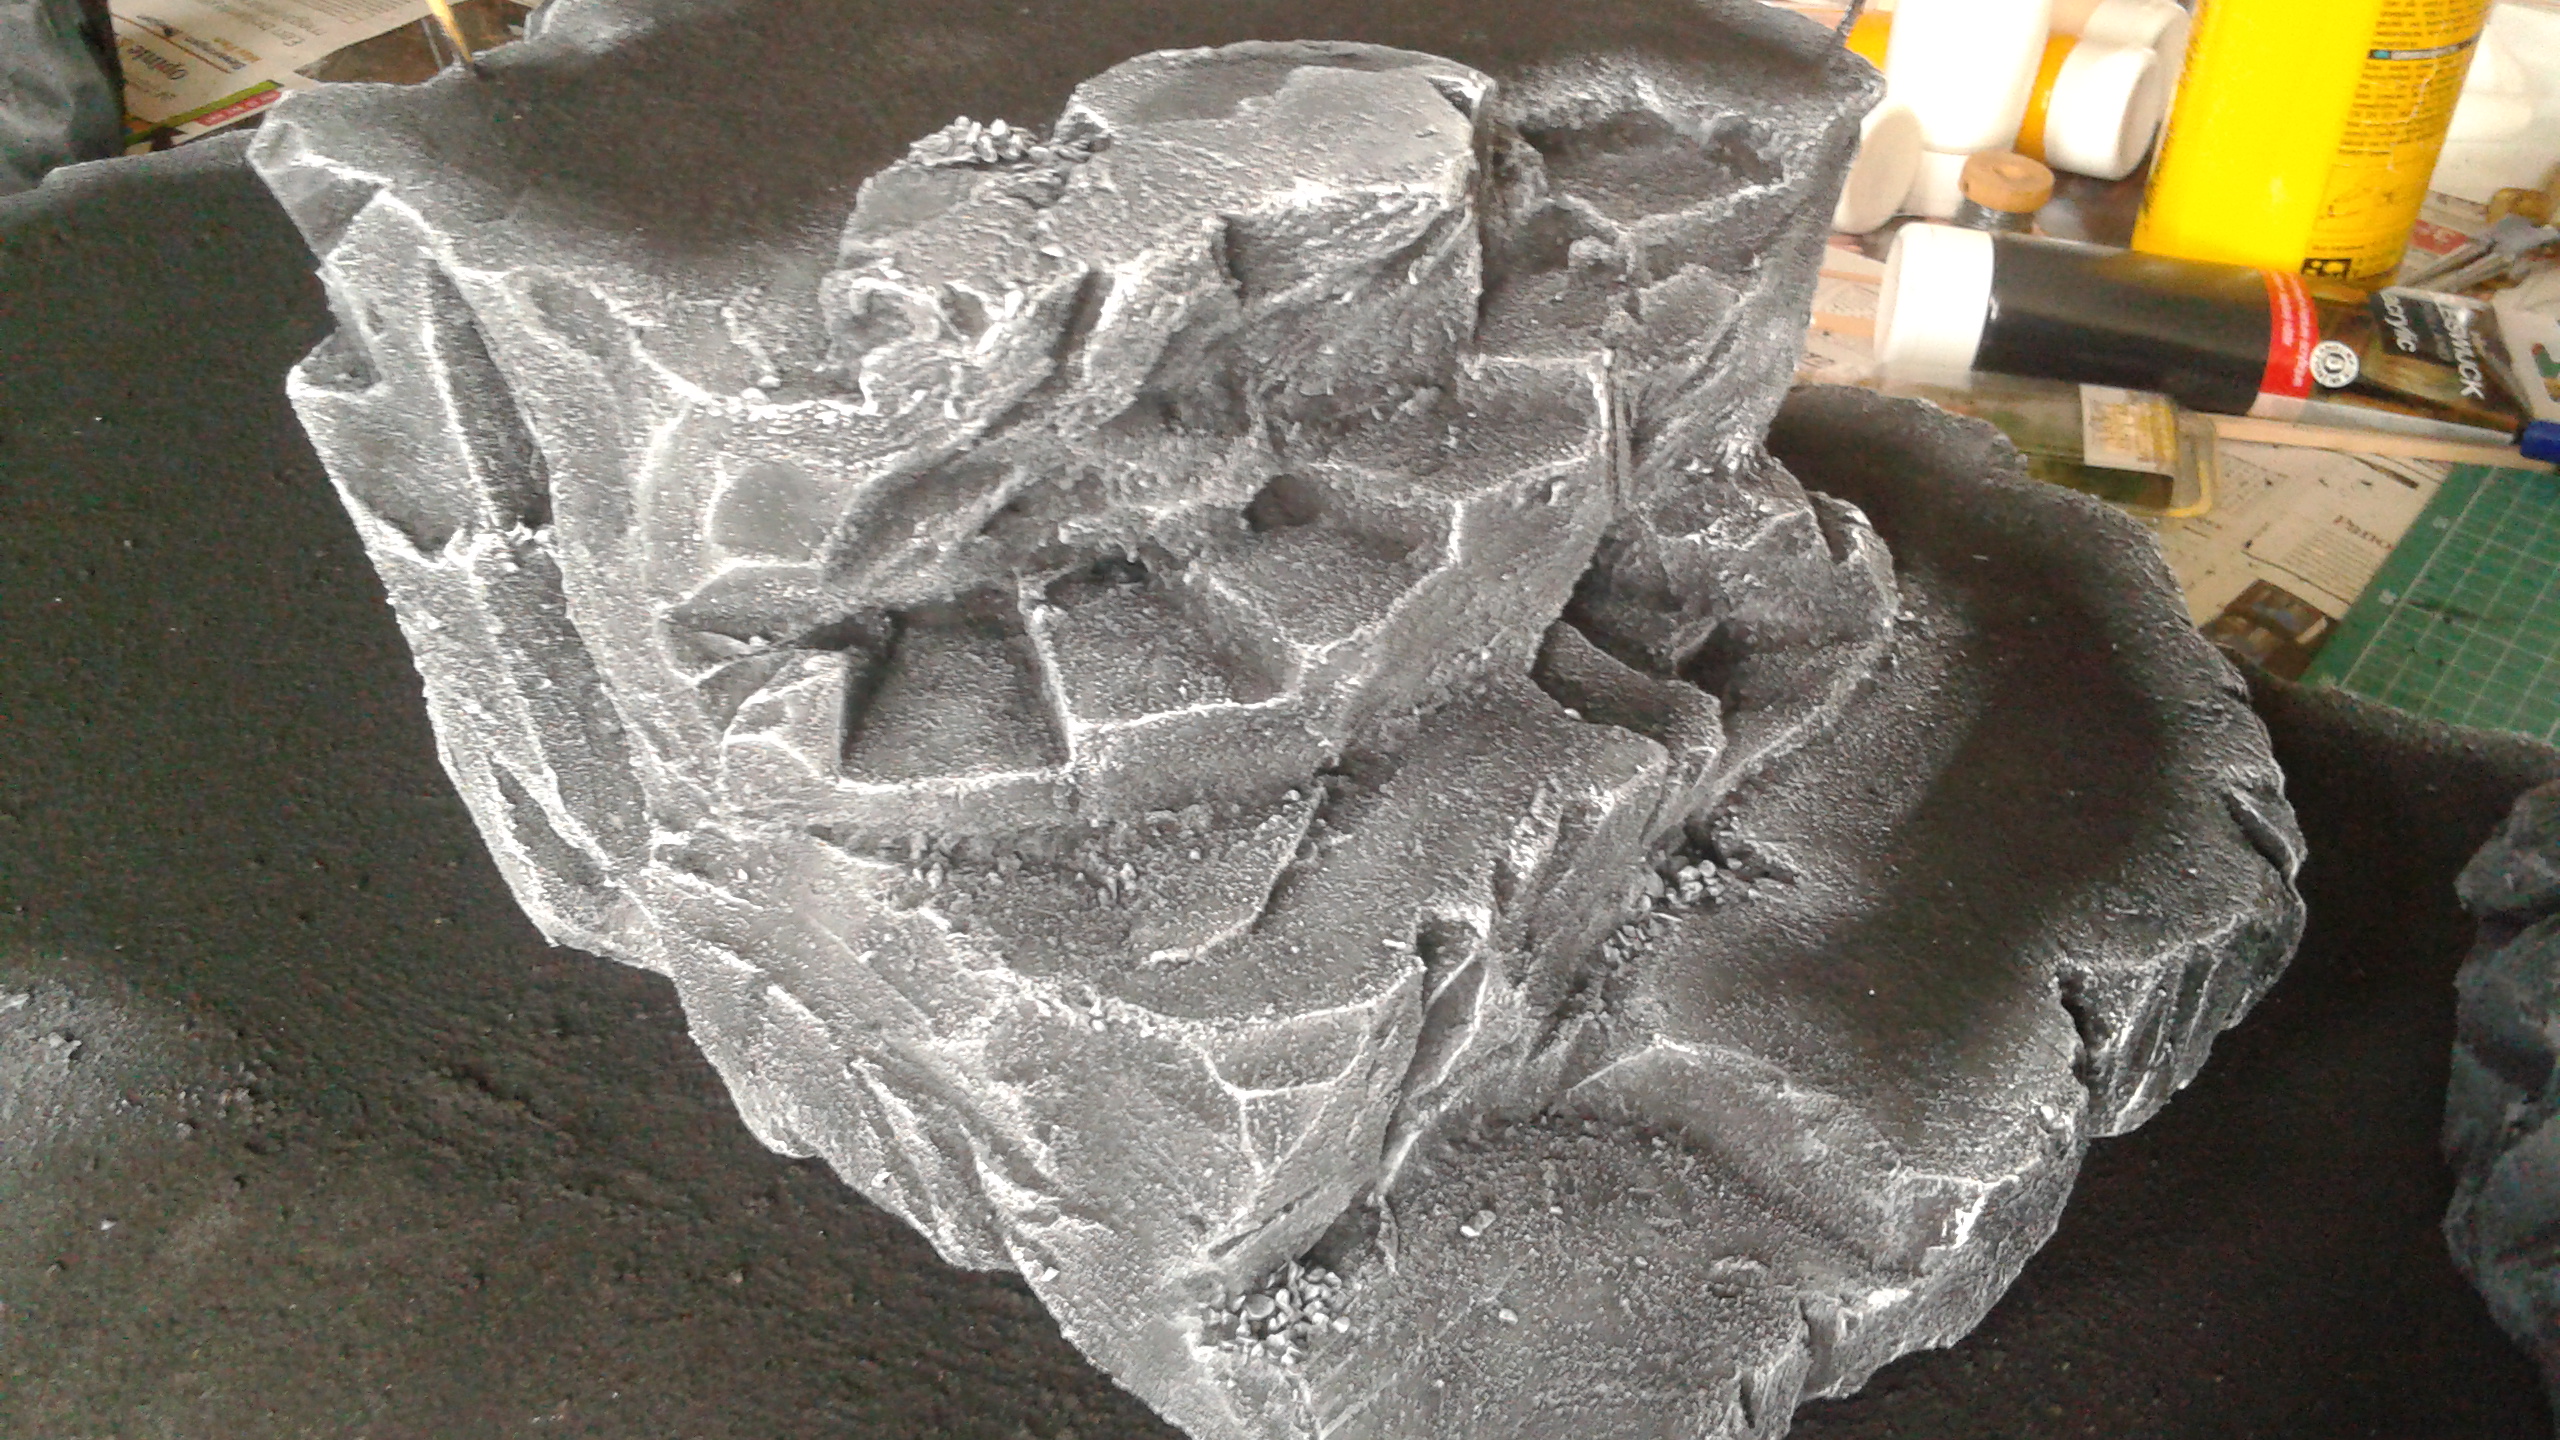
Once I was happy with the shape it was time to start painting them. As a first layer I used some cheap an simple black acrylic paint, mixed with some fine sand (the stuff used to fill the bottom parts of bird cages is ideal for this). This gives the rocks some extra texture and the mix will become a sort of paste. This helps to fill the lines between the individual blocks of foam and render these invisible. Just dab some extra paste on these lines where necessary. I gently worked around the base of the sticks for the bridges.
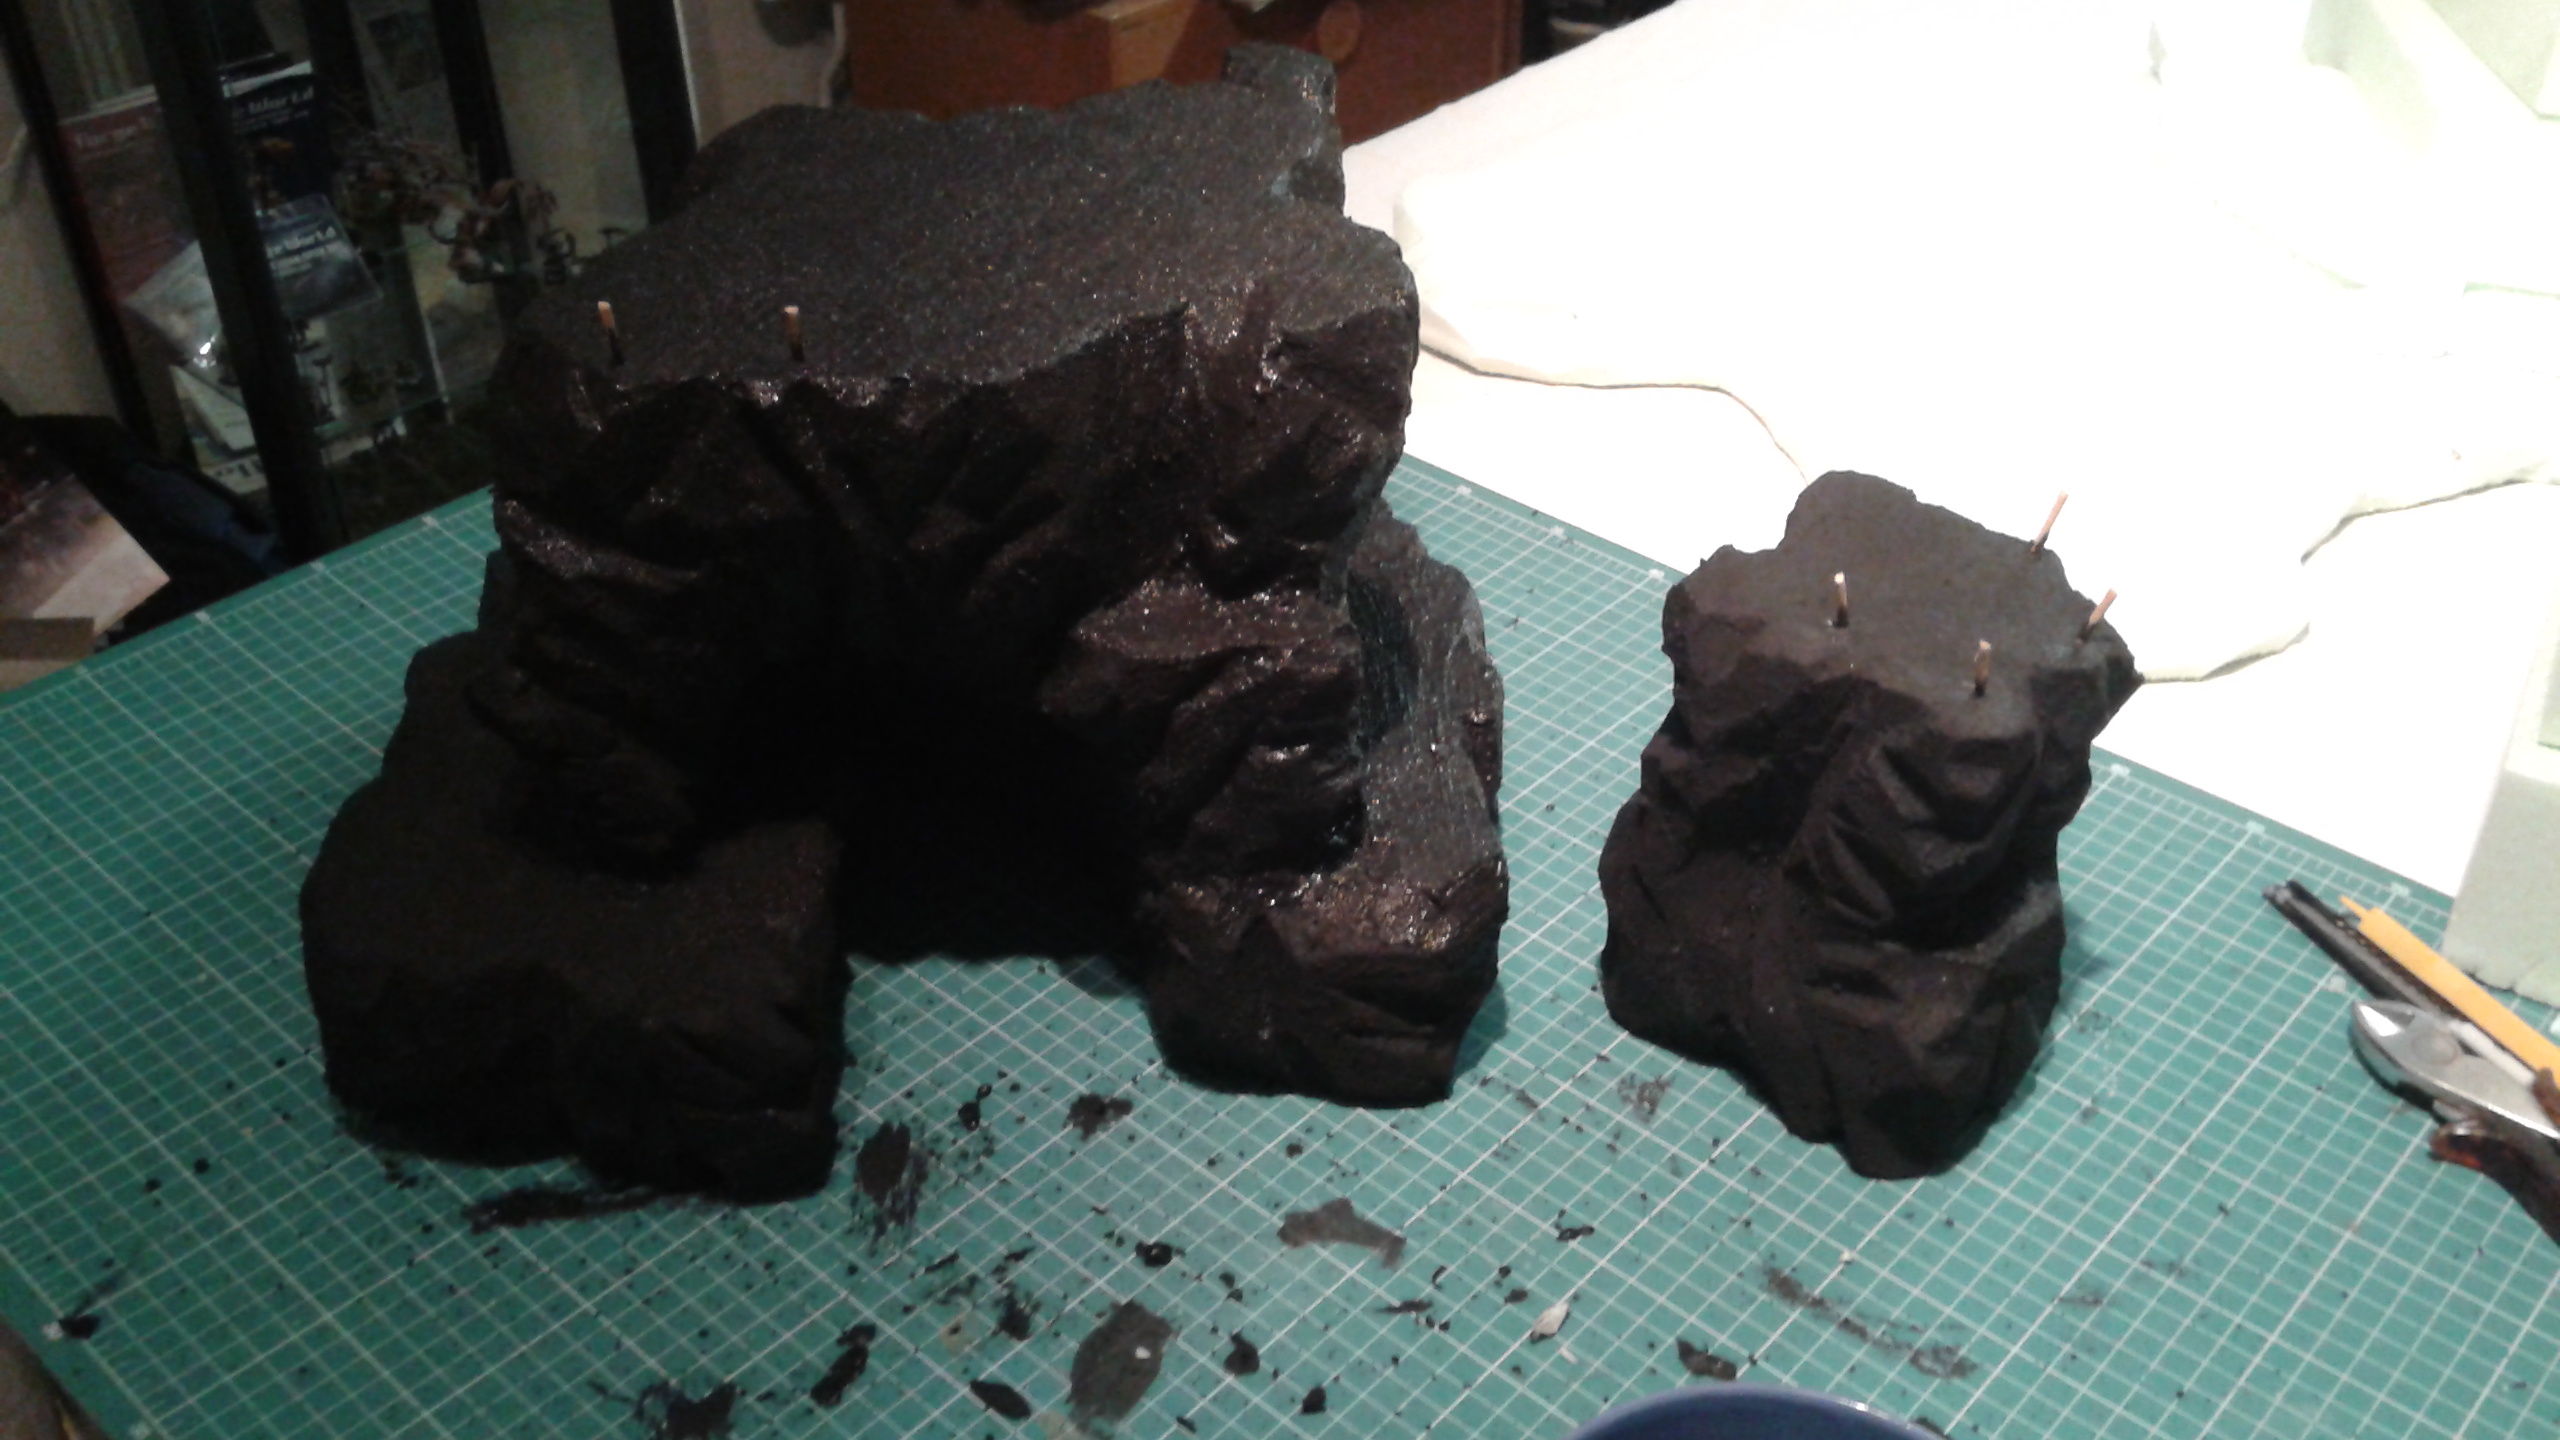
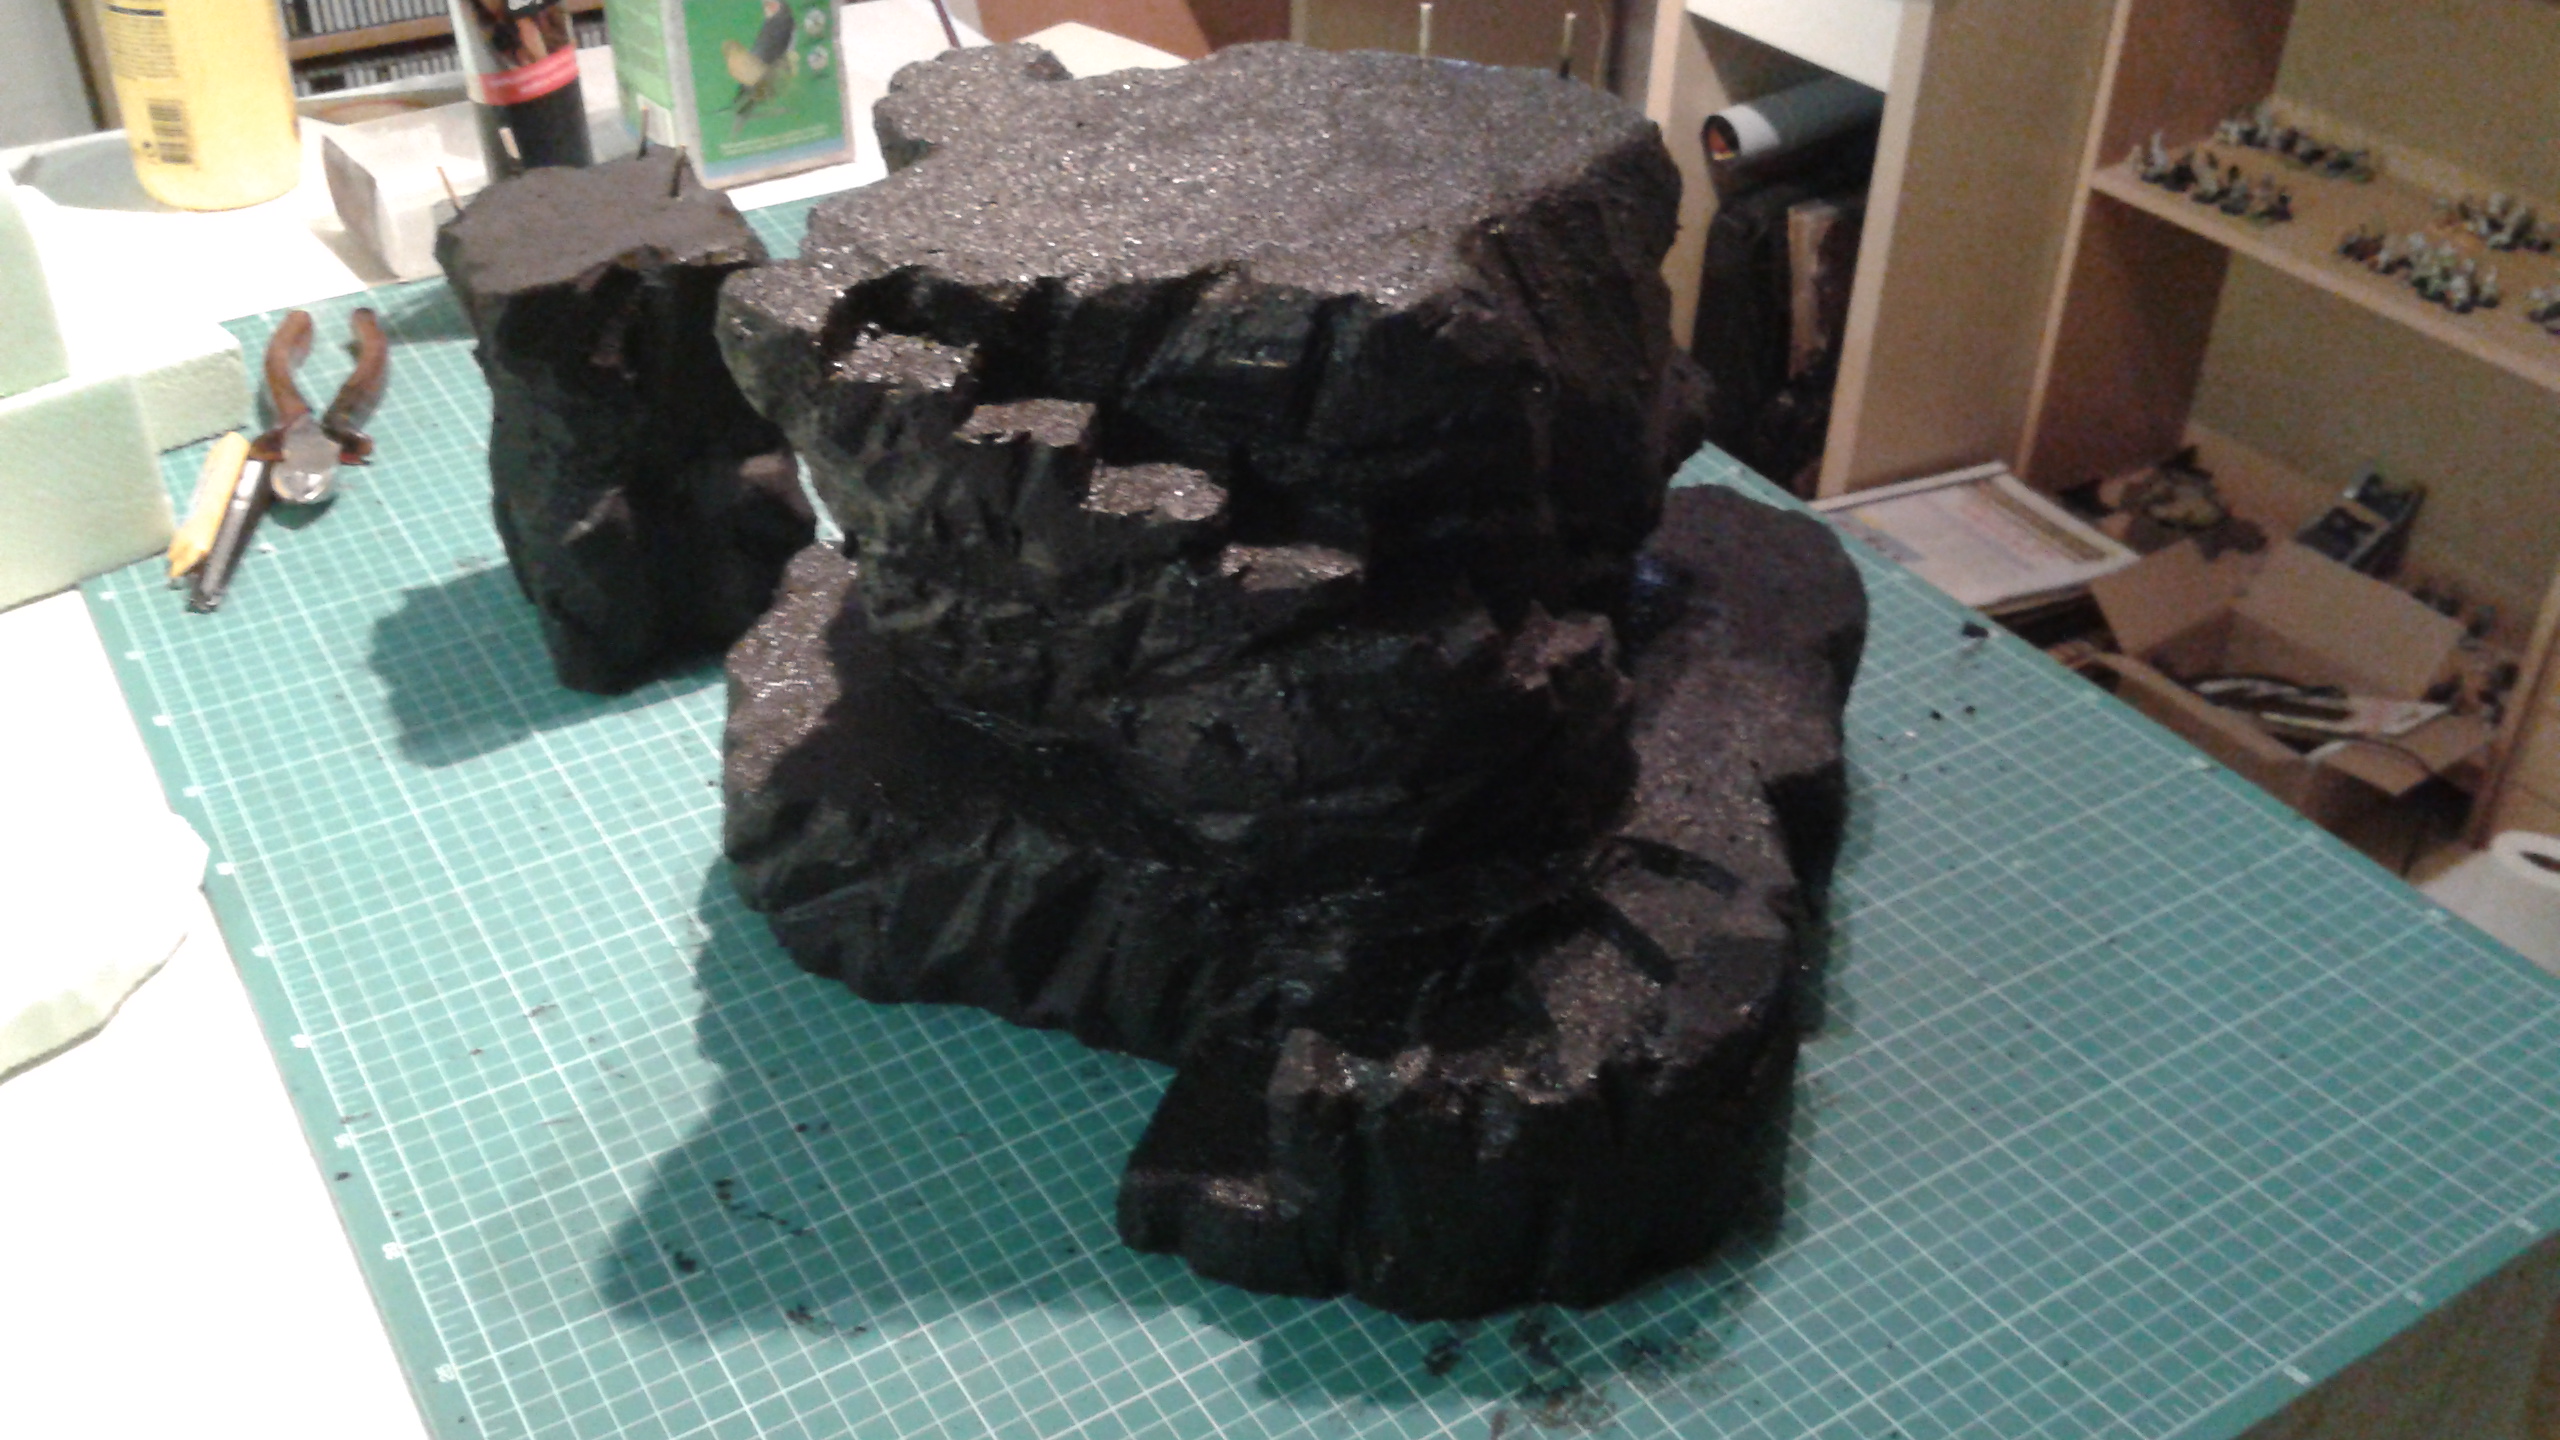
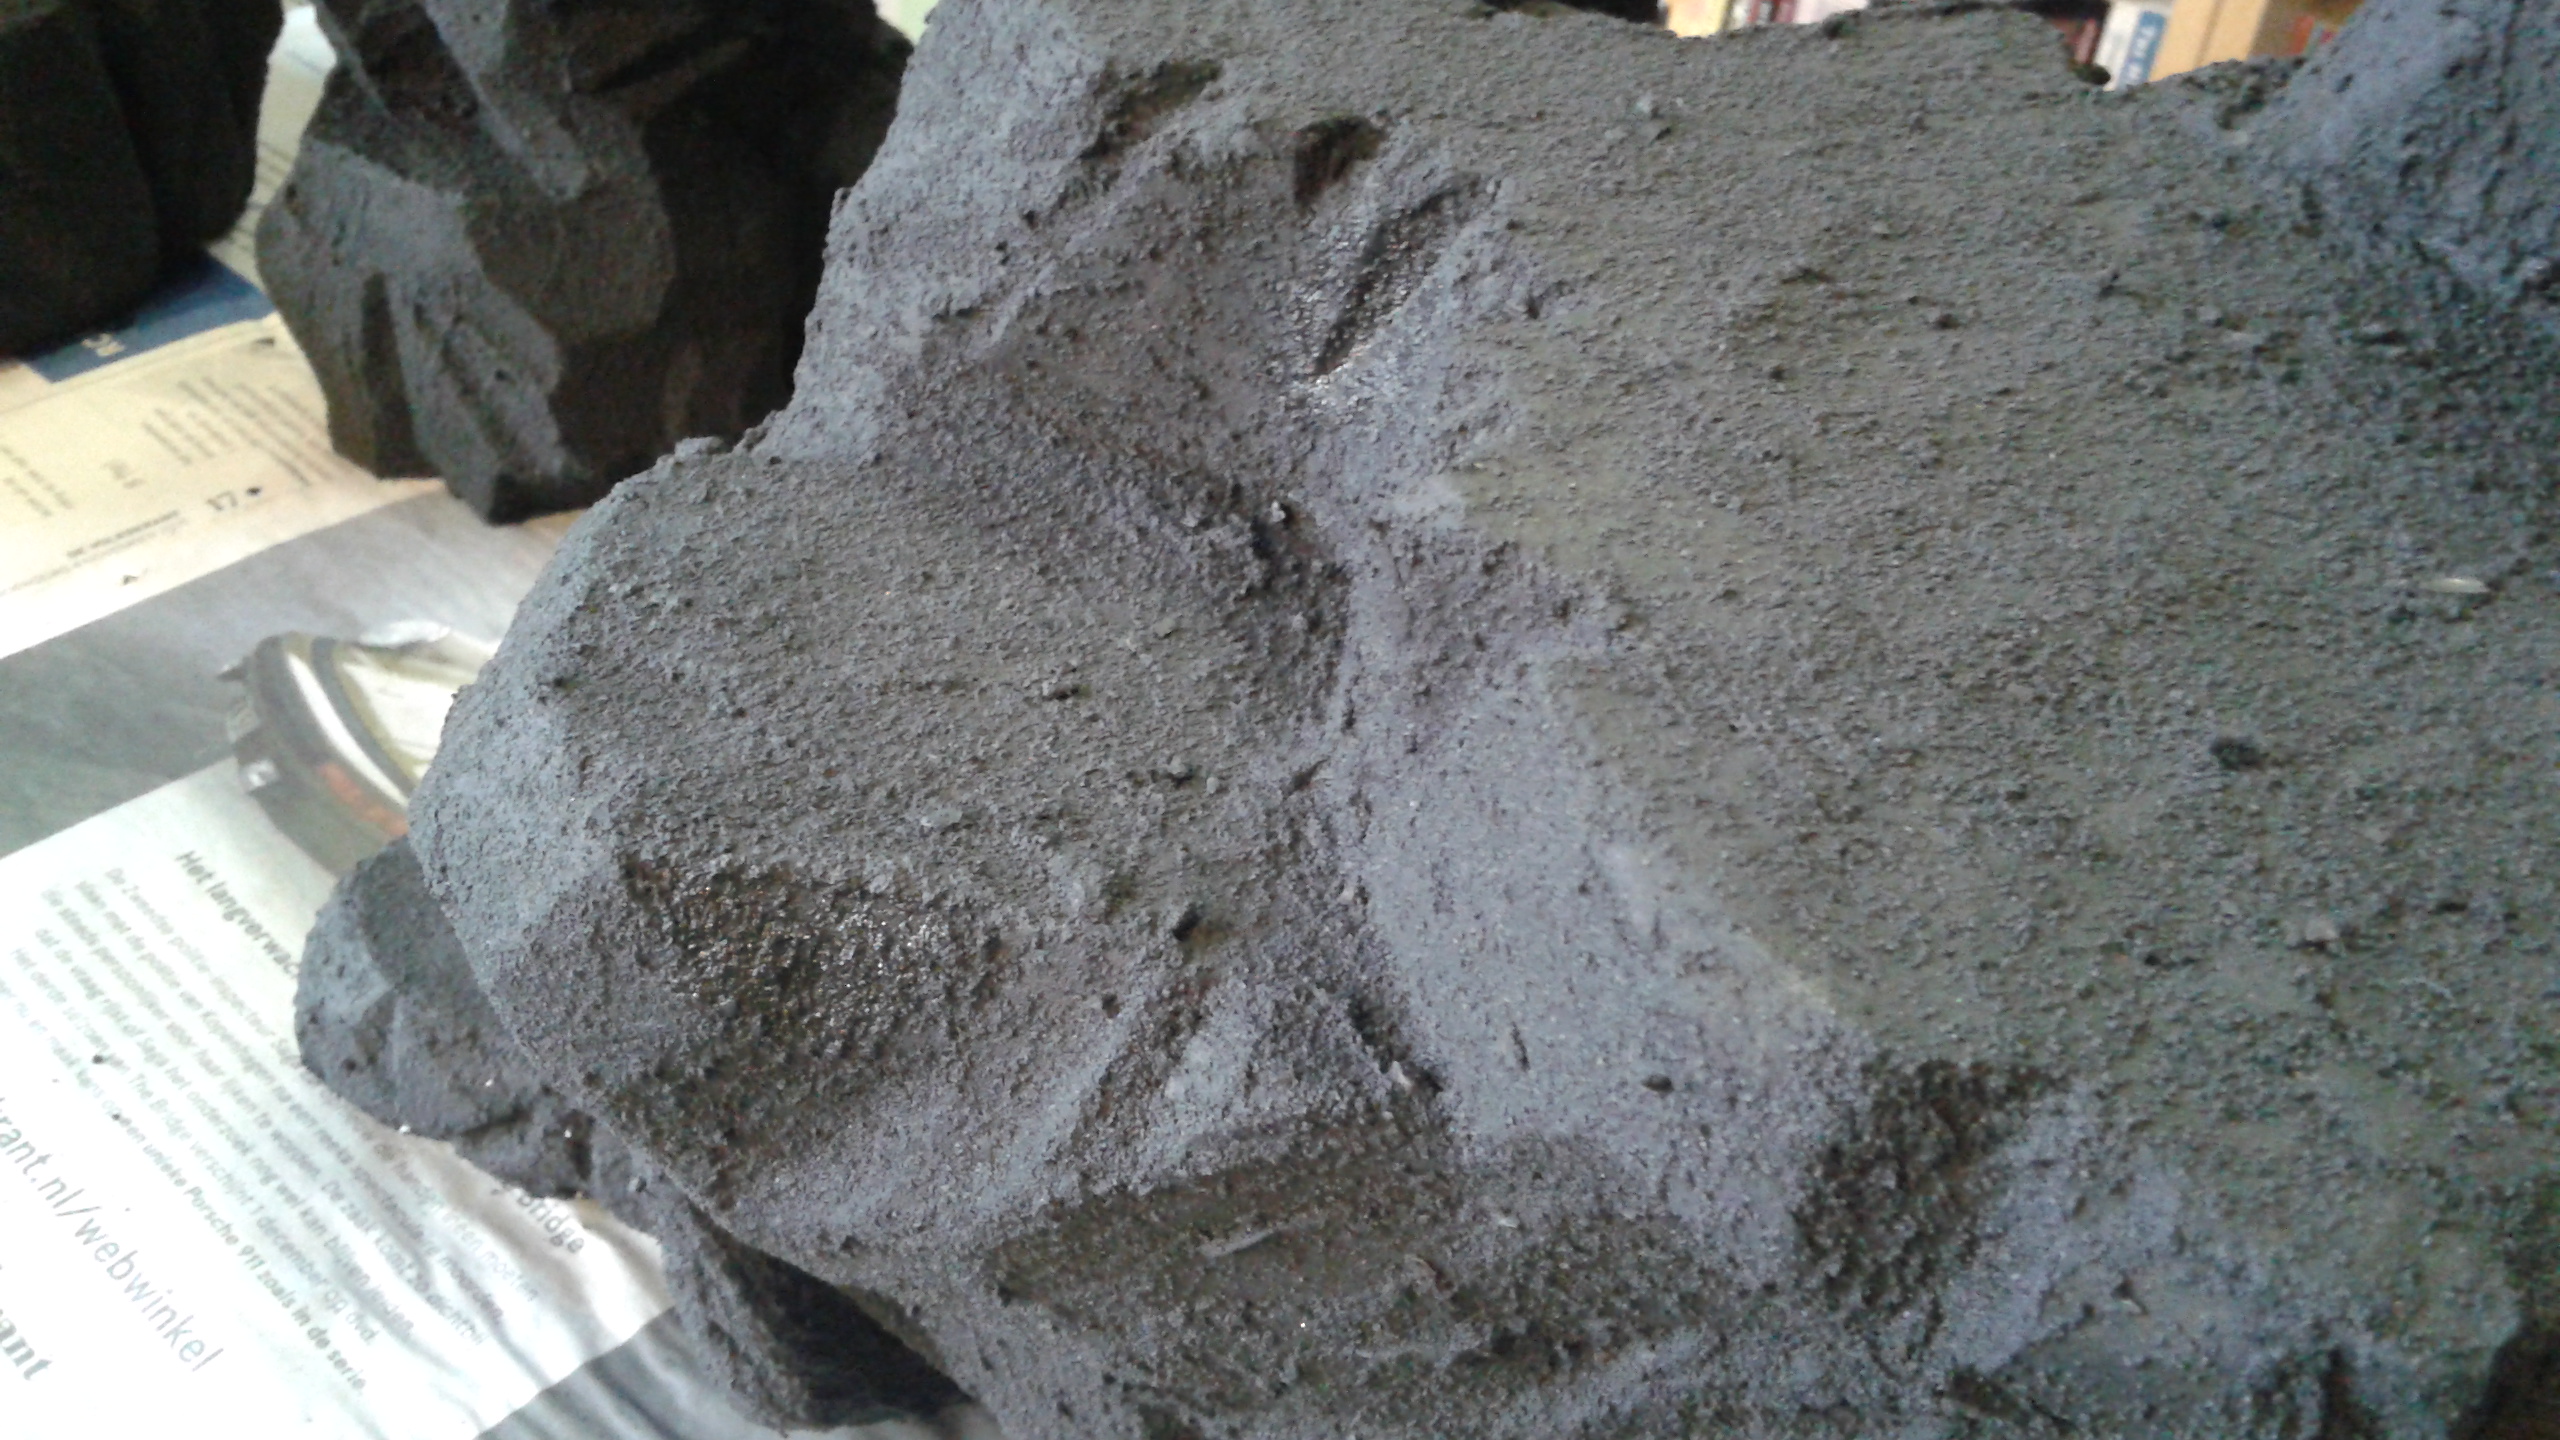
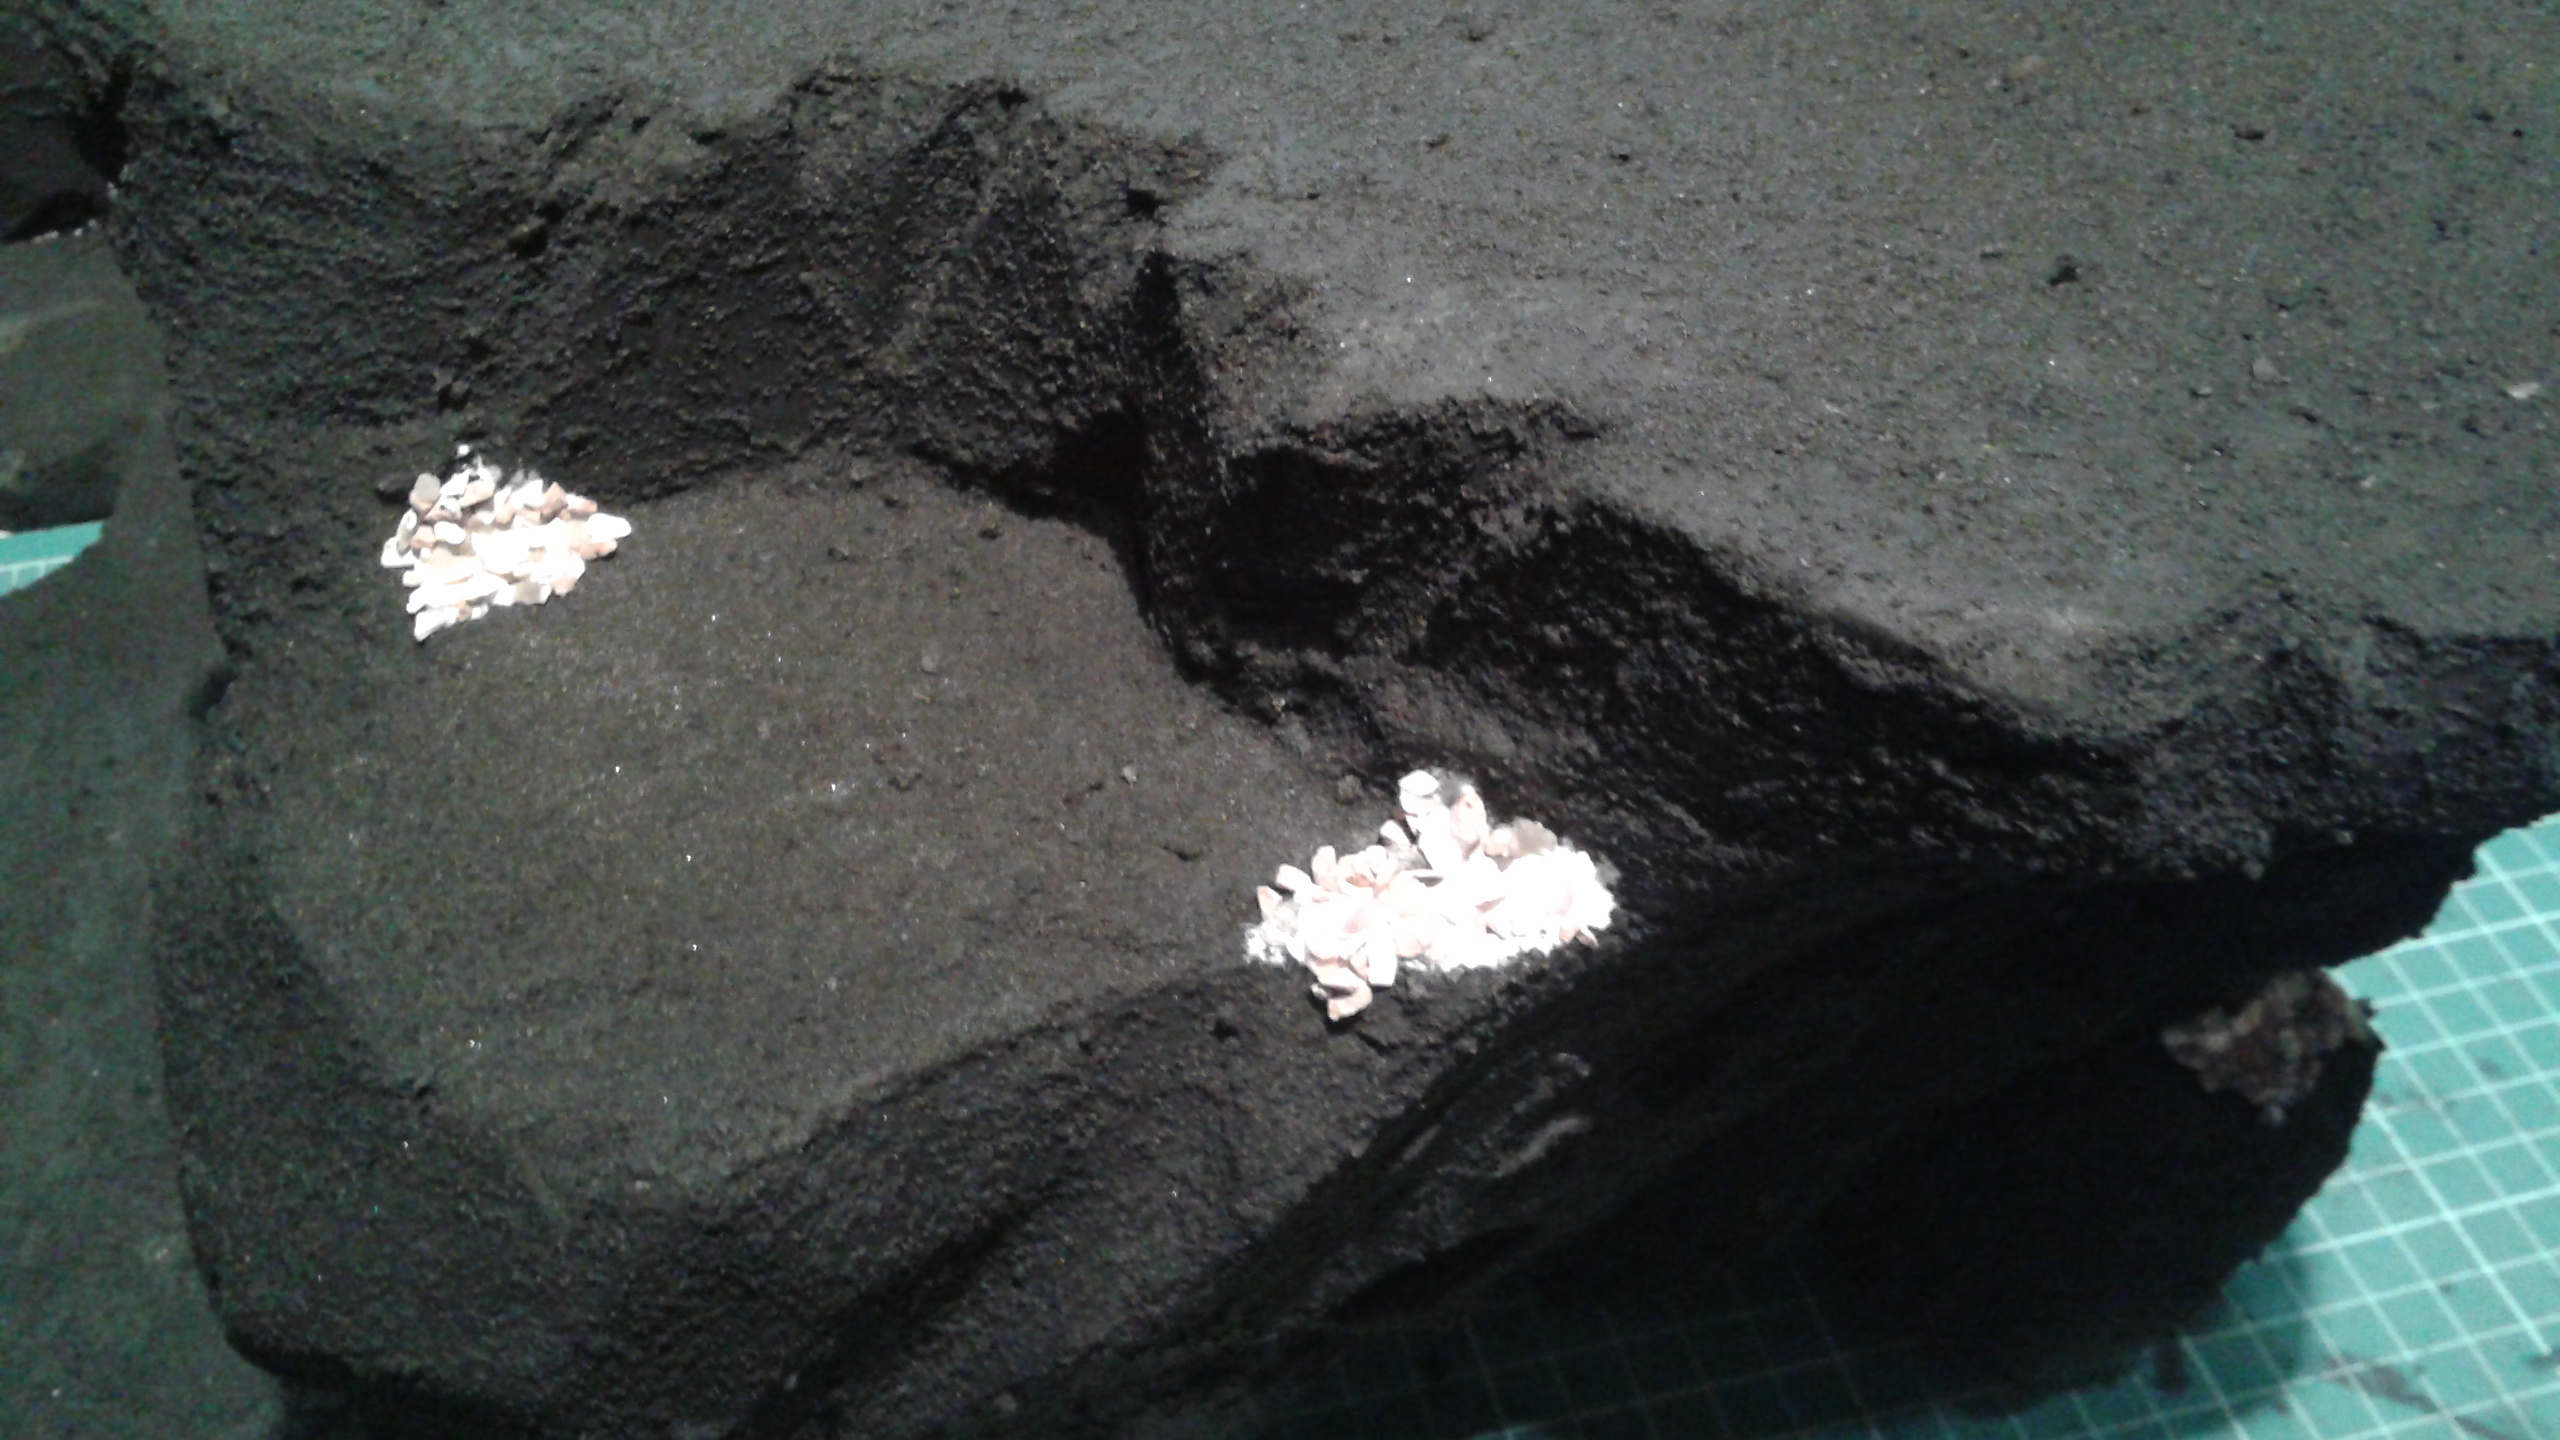
Next I added some bigger stones at certain places for variety and simply painted these black with the same acrylic paint I used as base coat, but not mixed with the sand.

When that was finished I could start dry brushing the whole. For these sort of terrain I use cheap flat brushes. No need to use expensive brushes when te result will be just as good. You might end up with a messed up brush that you cab throw away, but that’s no problem.
I started with a dark grey layer, a simple mix of the base coat black mixed with some of the same simple acrylic white. I only applied this to the rocks and skipped most of the flat top surfaces.
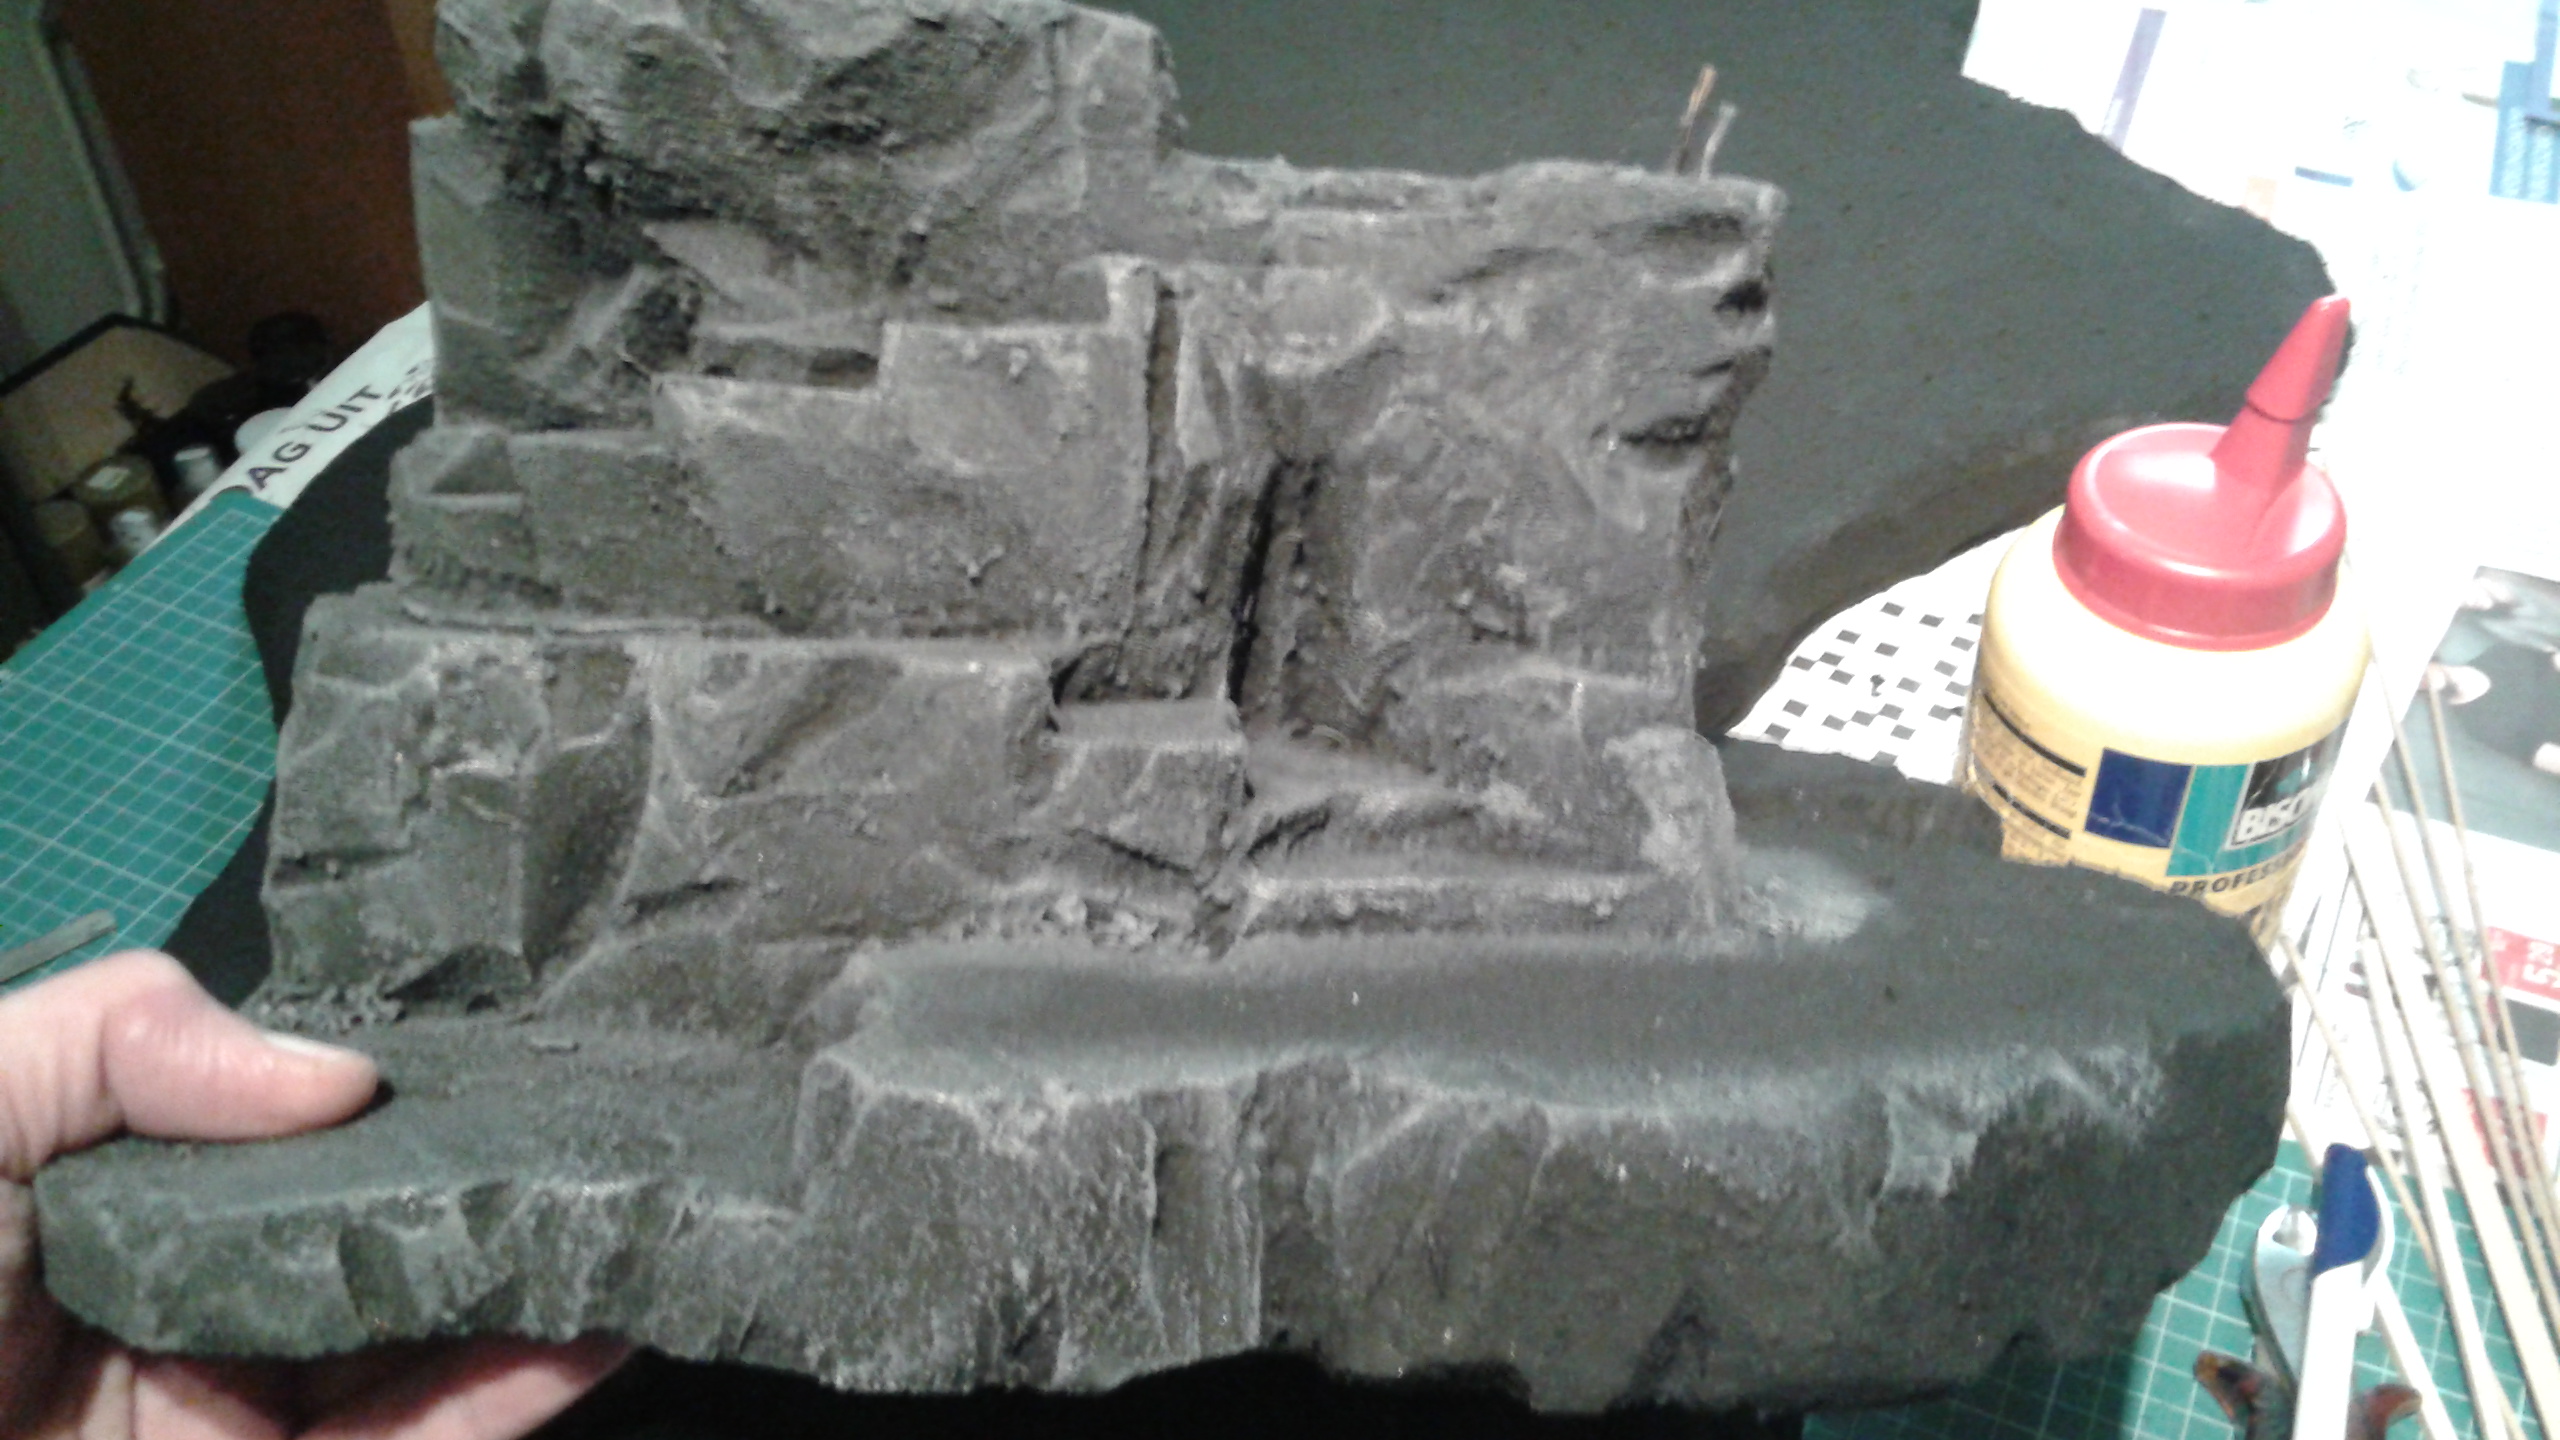

I added some more white to the mix and did another layer. And to finish it off I highlighted it all with a pure white drybrush layer.
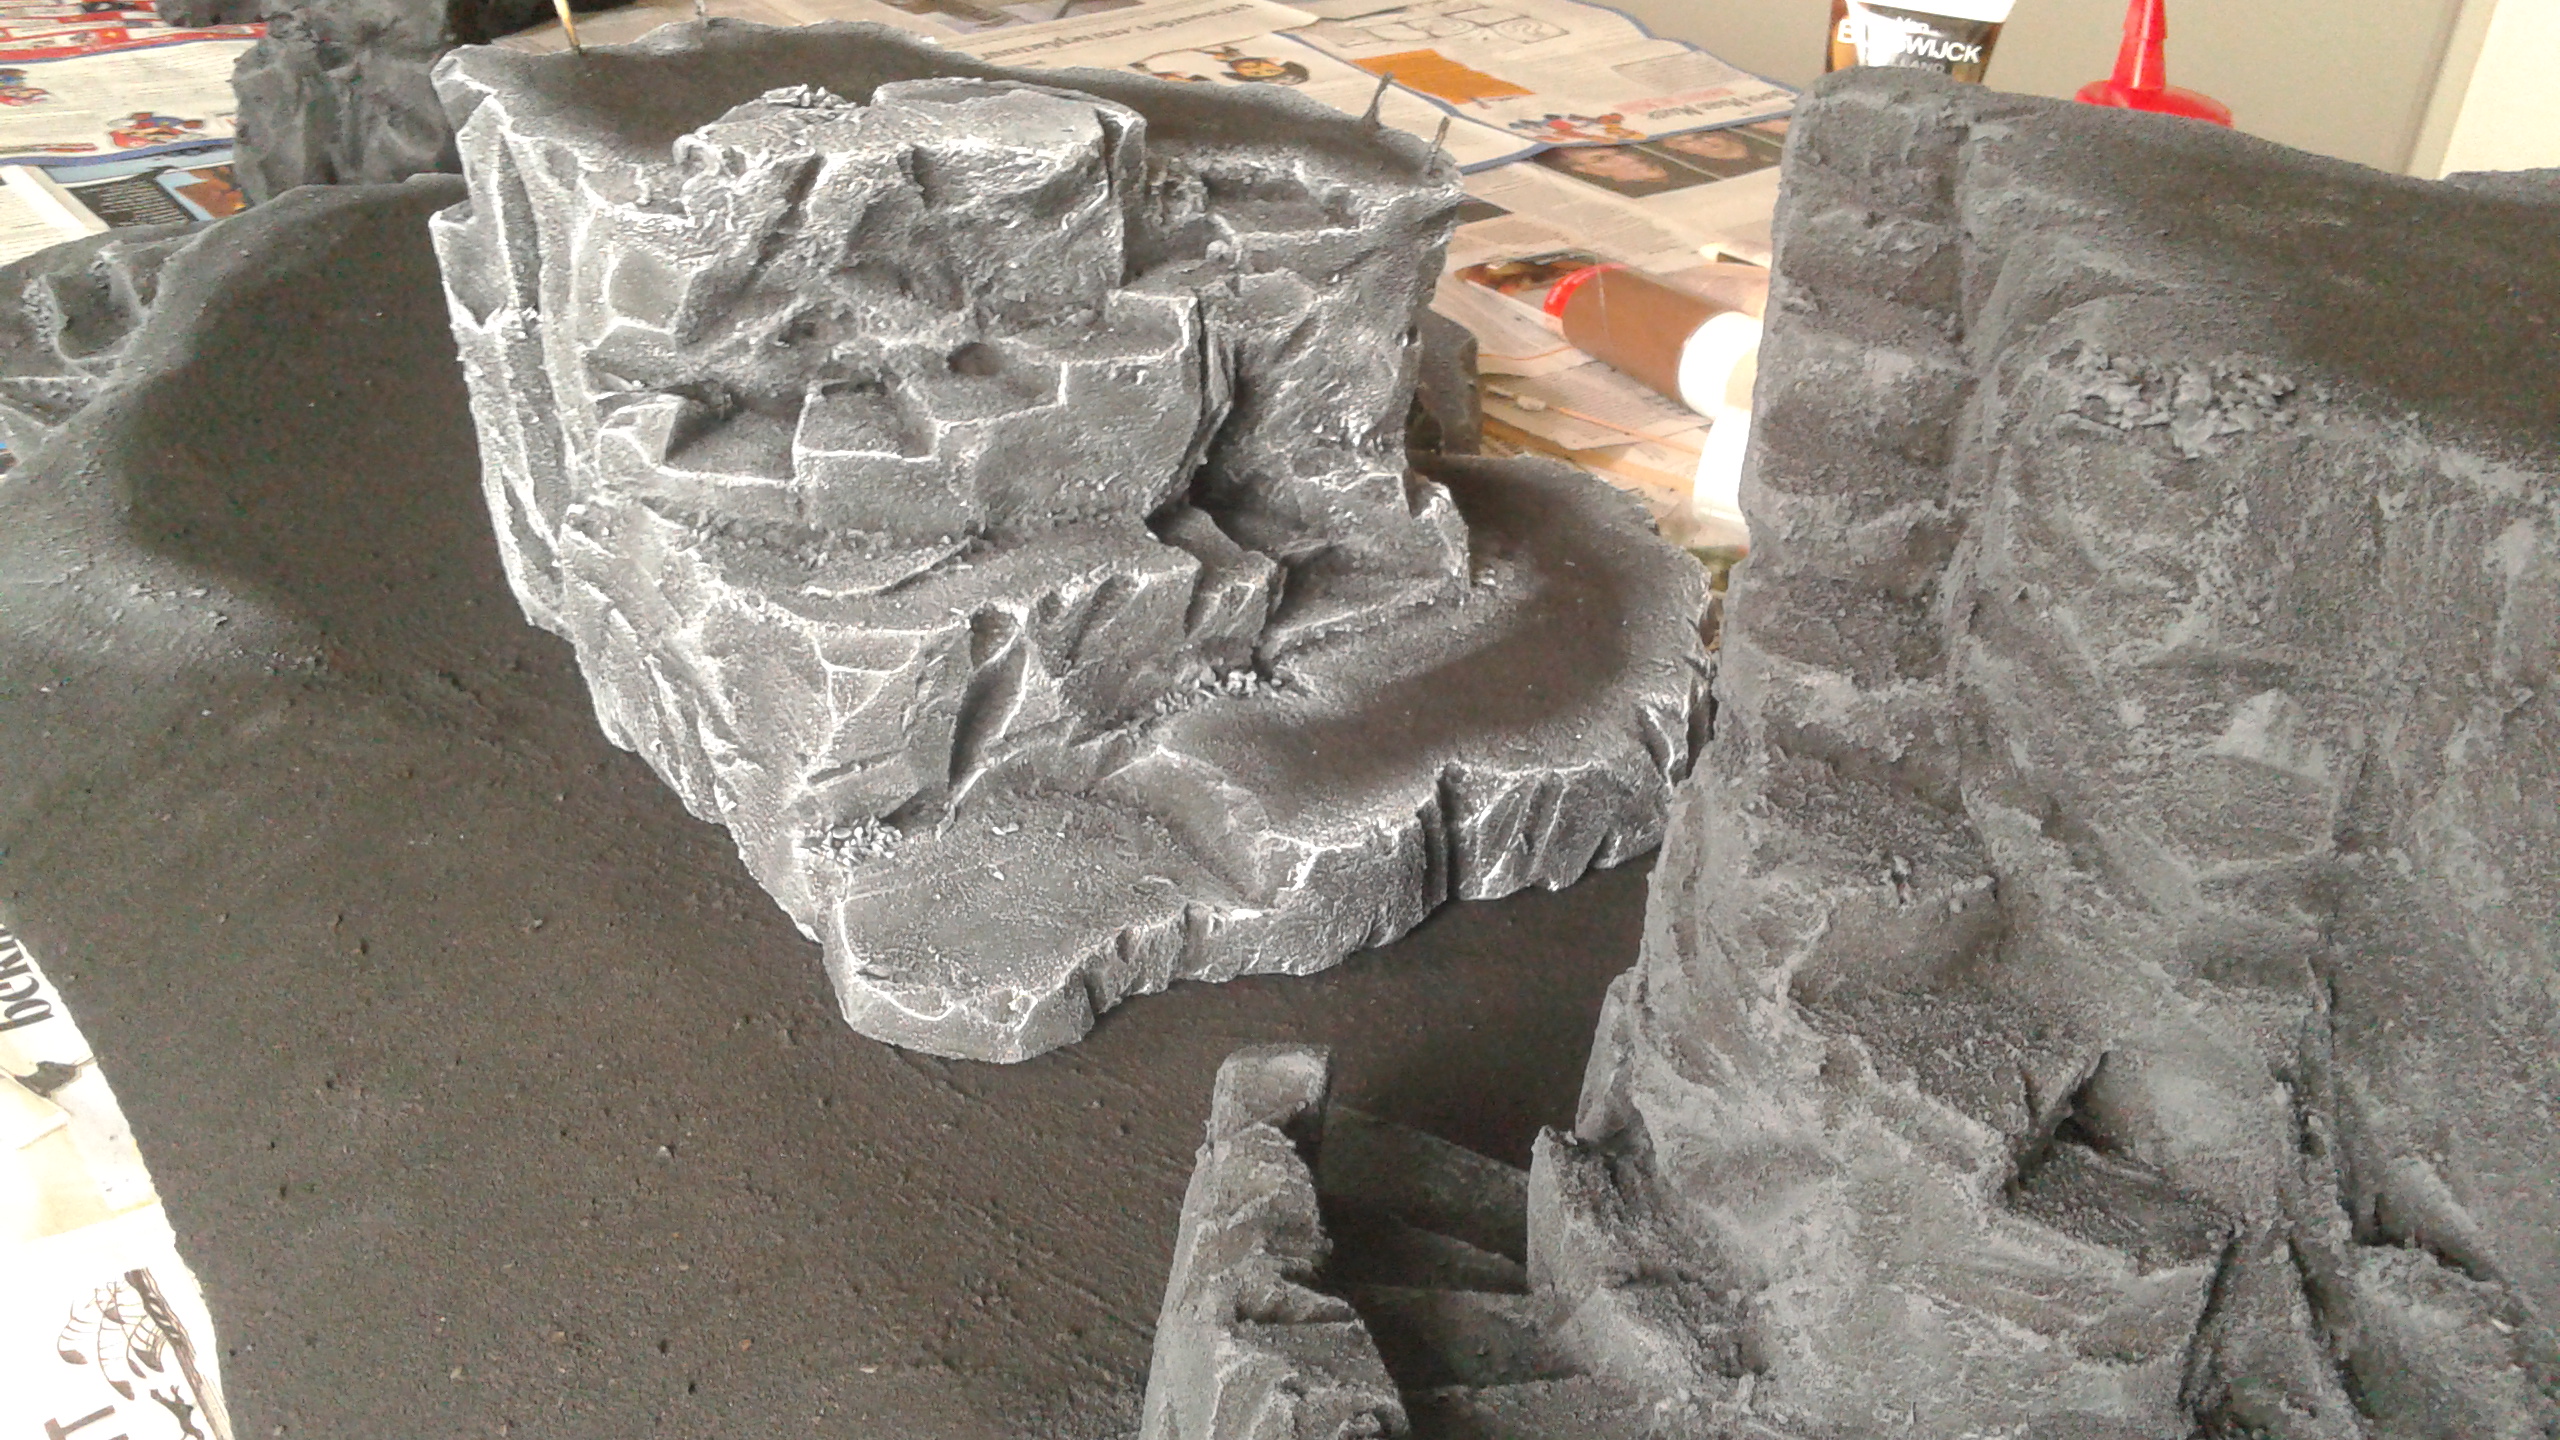
The flat surfaces had just one drybrush layer of dark brown.

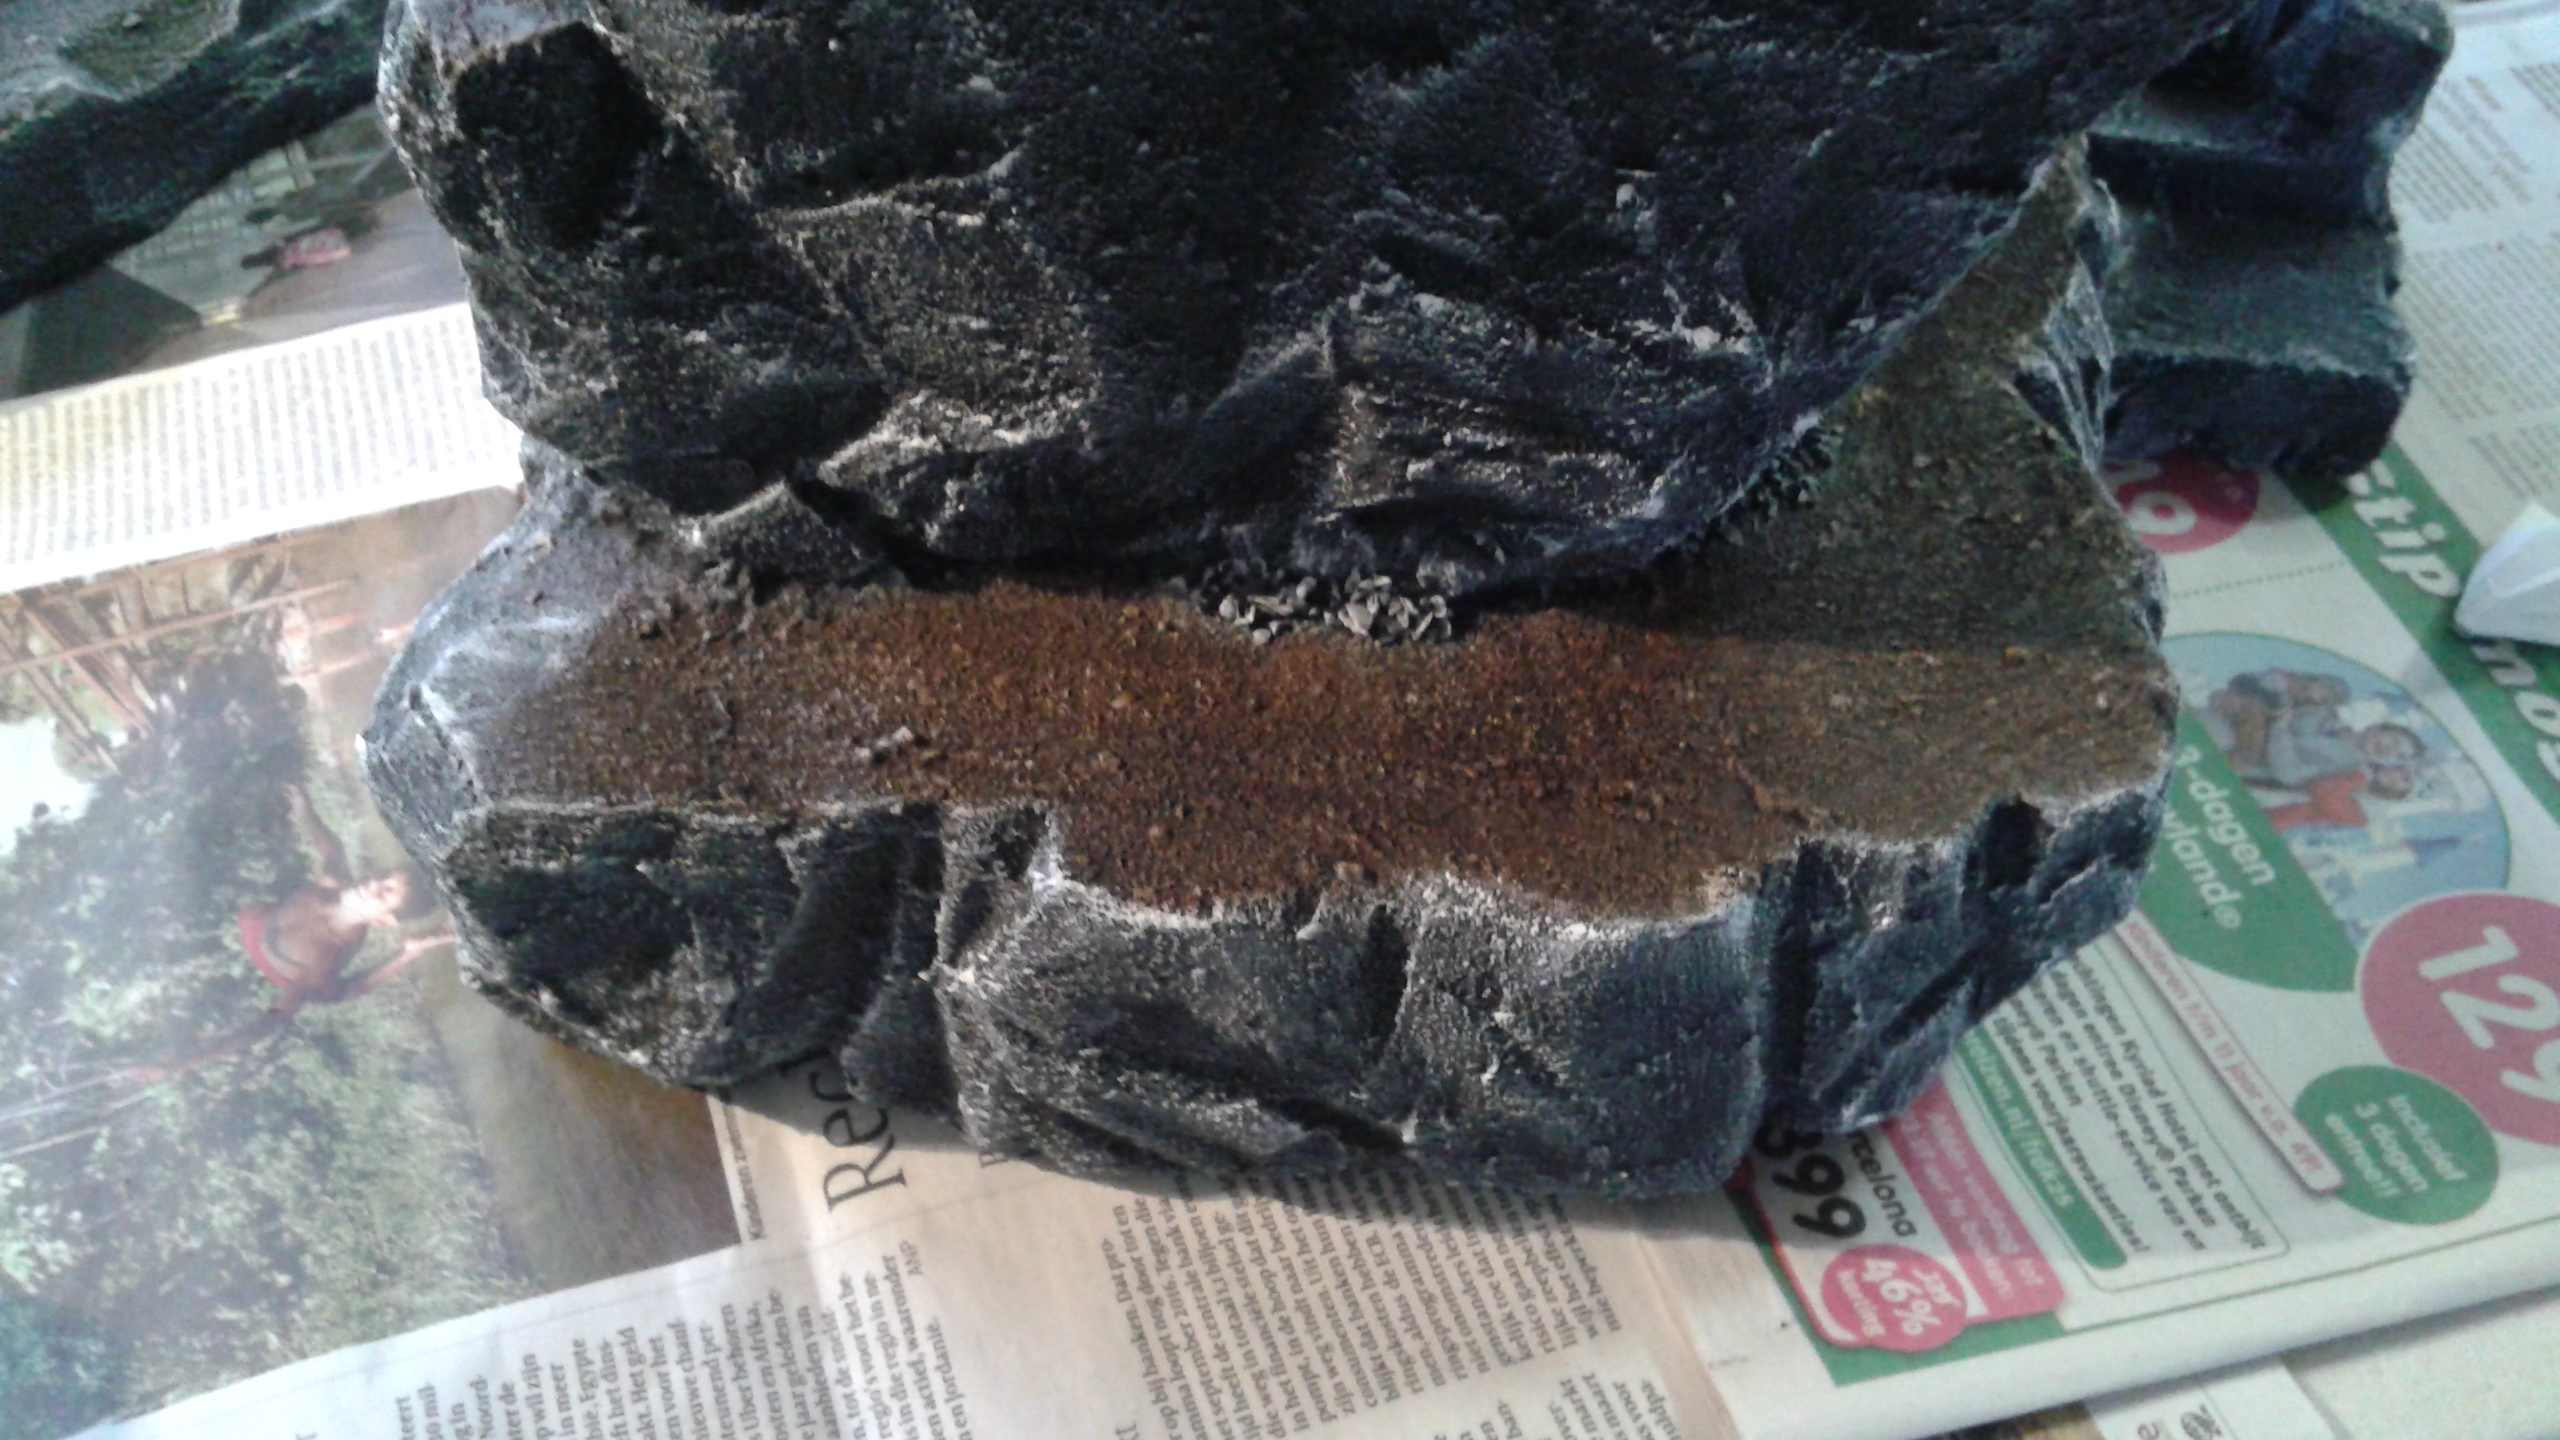
The beaches also got this dark brown layer and then I added more and more yellow to the mix with each successive drybrush layer. As a highlight I used cheap acrylic color similar to the bleached bones paint form GW. (Unfortunately I made no pictures of these stages).
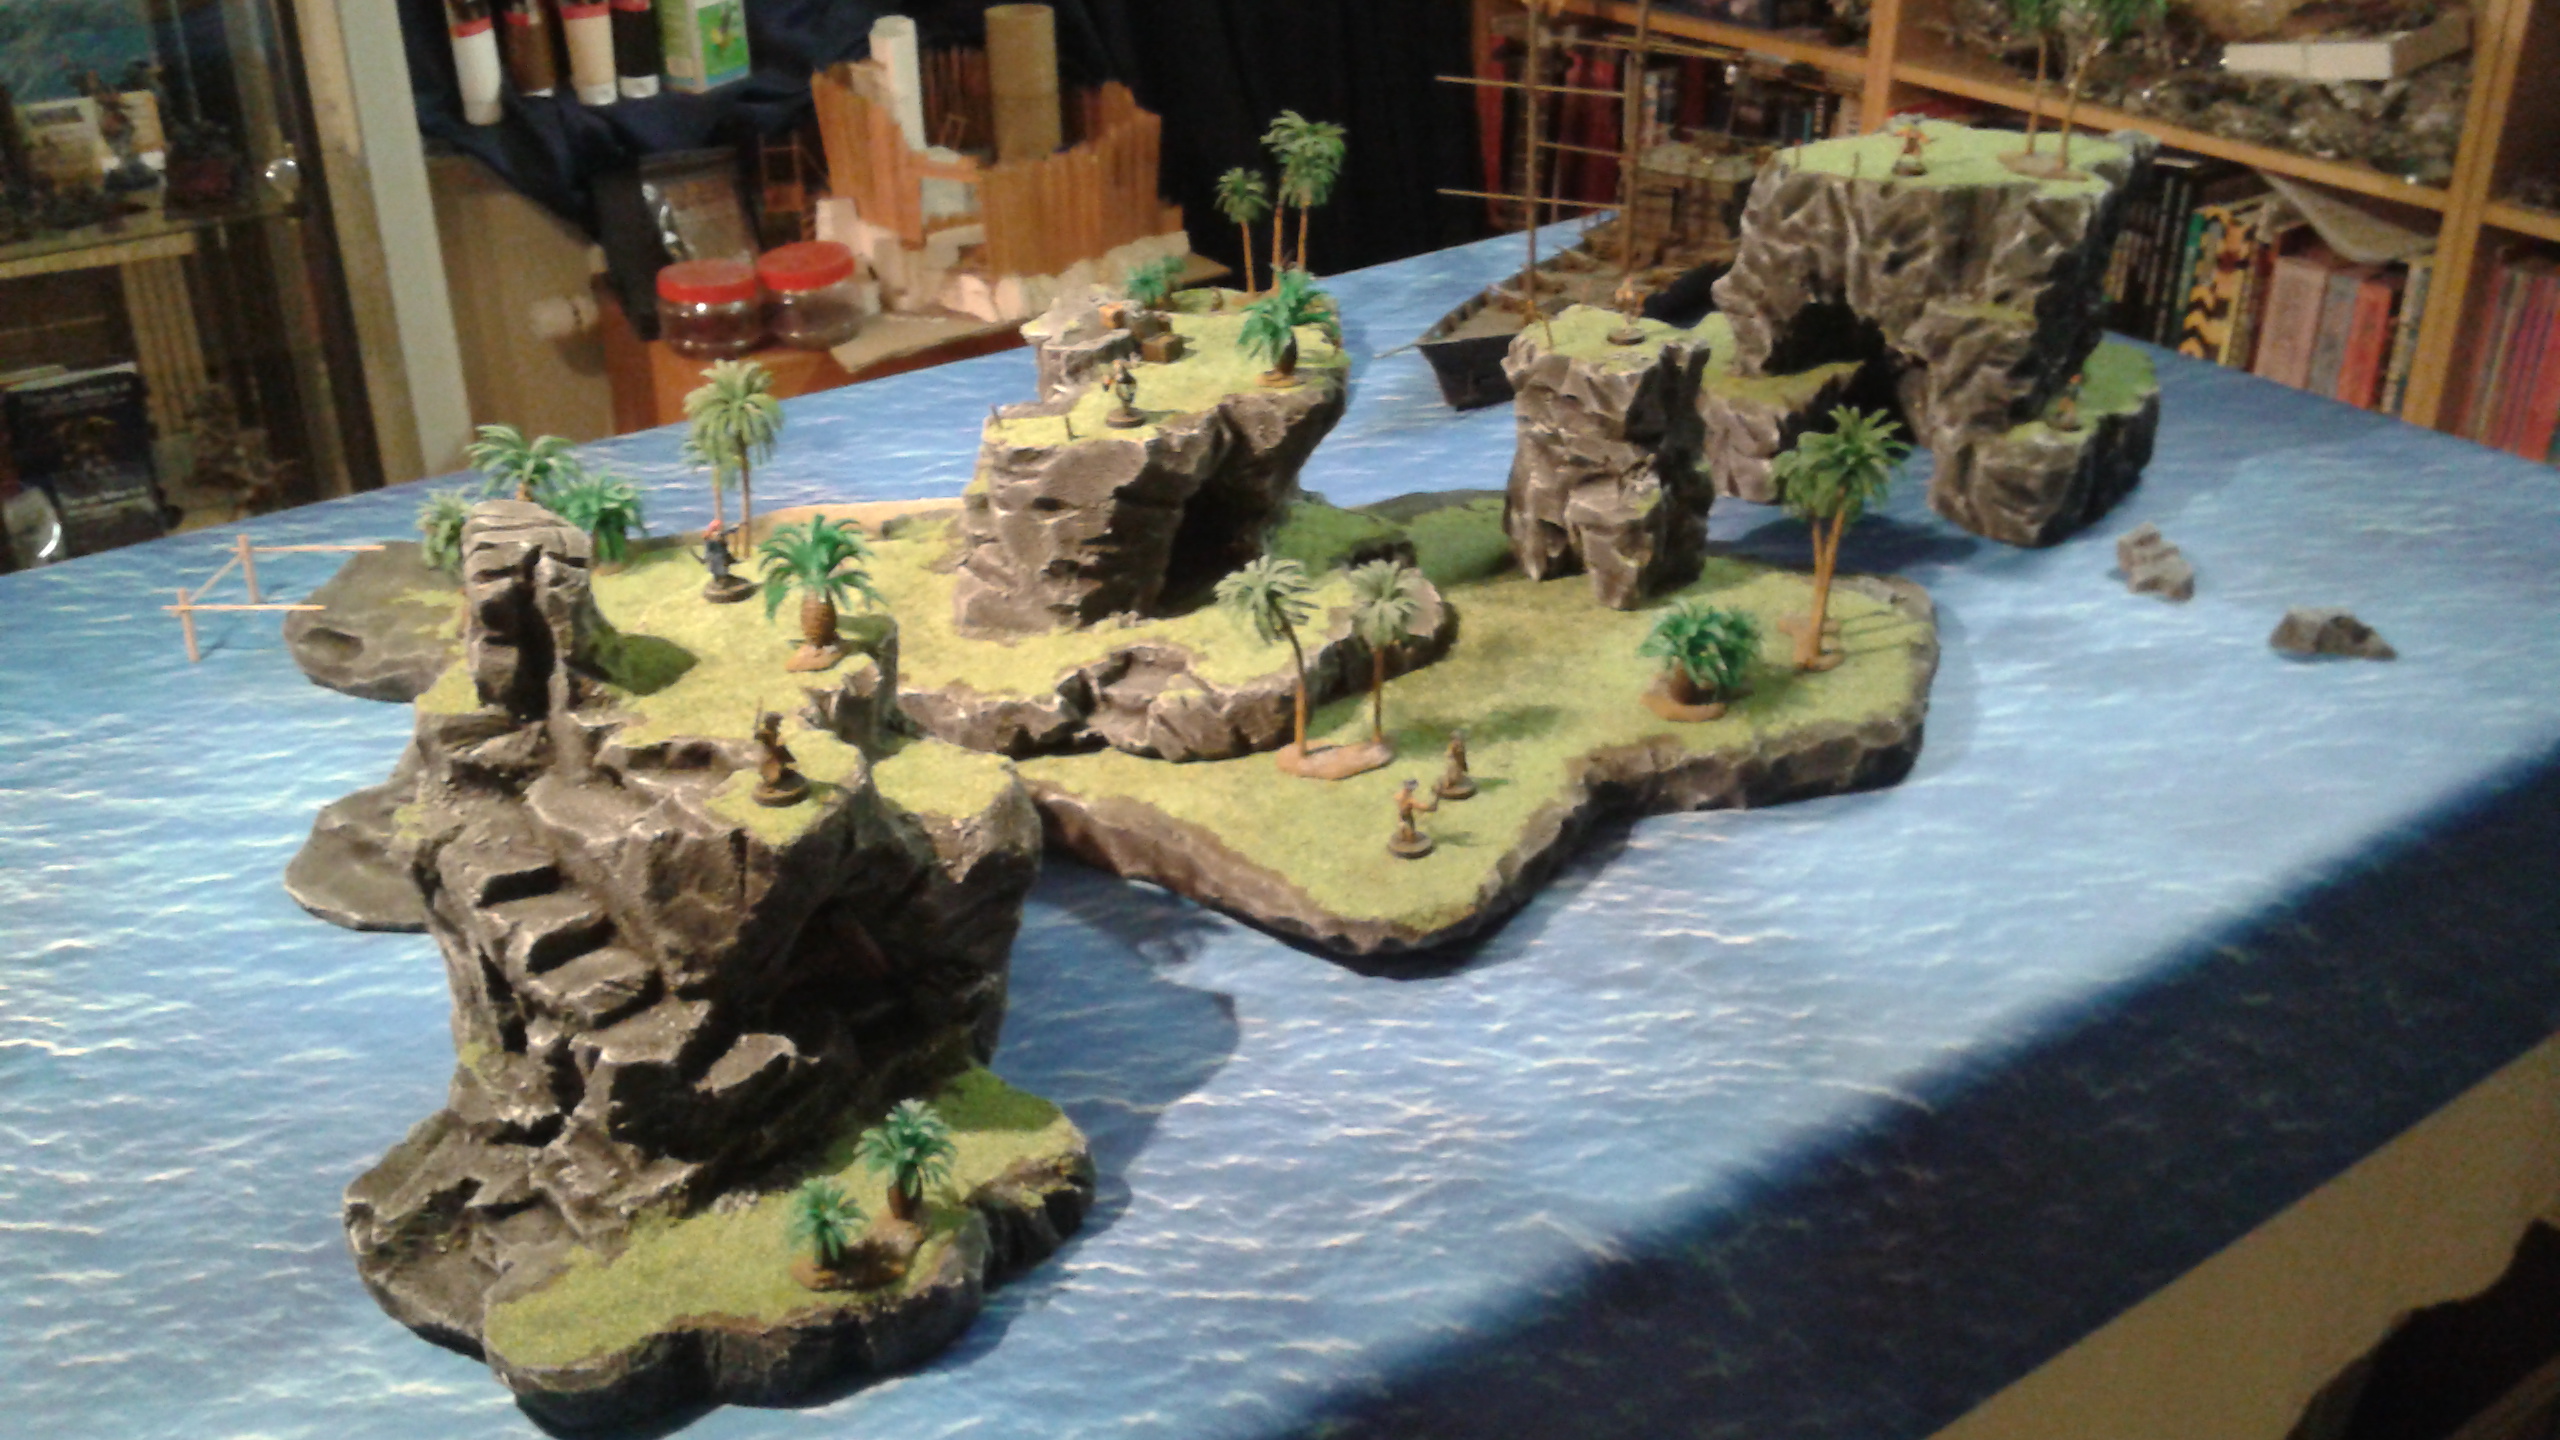
I used some green flock on the rest of the flat surfaces. Simply applied with some waters down hobby glue.

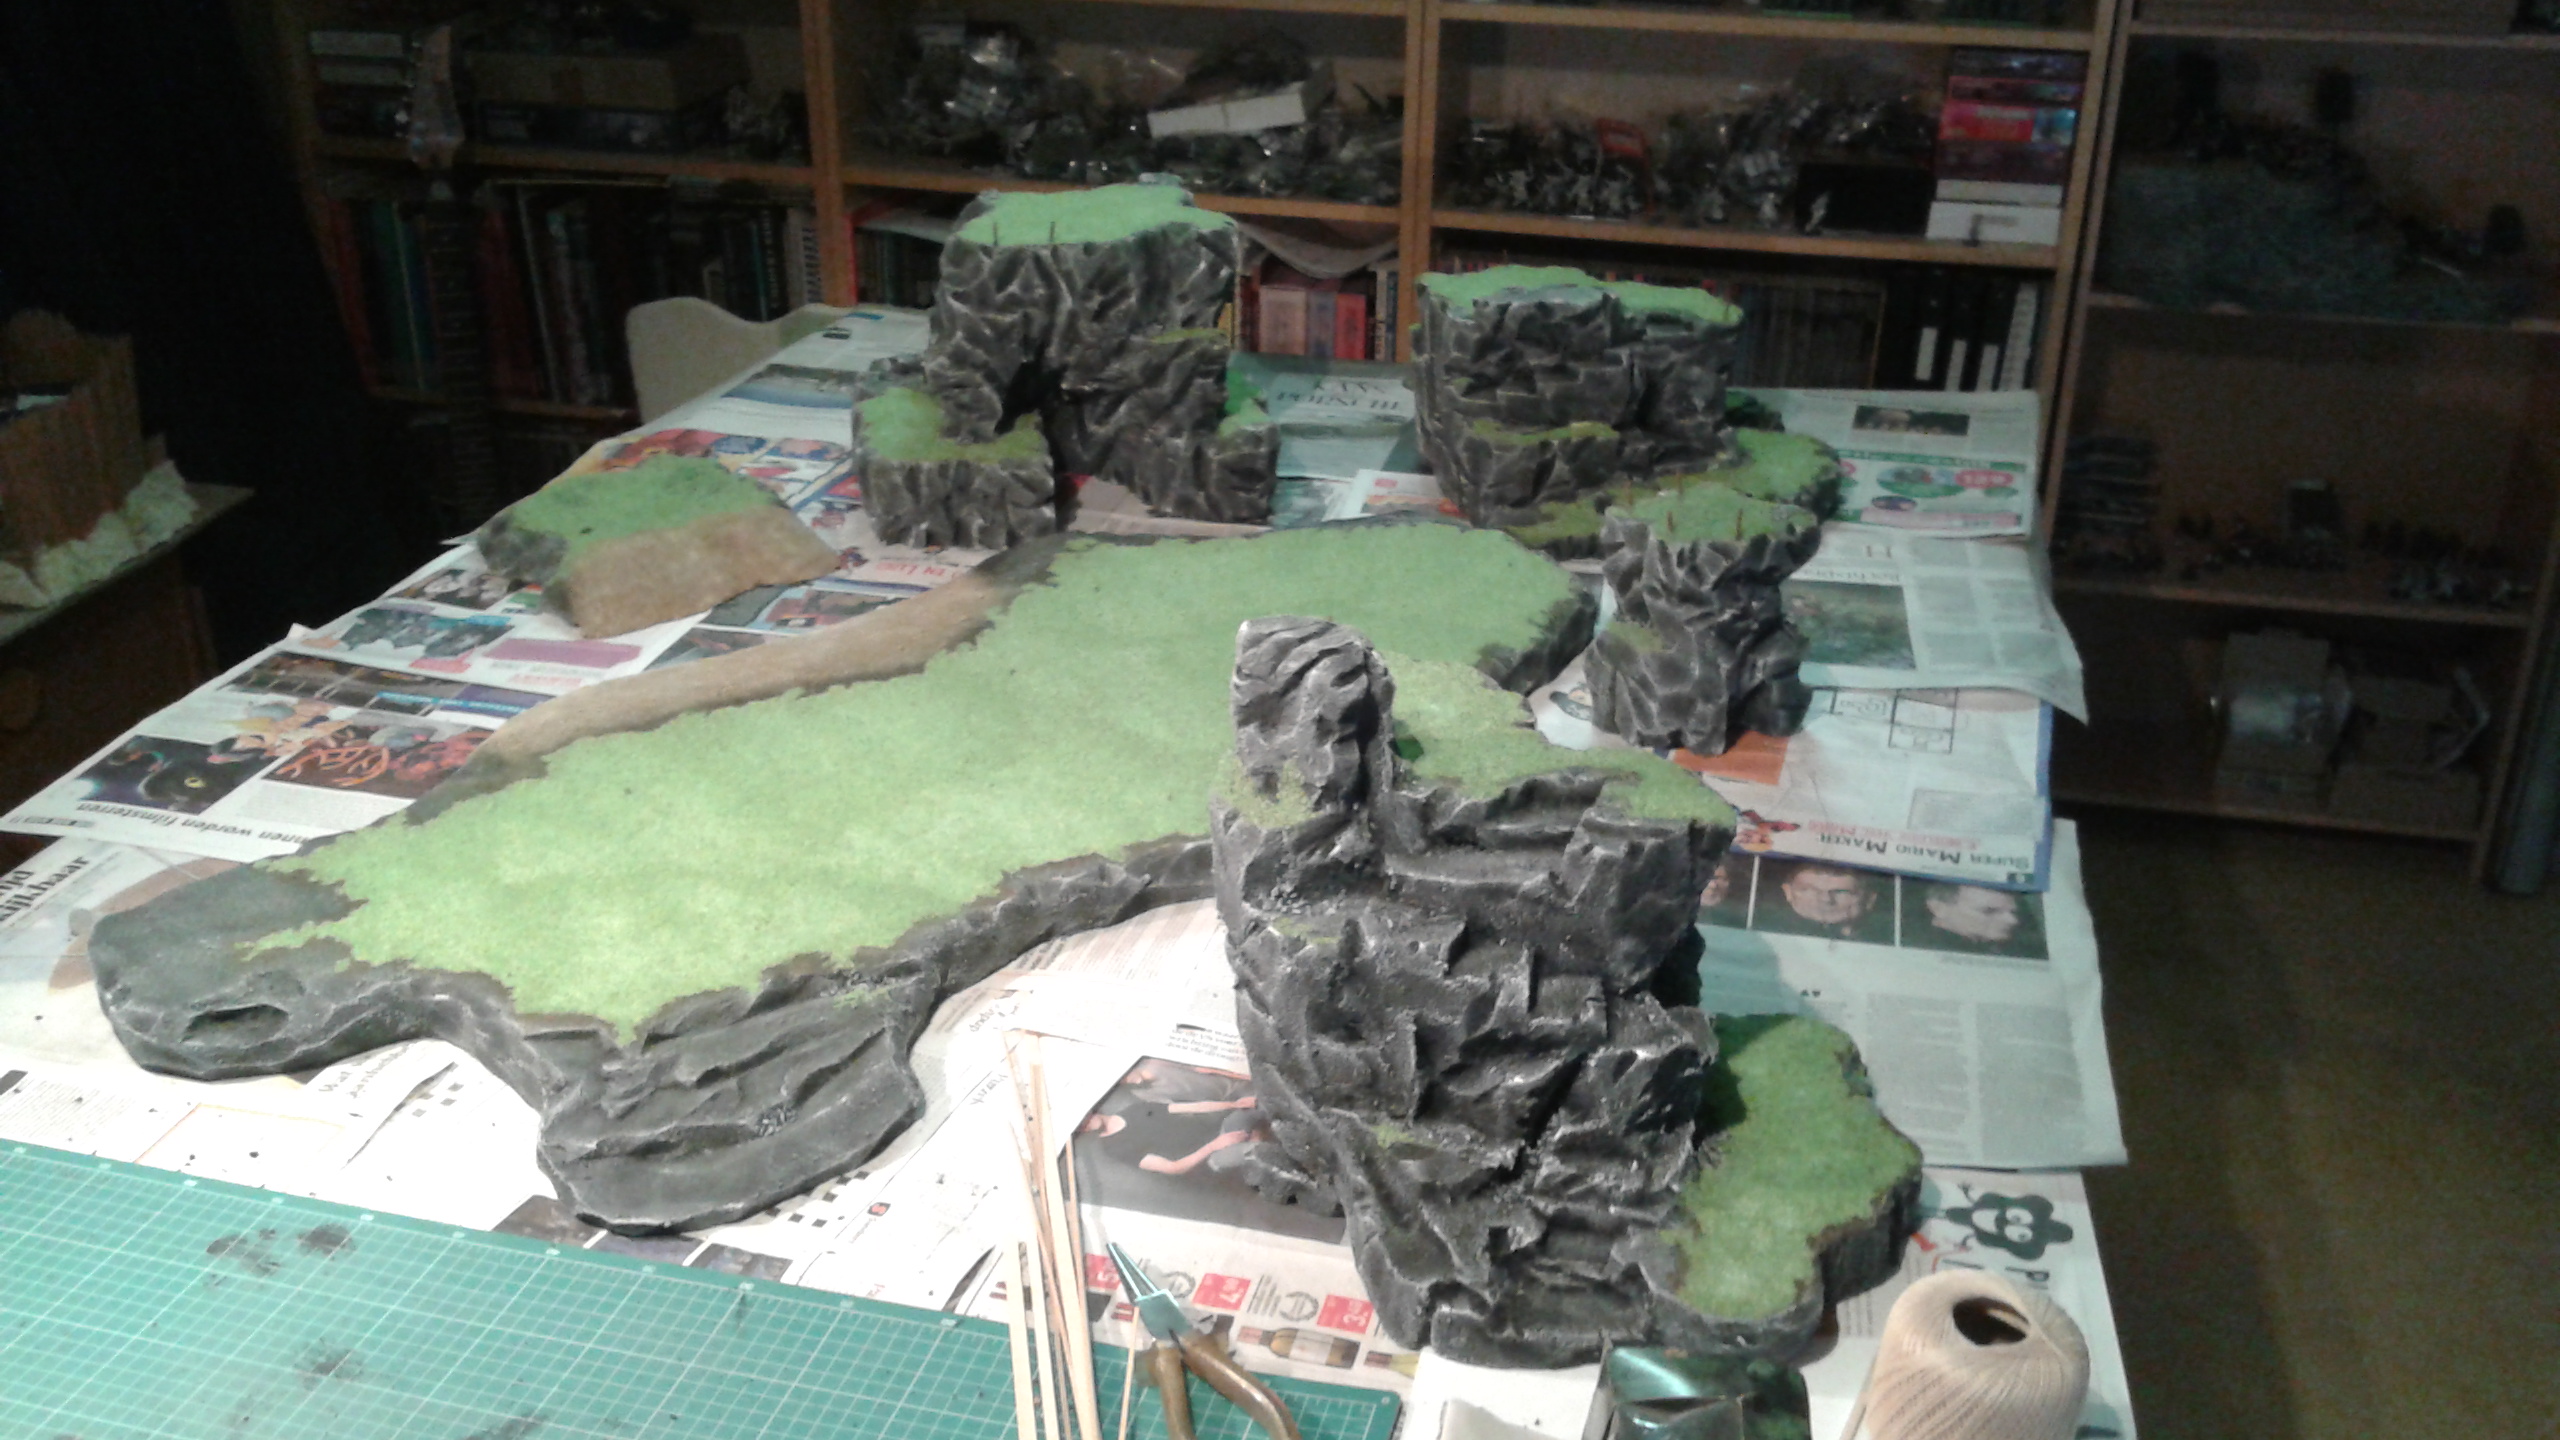
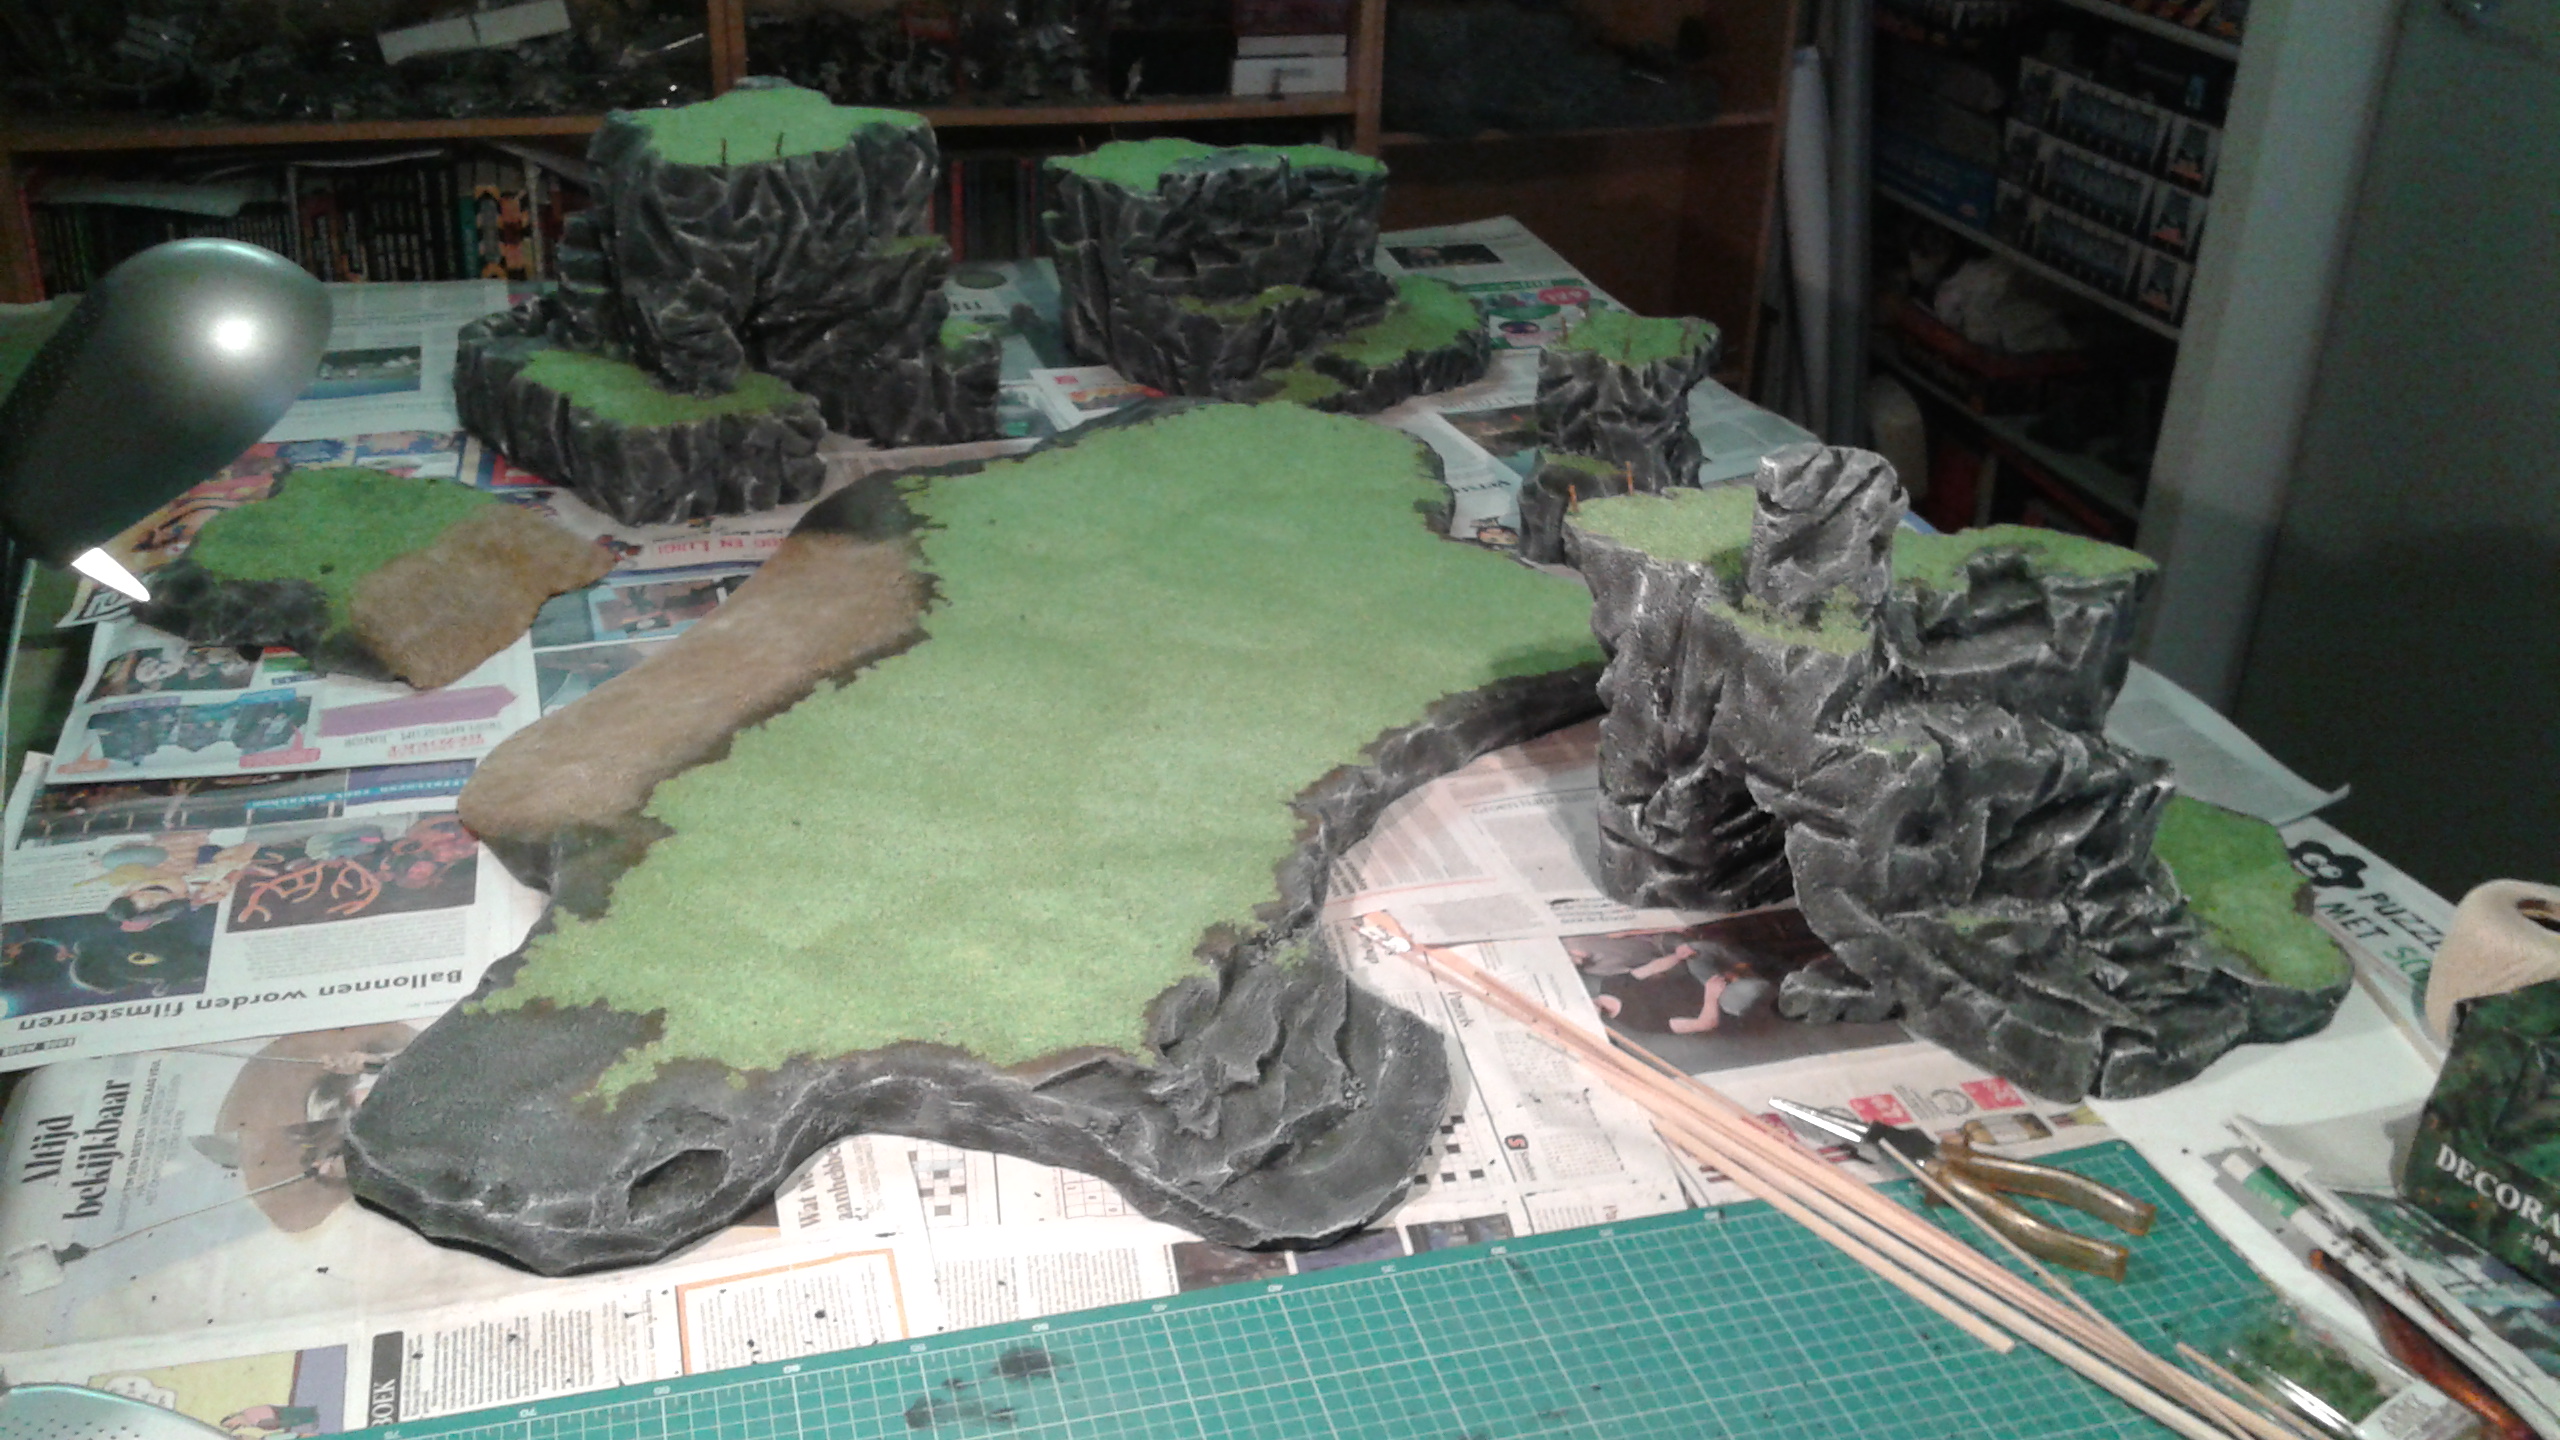
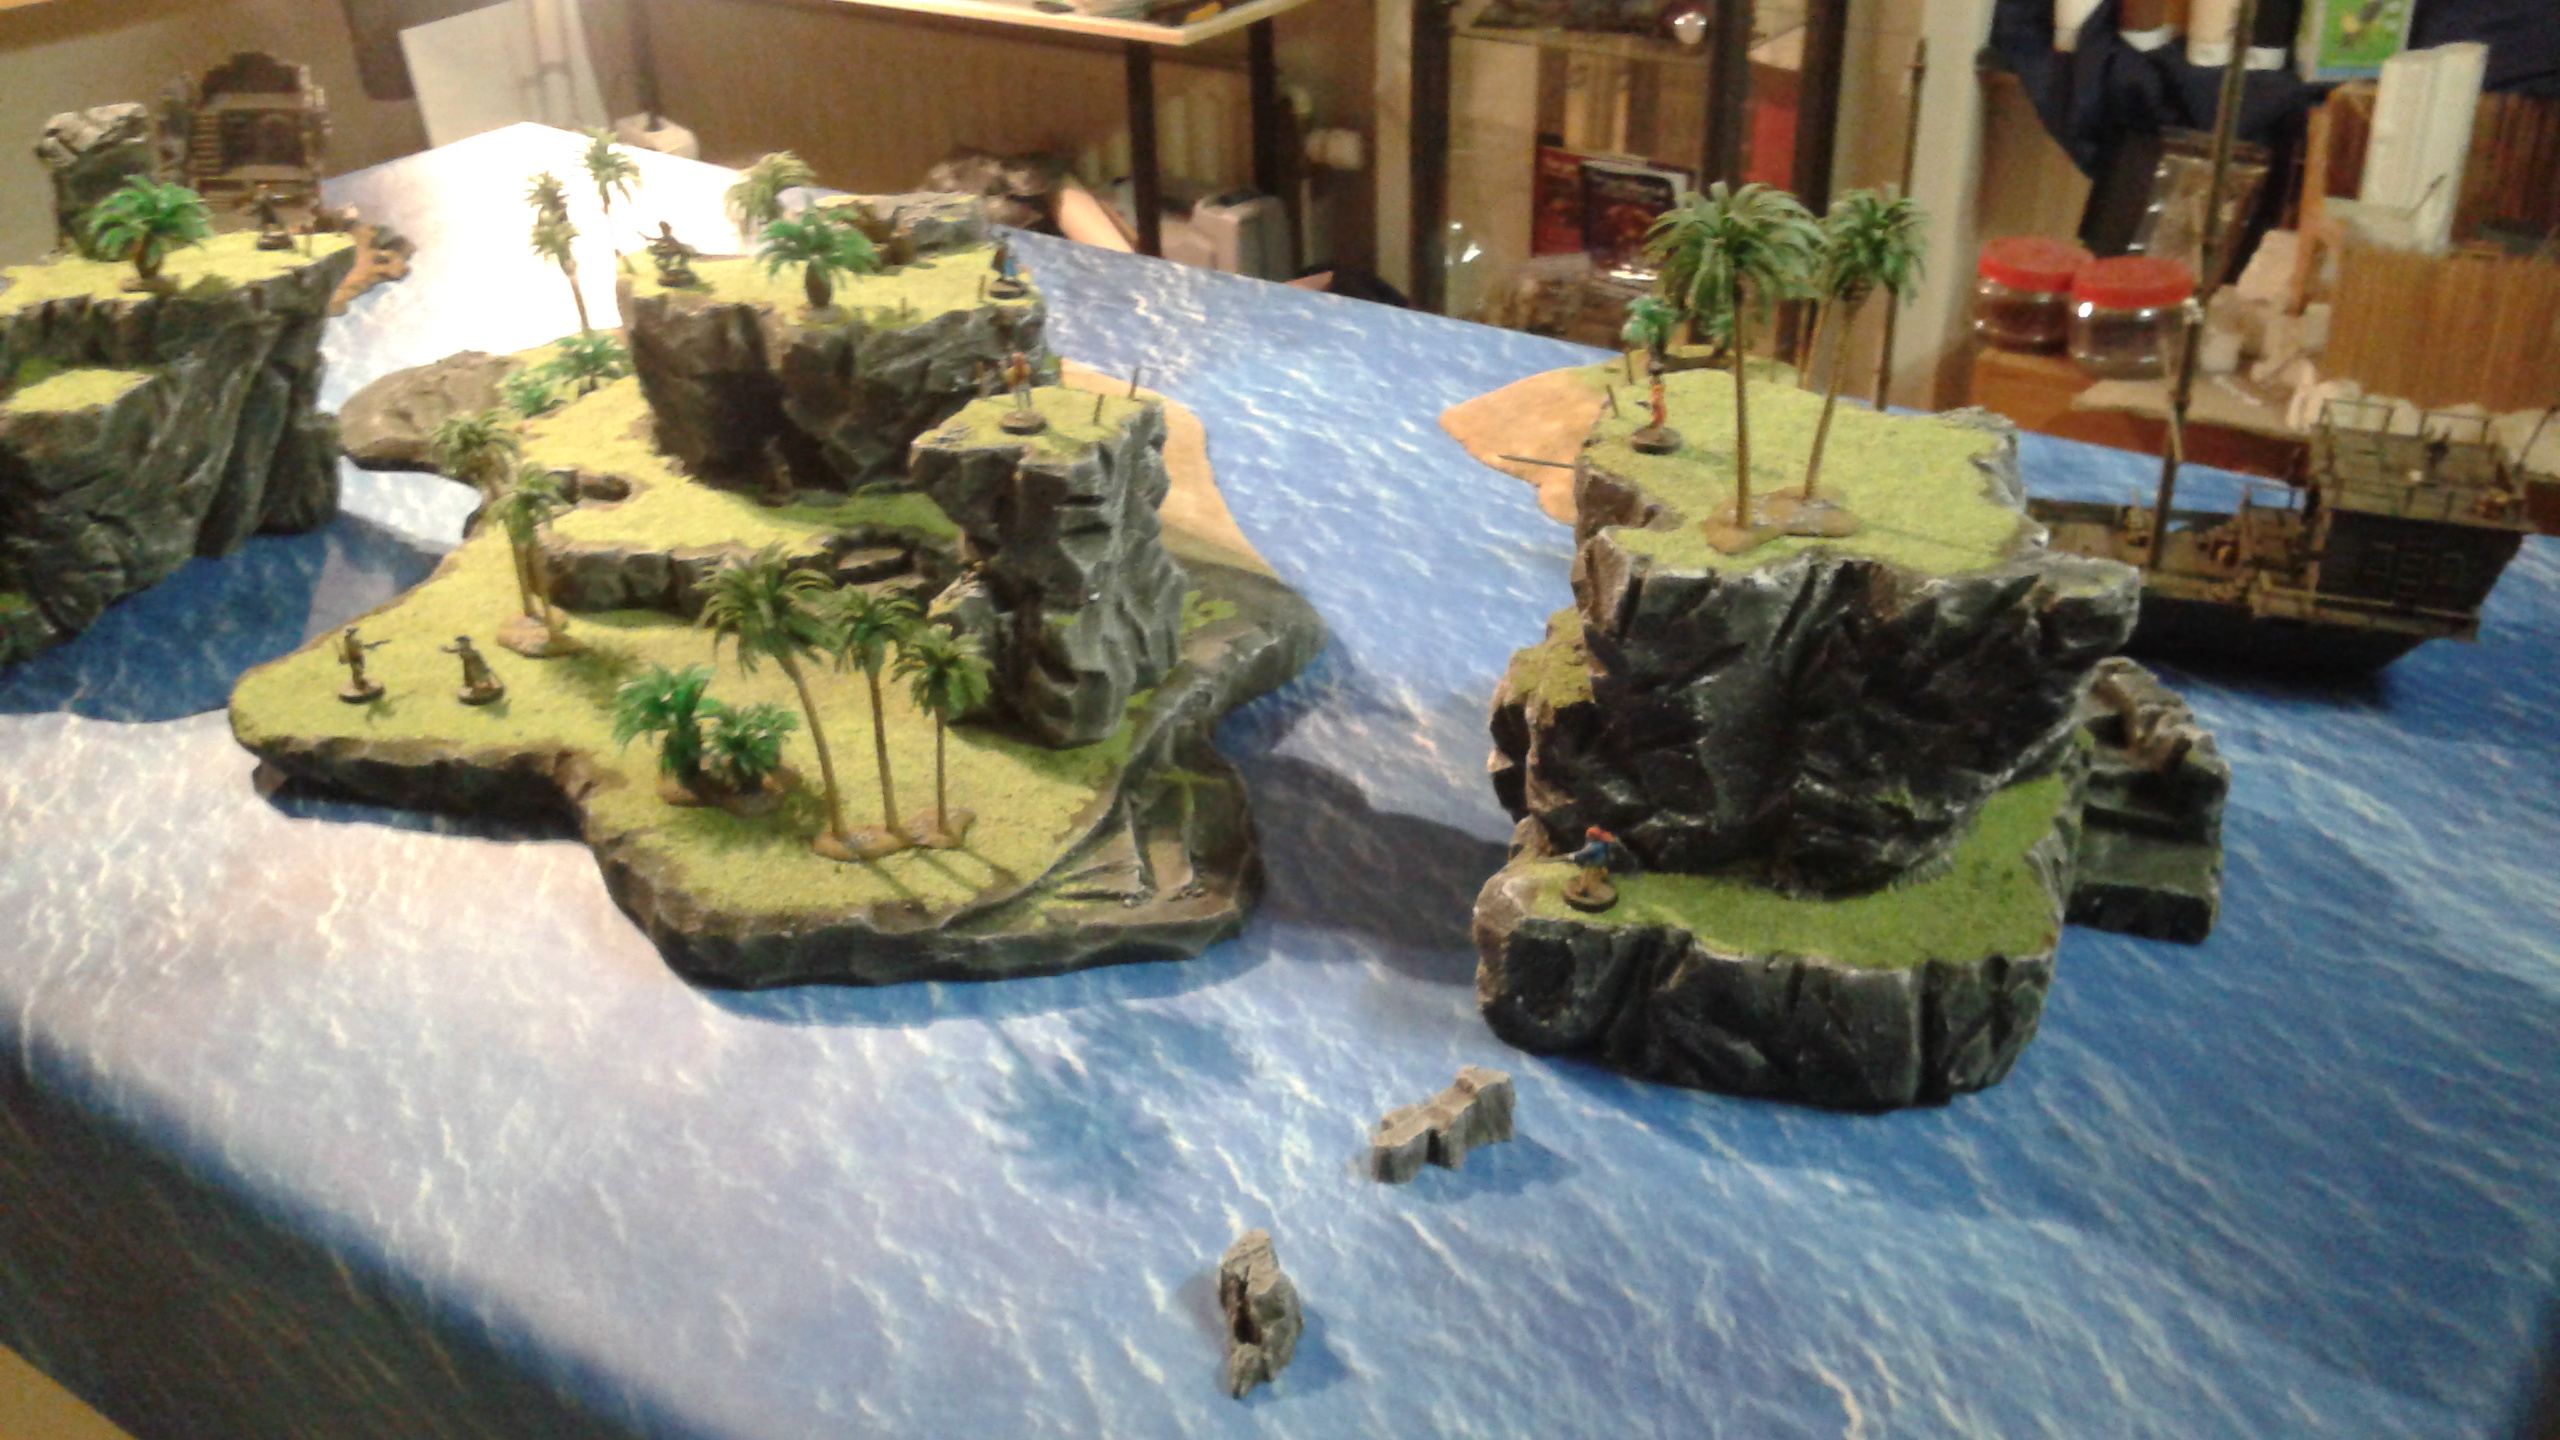
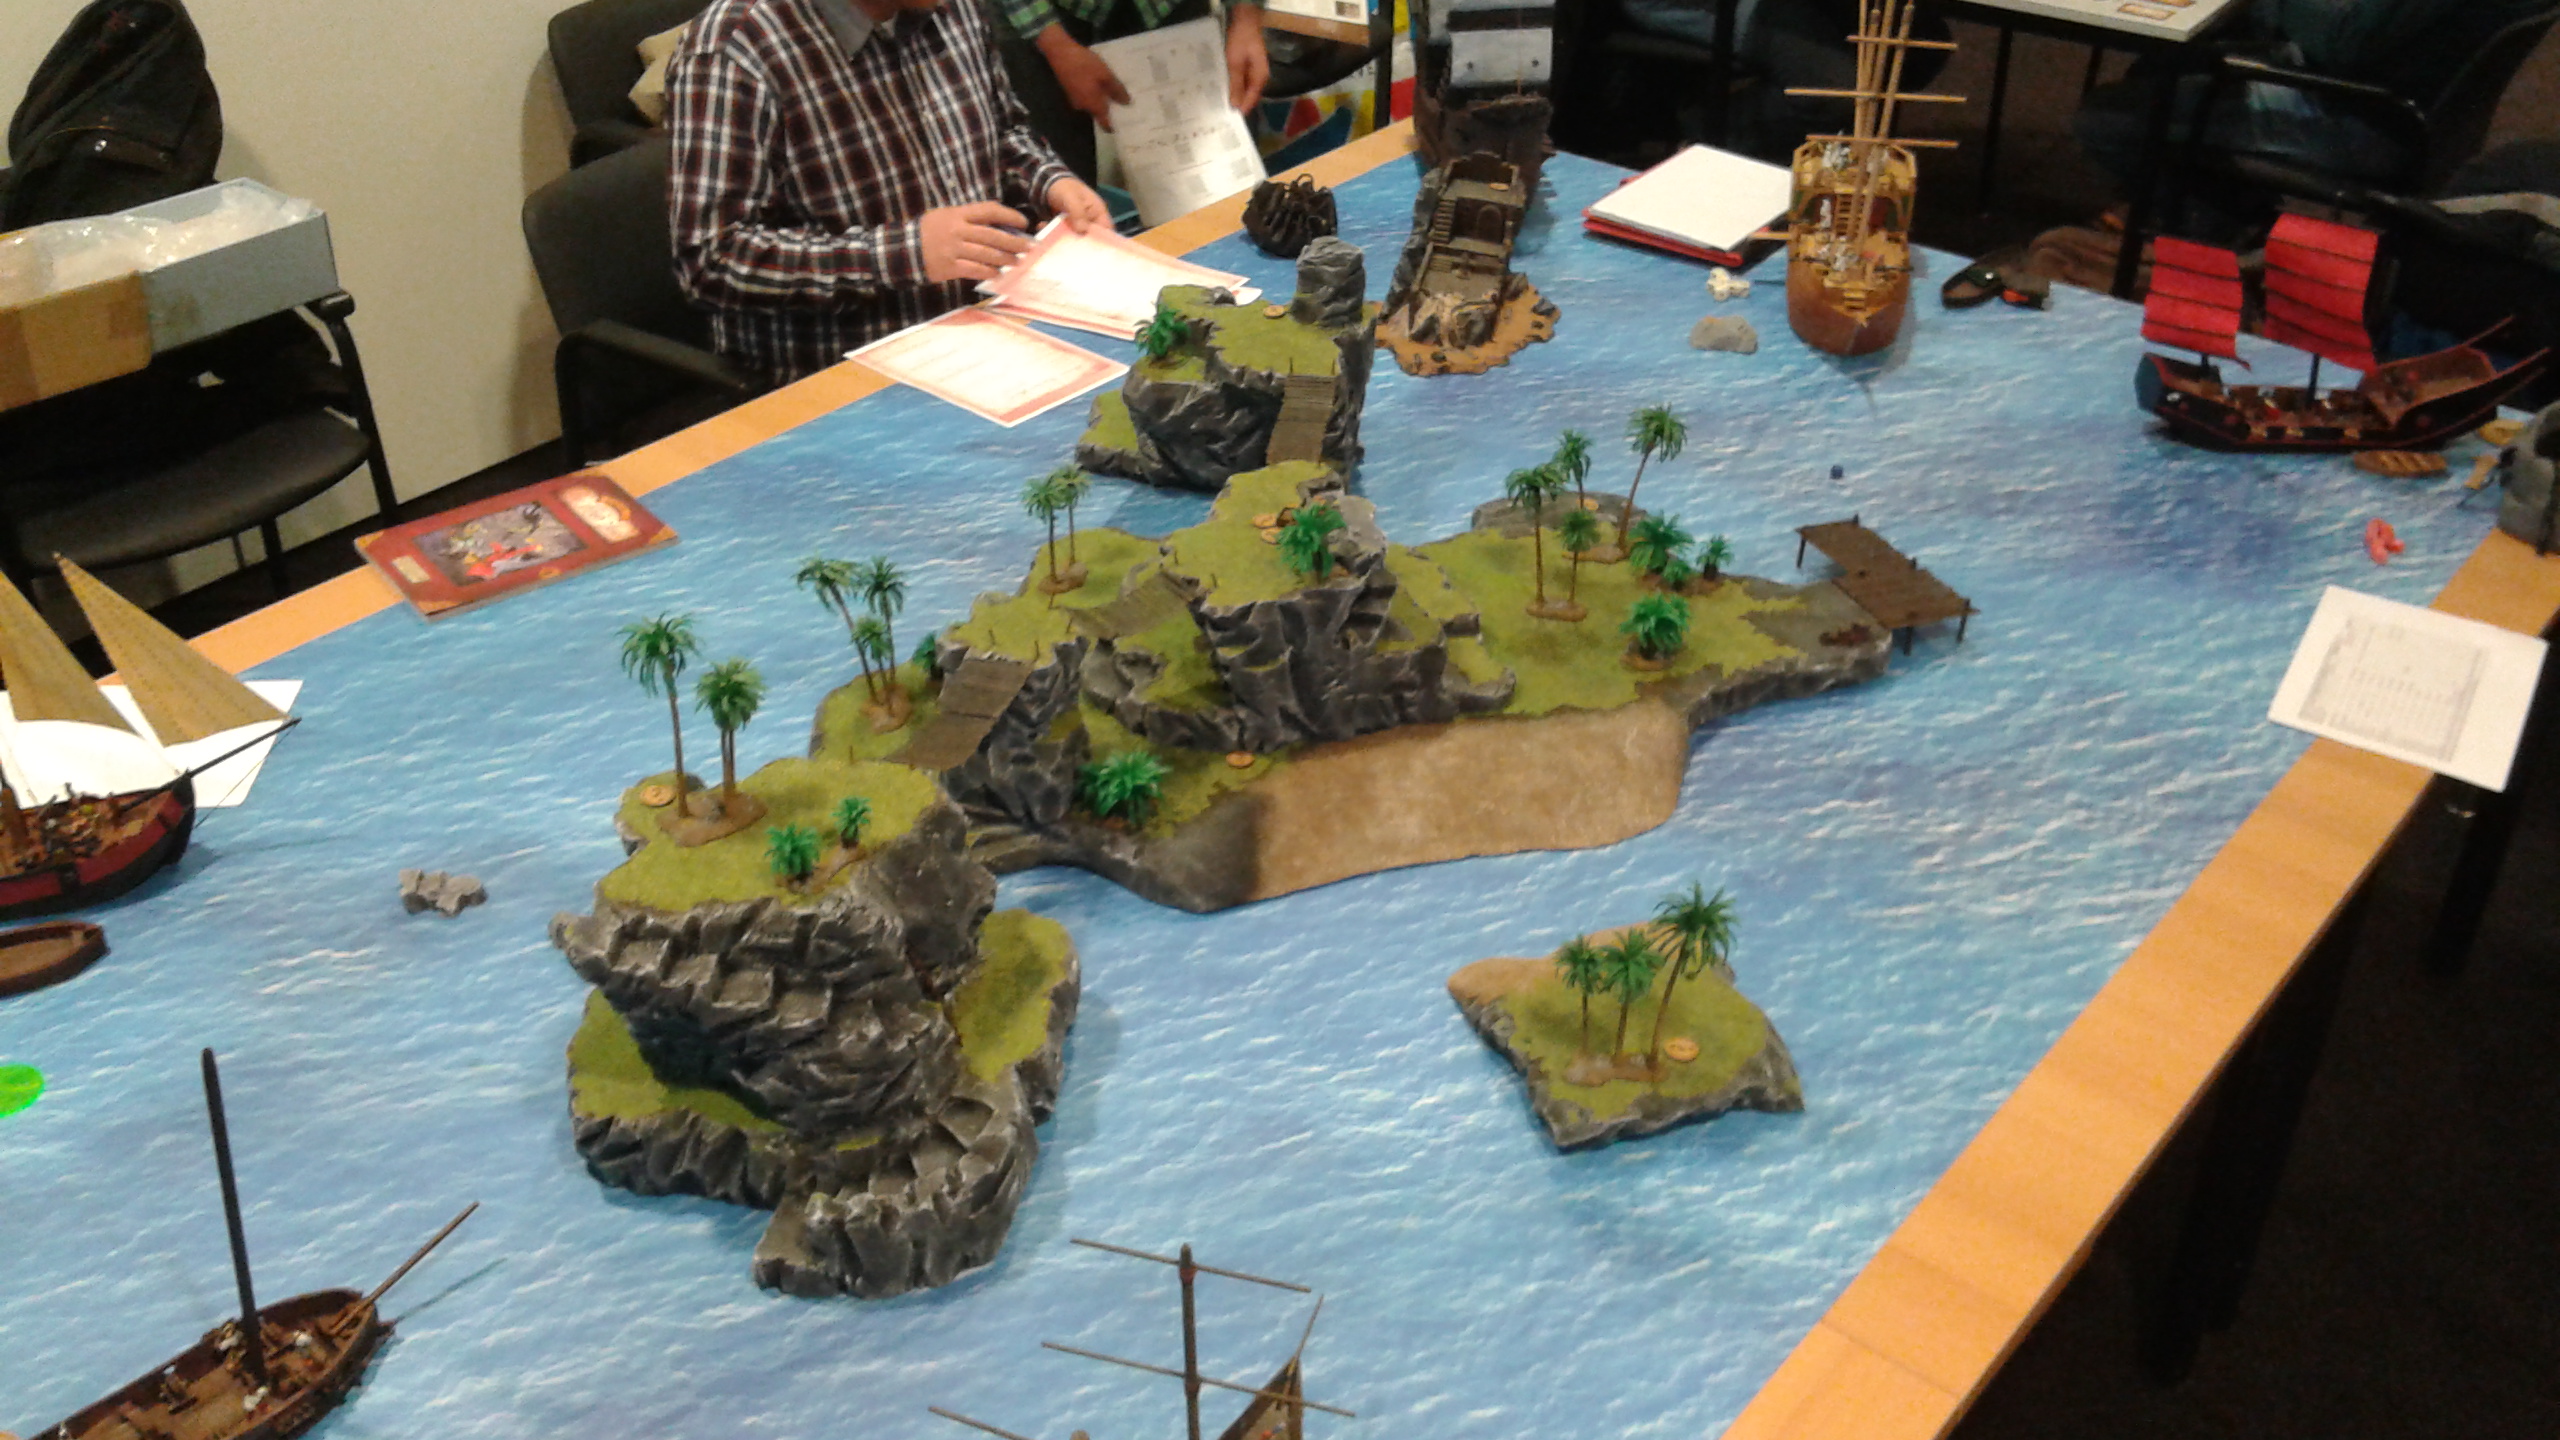
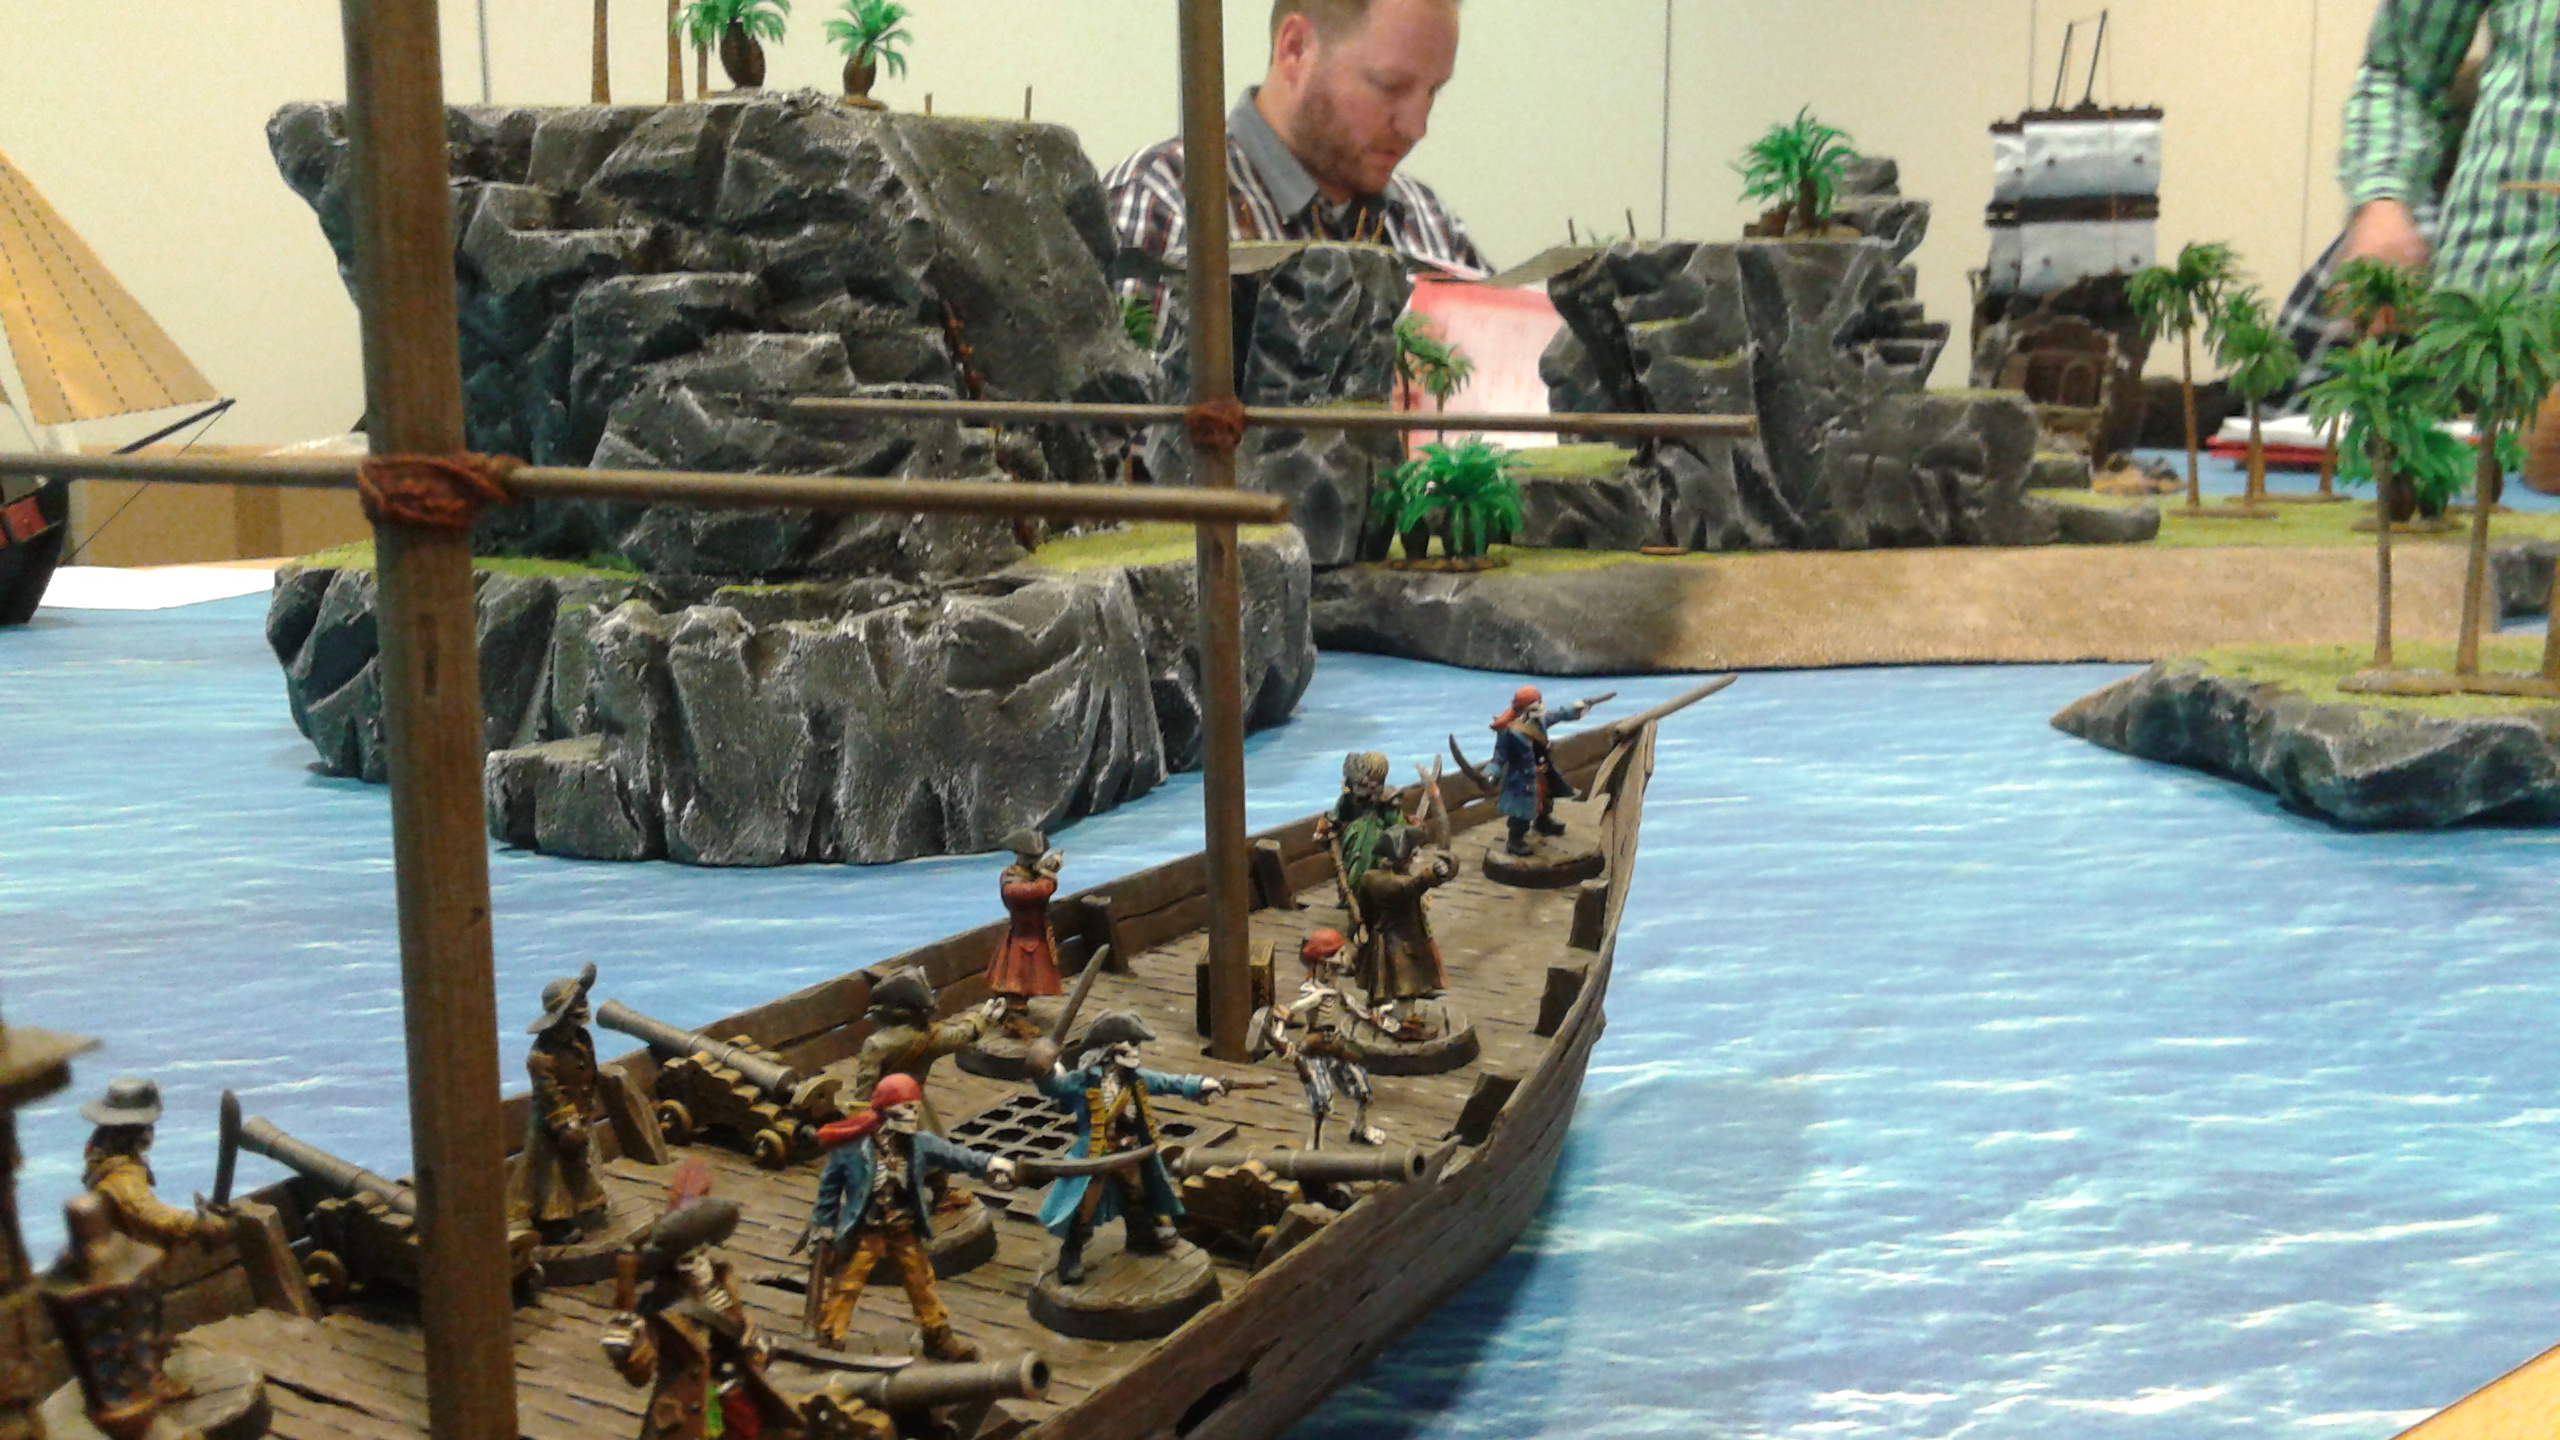
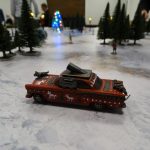
Time to put it all on the sea I printed on canvas for these games and add some of the trees and bushes I already had. Add some models and a boat and the result is quite satisfactory.
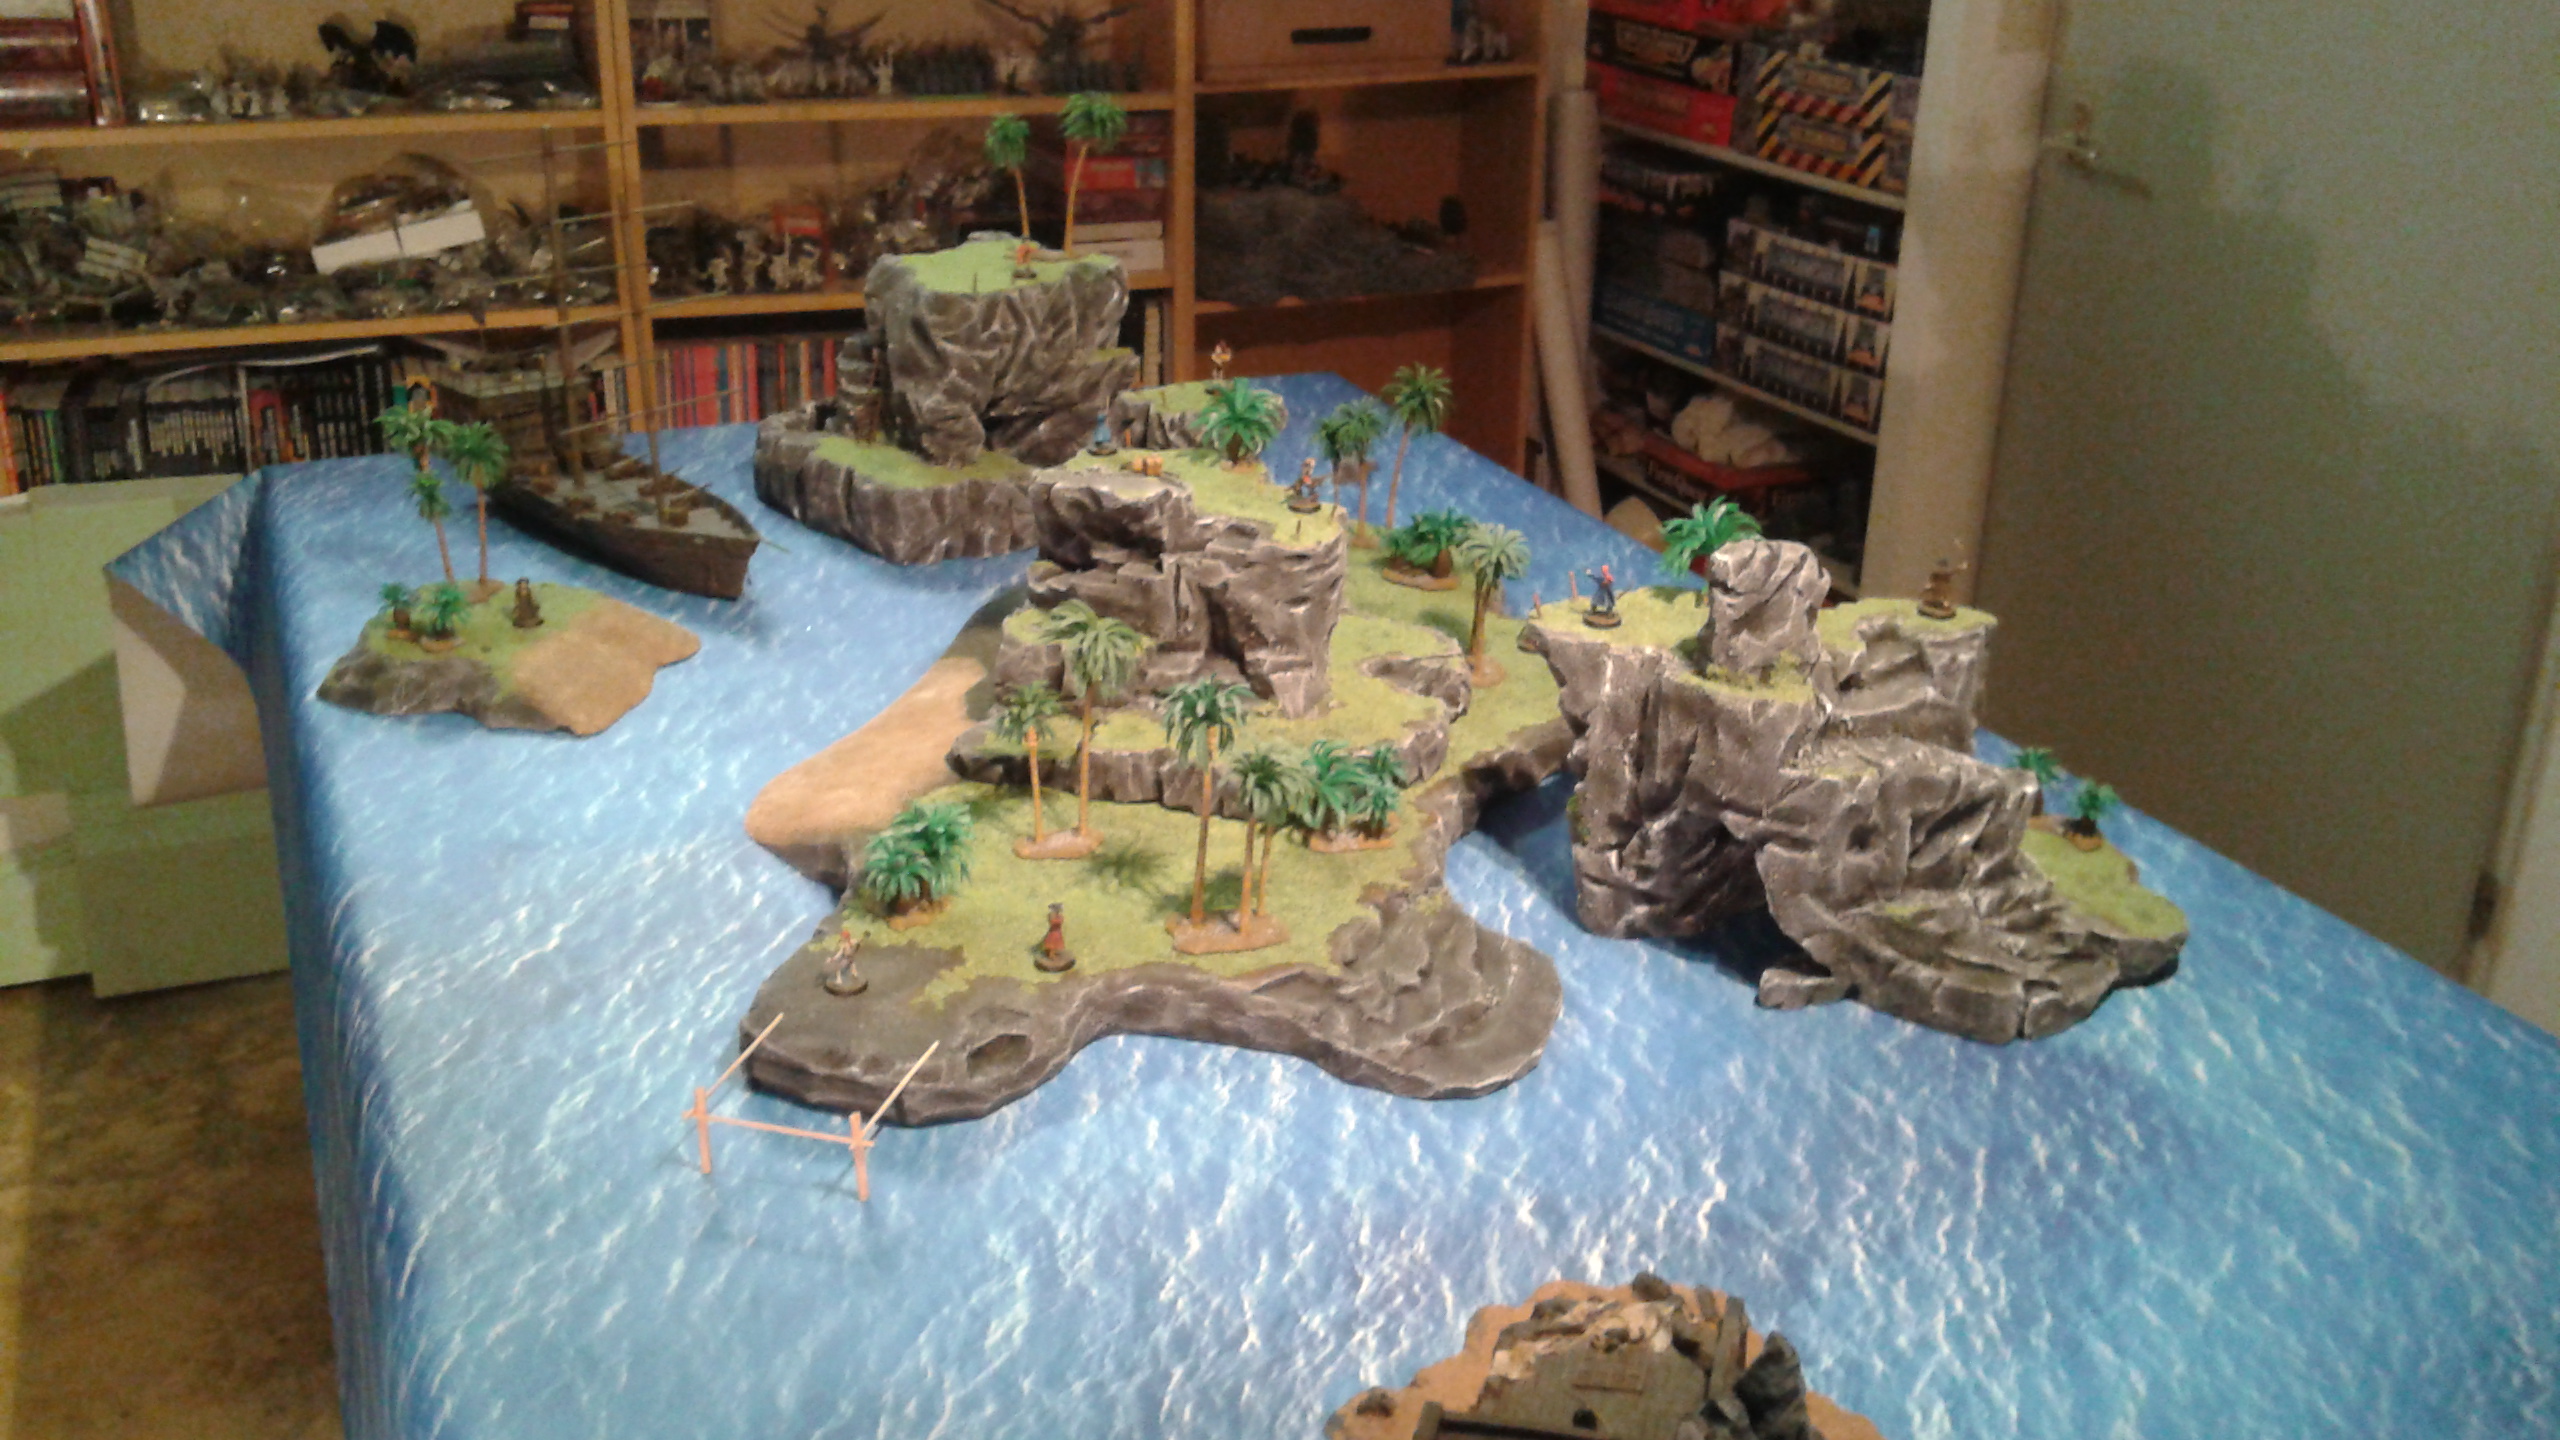
To complete it all I had to make the bridges. I looped wire between the pins so that I had to lines from one end to the other. When I placed the island parts closer together the wires slackened a bit which made the effect of the rickety bridges better. Then I cut strips from plasticard (1 mm) and roughened the edges as I did with the building of the ship (http://thedesertscorpions.com/?p=281). I glued these onto the wire with superglue. I did this while the wires were hanging between te pins.

When completed these were painted with a dark brown and drybrushed with layers of lighter browns.
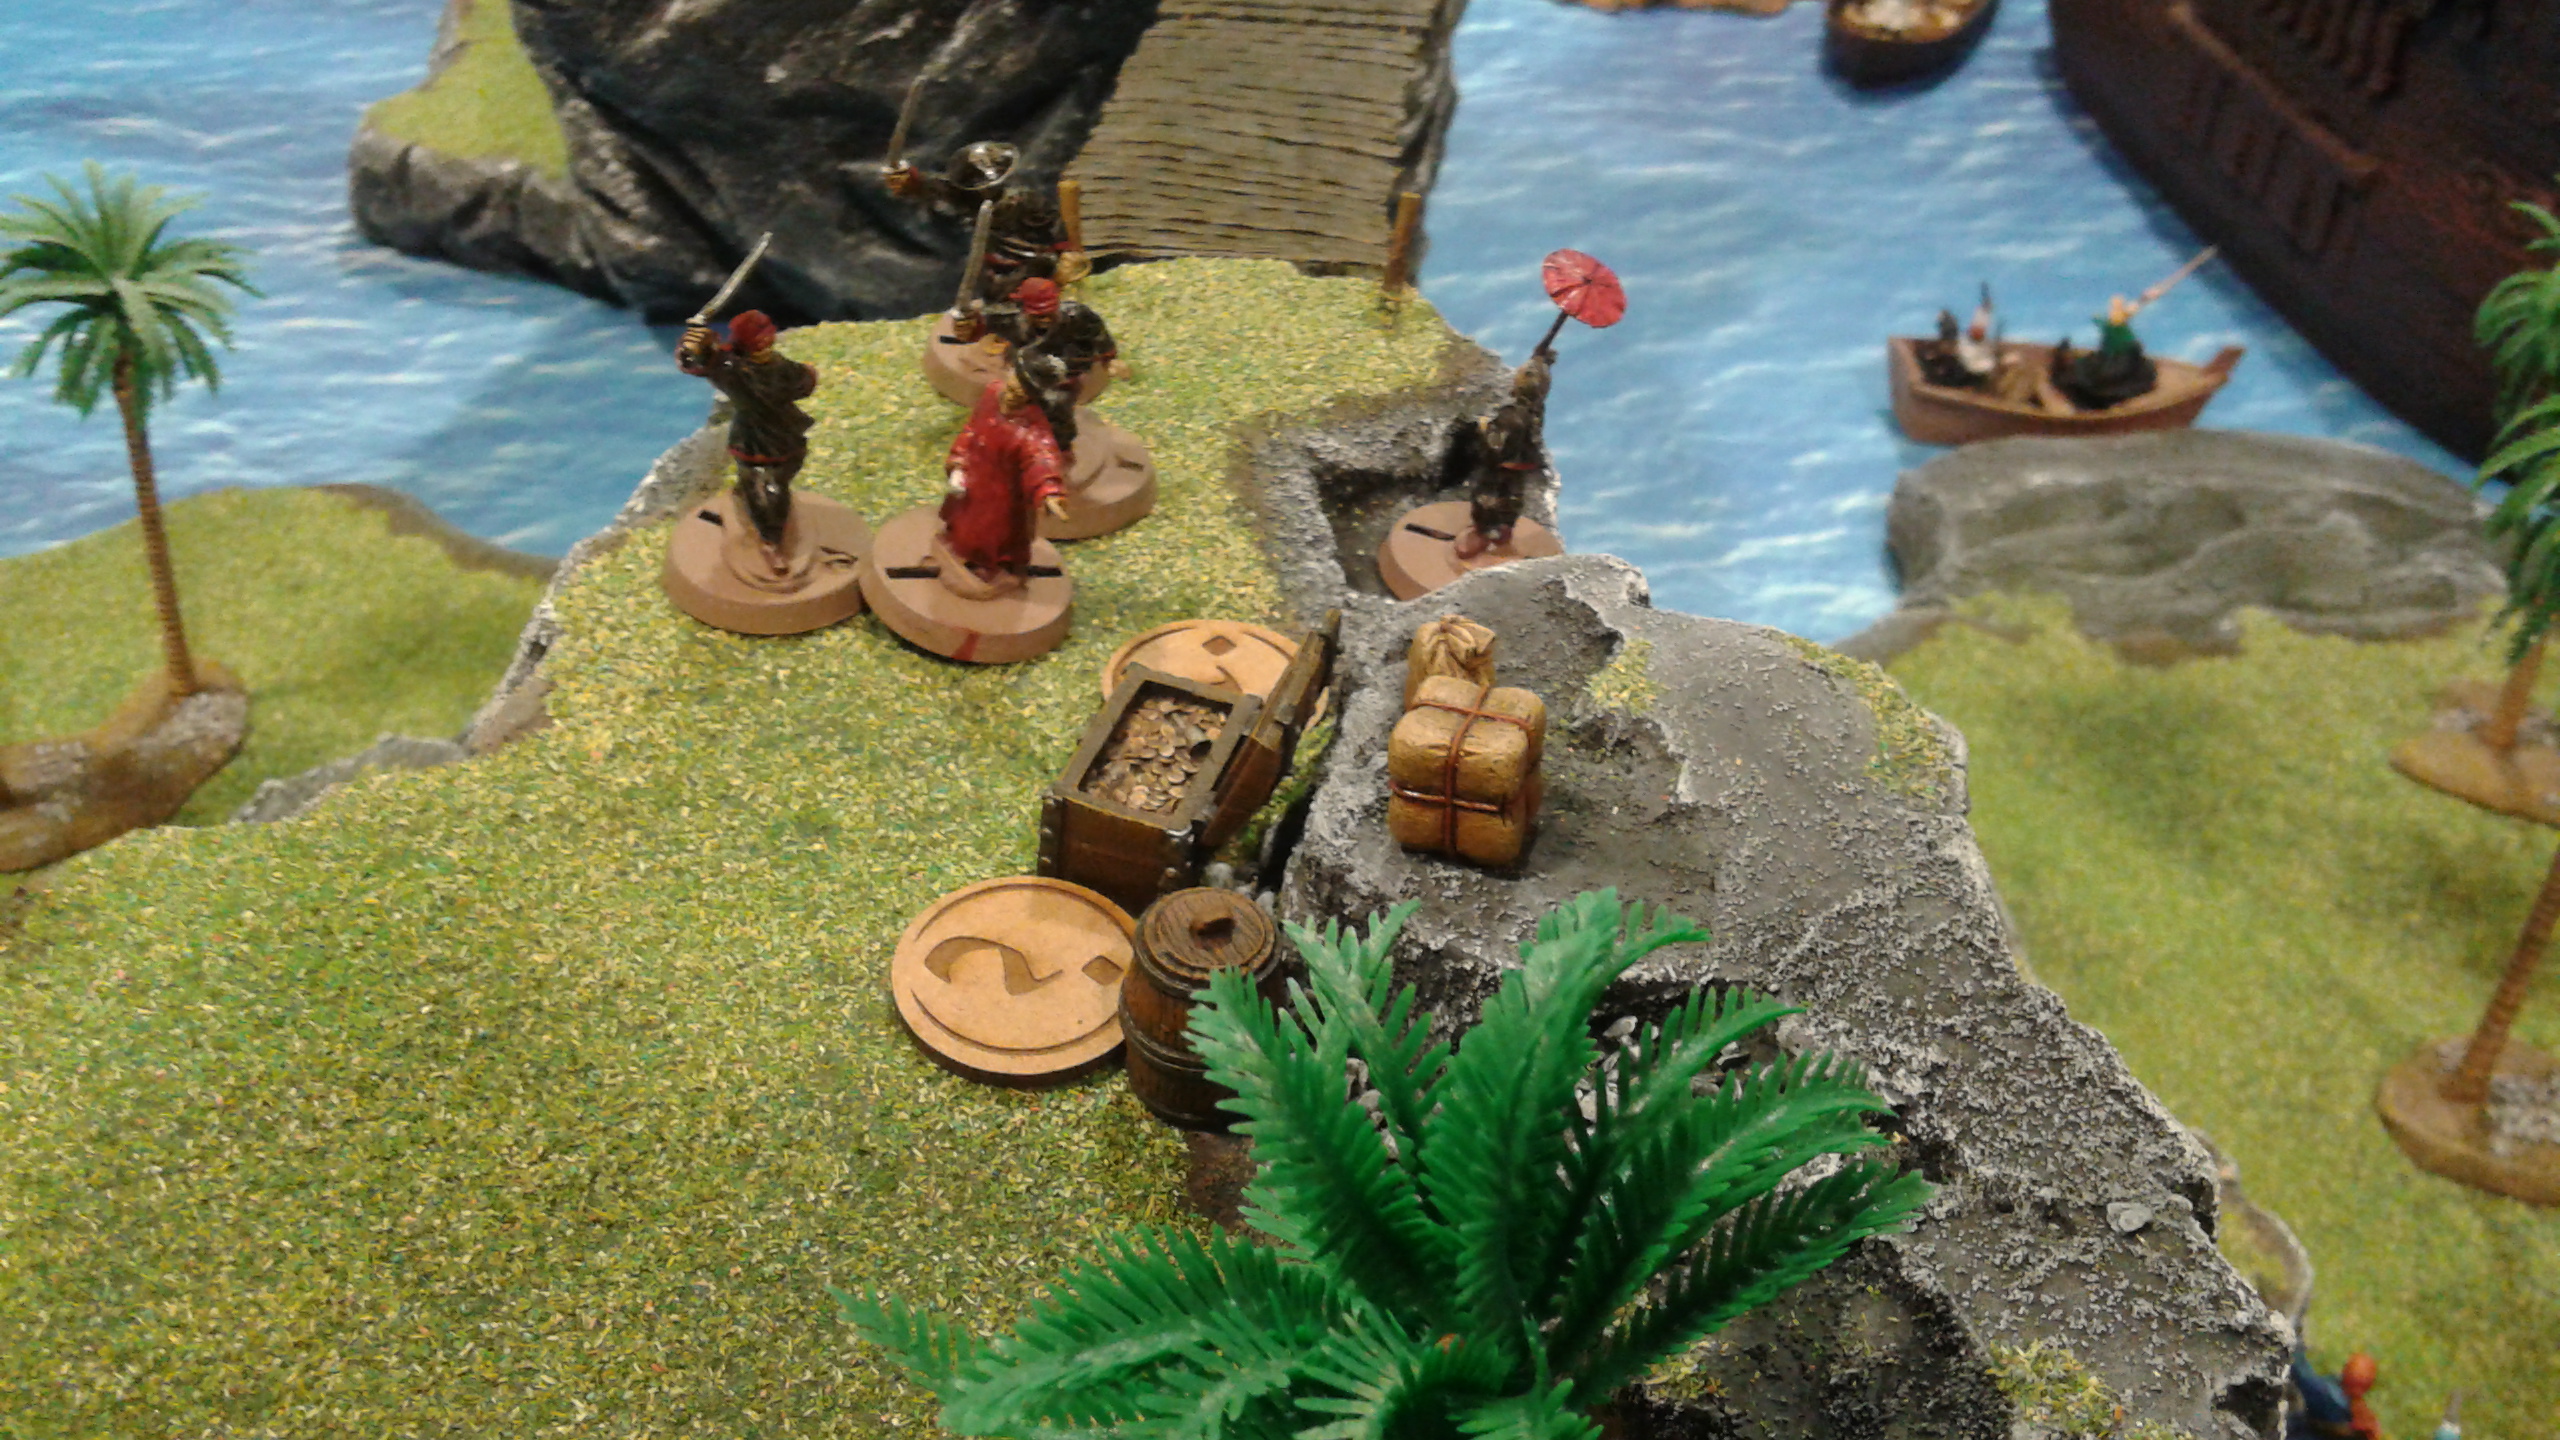
I wrote a nice scenario around it all and we had a great game with six crews fighting for the one big treasure (well, some of the crews actually never made it to land and shot each other’s ships to bits :-))


Beautiful work, I may have to steal the idea from you to build a few islands of my own. Also thank you for still playing Legends of the High Seas, I always love seeing people playing the game. Just curious, how many do you have playing in your group?
Tim
Thanks Tim, and steal all you like, I always hope to inspire people with my work.
Currently there are about 6 people playing Legends (next to all the other games we play at the club).
Great table and ships!
Is it a 6X4ft (180 X 120cm)table? Thanks! 😉
Thanks Helena,
I made the sea-mat my self and printed it at 300 x 150 cm.
Thank you, Patrick! It looks awesome! 🙂