Hello all. Several things have kept me occupied recently, so it has been a while since I have posted. The good news is that I found some precious time to start painting the tunnel section. So here is a new update:
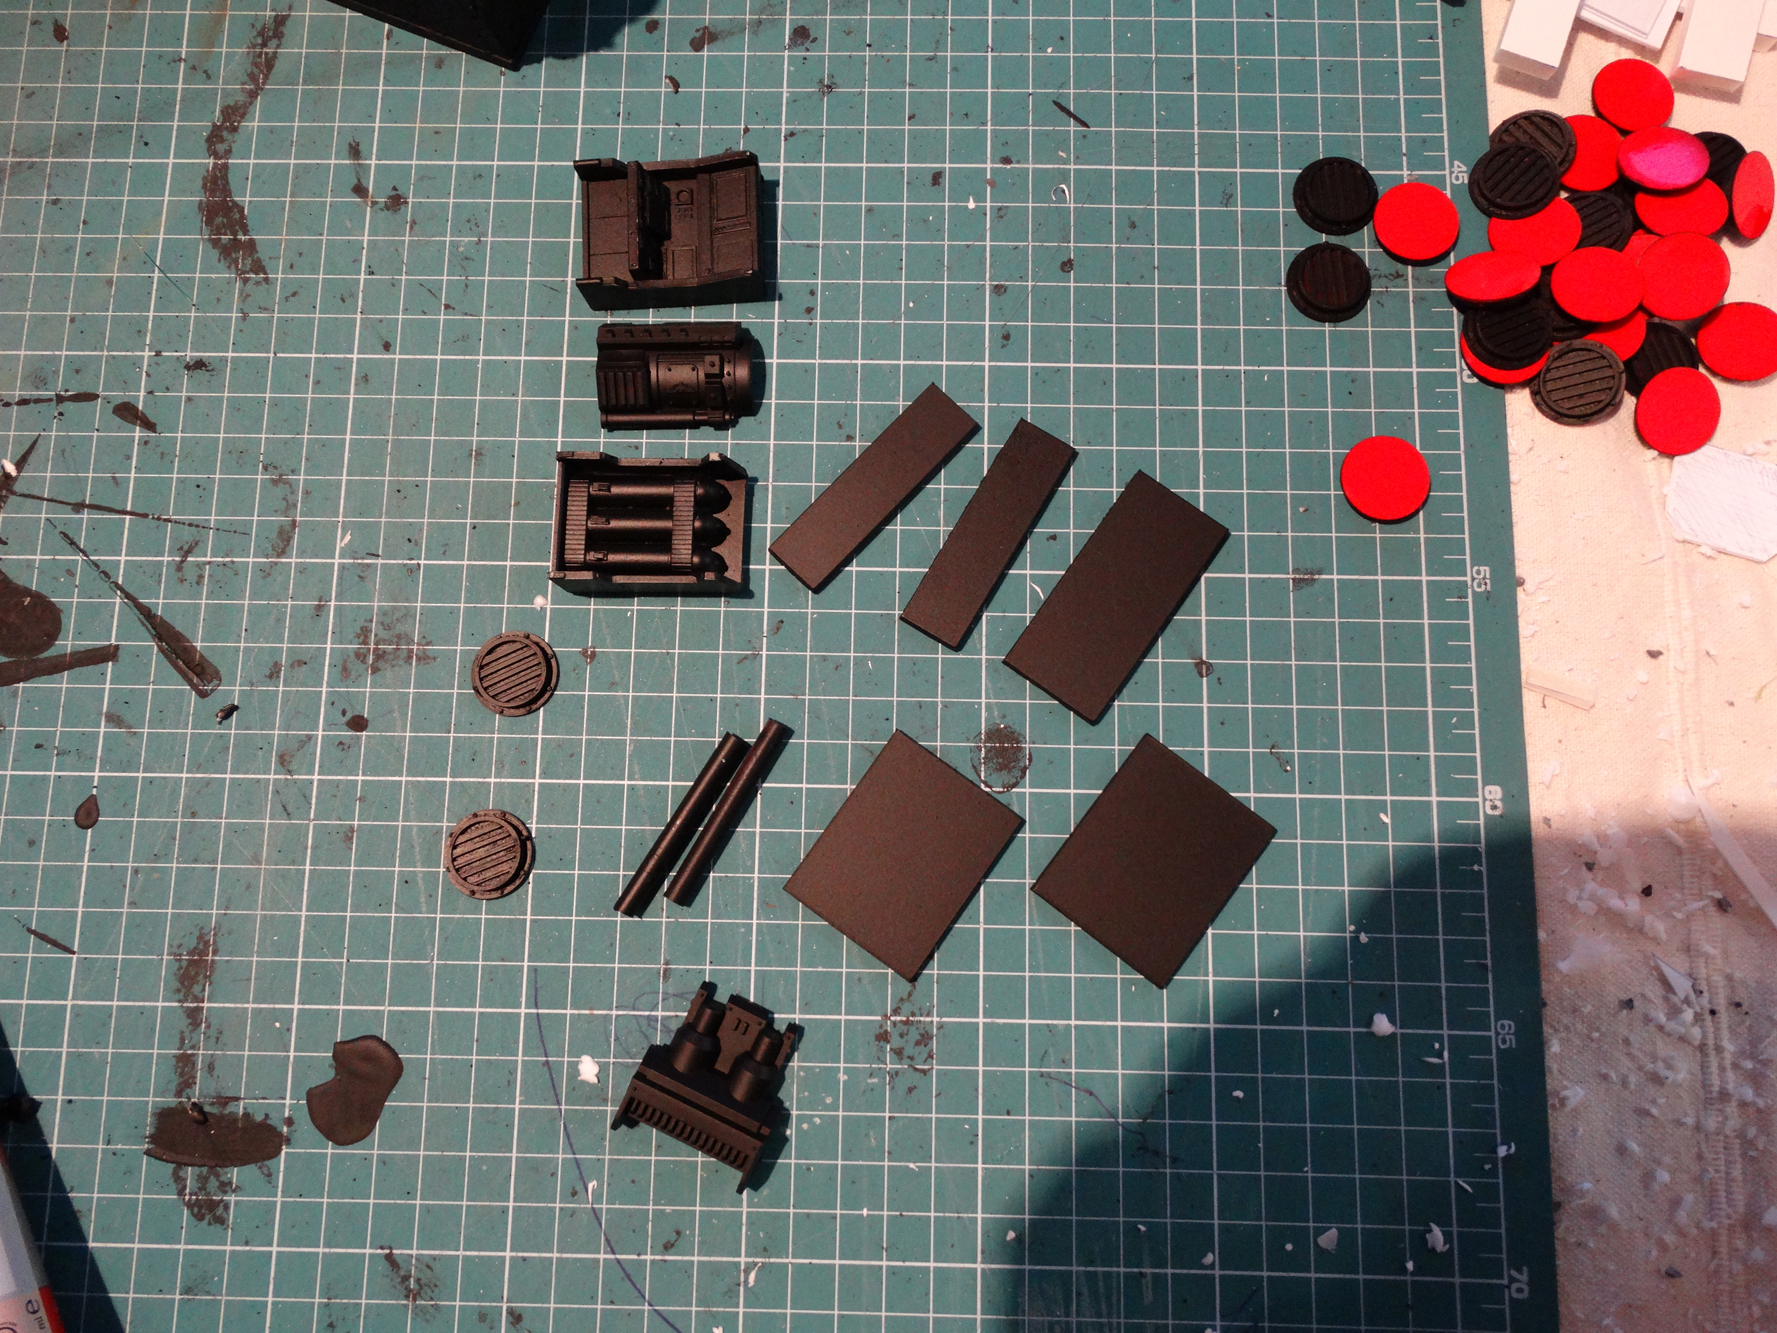
Pt. III in this series ended with the walls and floor base coated in black (and texture on the walls). Now I could add some more details. But first off I basecoated the consoles, panels and such which I would later add.
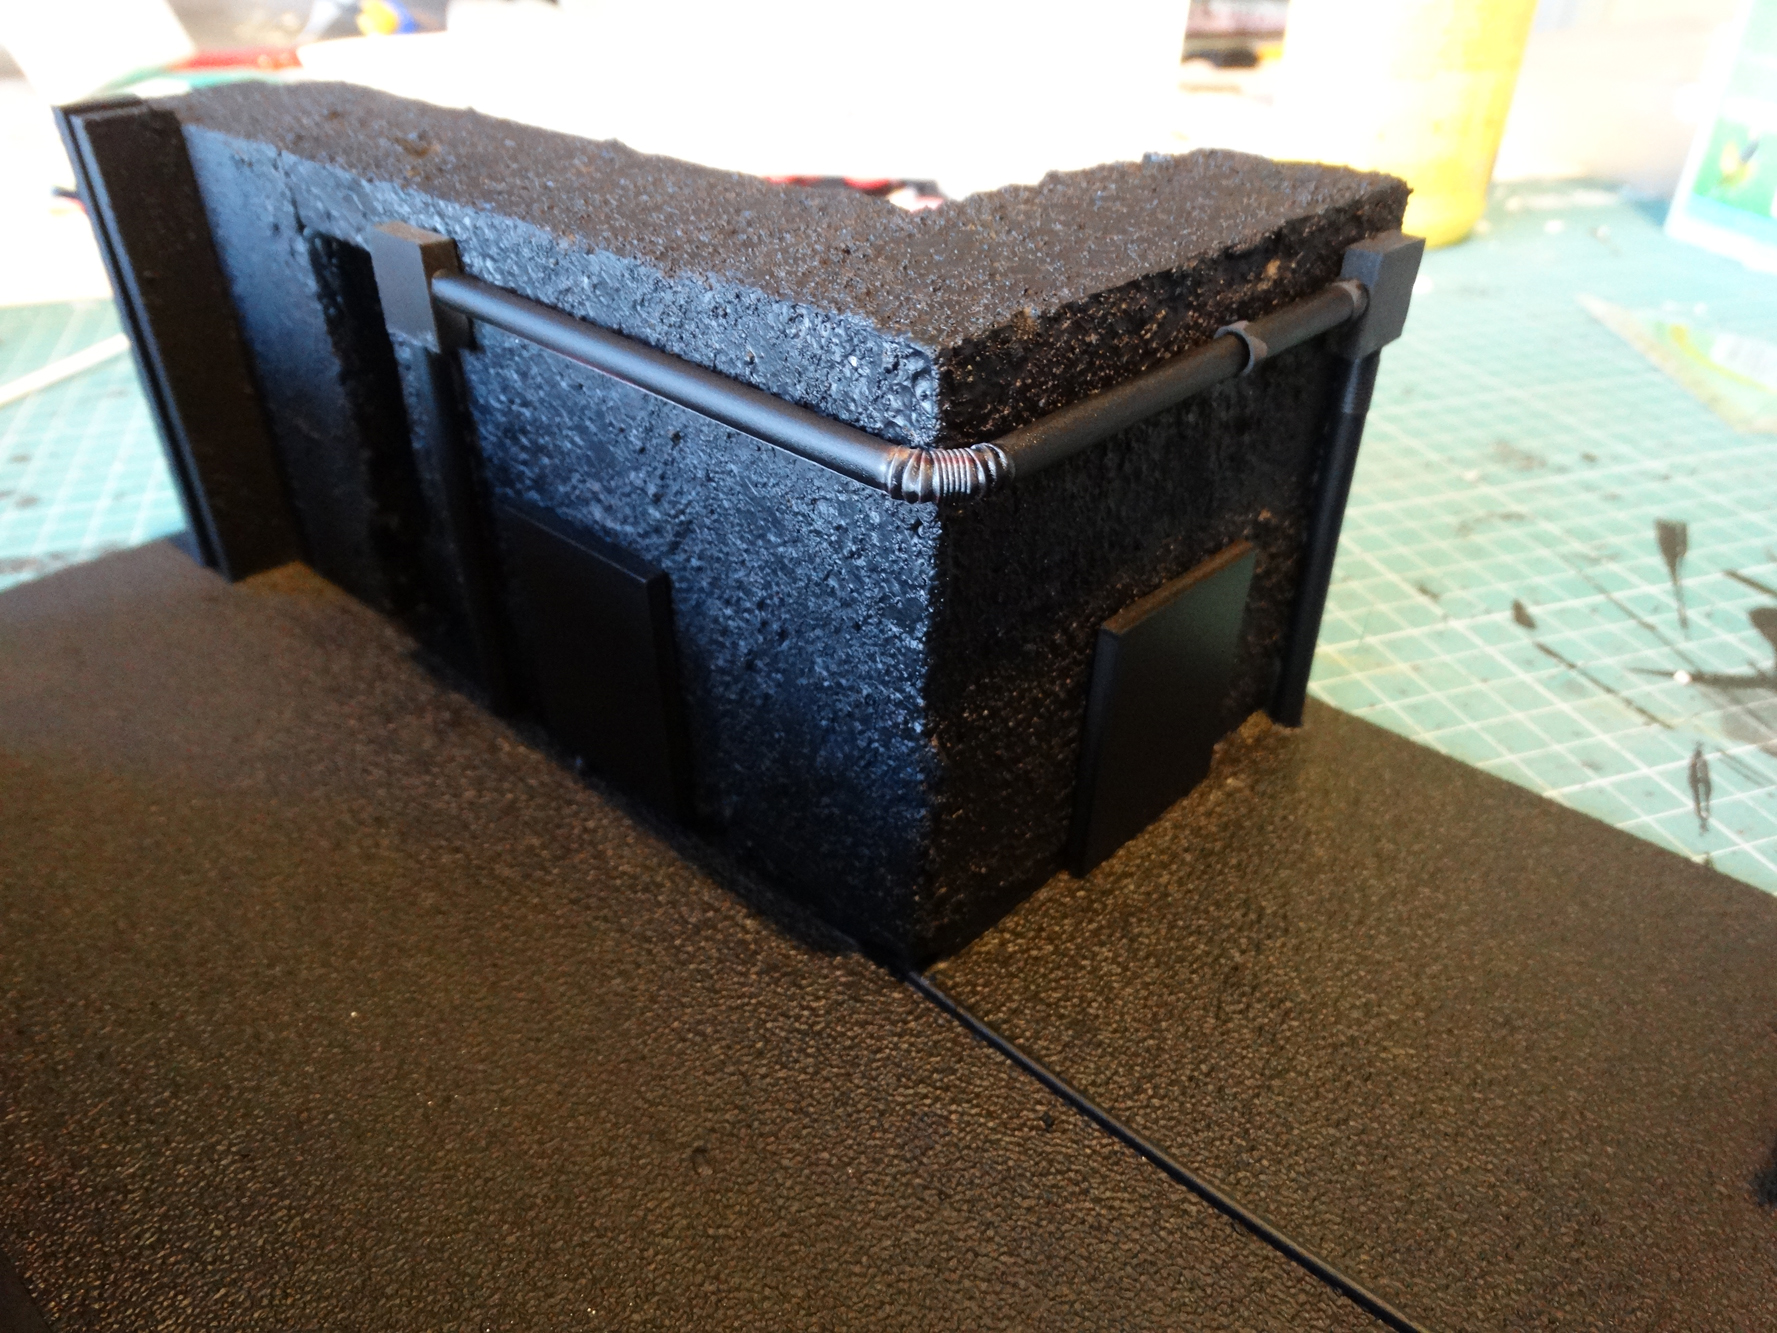
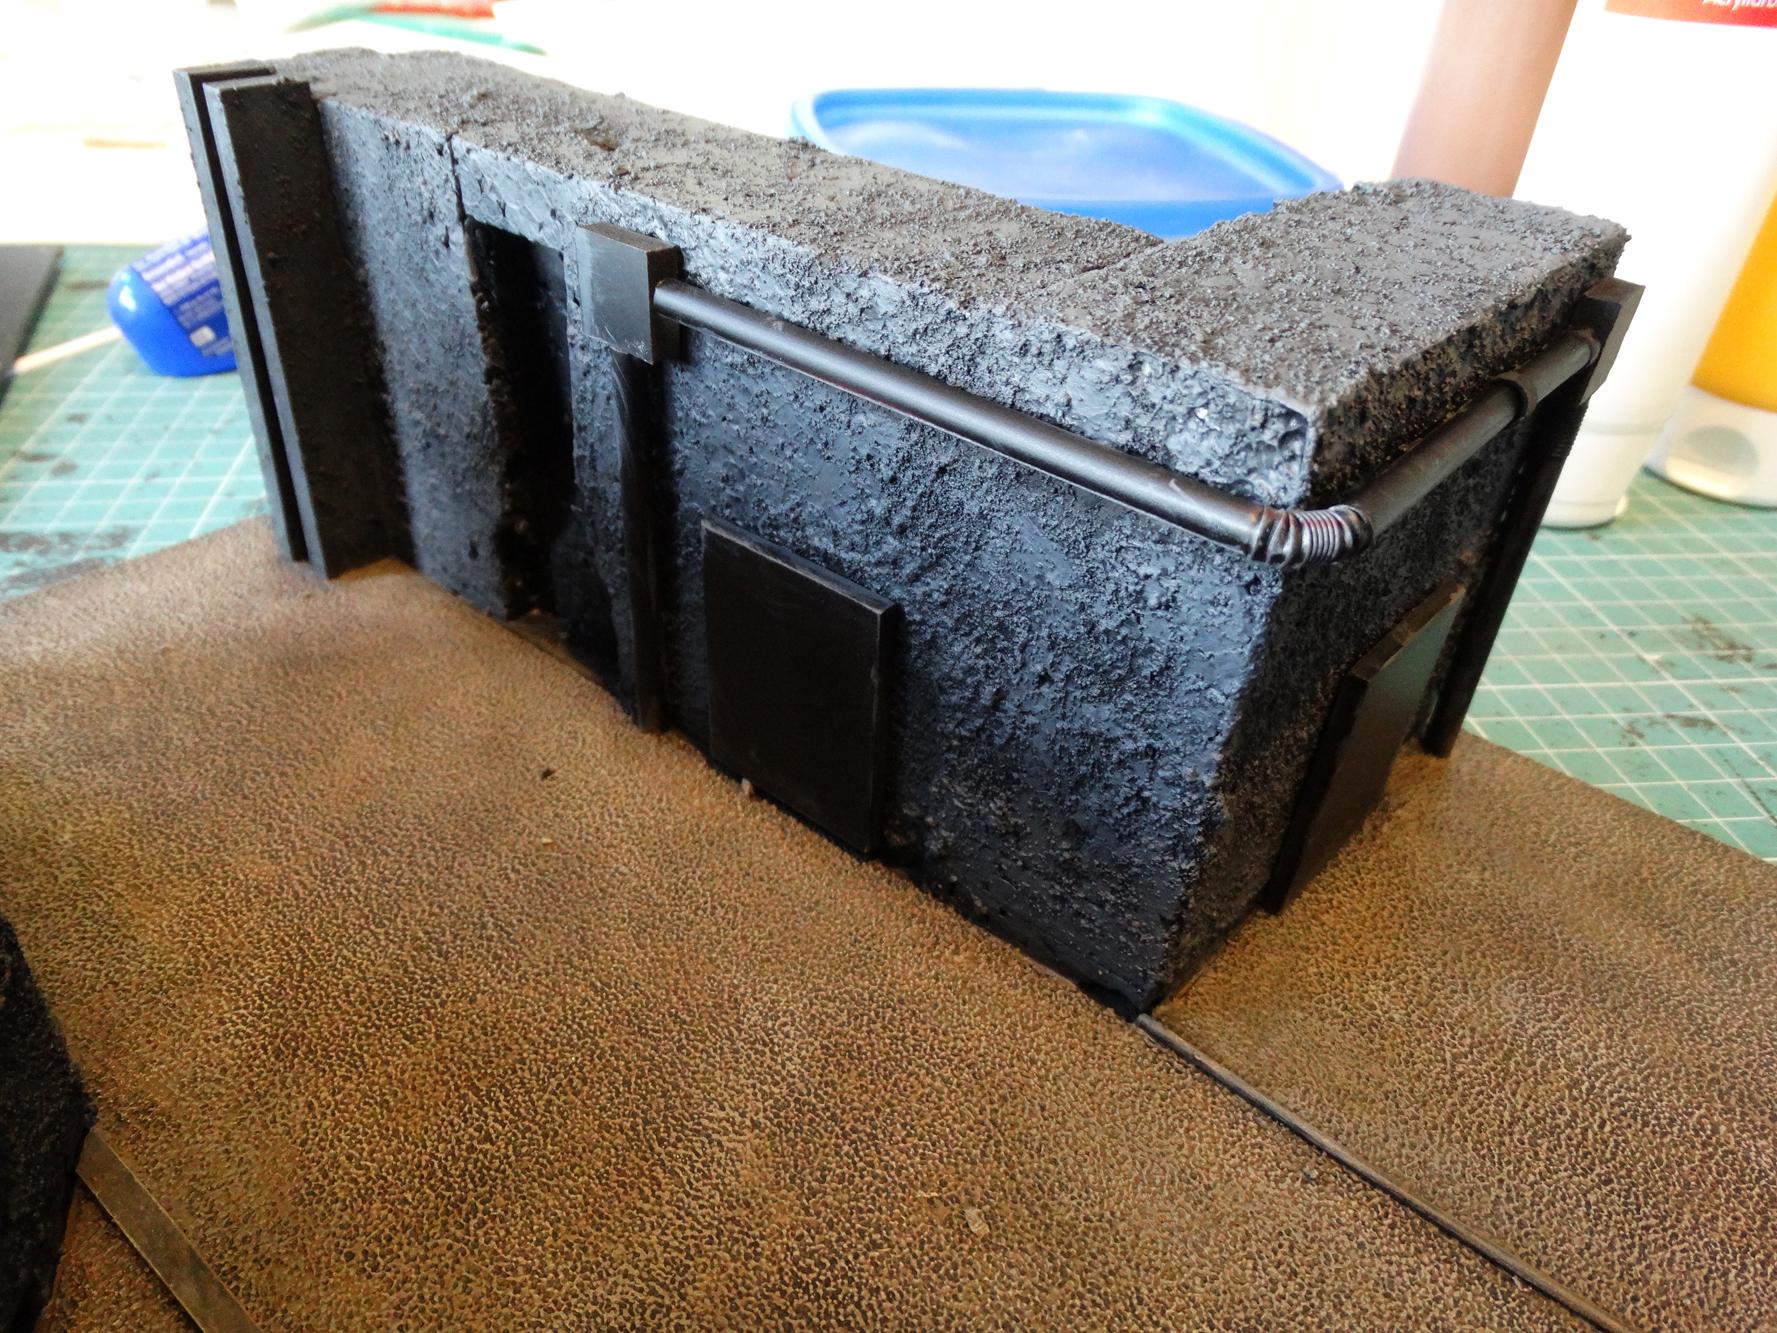
I glued the flat panels on the walls, as well as the air vents (3D printed parts). Next I wanted to add some pipework to the walls to make them a bit more interesting. I could not do this before because they would get the textured paint on them, which would not be good.
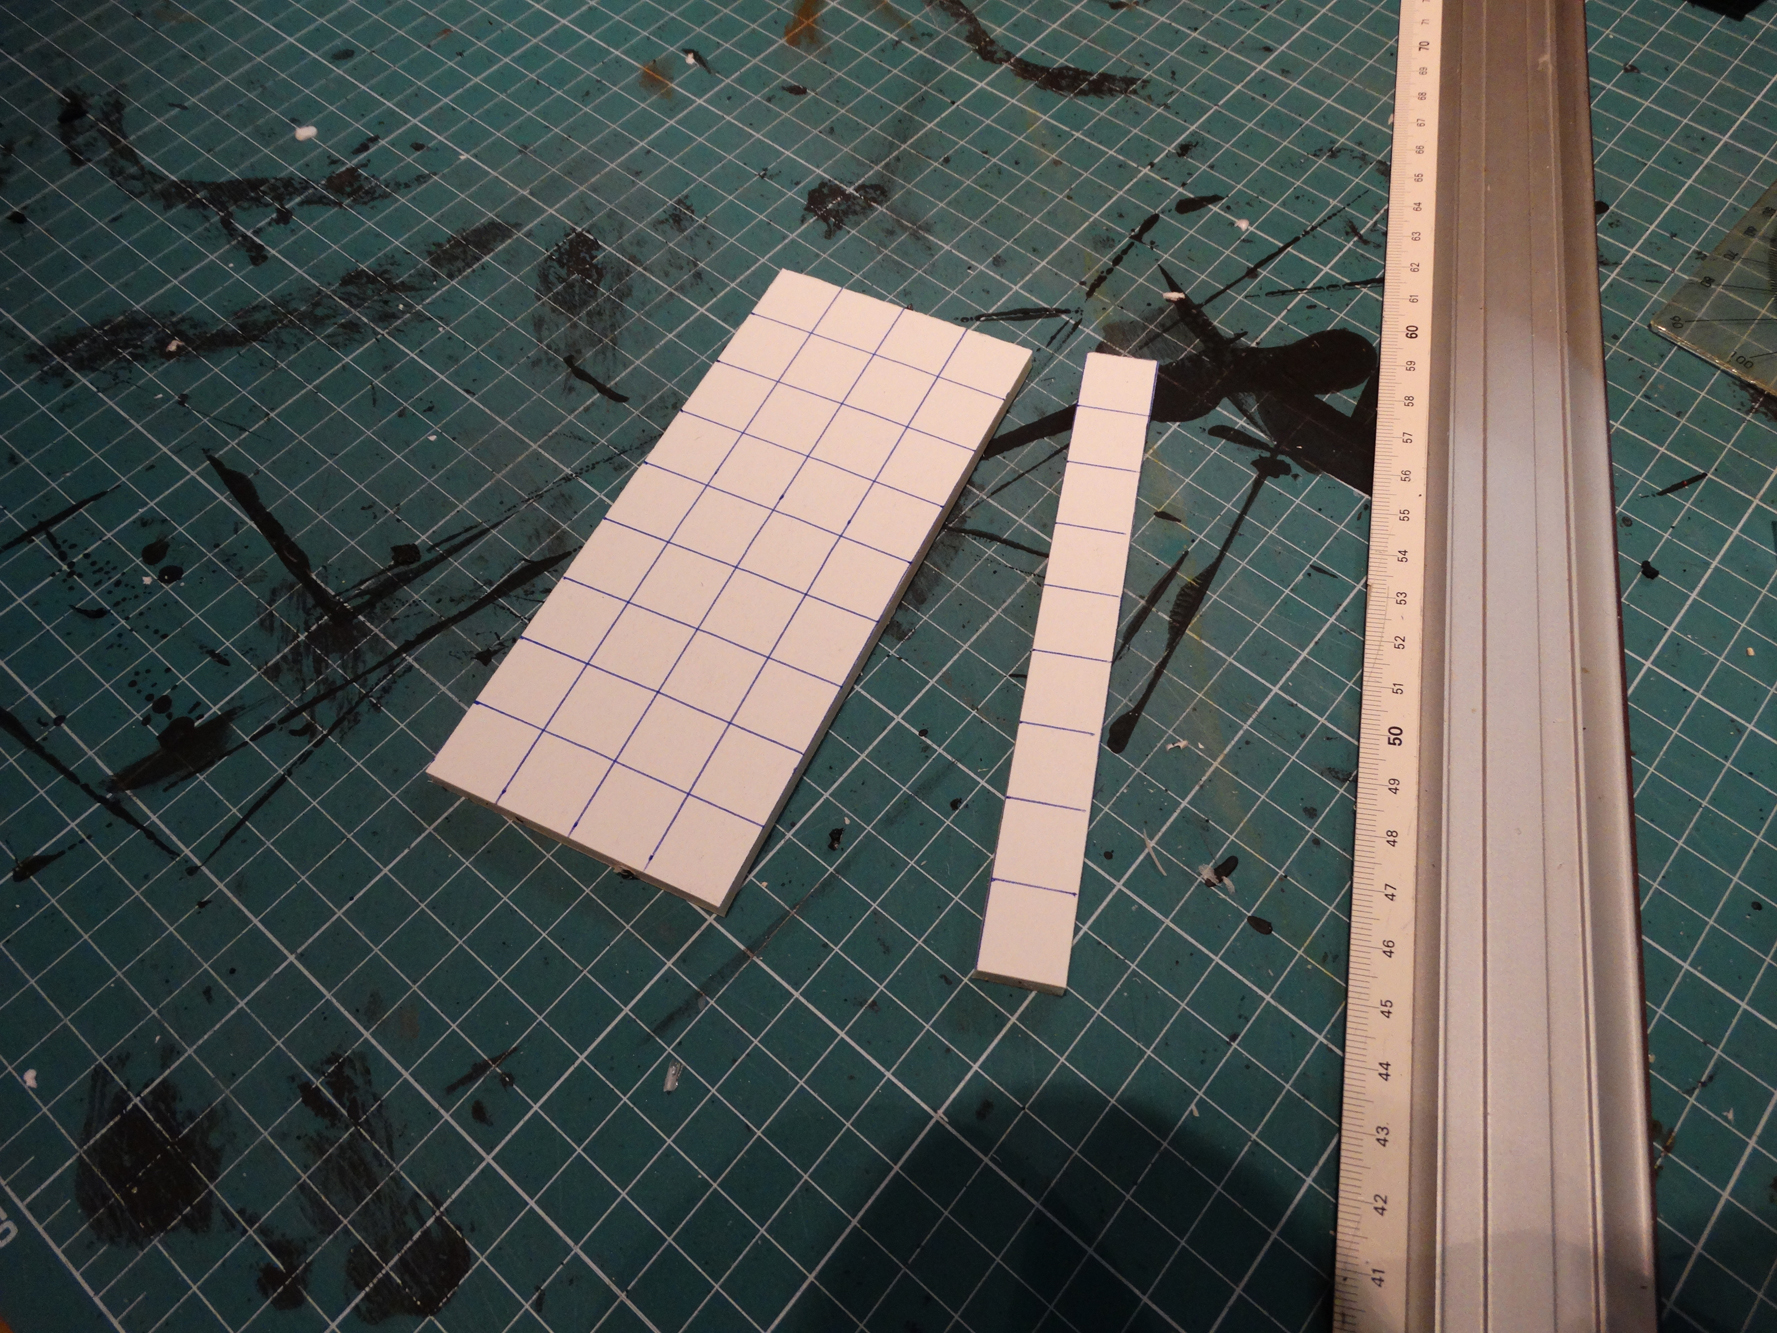
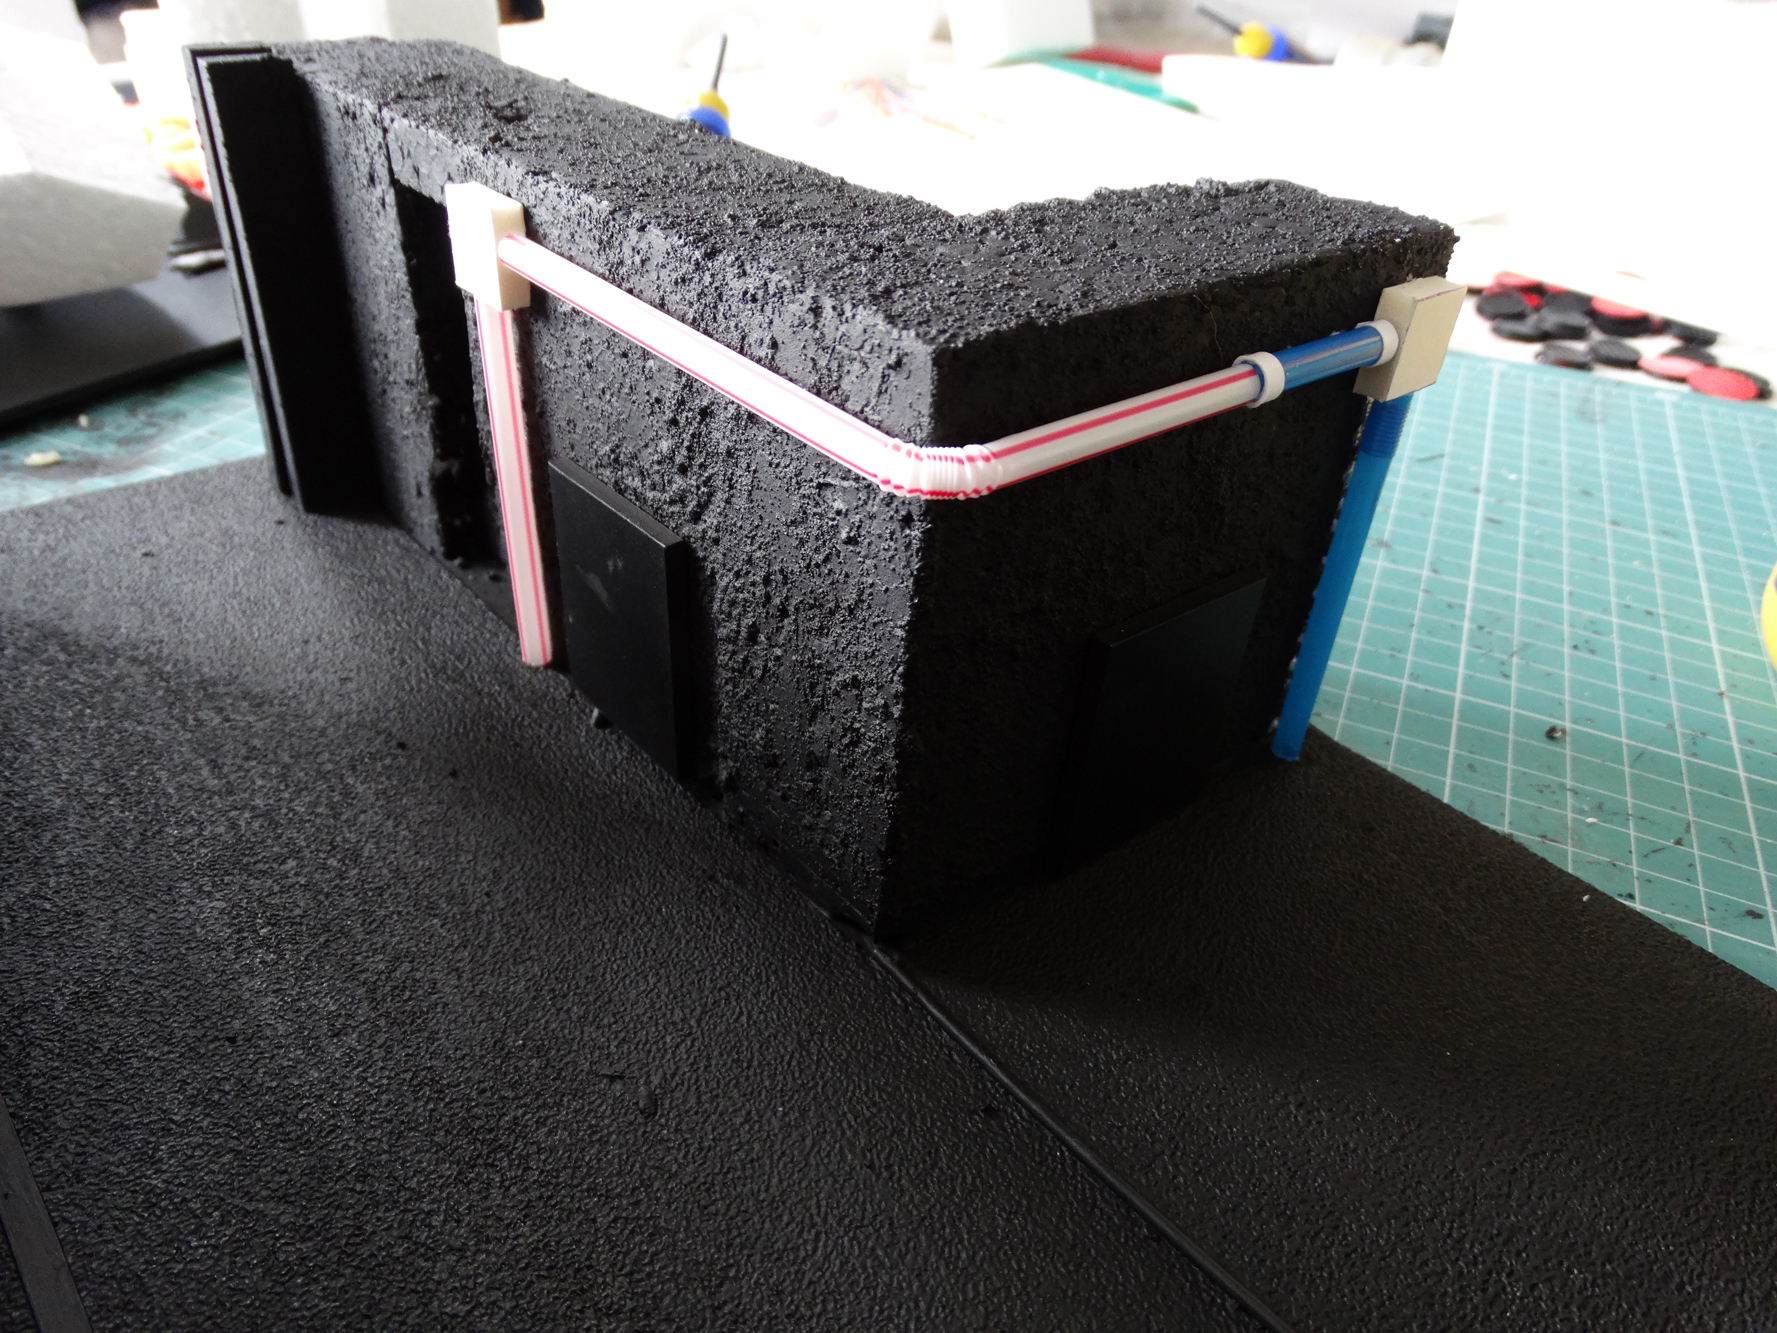
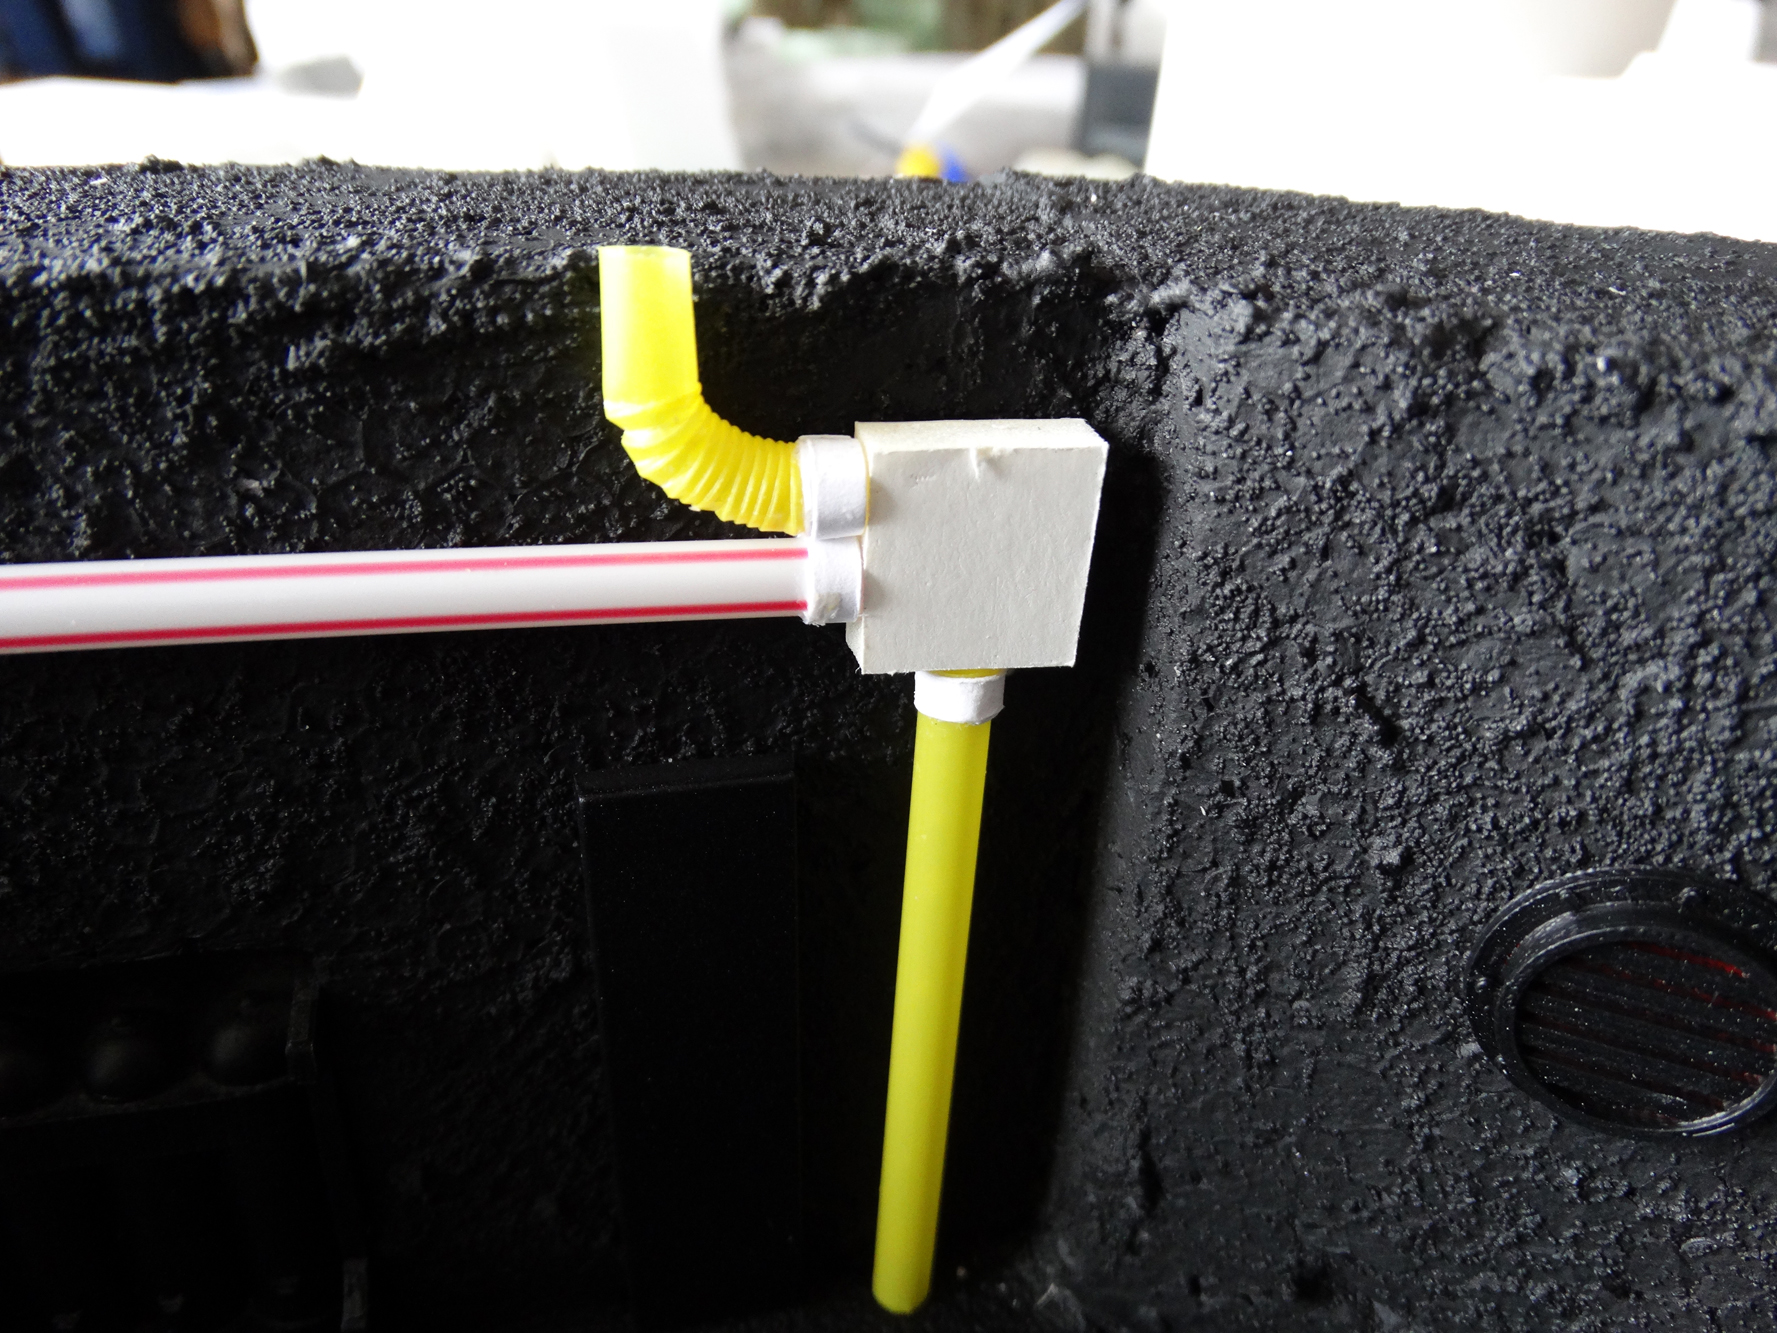
I made the pipes from simple straws. Just cut them the right length and add some paper strips at certain points. These can represent wall brackets or connectors between pipes.
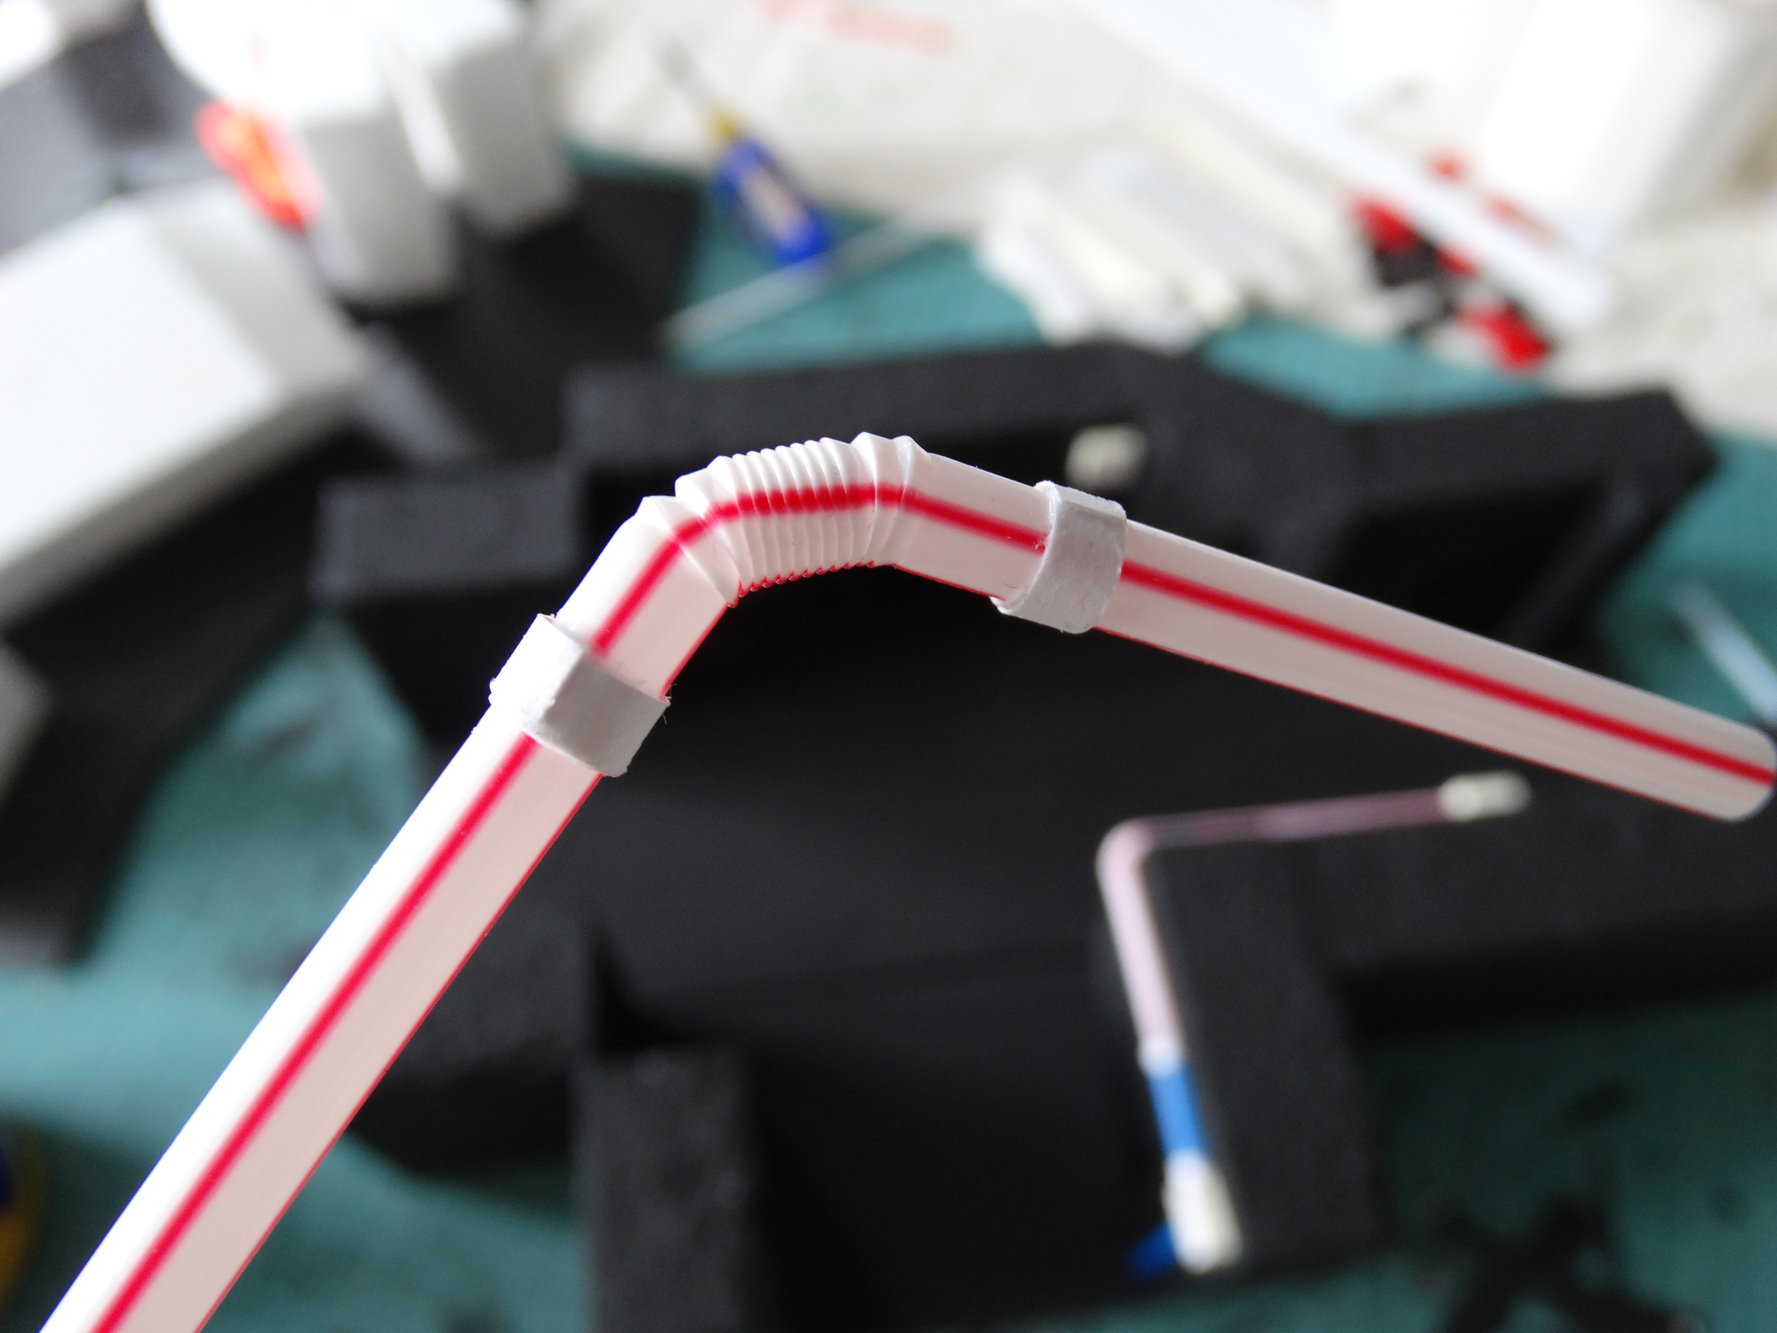
Every tunnel section must be able to stand on its own. Therefore I did not wanted any of the pipes to end at a point were other sections could be placed. In order to make them end I made some square pieces from foamboard to represent power ducts or something like that.
I then applied it all to the walls using wood glue. Just start with one of the ducts and work from there, adding lengths of pipework were needed.

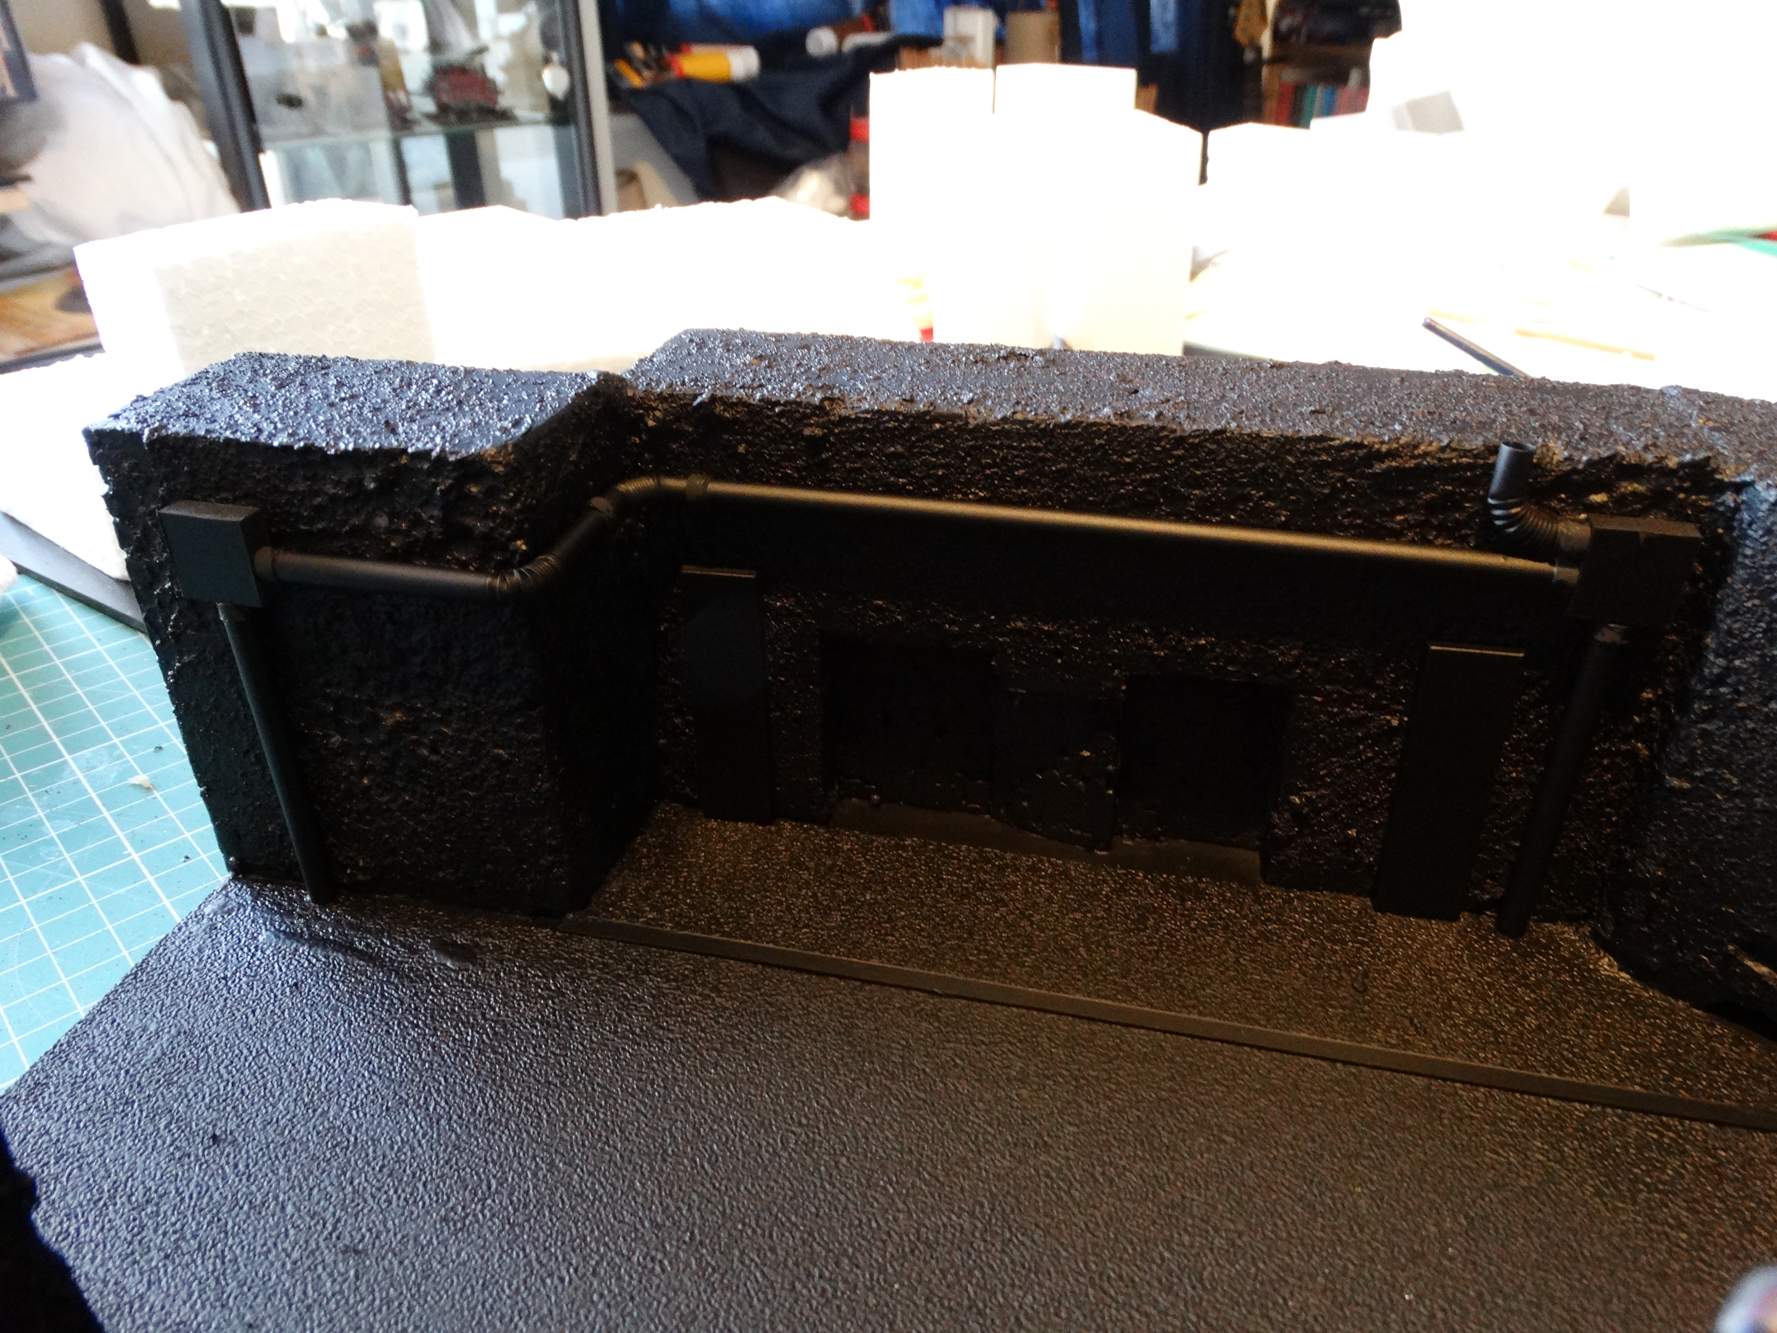
When finished these new parts were spray painted with a black undercoat.
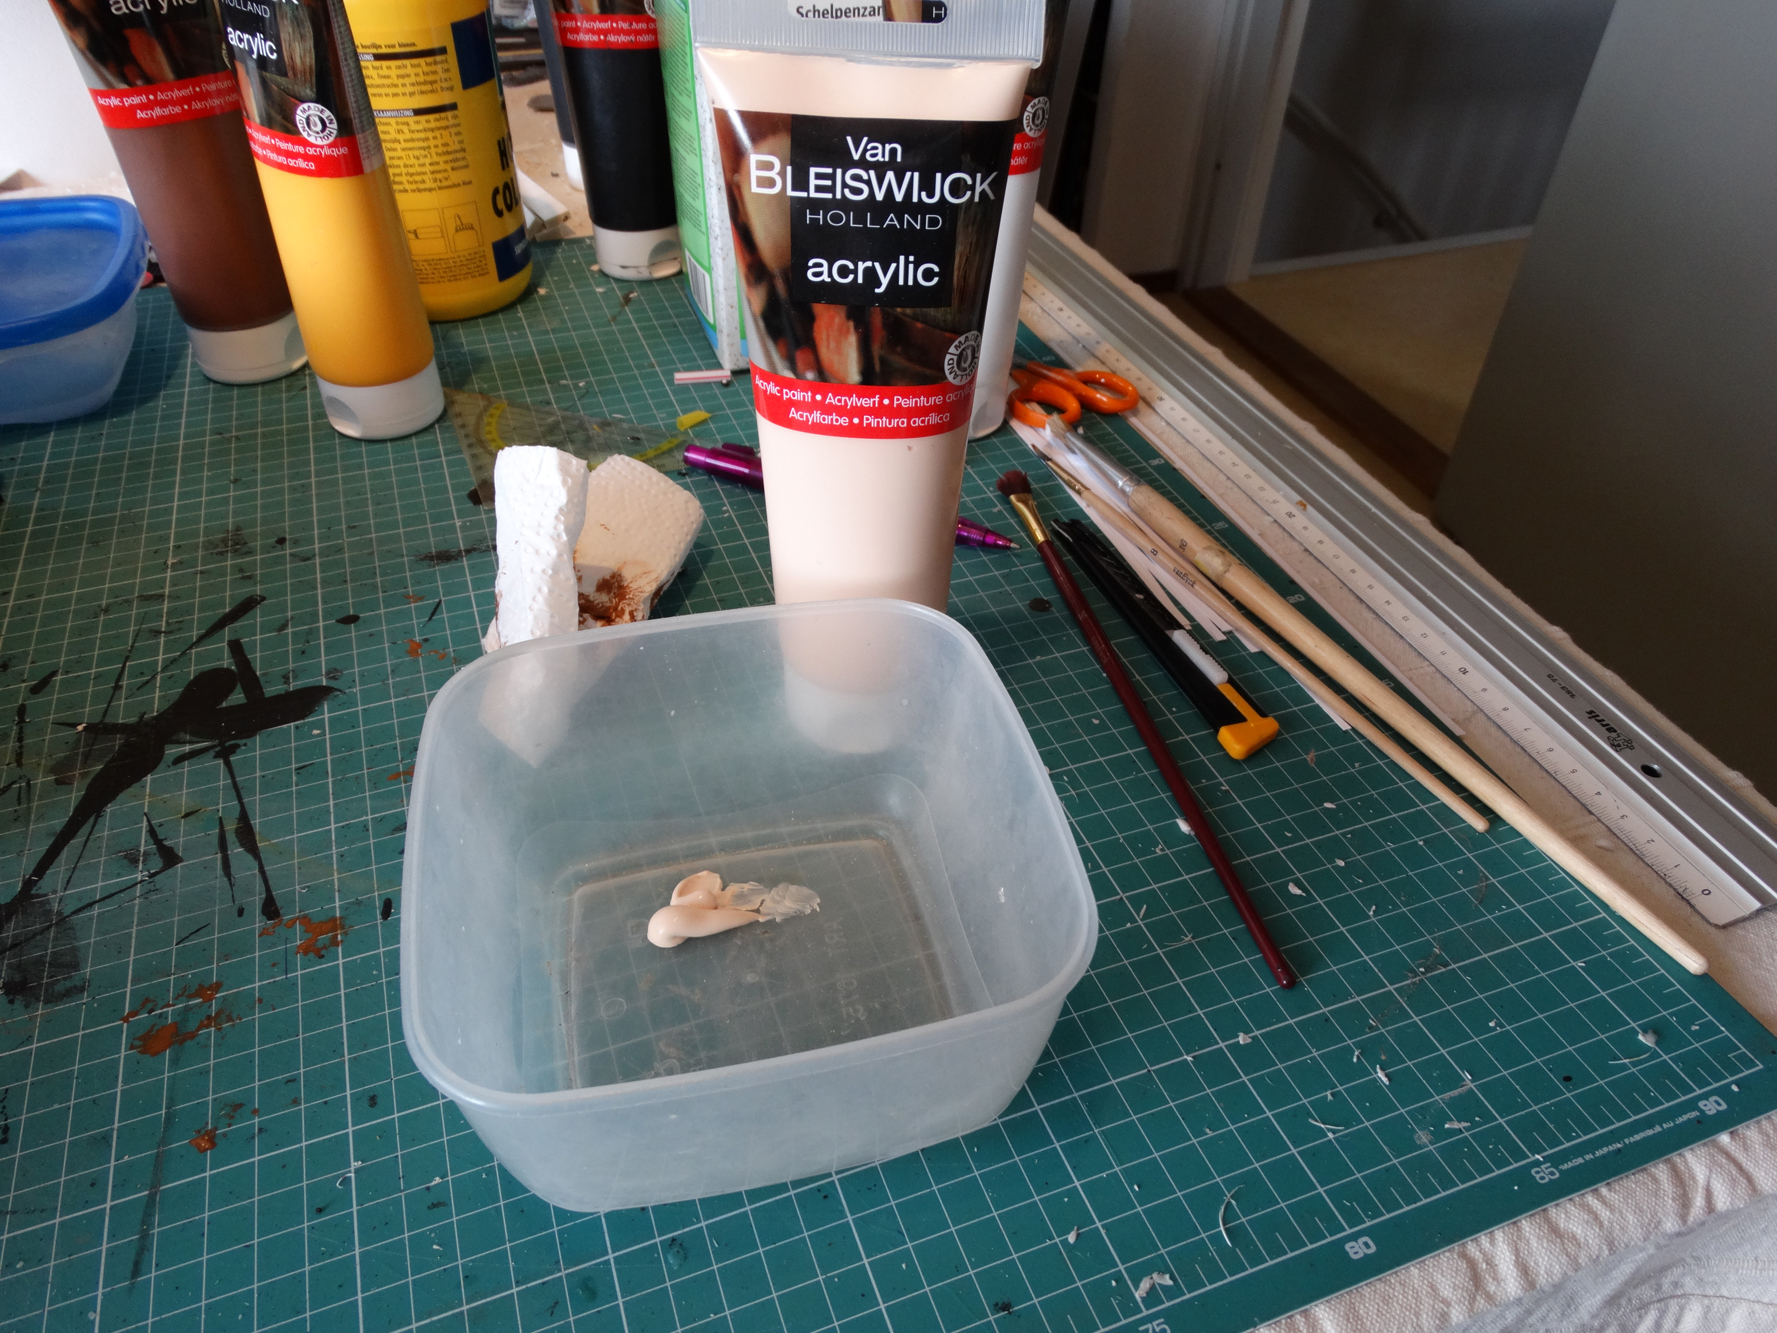
This tunnel section was now ready for the bulk painting. I used simple and cheap acrylic paints and cheap, rather big, brushes.
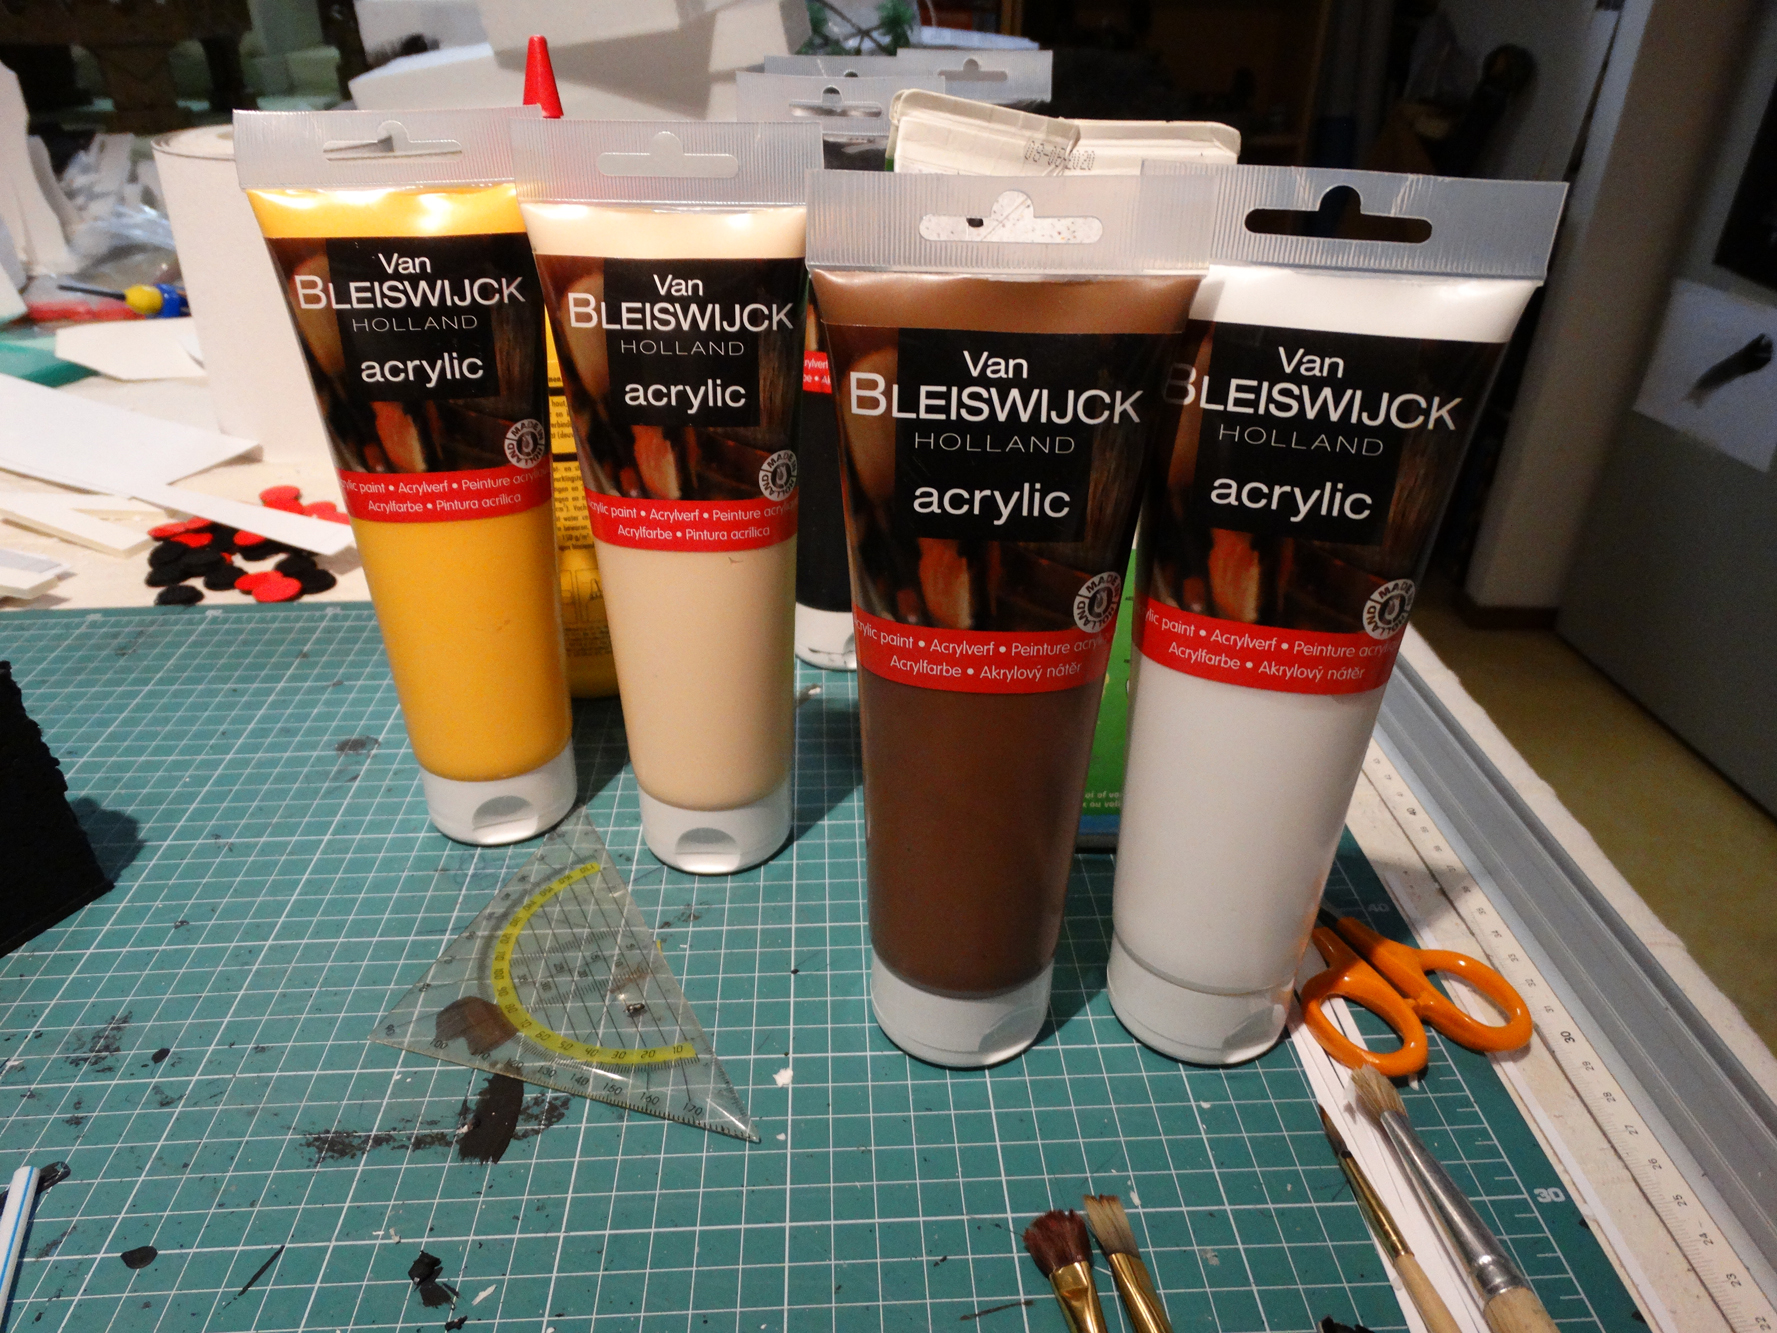
First up was the floor. For the first layer of drybrushing I used the brown paint (quite similar to the old bestial brown color bij Citadel) and applied a heavy drybrush layer on the textured floor.

For the second layer I mixed in some yellow and created some more depth to the brown.

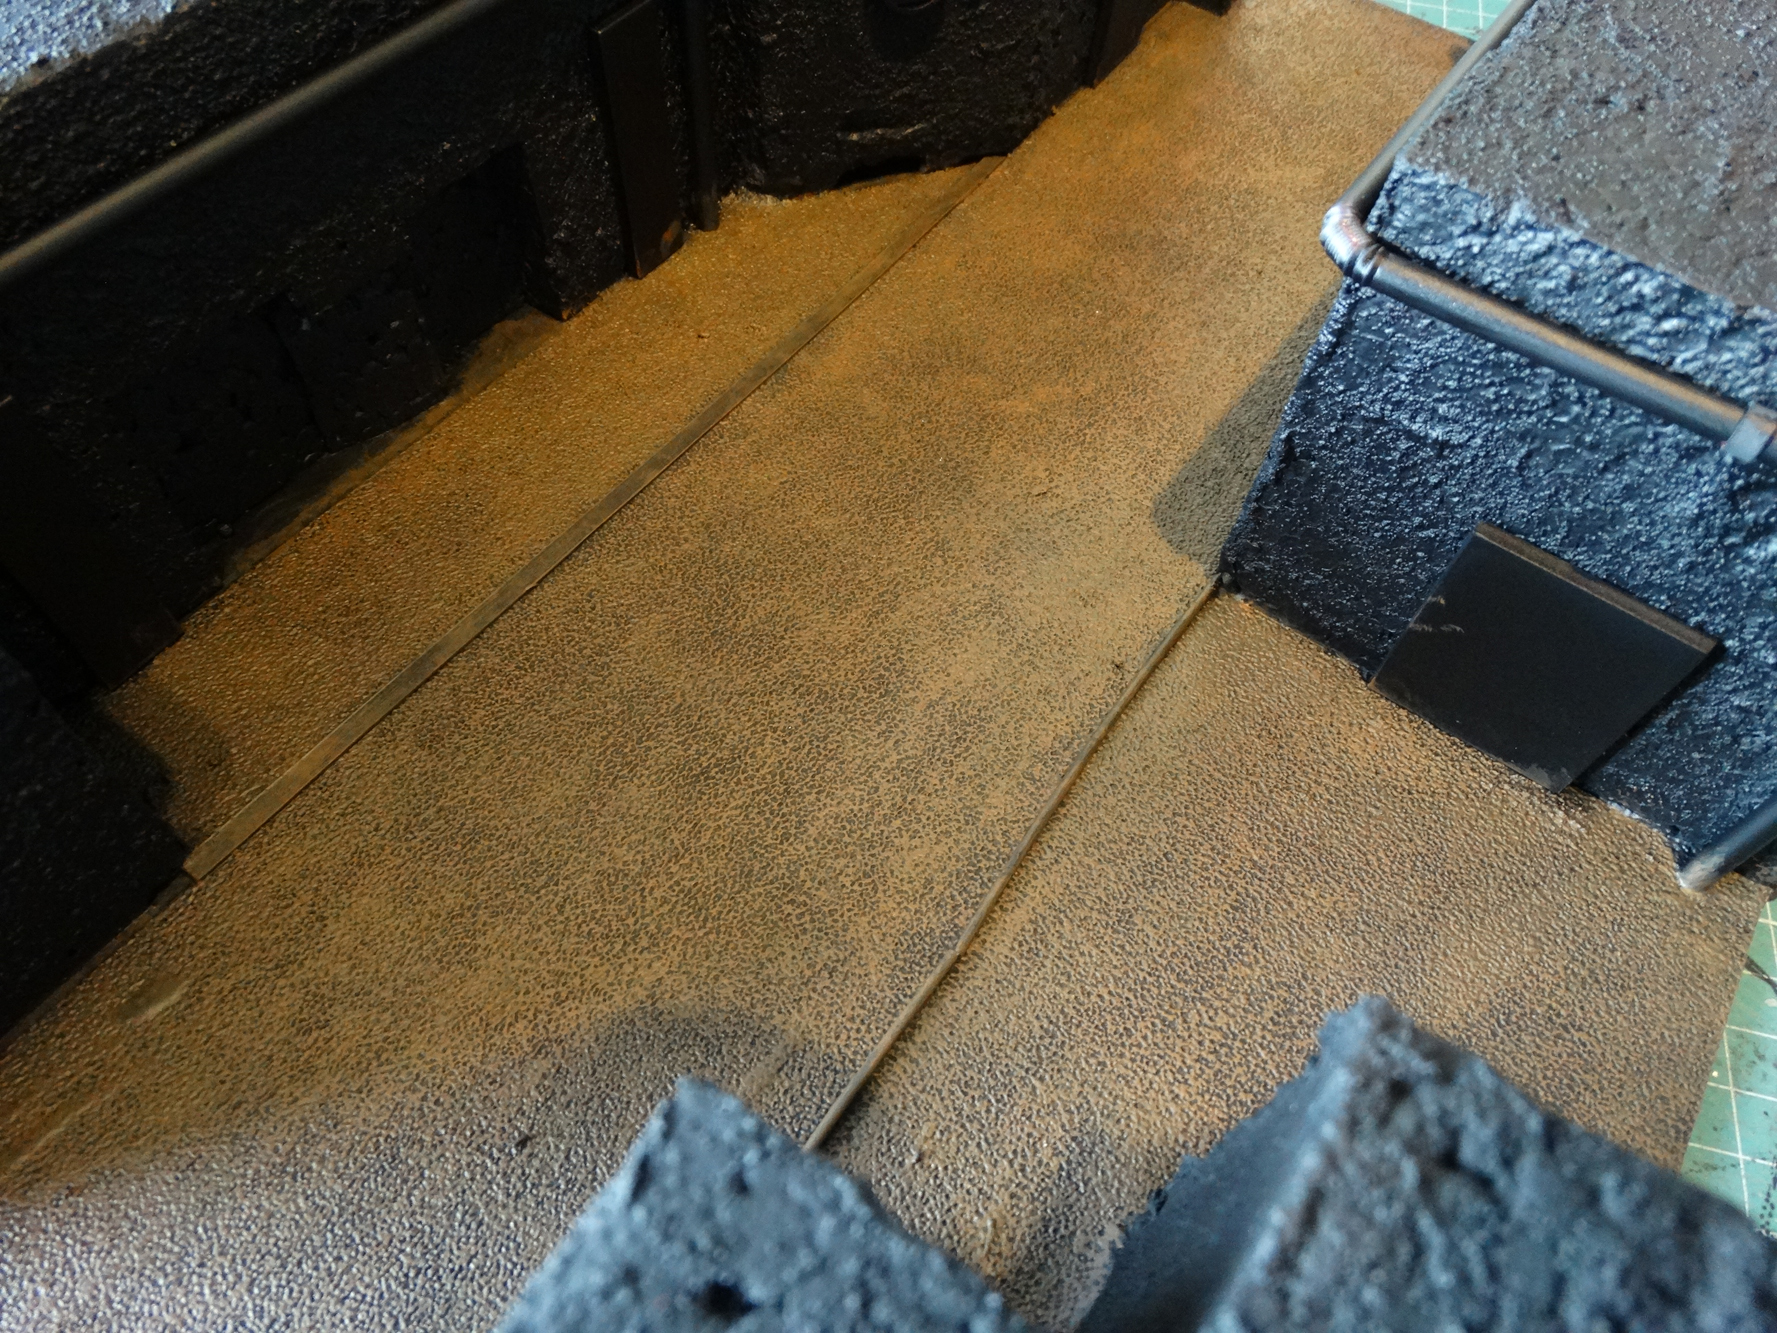

As a highlight (but still quite heavy drybrush layer) I used a beige color.


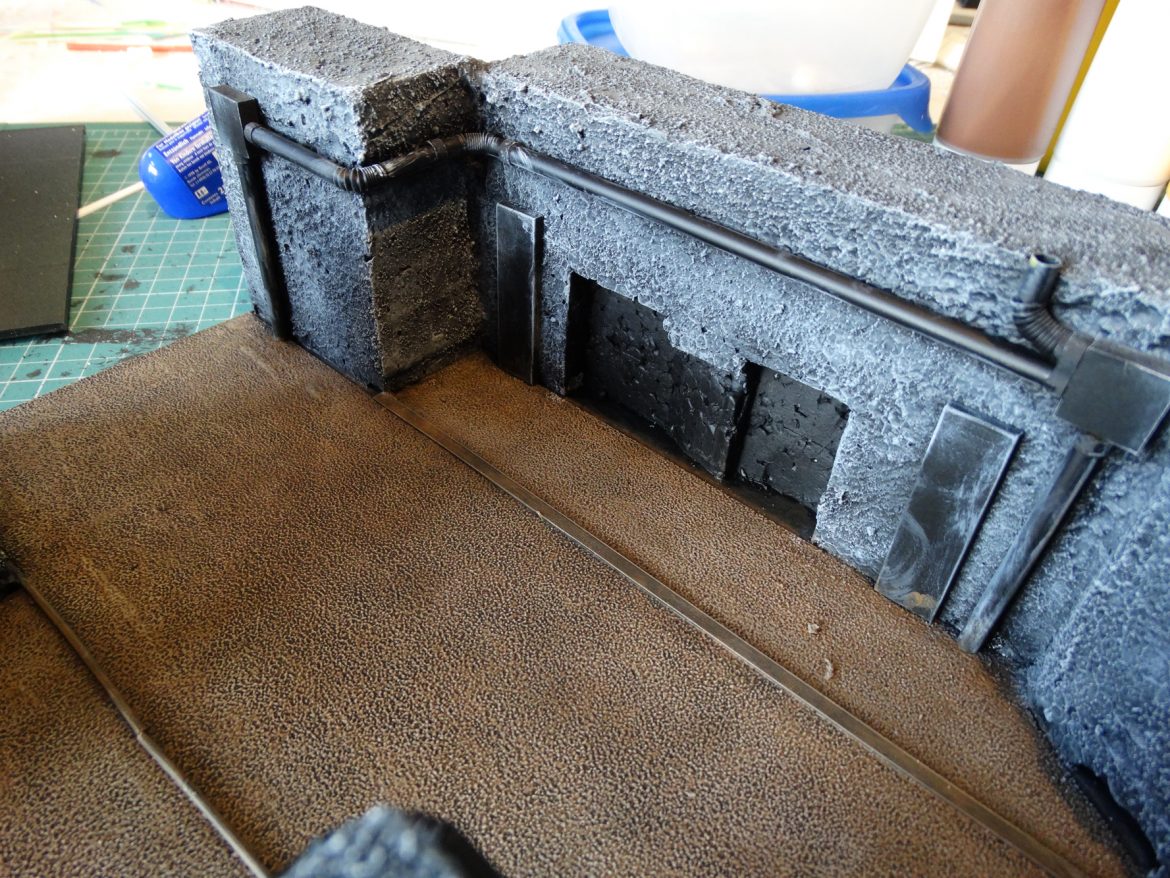
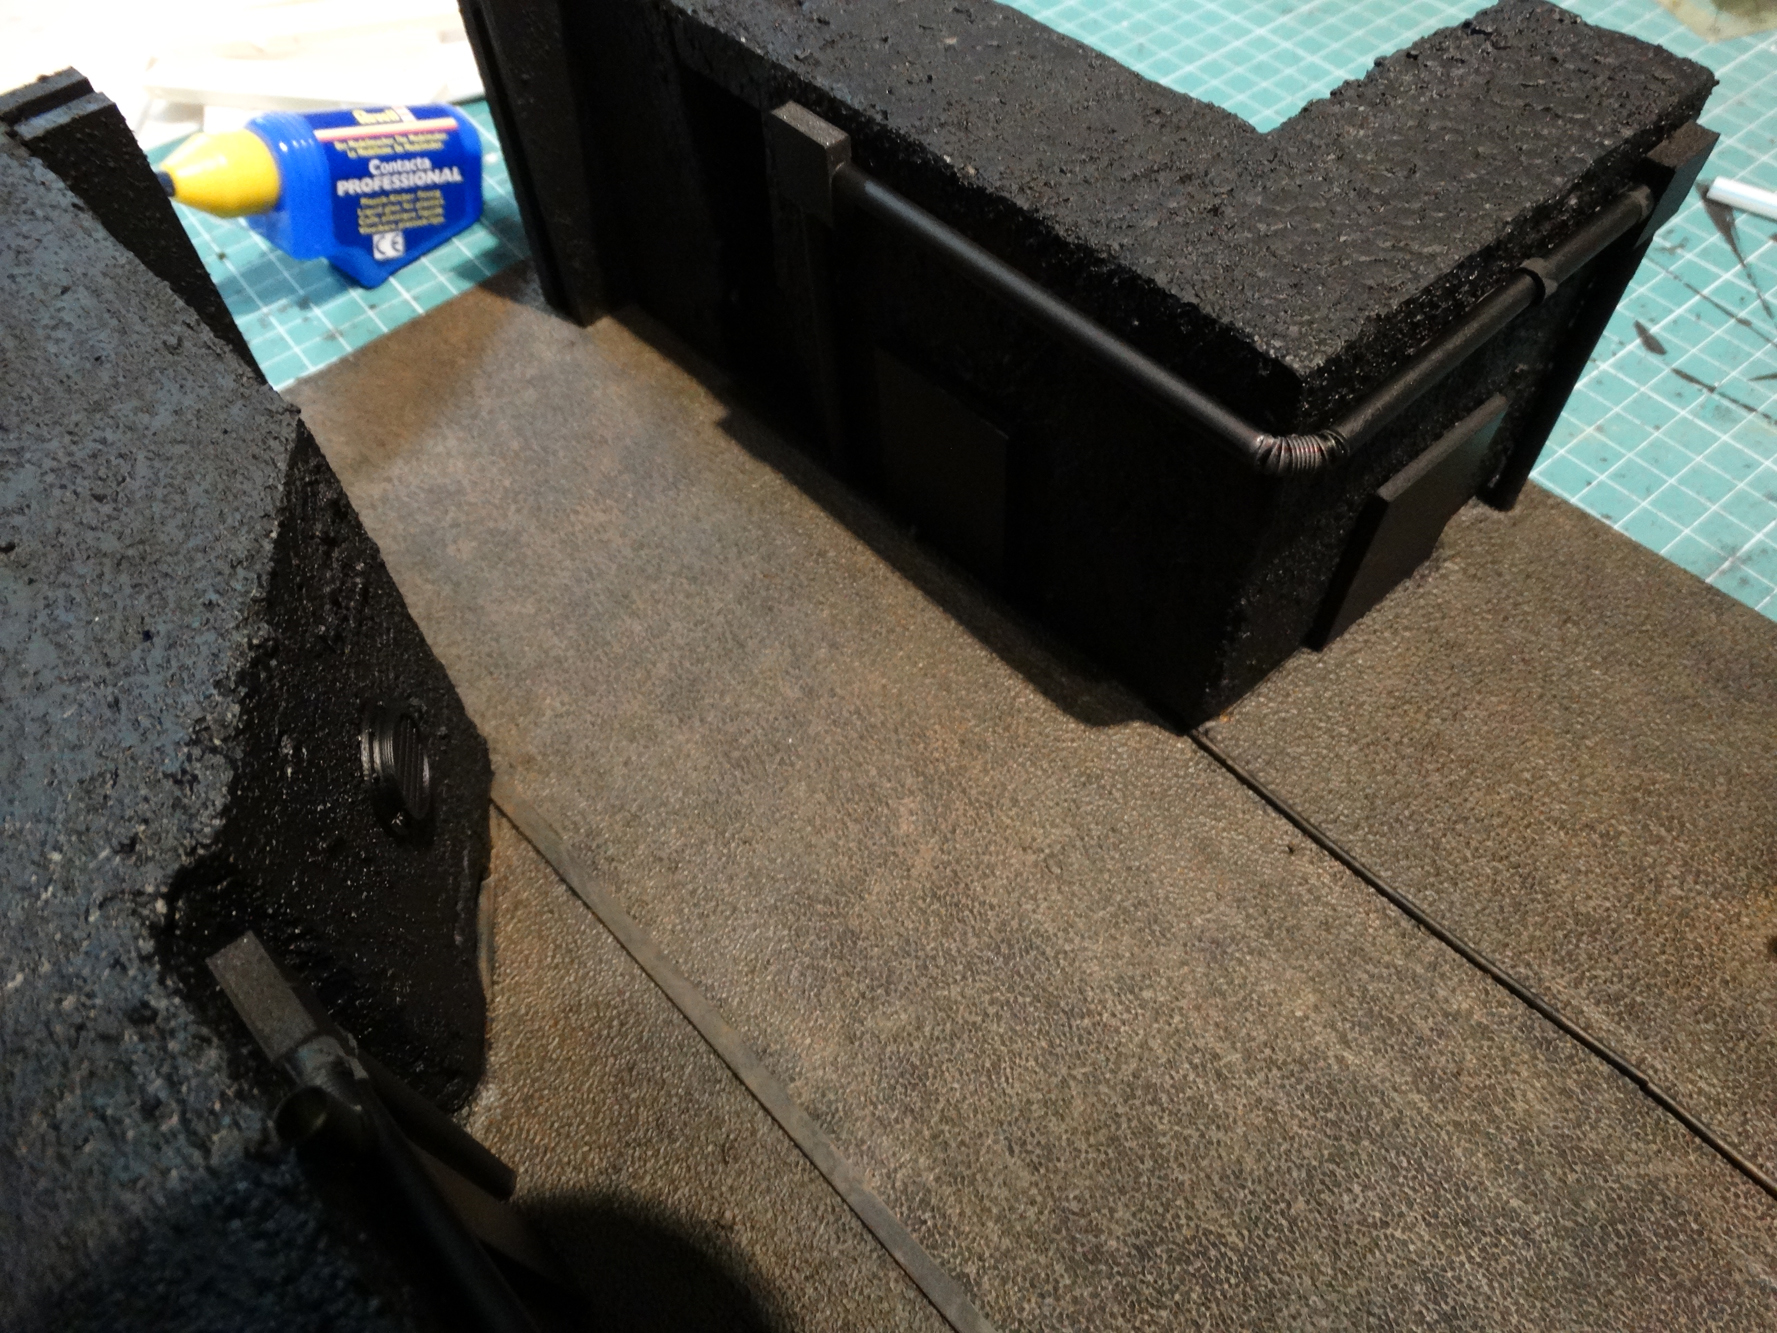
When painting miniatures I use a lot more layers. But when it comes to scenery like this three layers is usually enough. Happy with the result I moved on to the walls. For the first drybrush layer I mixed some white and black to create a dark grey color.
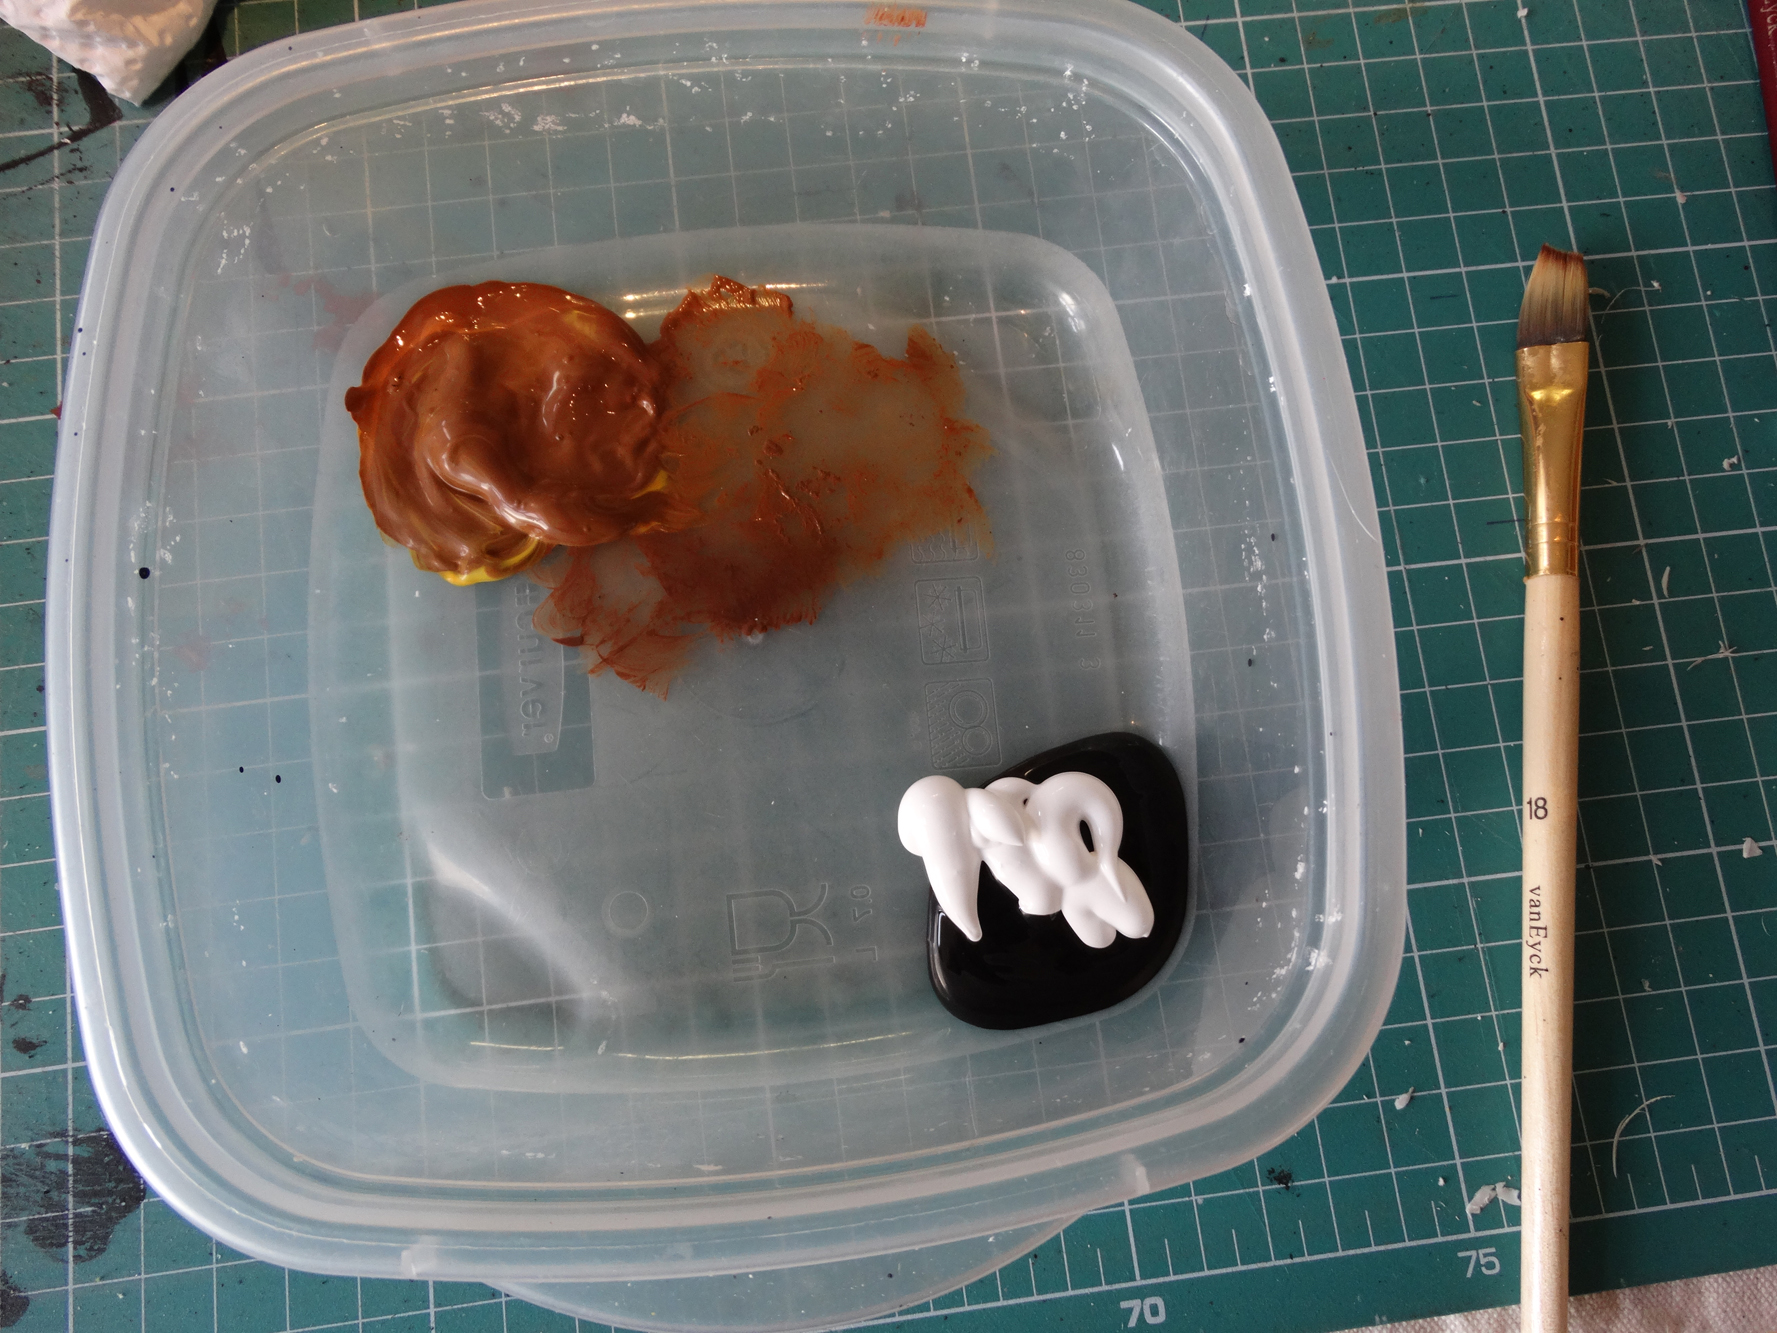
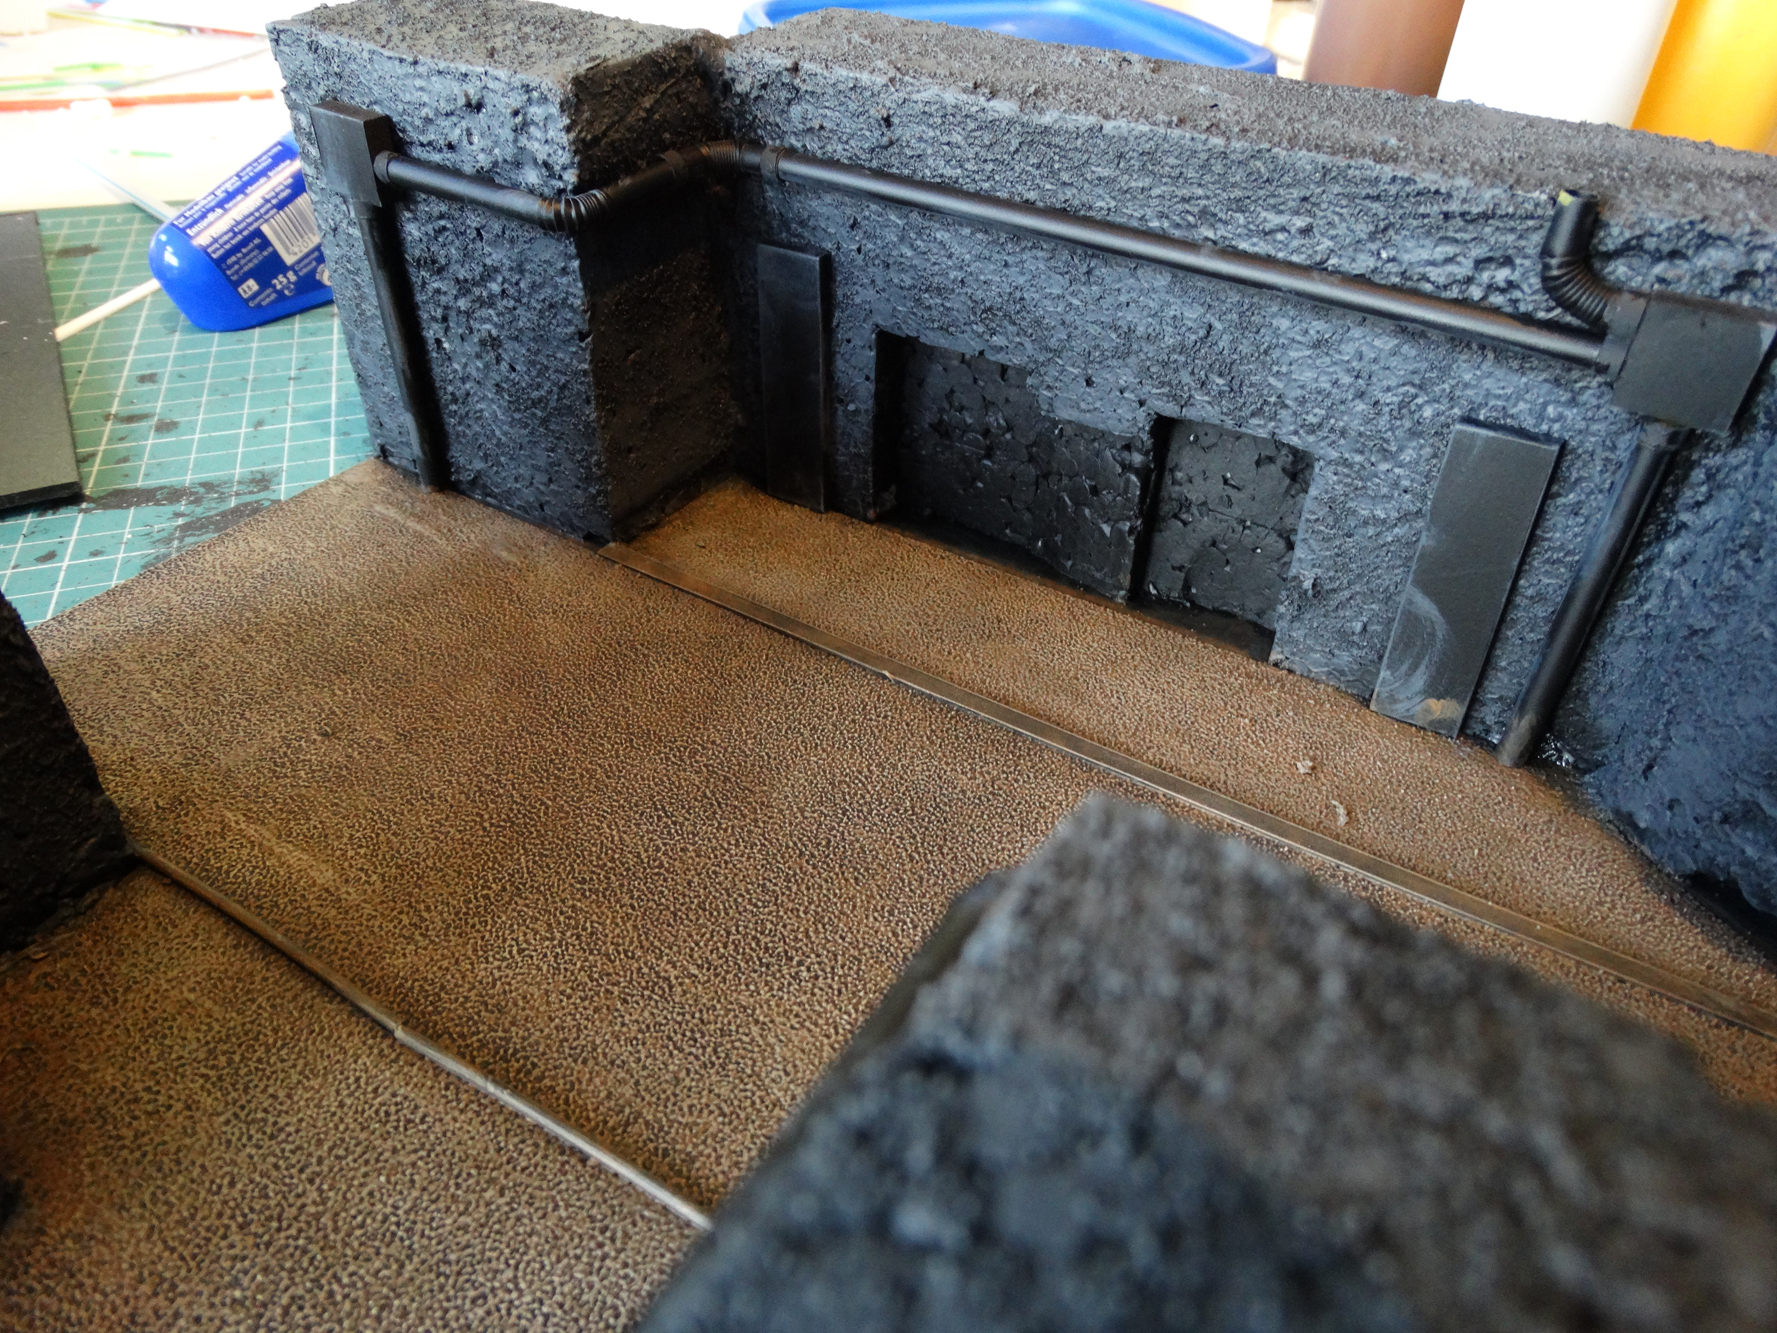
In the past I had done a similar project and added another layer of lighter grey. I now wanted to see what the result would be if I would immediately apply the final highlight of pure white.


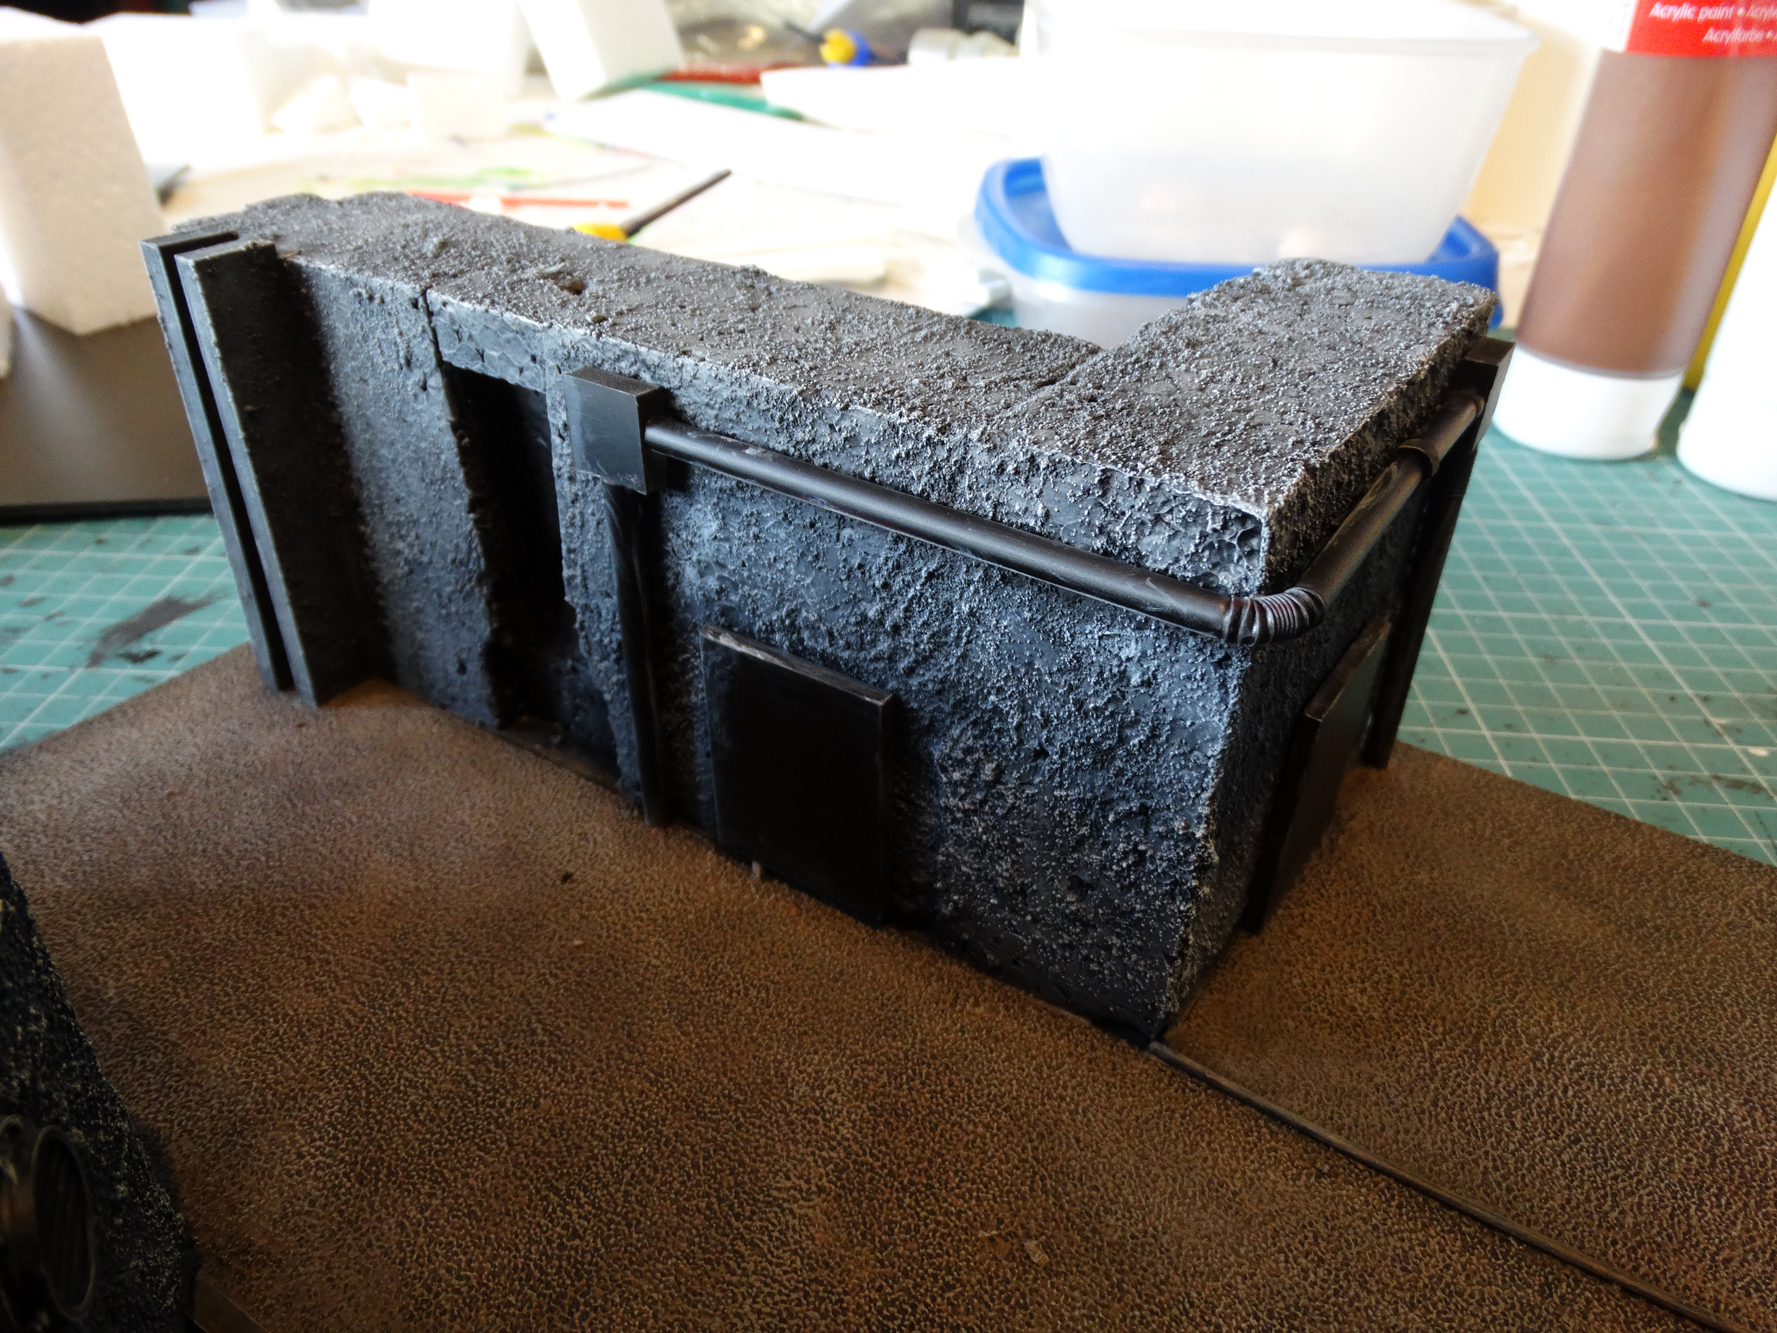
As a result the walls got a dark concrete look, which I liked. So the floor and walls are now finished.
Next time I will start on the pipework and other details. This tunnel section is very close to completion.
Until then. Cheers!
Looking good, Pat!