Hello and welcome to the fifth, and final, part of the making of the modular tunnel system. In this post I will show you the final work on the first of these tunnel sections.
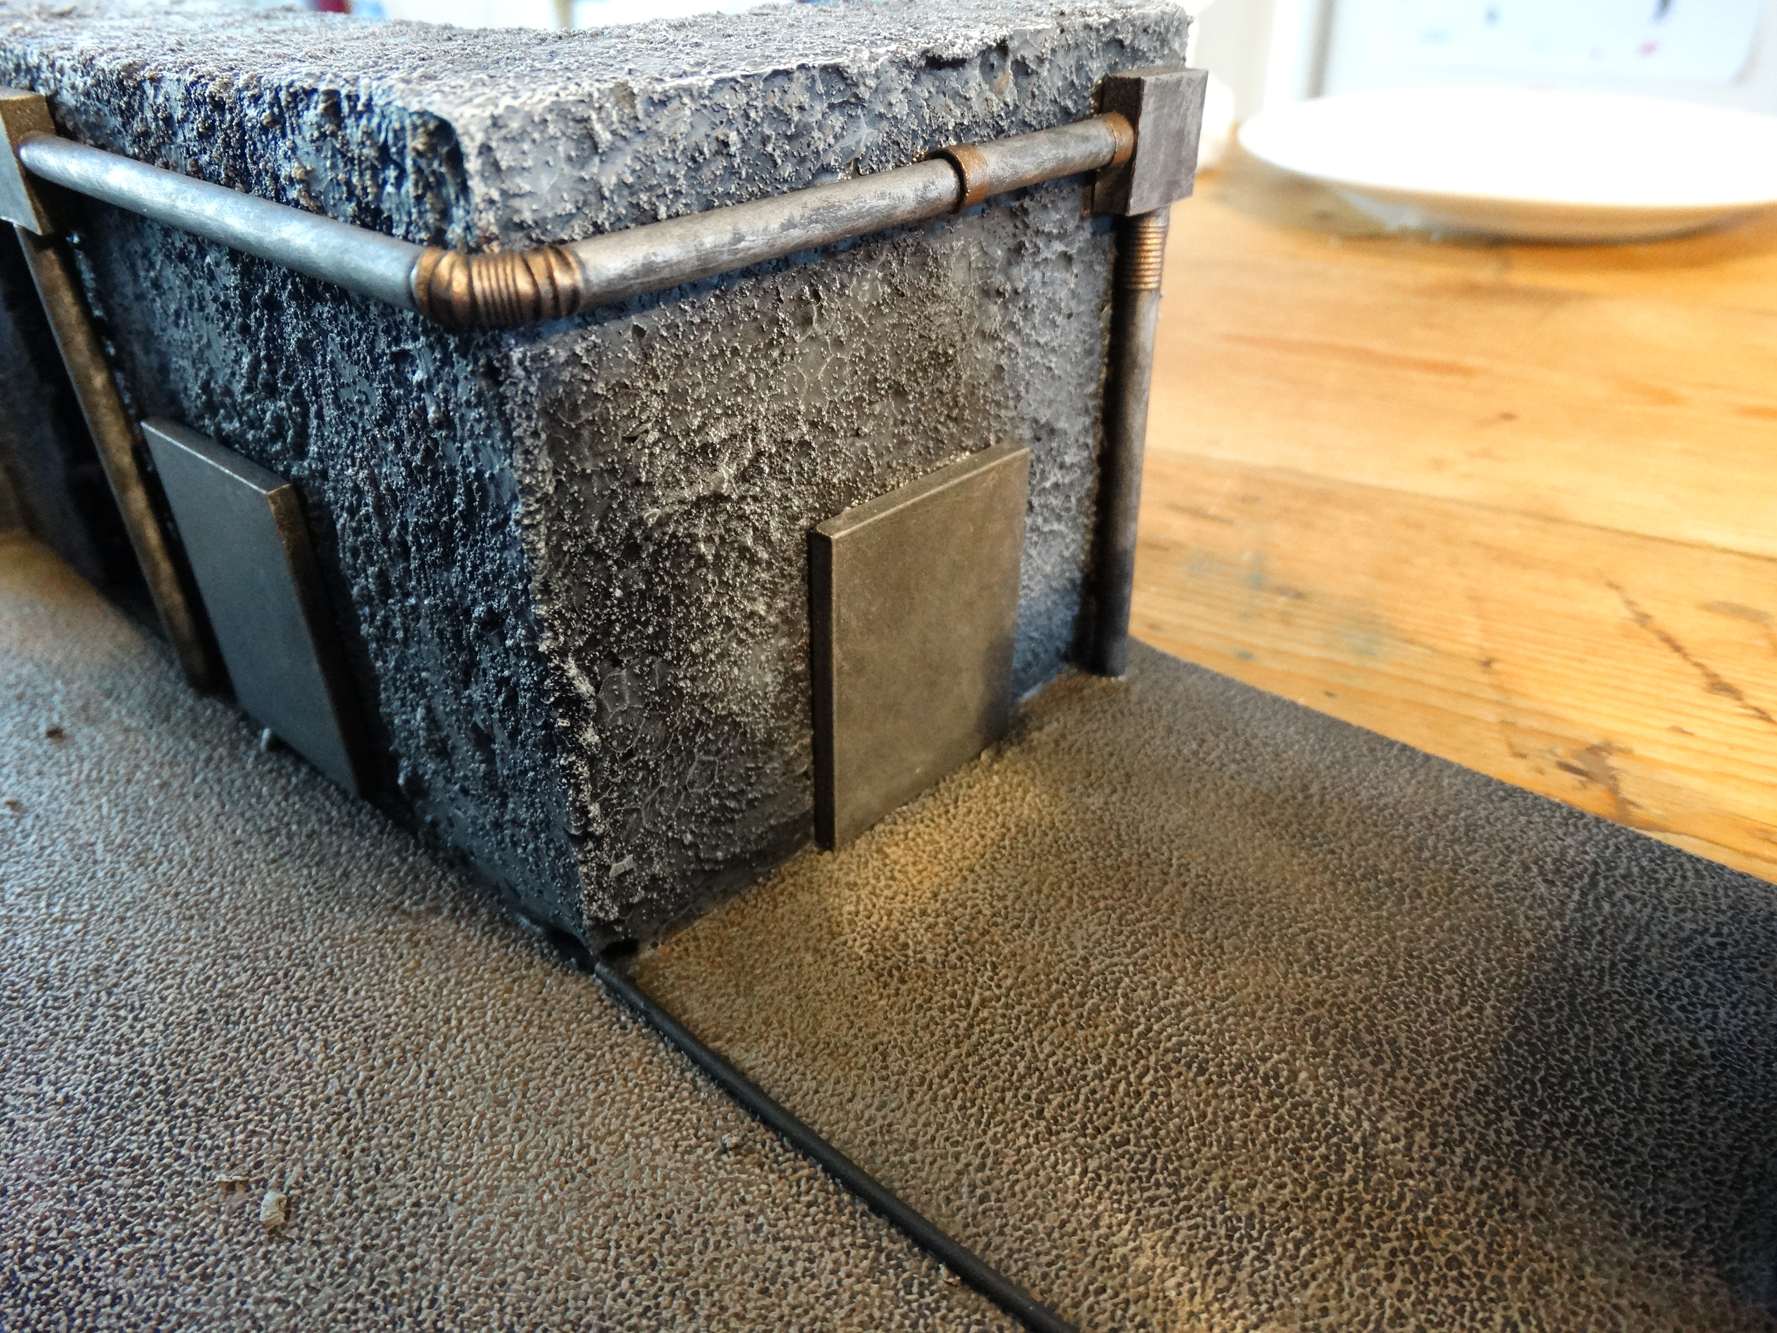
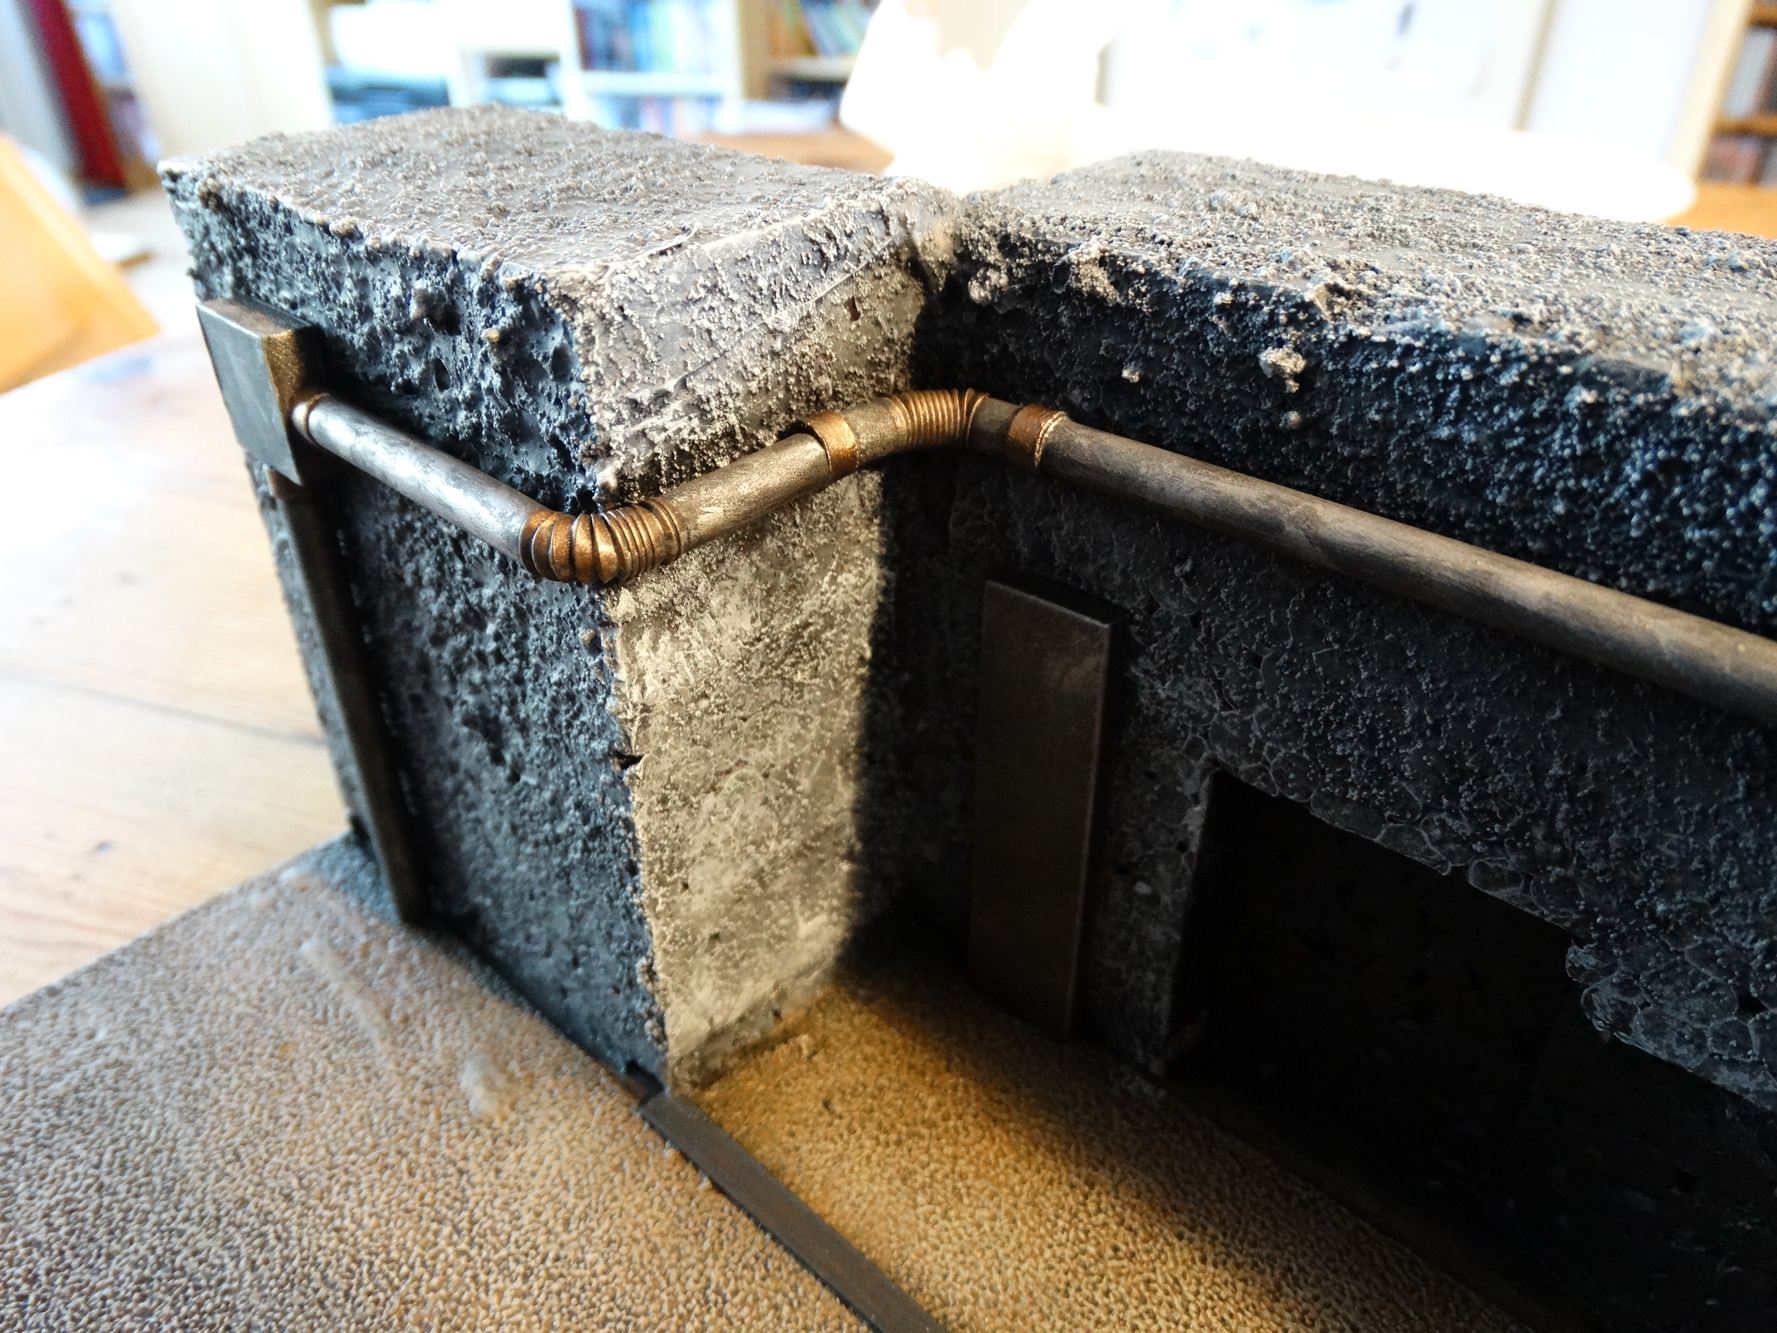
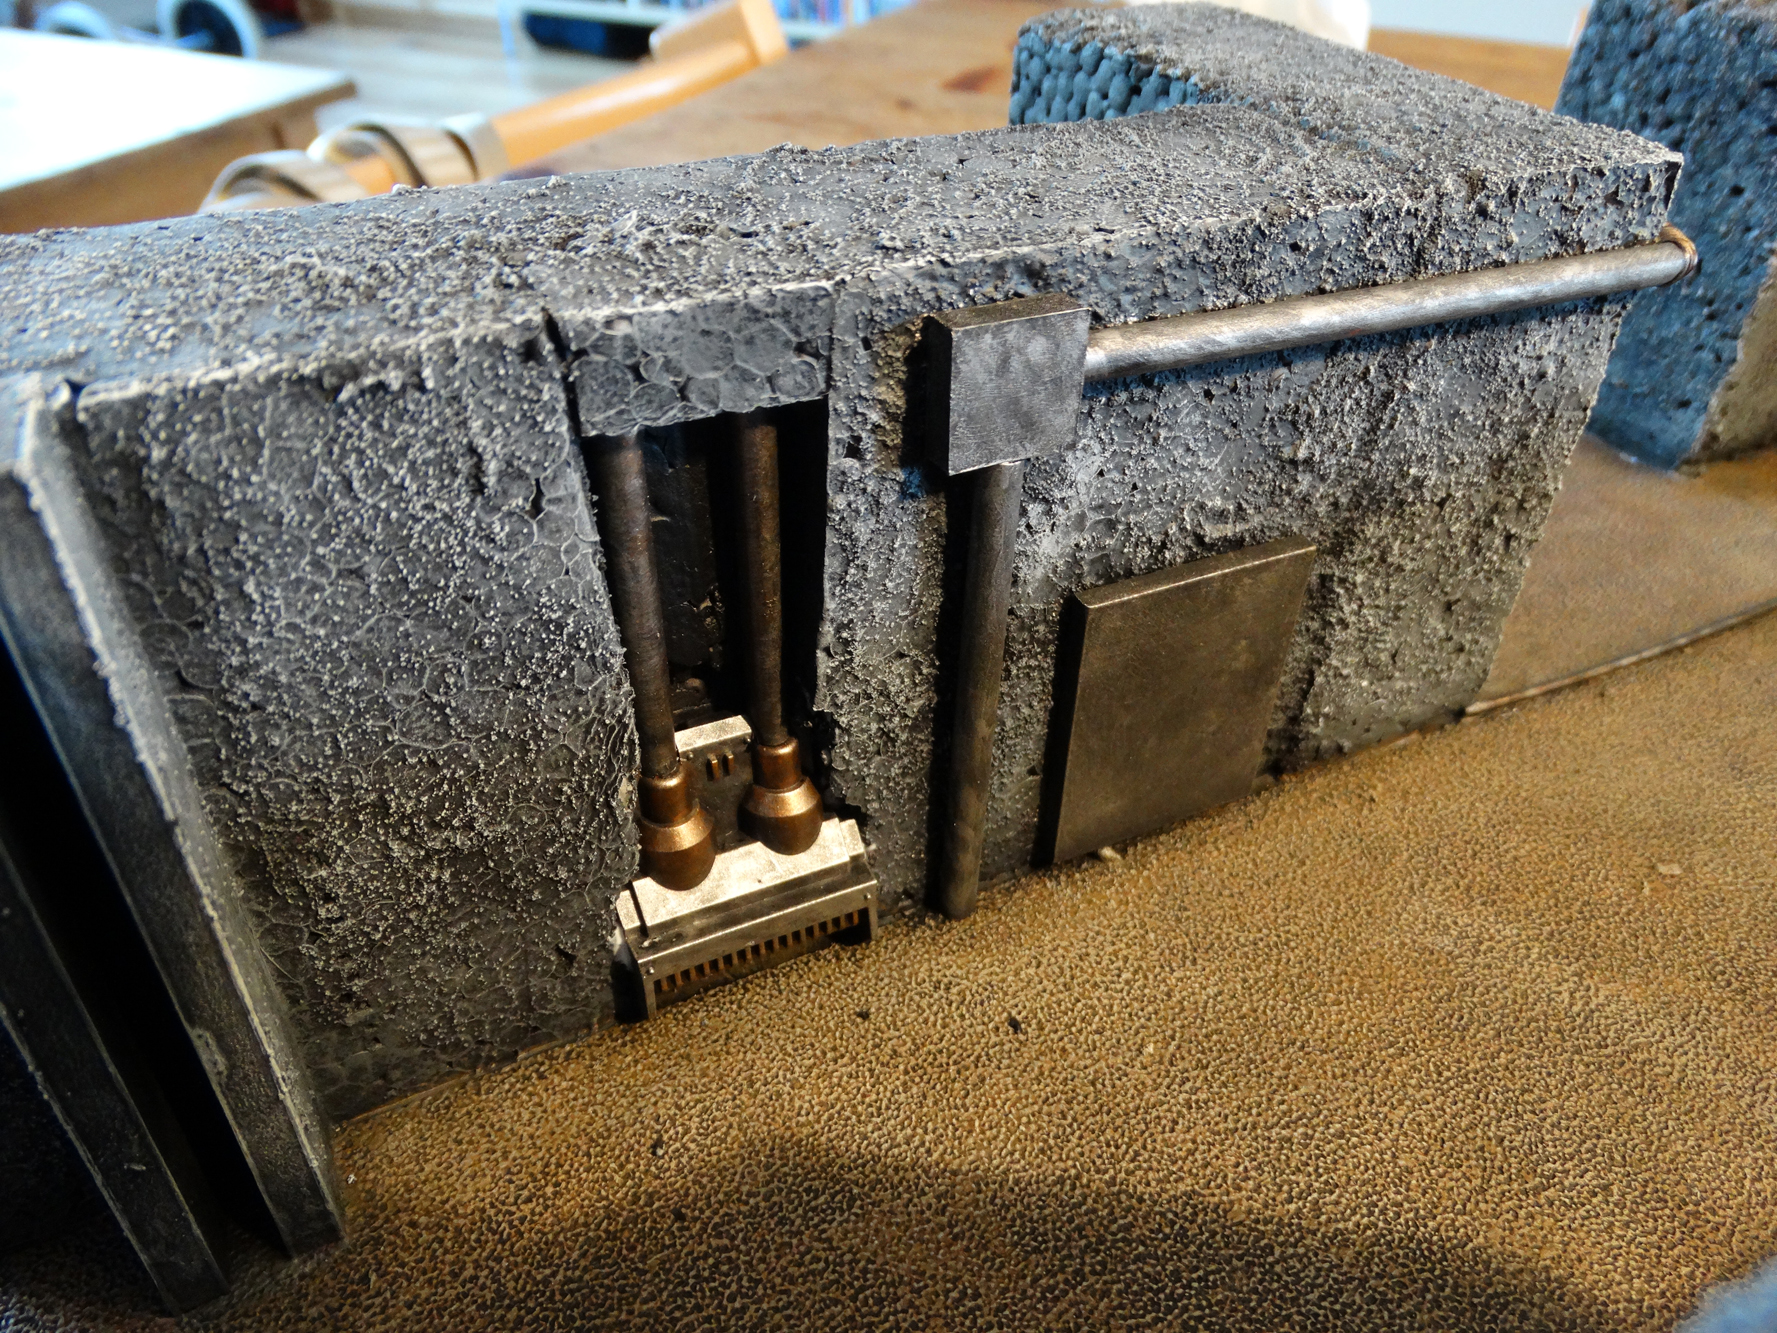
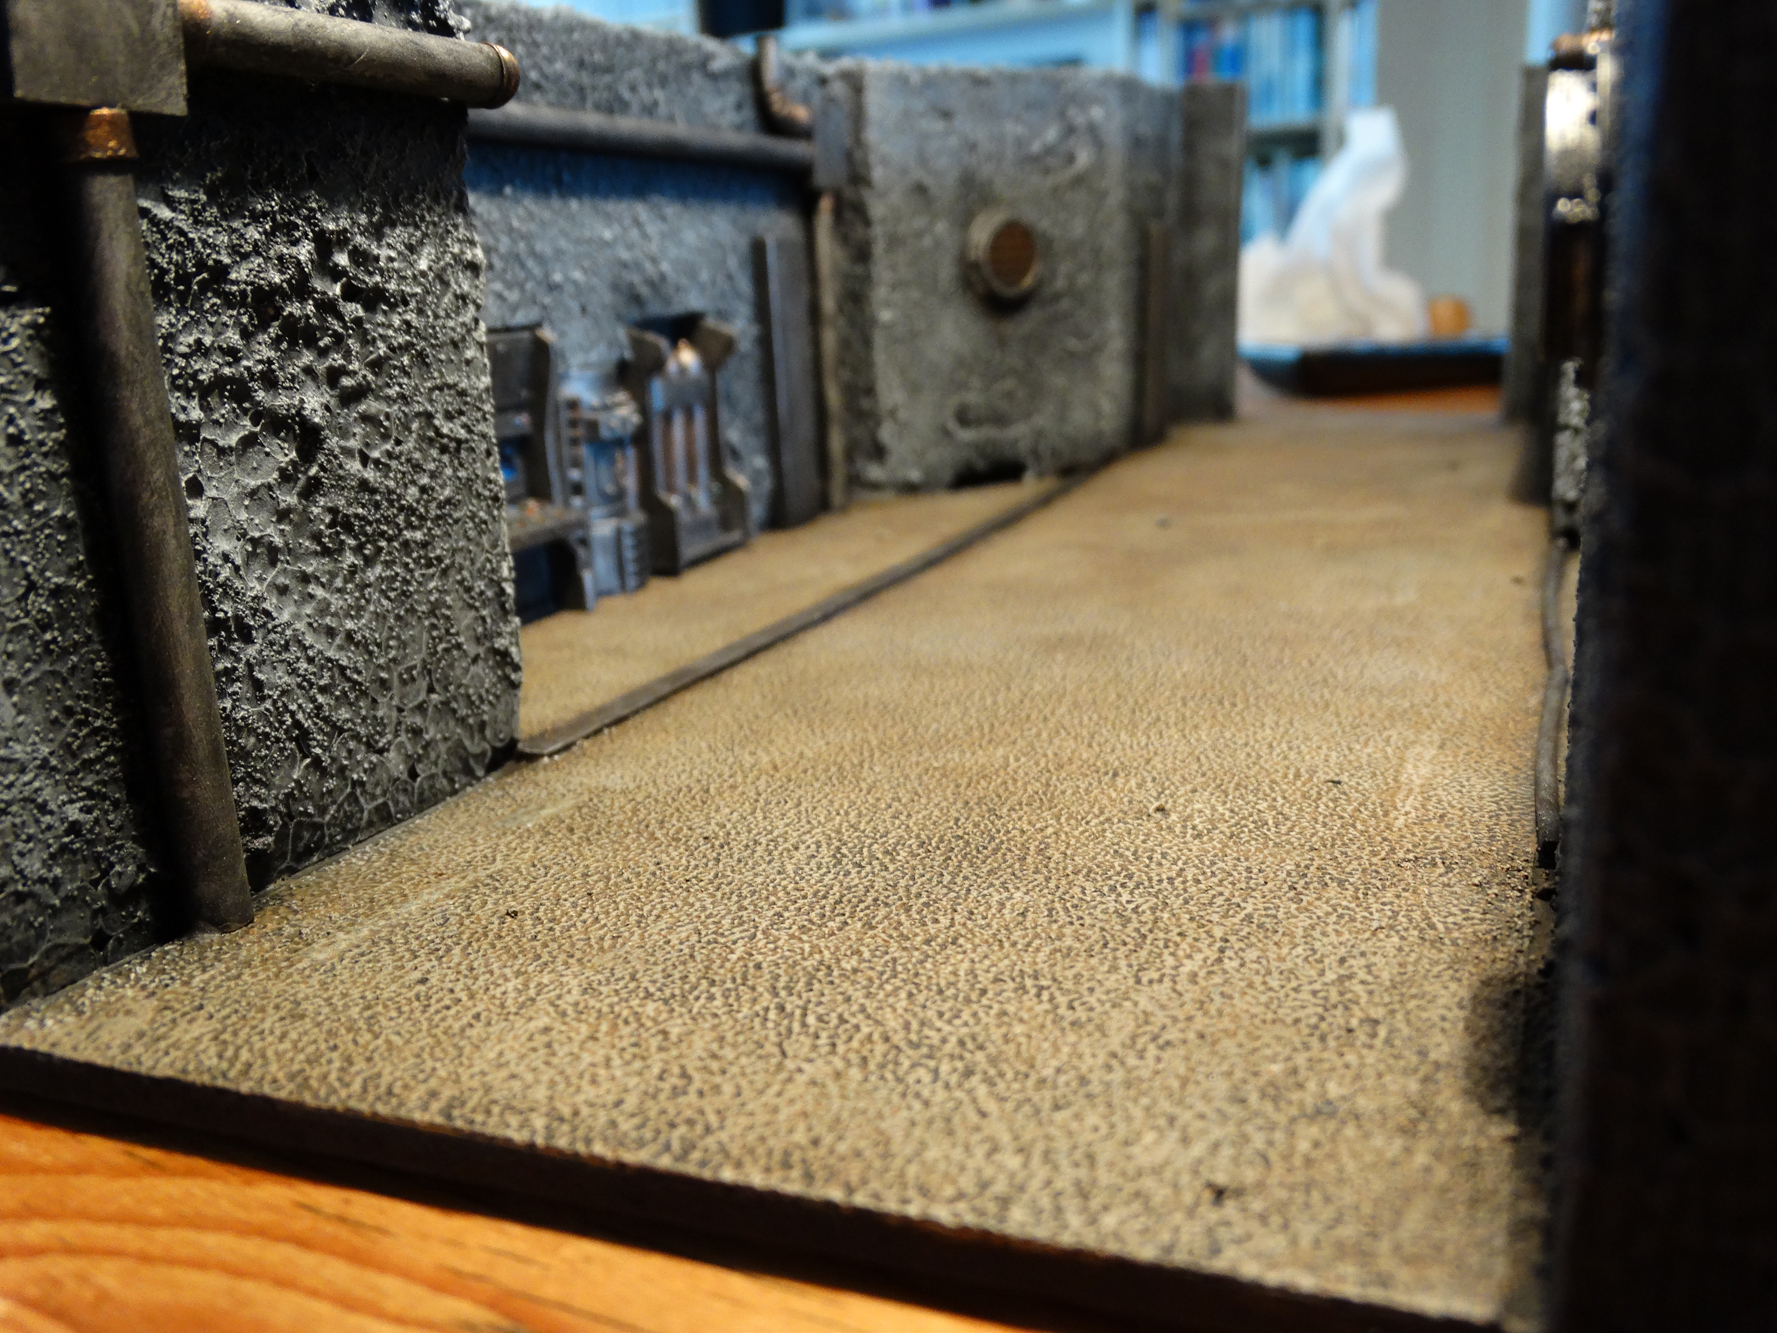
Last time I finished the floor and walls base color scheme. Now it is time to start on the details that will make these tunnel sections come to life. First up is the pipework and wall panels that I already glued onto the walls before I painted the walls and floors themselves. These parts have invariably gotten some of the paint on them from the dry brushing and need to be painted black again. Again, simple and cheap black acrylic paint will do the trick.
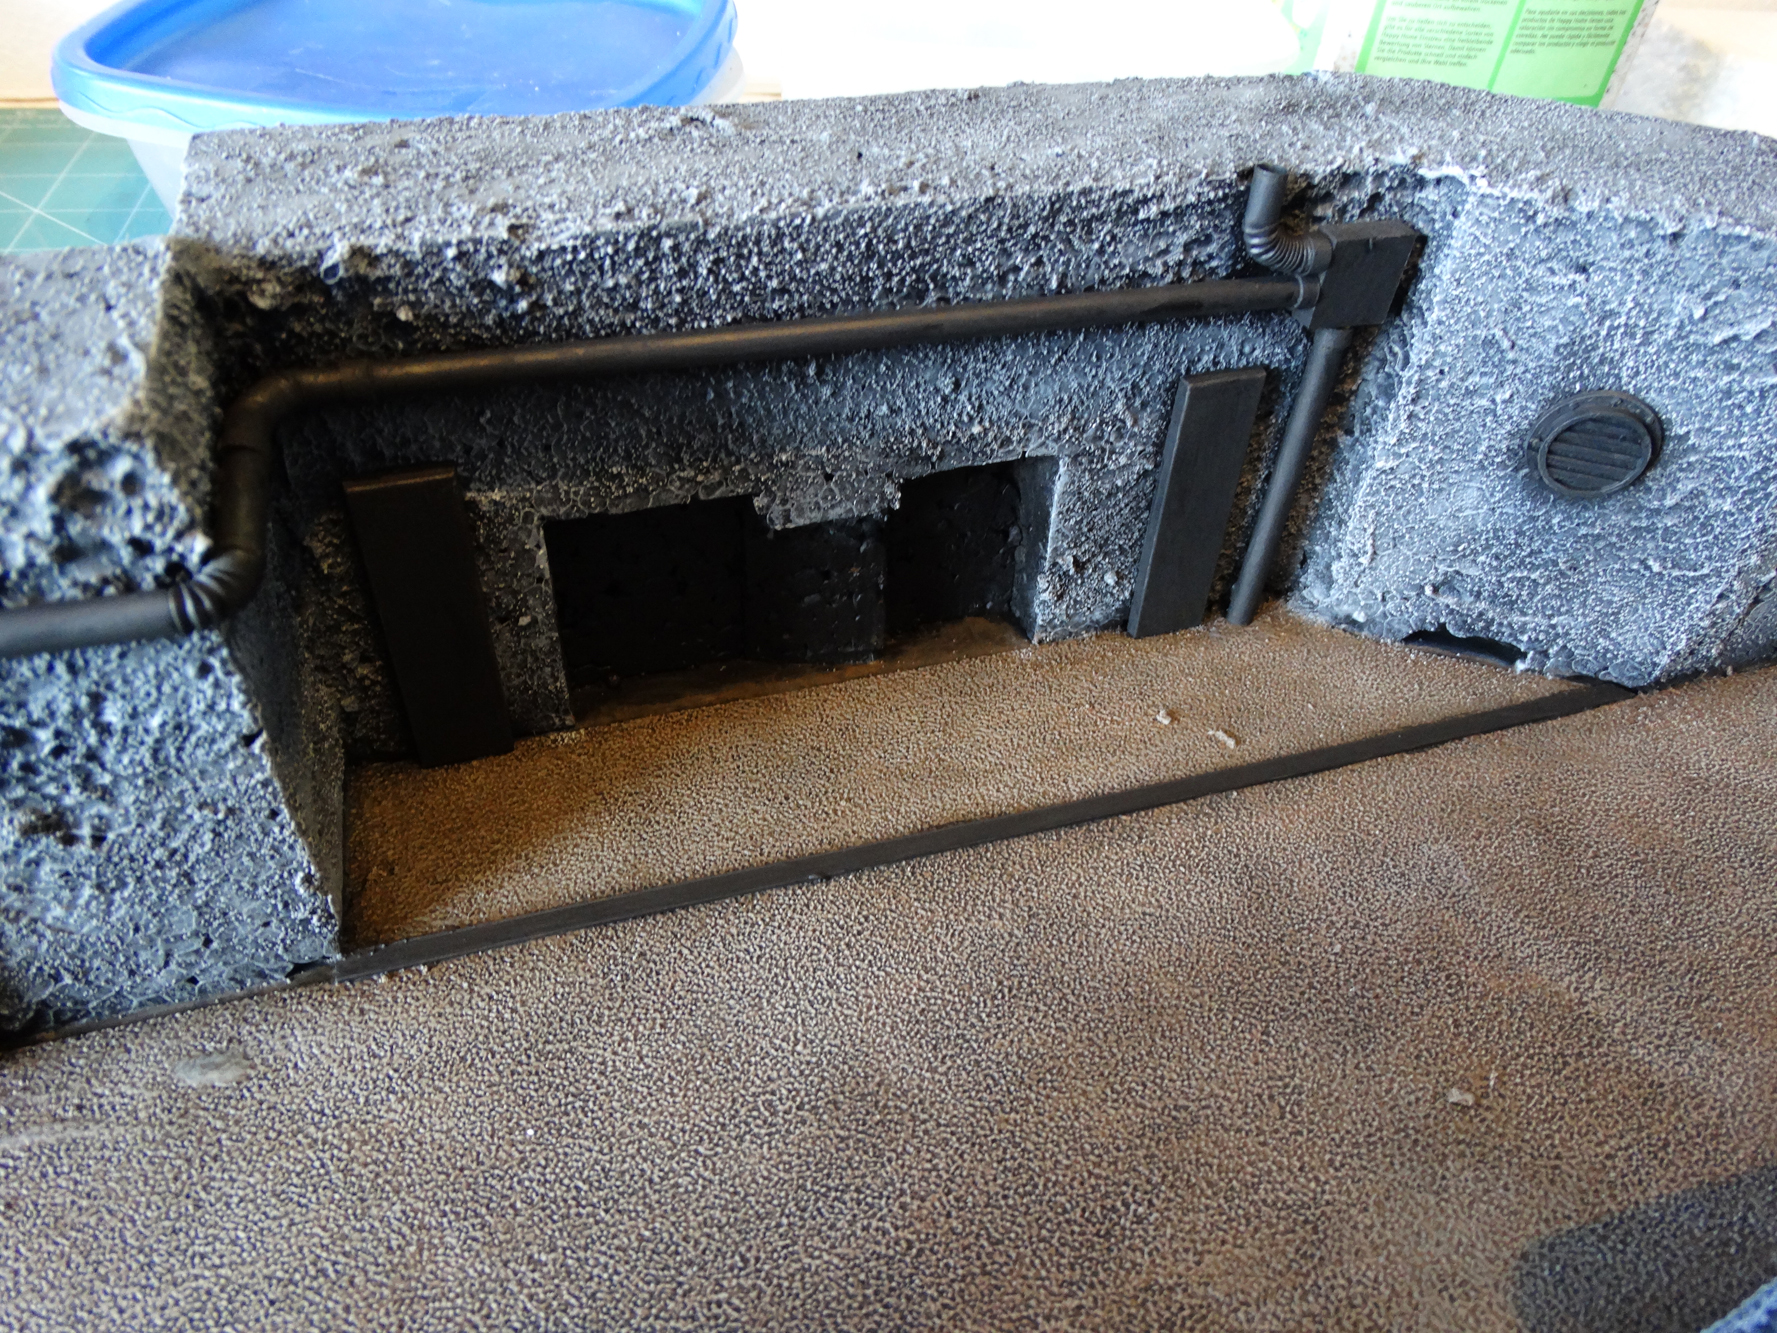
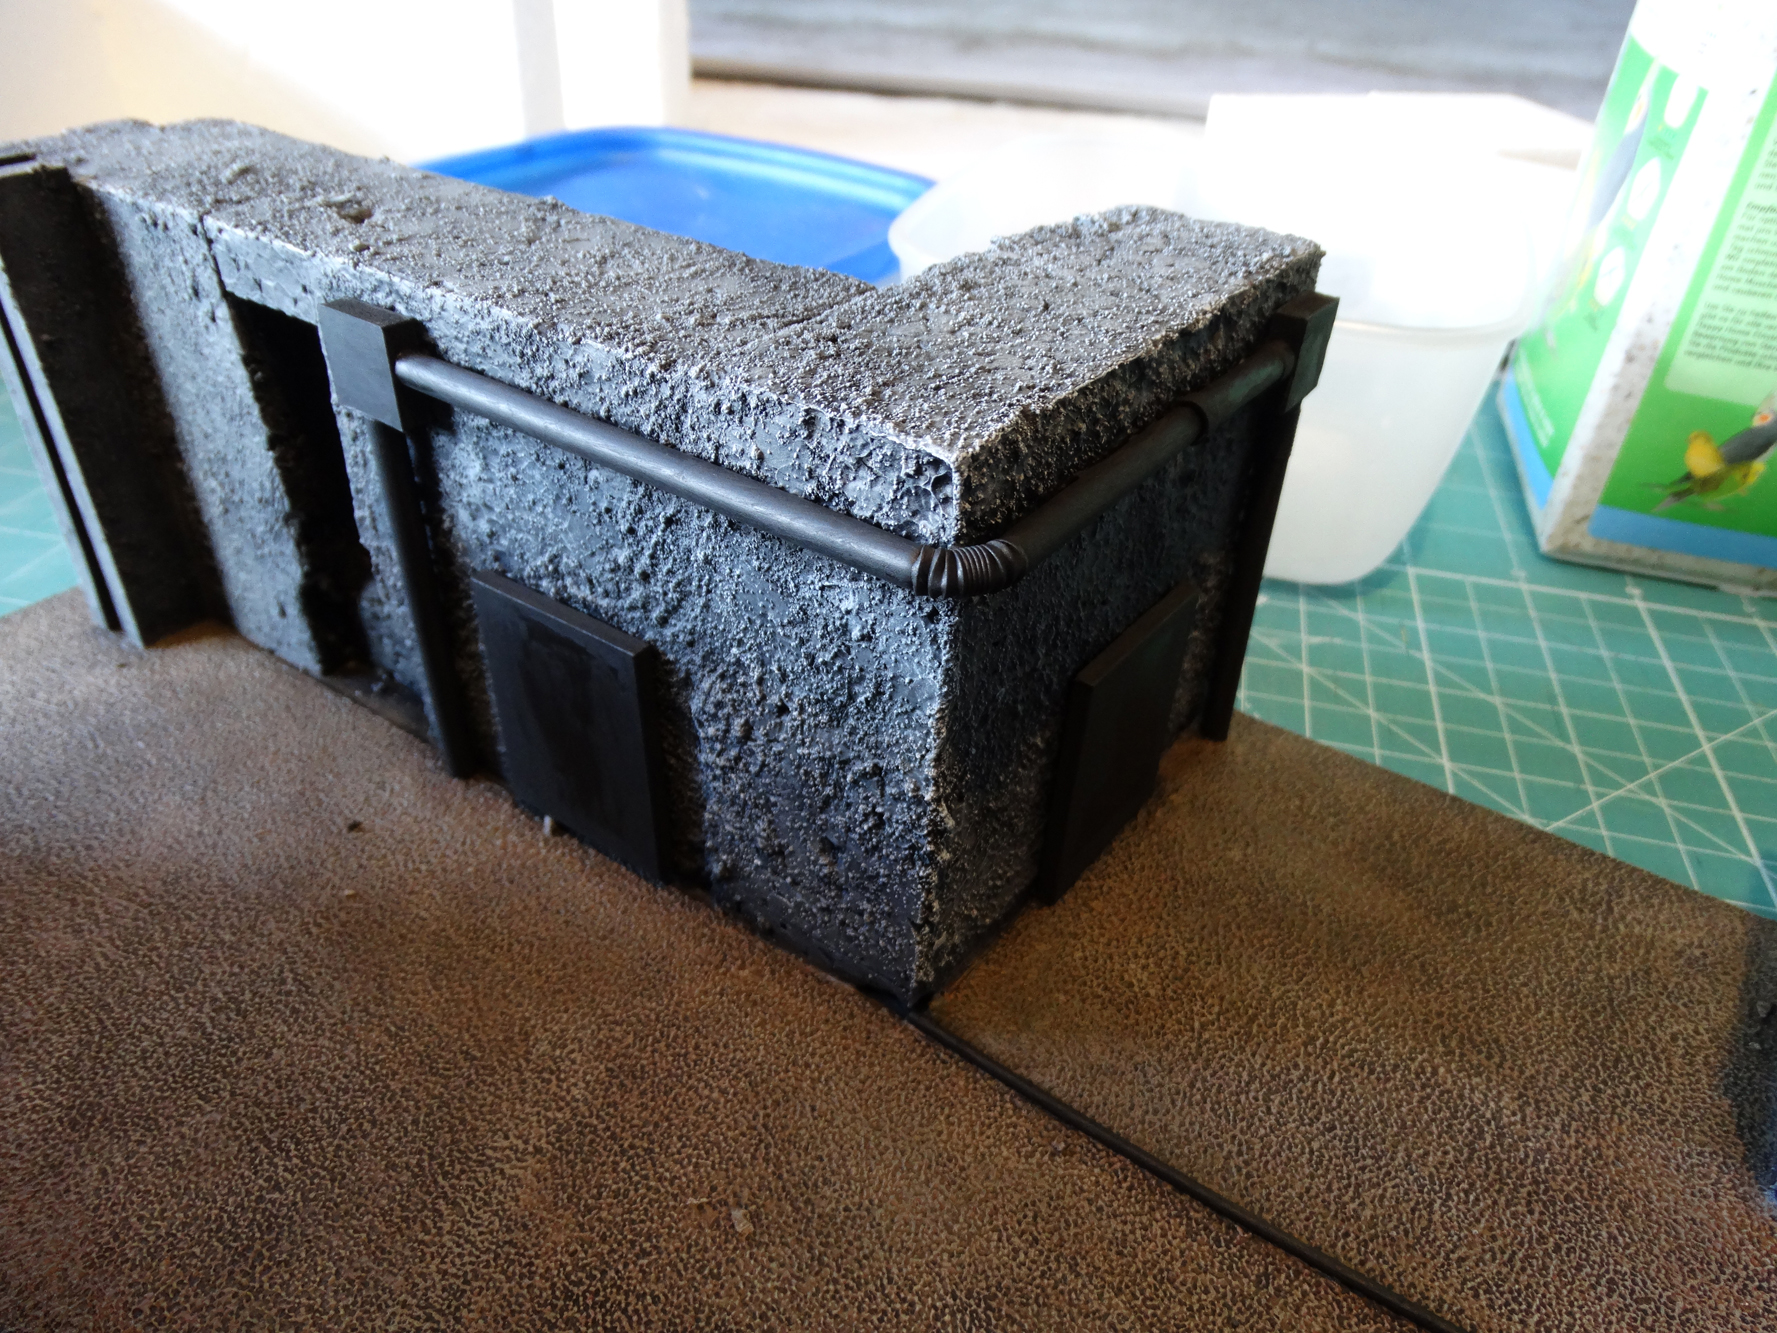
Standard drybrushing commences. All metal parts get a good drybrush layer of boltgun metal. In order to make some accents various parts such as the bended parts of pipes get an extra drybrush layer of tin bitz, followed by a little highlight with copper or brass. Finally all the metal gets a light highlight with chainmail silver.
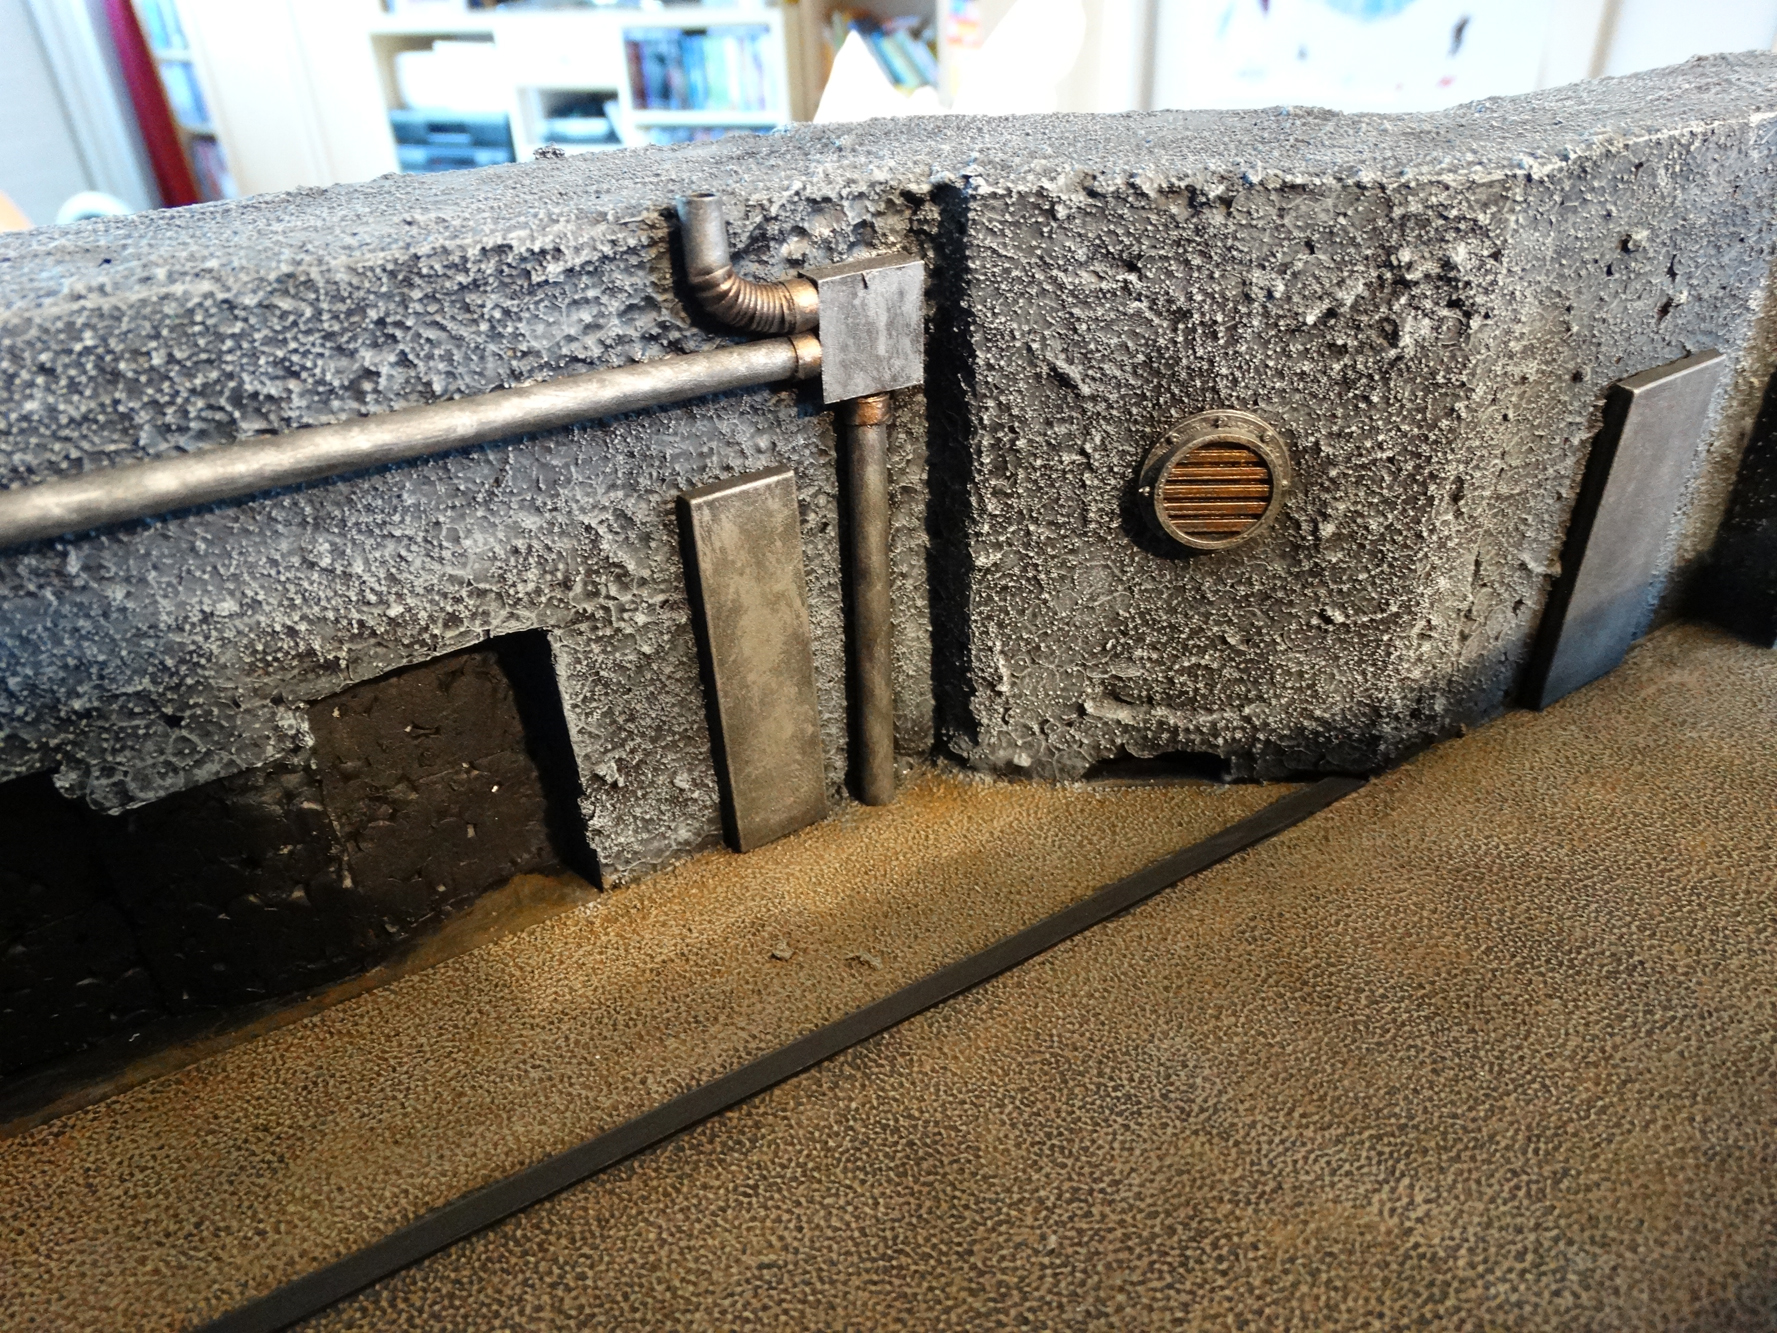
A little brown ink under the air vents gives the impression of some oil or grease dripping from beneath them.

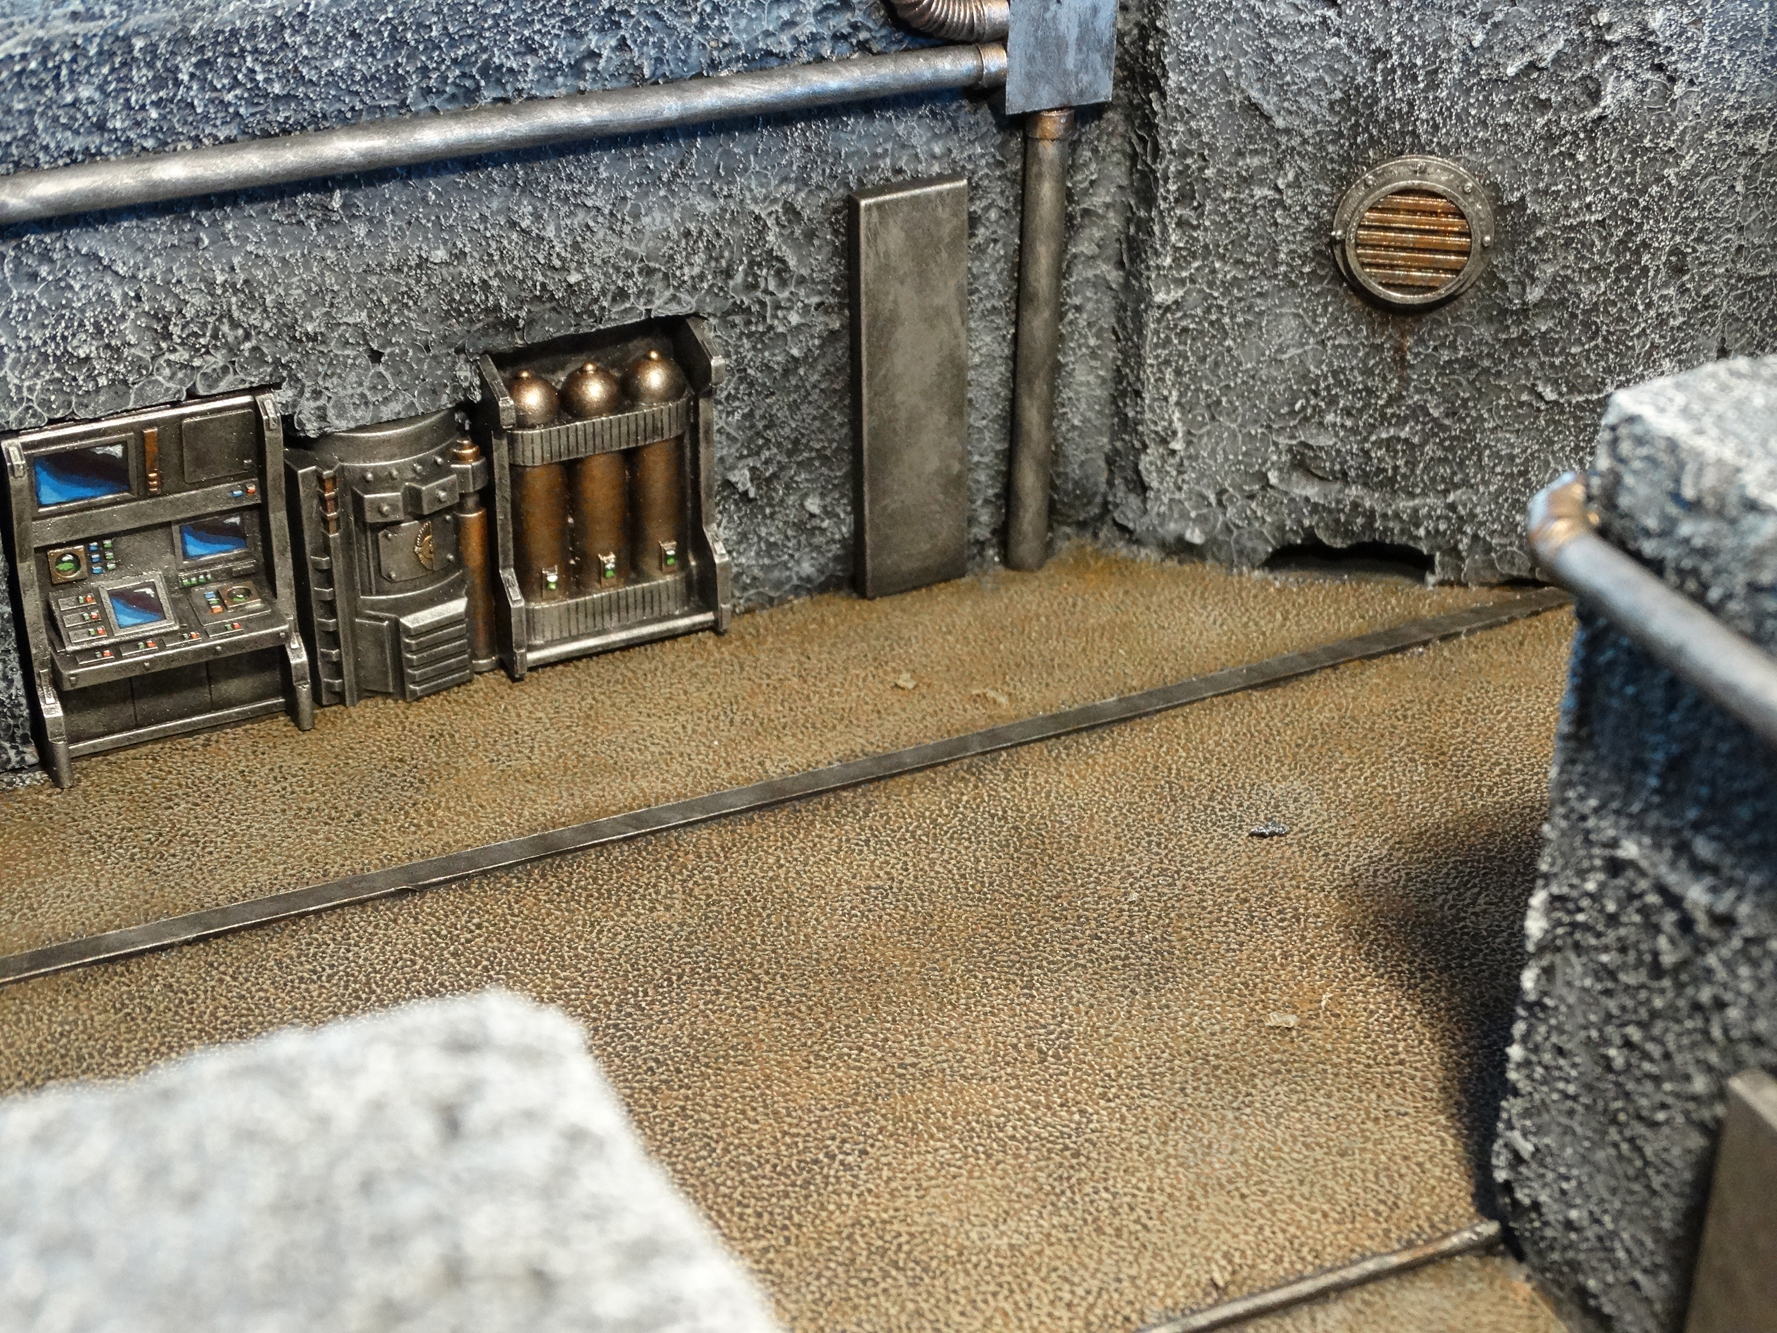
With these parts done it is time to move on to all the pieces I wanted to paint separately before glueing them in the slots in the walls. All these parts are drybrushed in the same manner as the other metal bits and then glued into the slots using wood glue.
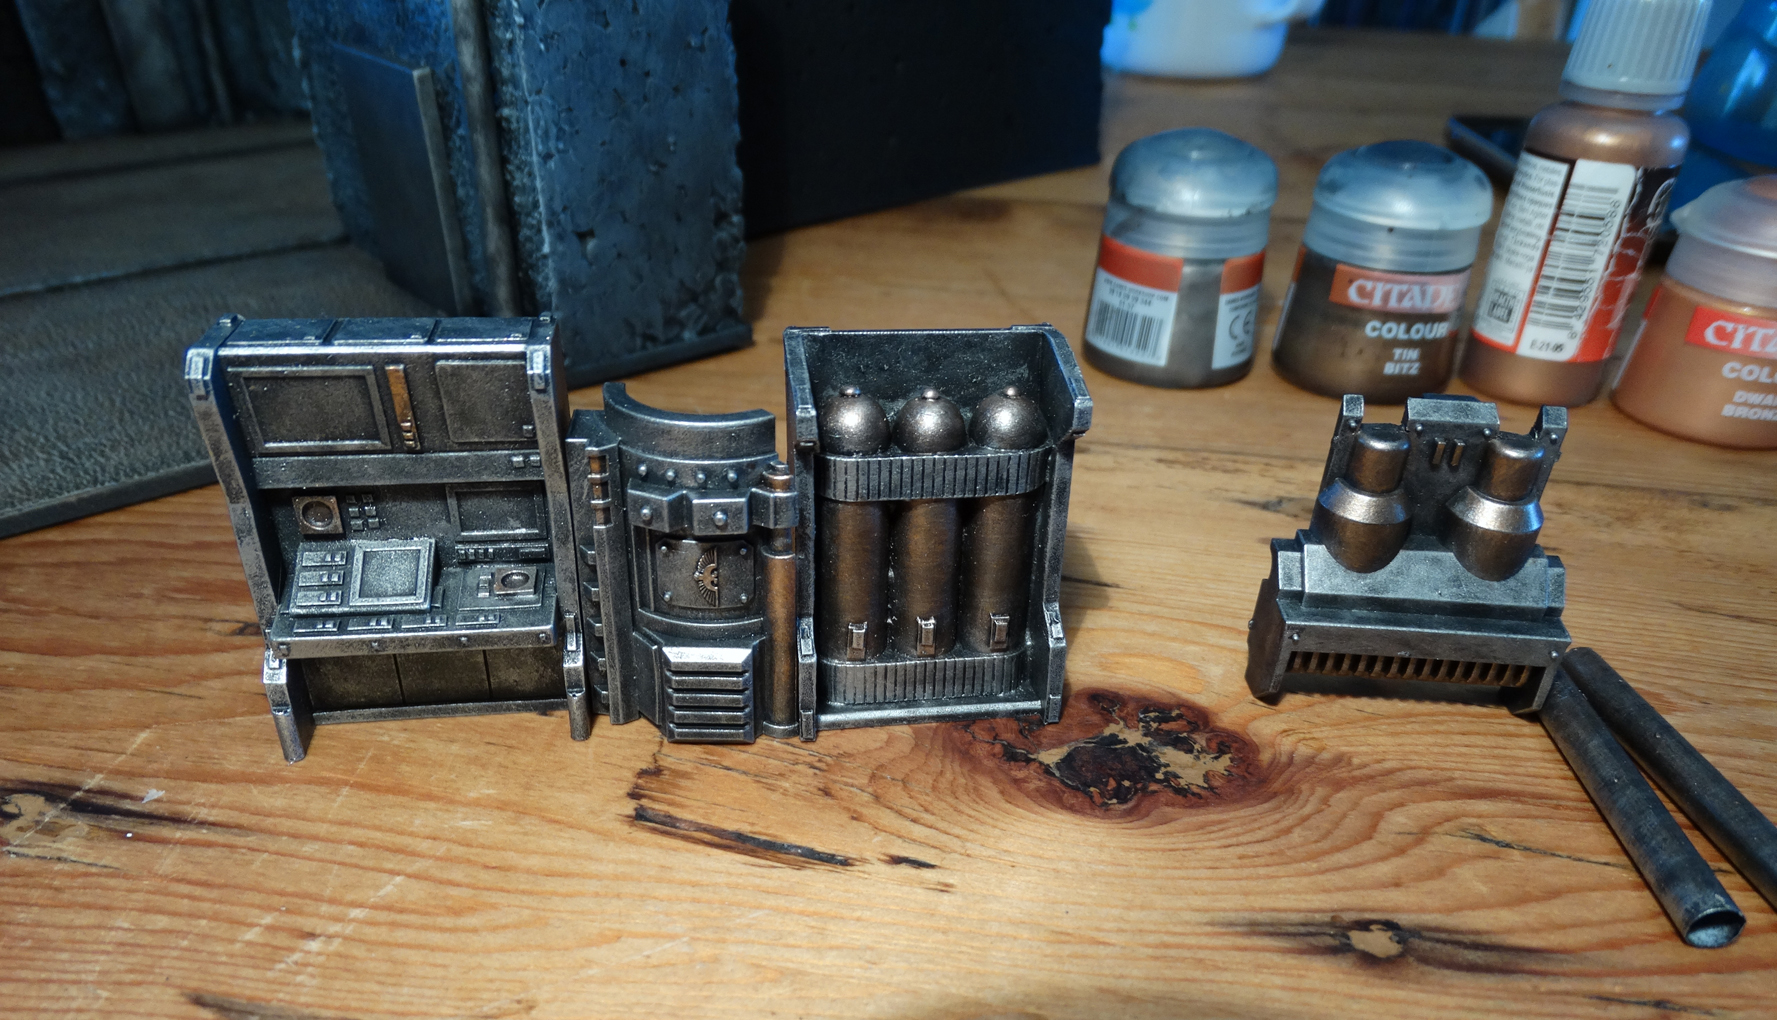
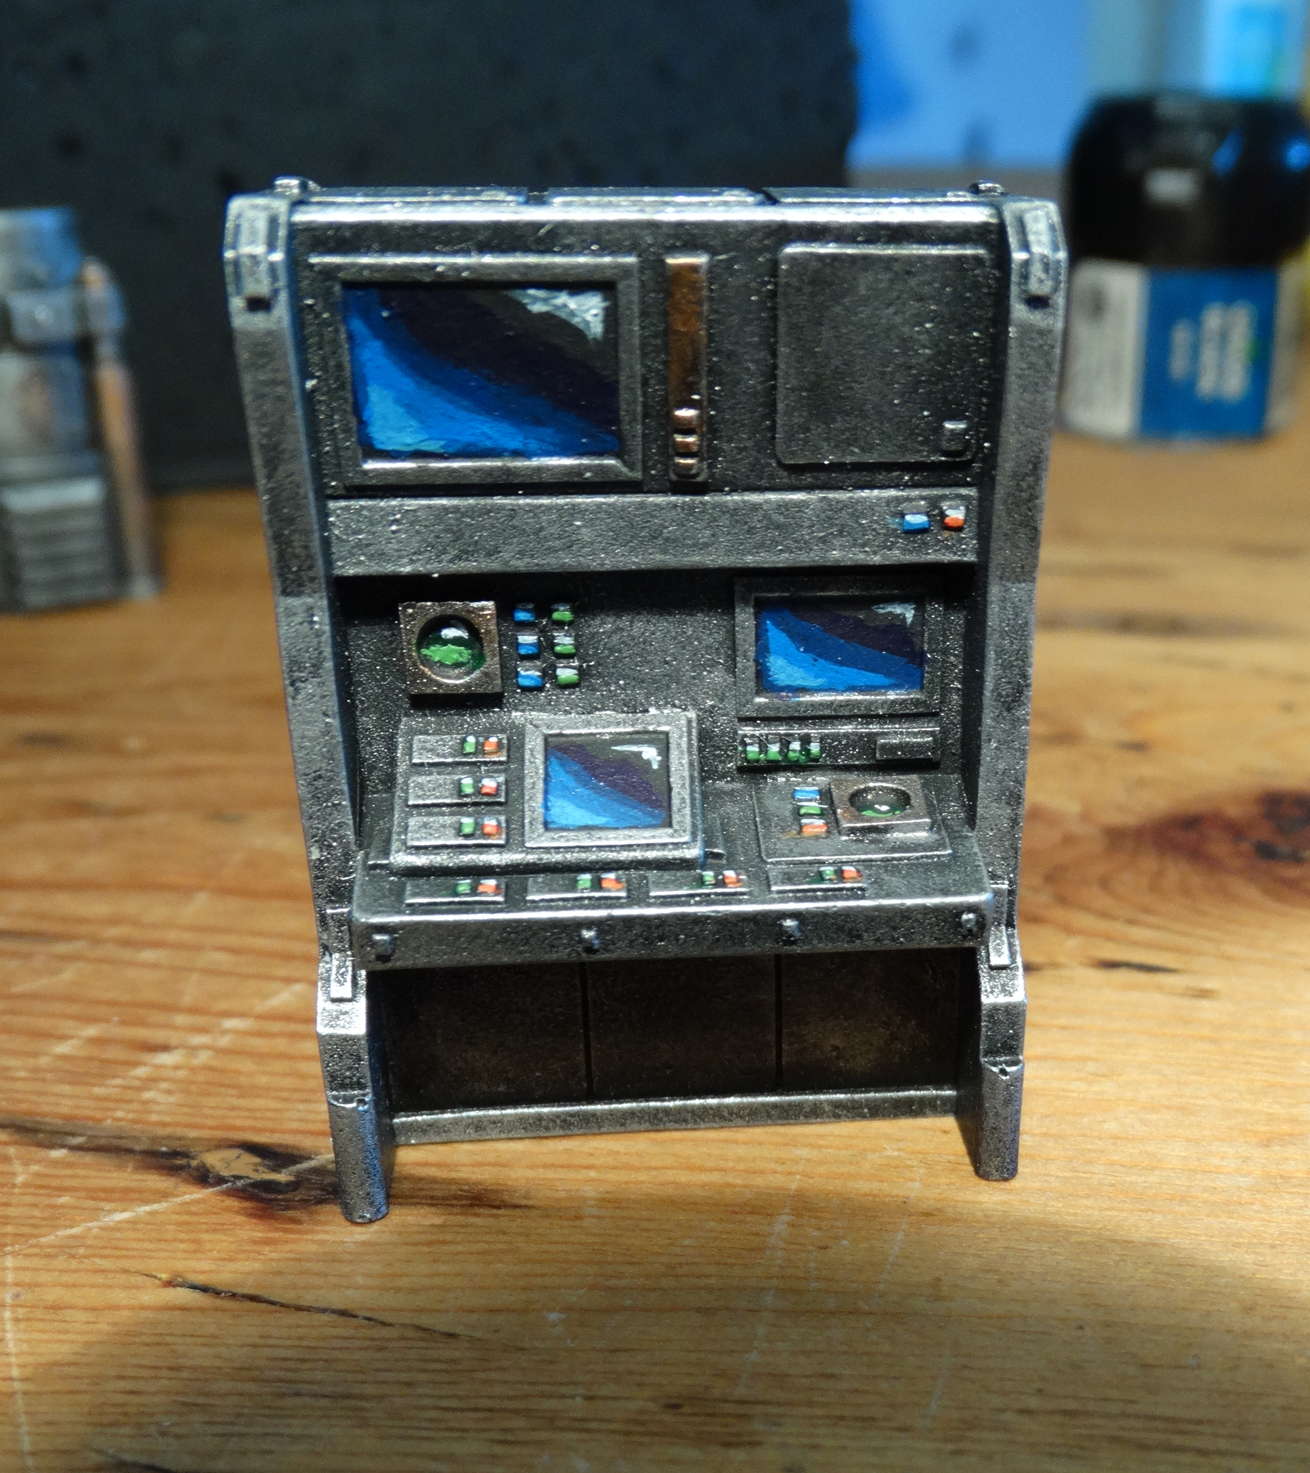
One exception is the computer console. This is dotted with buttons and screens. I used a tried and tested old technique for them. First paint them black again. Then decide which color you want it to be, let’s say red. Use a dark red and paint the bottom three quarter of the button. A normal red follows over that, but then only the bottom half of the surface. Paint a light orange at the very bottom and a thin line of white on the top of the button. Some clear gloss varnish finishes them off. The screens were done with the same technique, but with more varied colors of blue. (If you want to see pictures of each stage let me know so I can arrange this).
With this done all parts could be glued into the slots.
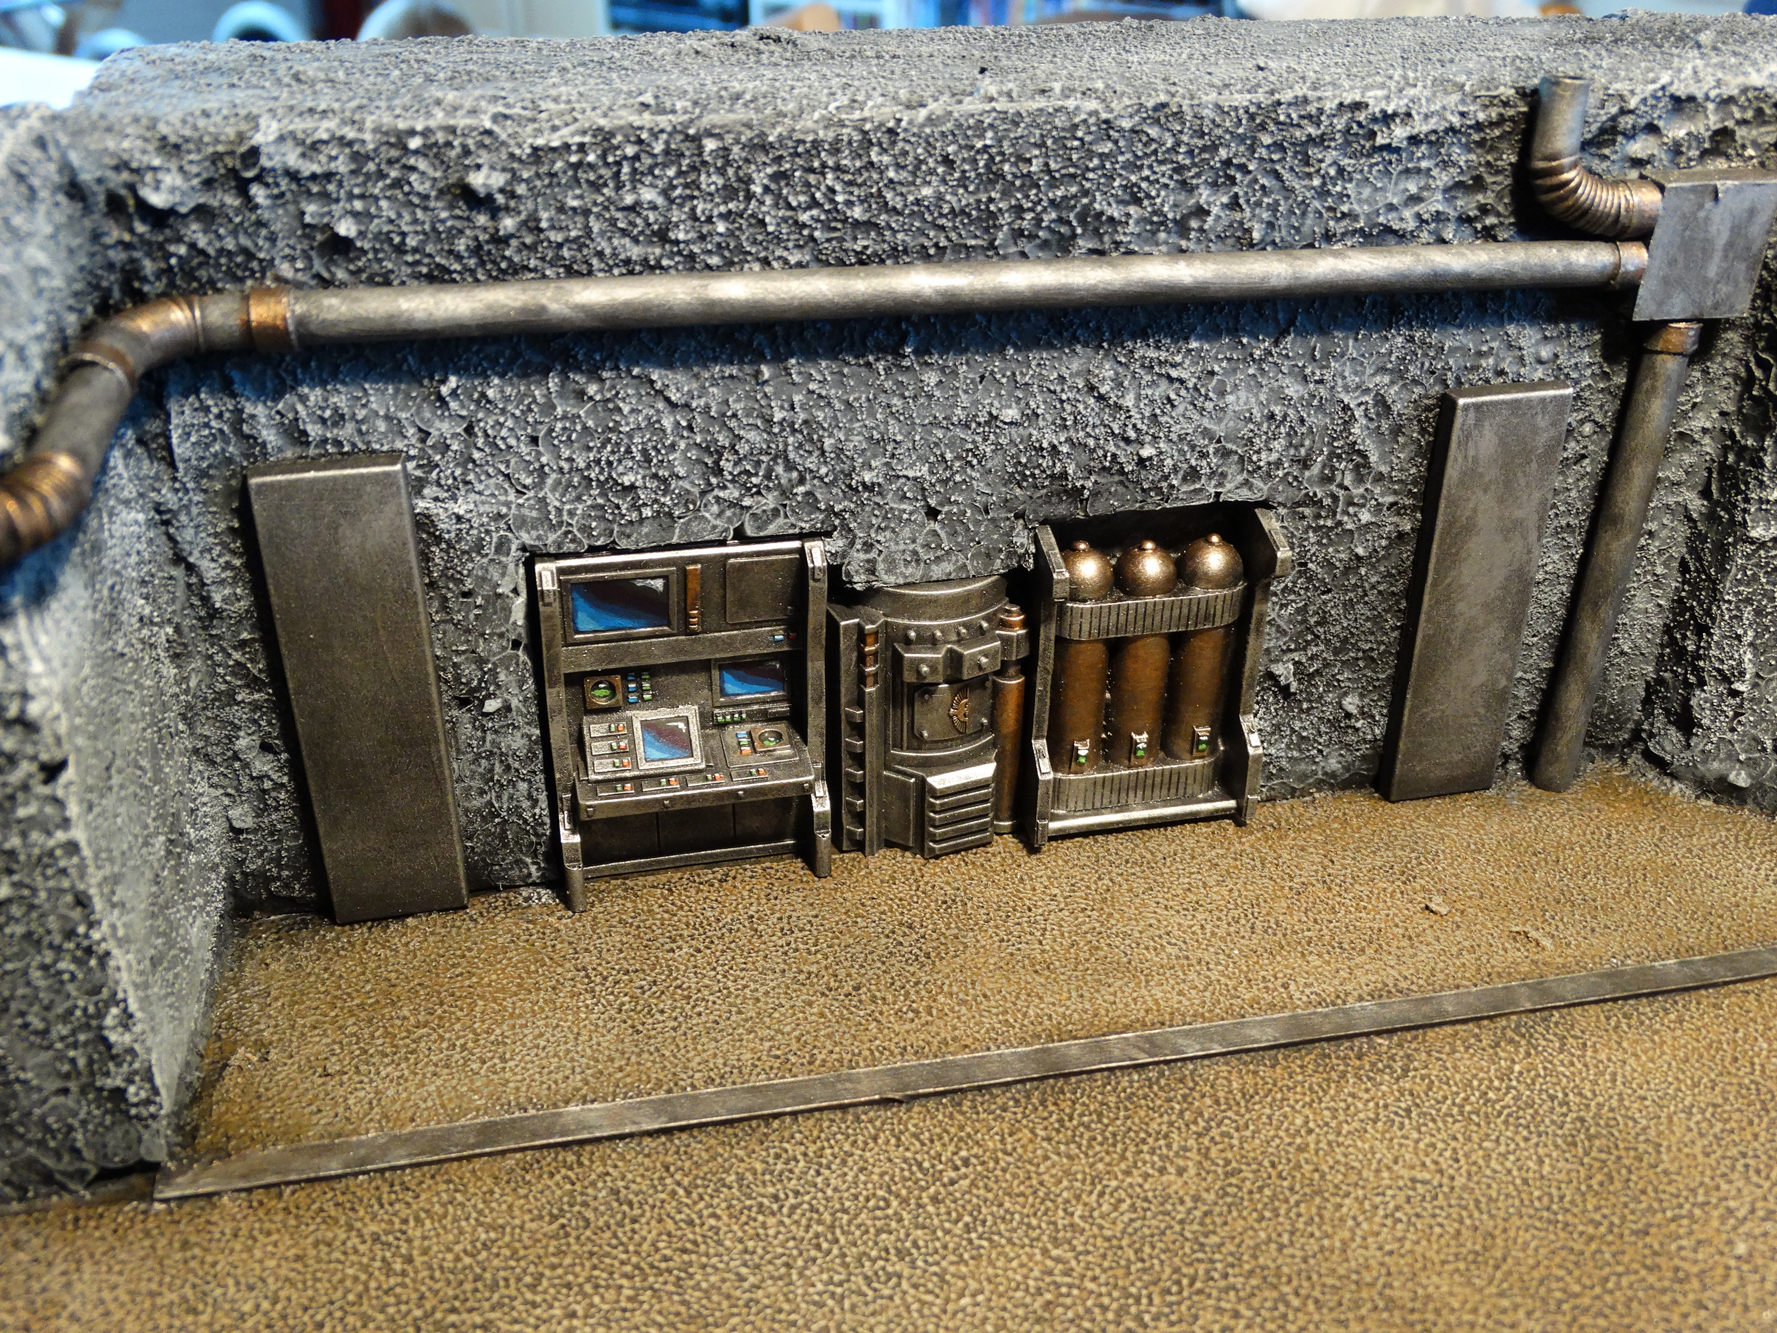


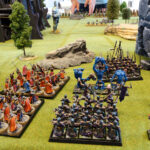
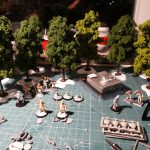
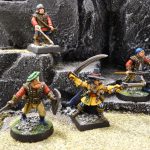
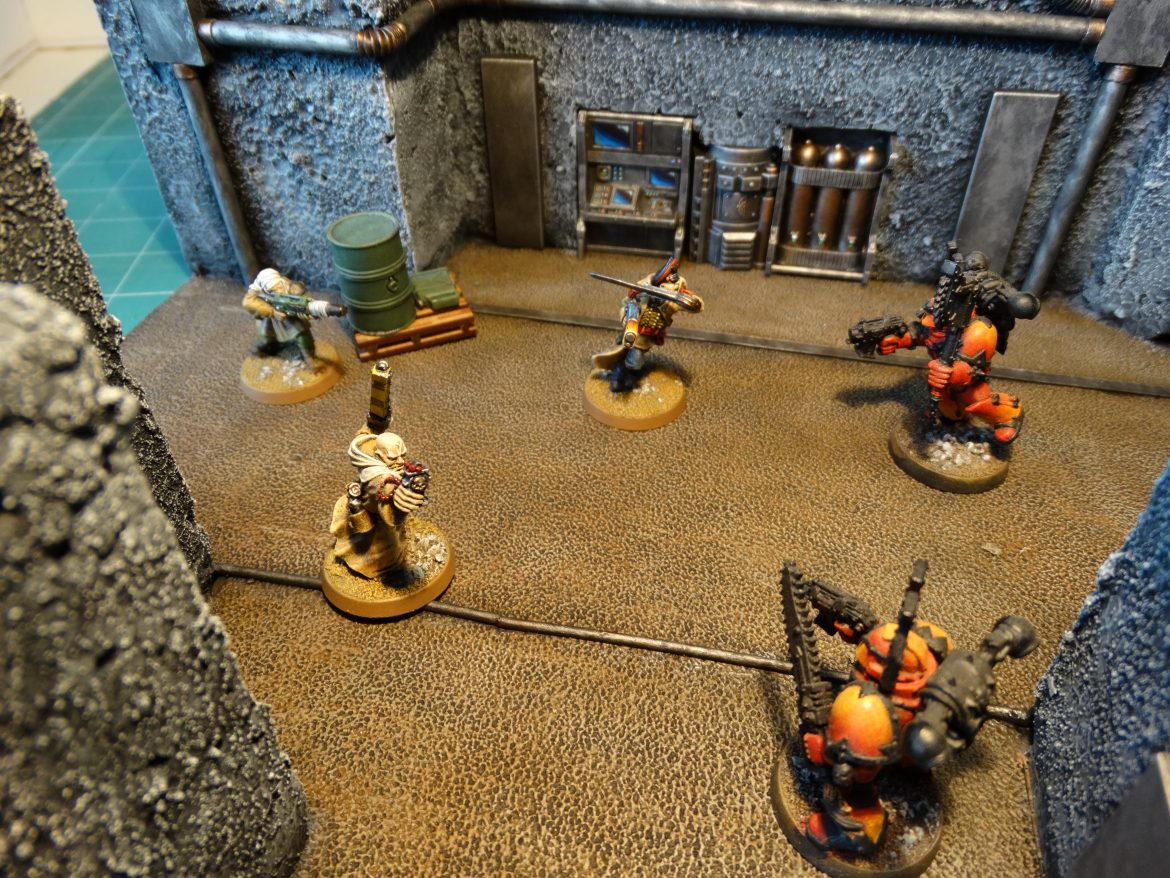
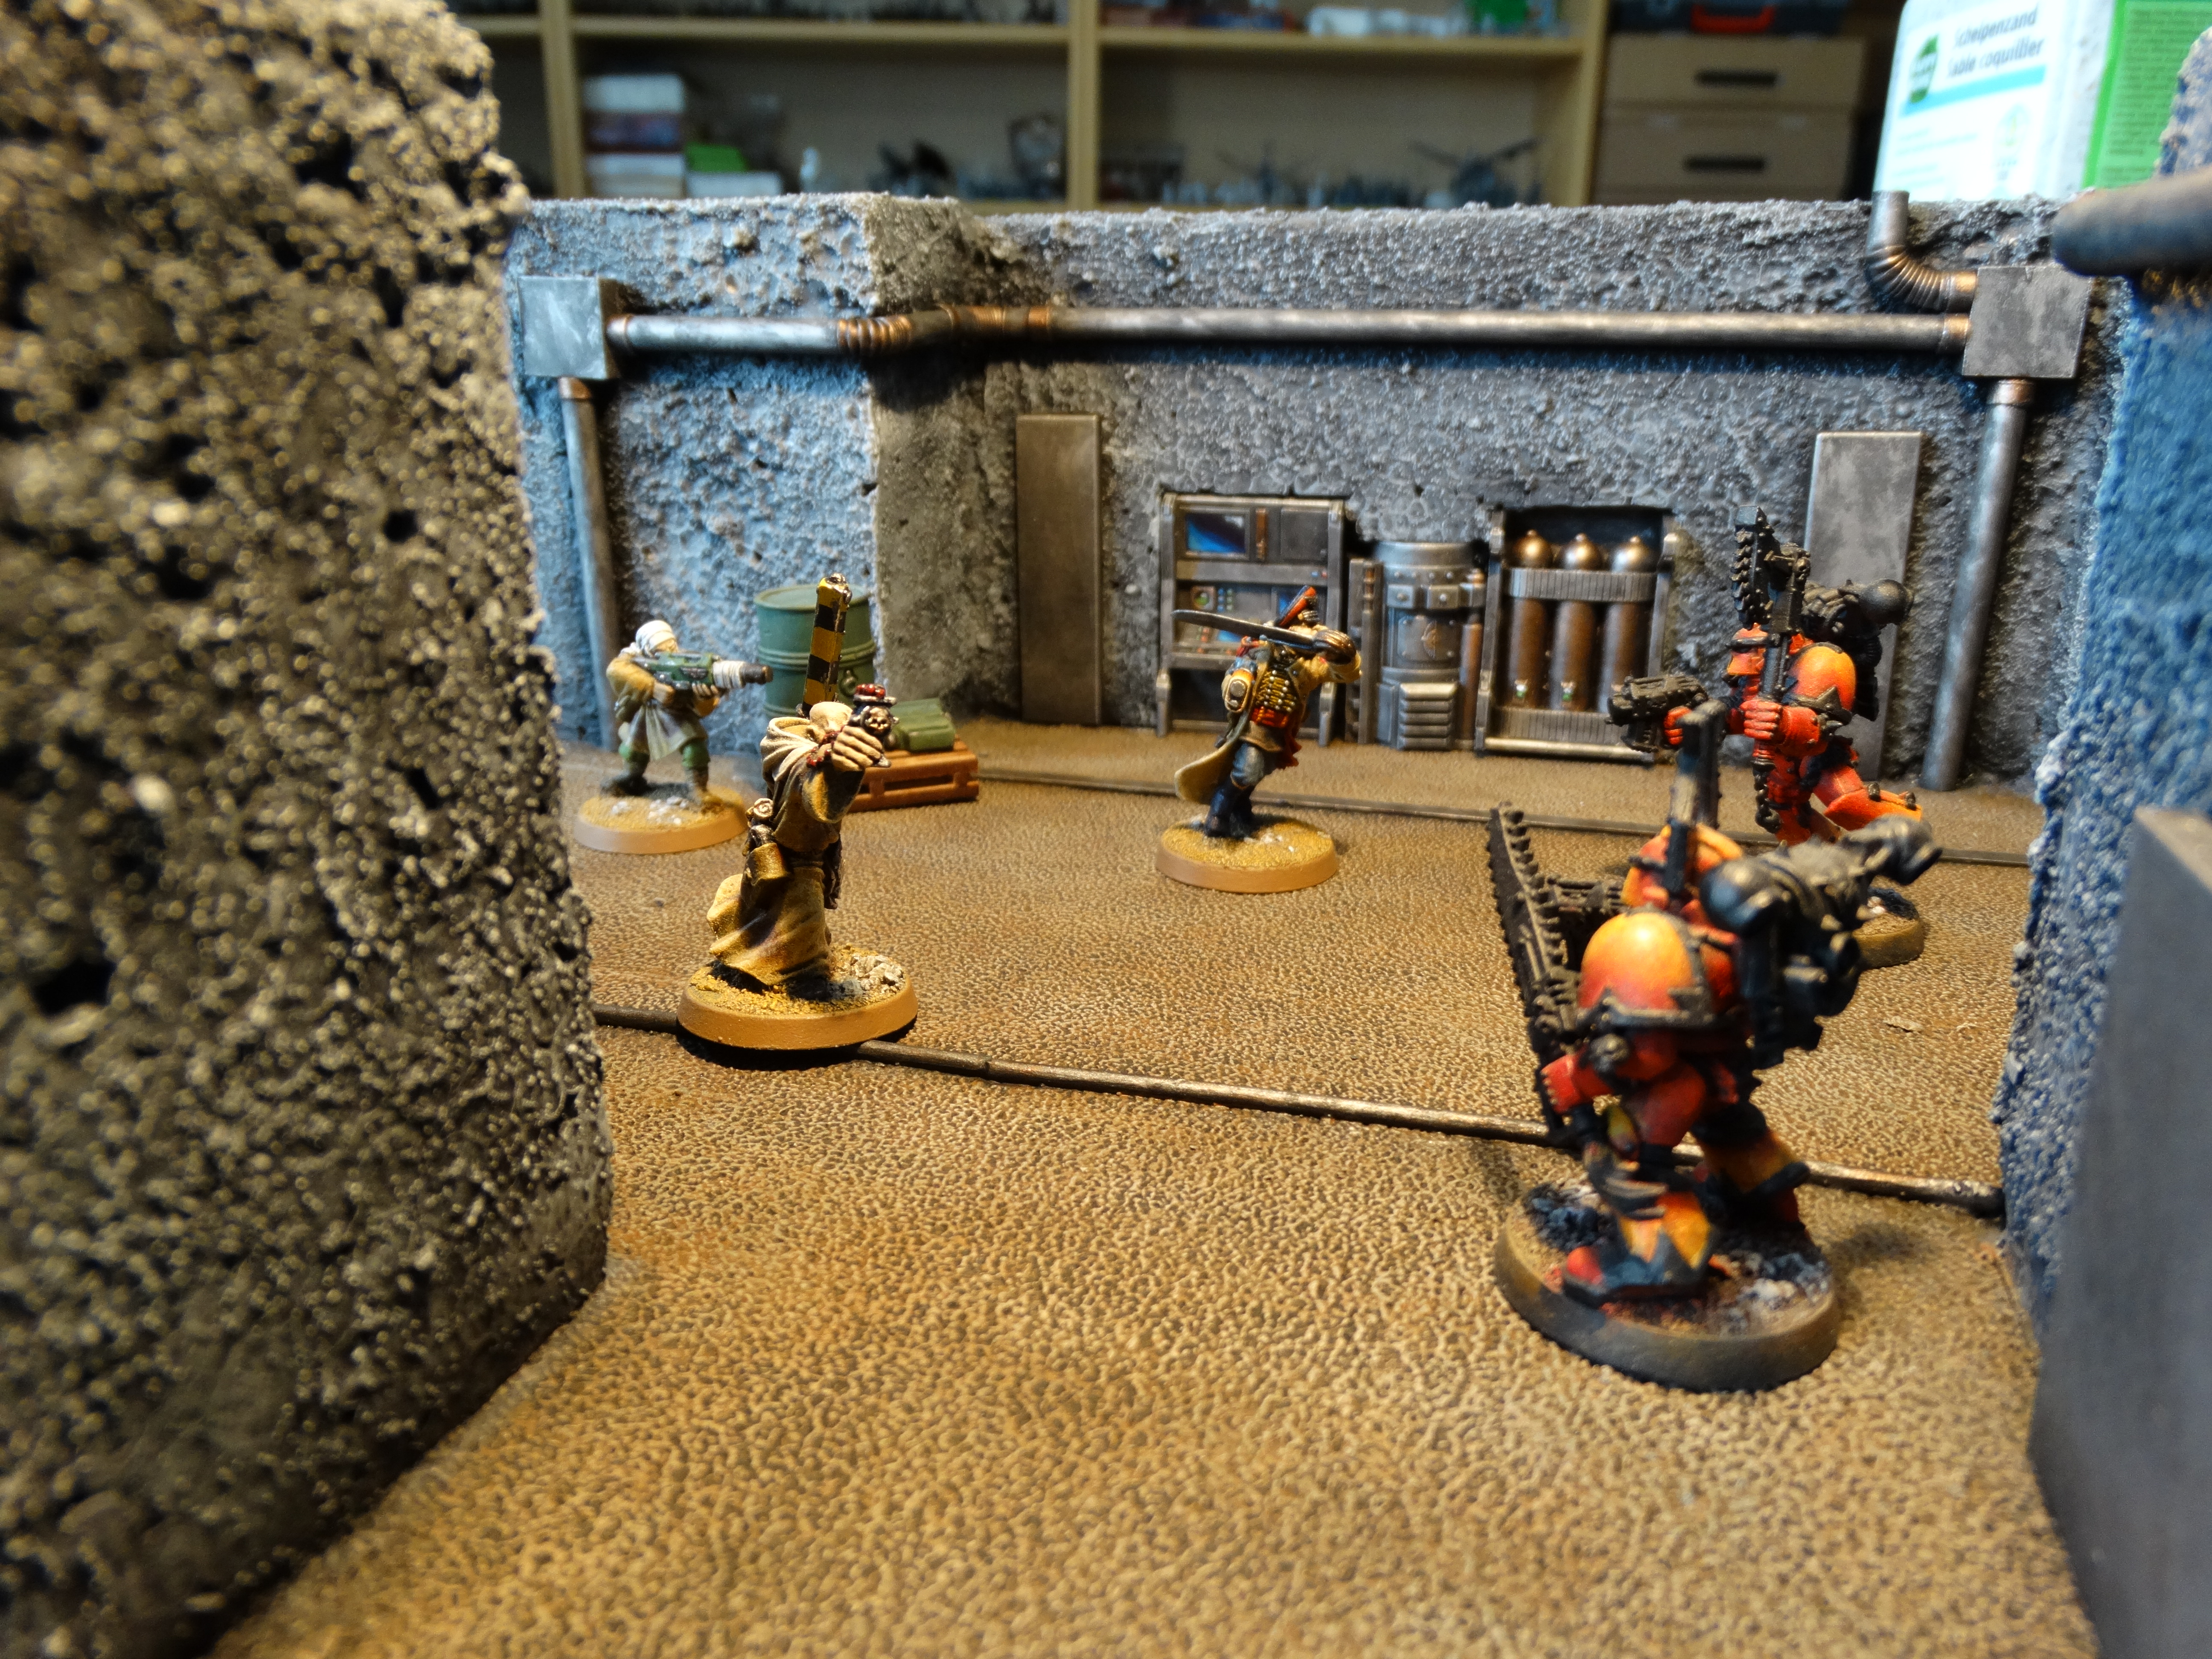
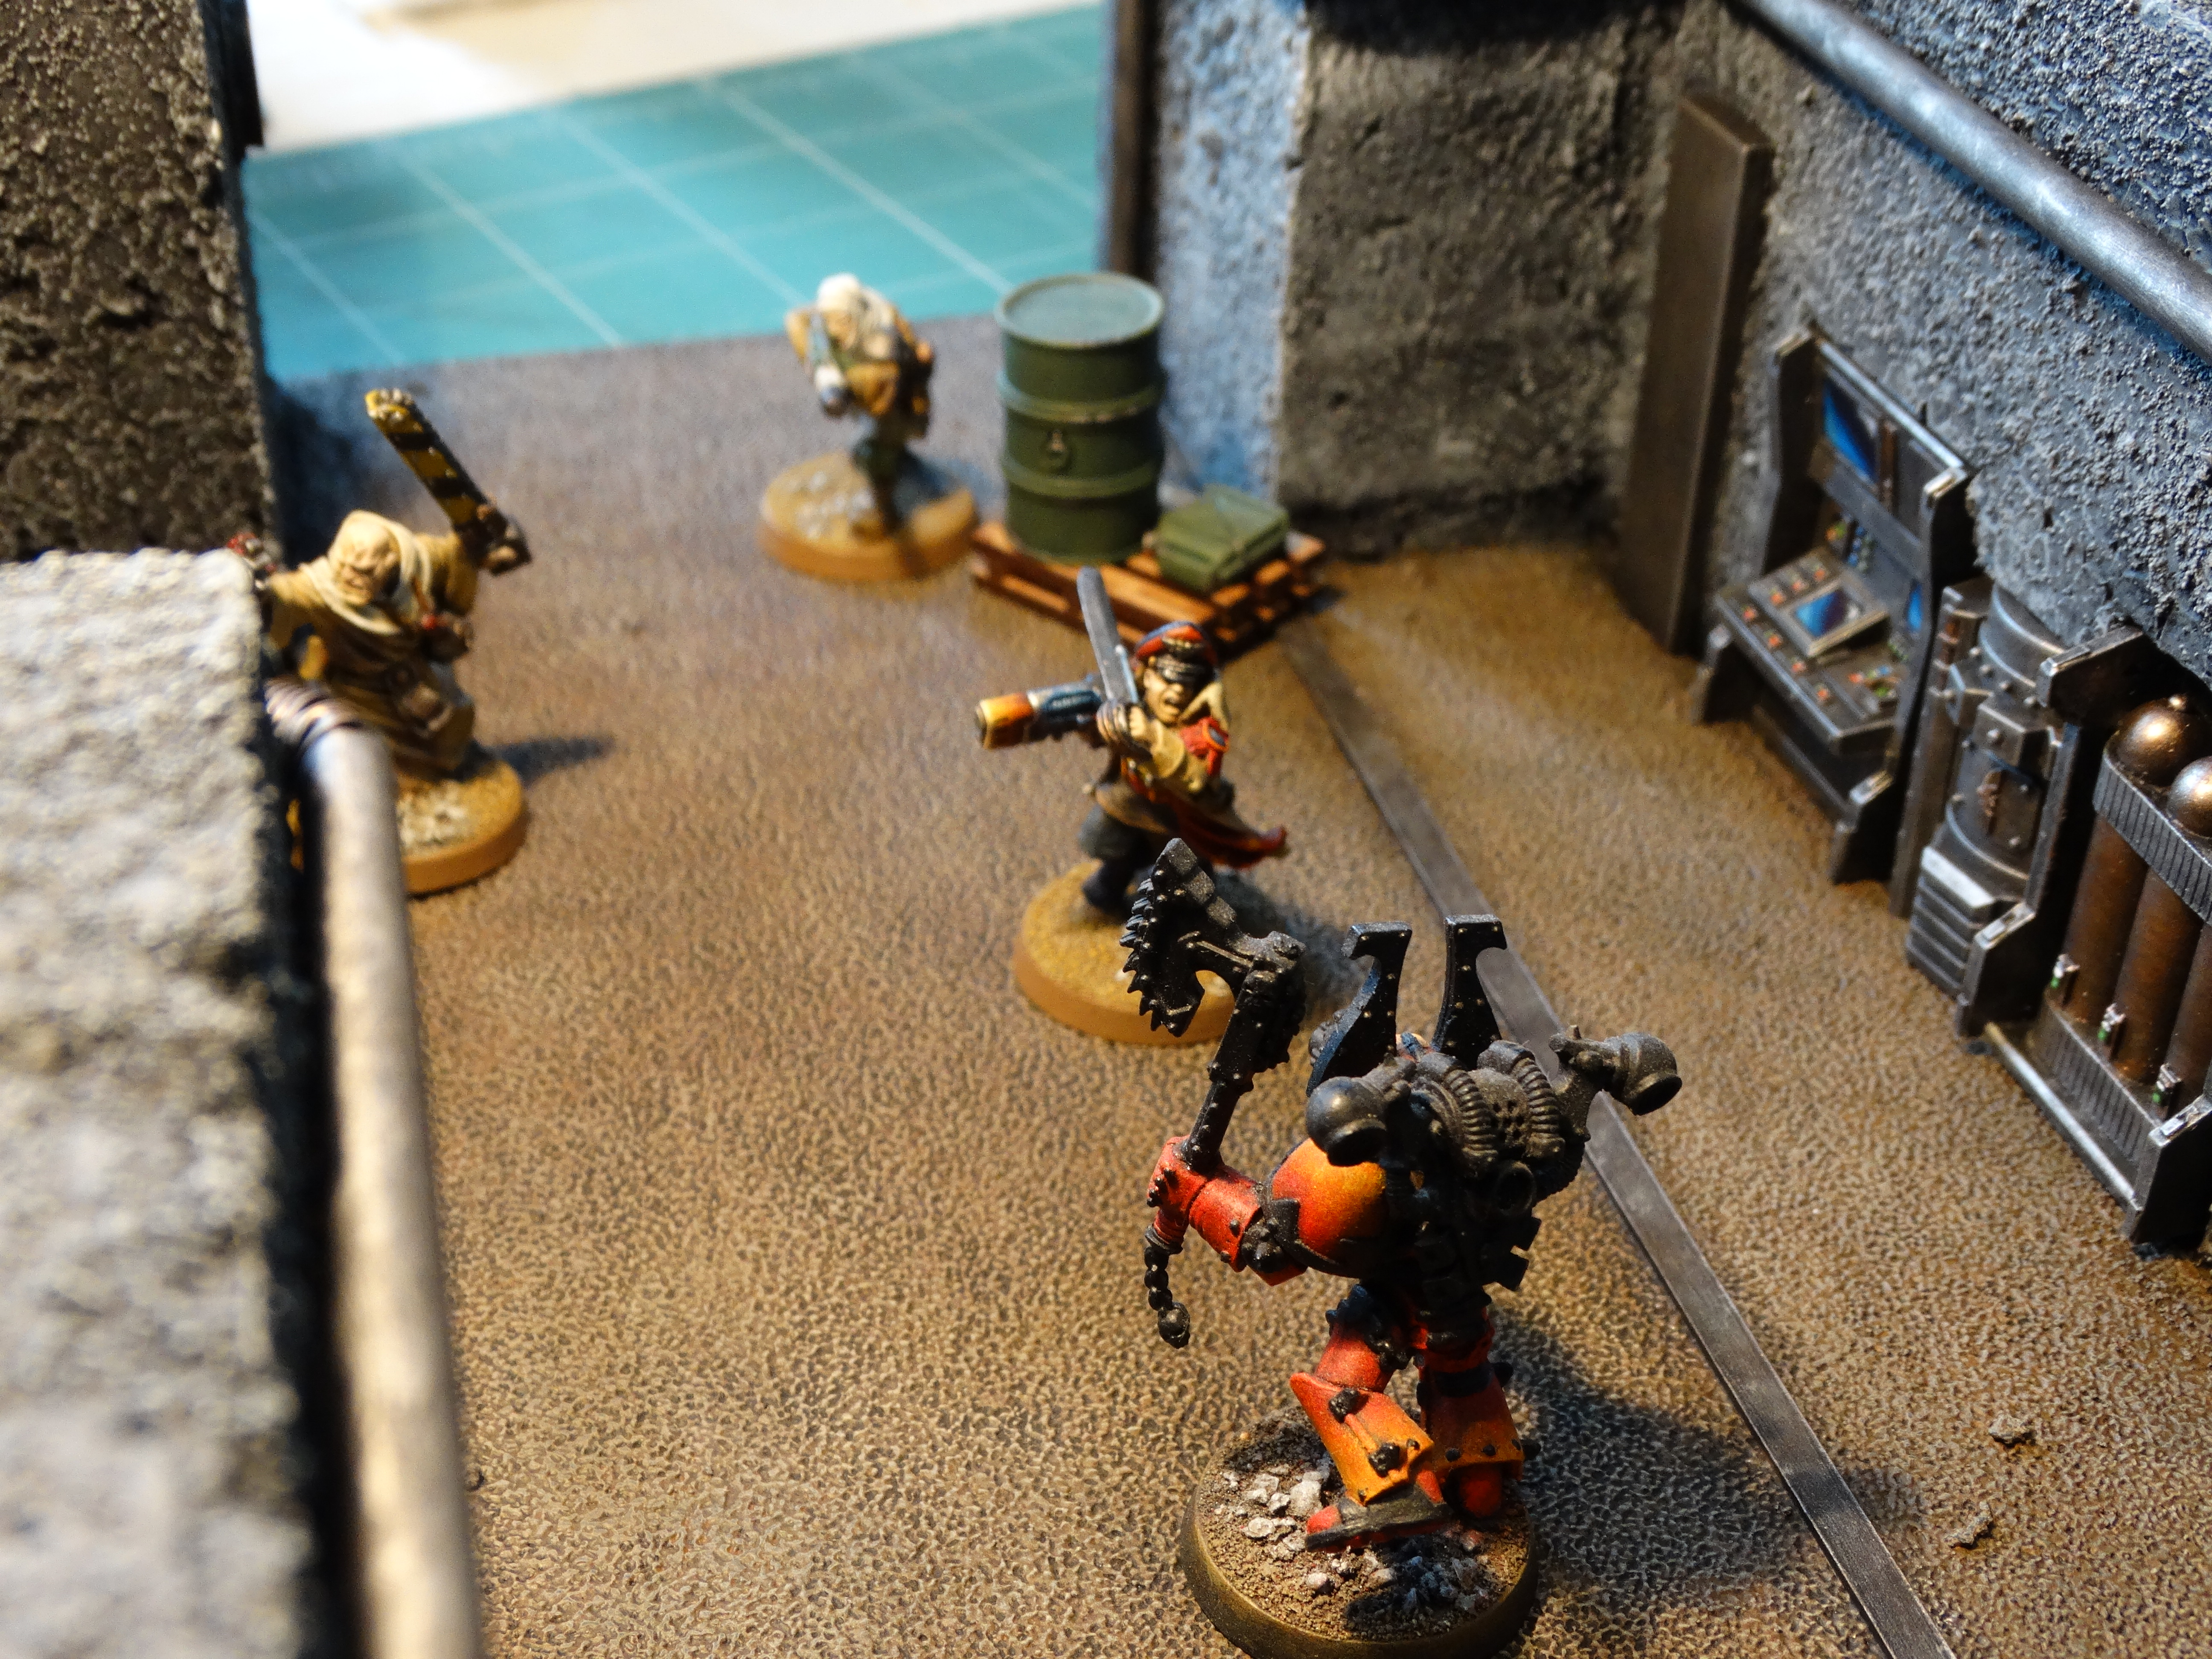
Now that the first section is done I still have lots of work to do on all the other sections I have in mind in order to make it an impressive tunnel system where my Tallarn forces can compete with invaders. But I could not resist putting some models in this one to see what it would look like.


I am satisfied with the result, so on to the next sections. I will not post step-by-steps of the new sections, because all of them will follow the same principle as this one. But when finished I will off course post pictures.