
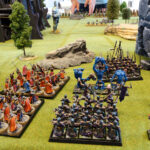
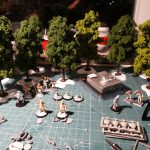
About a year or two ago Coen and I started a campaign with my Tallarn and his Death Korps forces. Since then we have played three games (yes, we do not play that often, I agree). The first game was all about his Death Korps trying to get a foothold on Tallarn soil because they had had an astrotelepathic message informing them that the Tallarn had turned traitor. These reports through the warp are often misinterpreted and this one has gone drastically wrong. The fanatic Kriegians however take the report very seriously and since they had a force nearby our home planet they decide to take swift action and invade. My forces responded to this traitorous act, clearly committed by renegade turned forces, by defending their planet. The first battle was ended in favor of the Death Korps, which meant they now had a bridgehead from where they could stage the rest of their invasion. The second game I tried to retake the bridgehead, but failed. So with the third game the invaders were advancing and attacked one of the planet’s bases. They won of course.
The next idea I had was for the Korps to find one of the entrances to the vast tunnel systems under Tallarn’s surface. Tunnel fighting with just squads of Guardsmen would then ensue. In order to do this I have to make a tunnel system. I want to make a modular system so that I can change the layout whenever I want to and use the tunnels for any sci-fi game. With this in mind I started to plan ahead. I never sketch anything before hand, because somehow I can do that all in my head. I also think of the construction in my head and thereby know up front how I will do certain things and in what order to make it work.
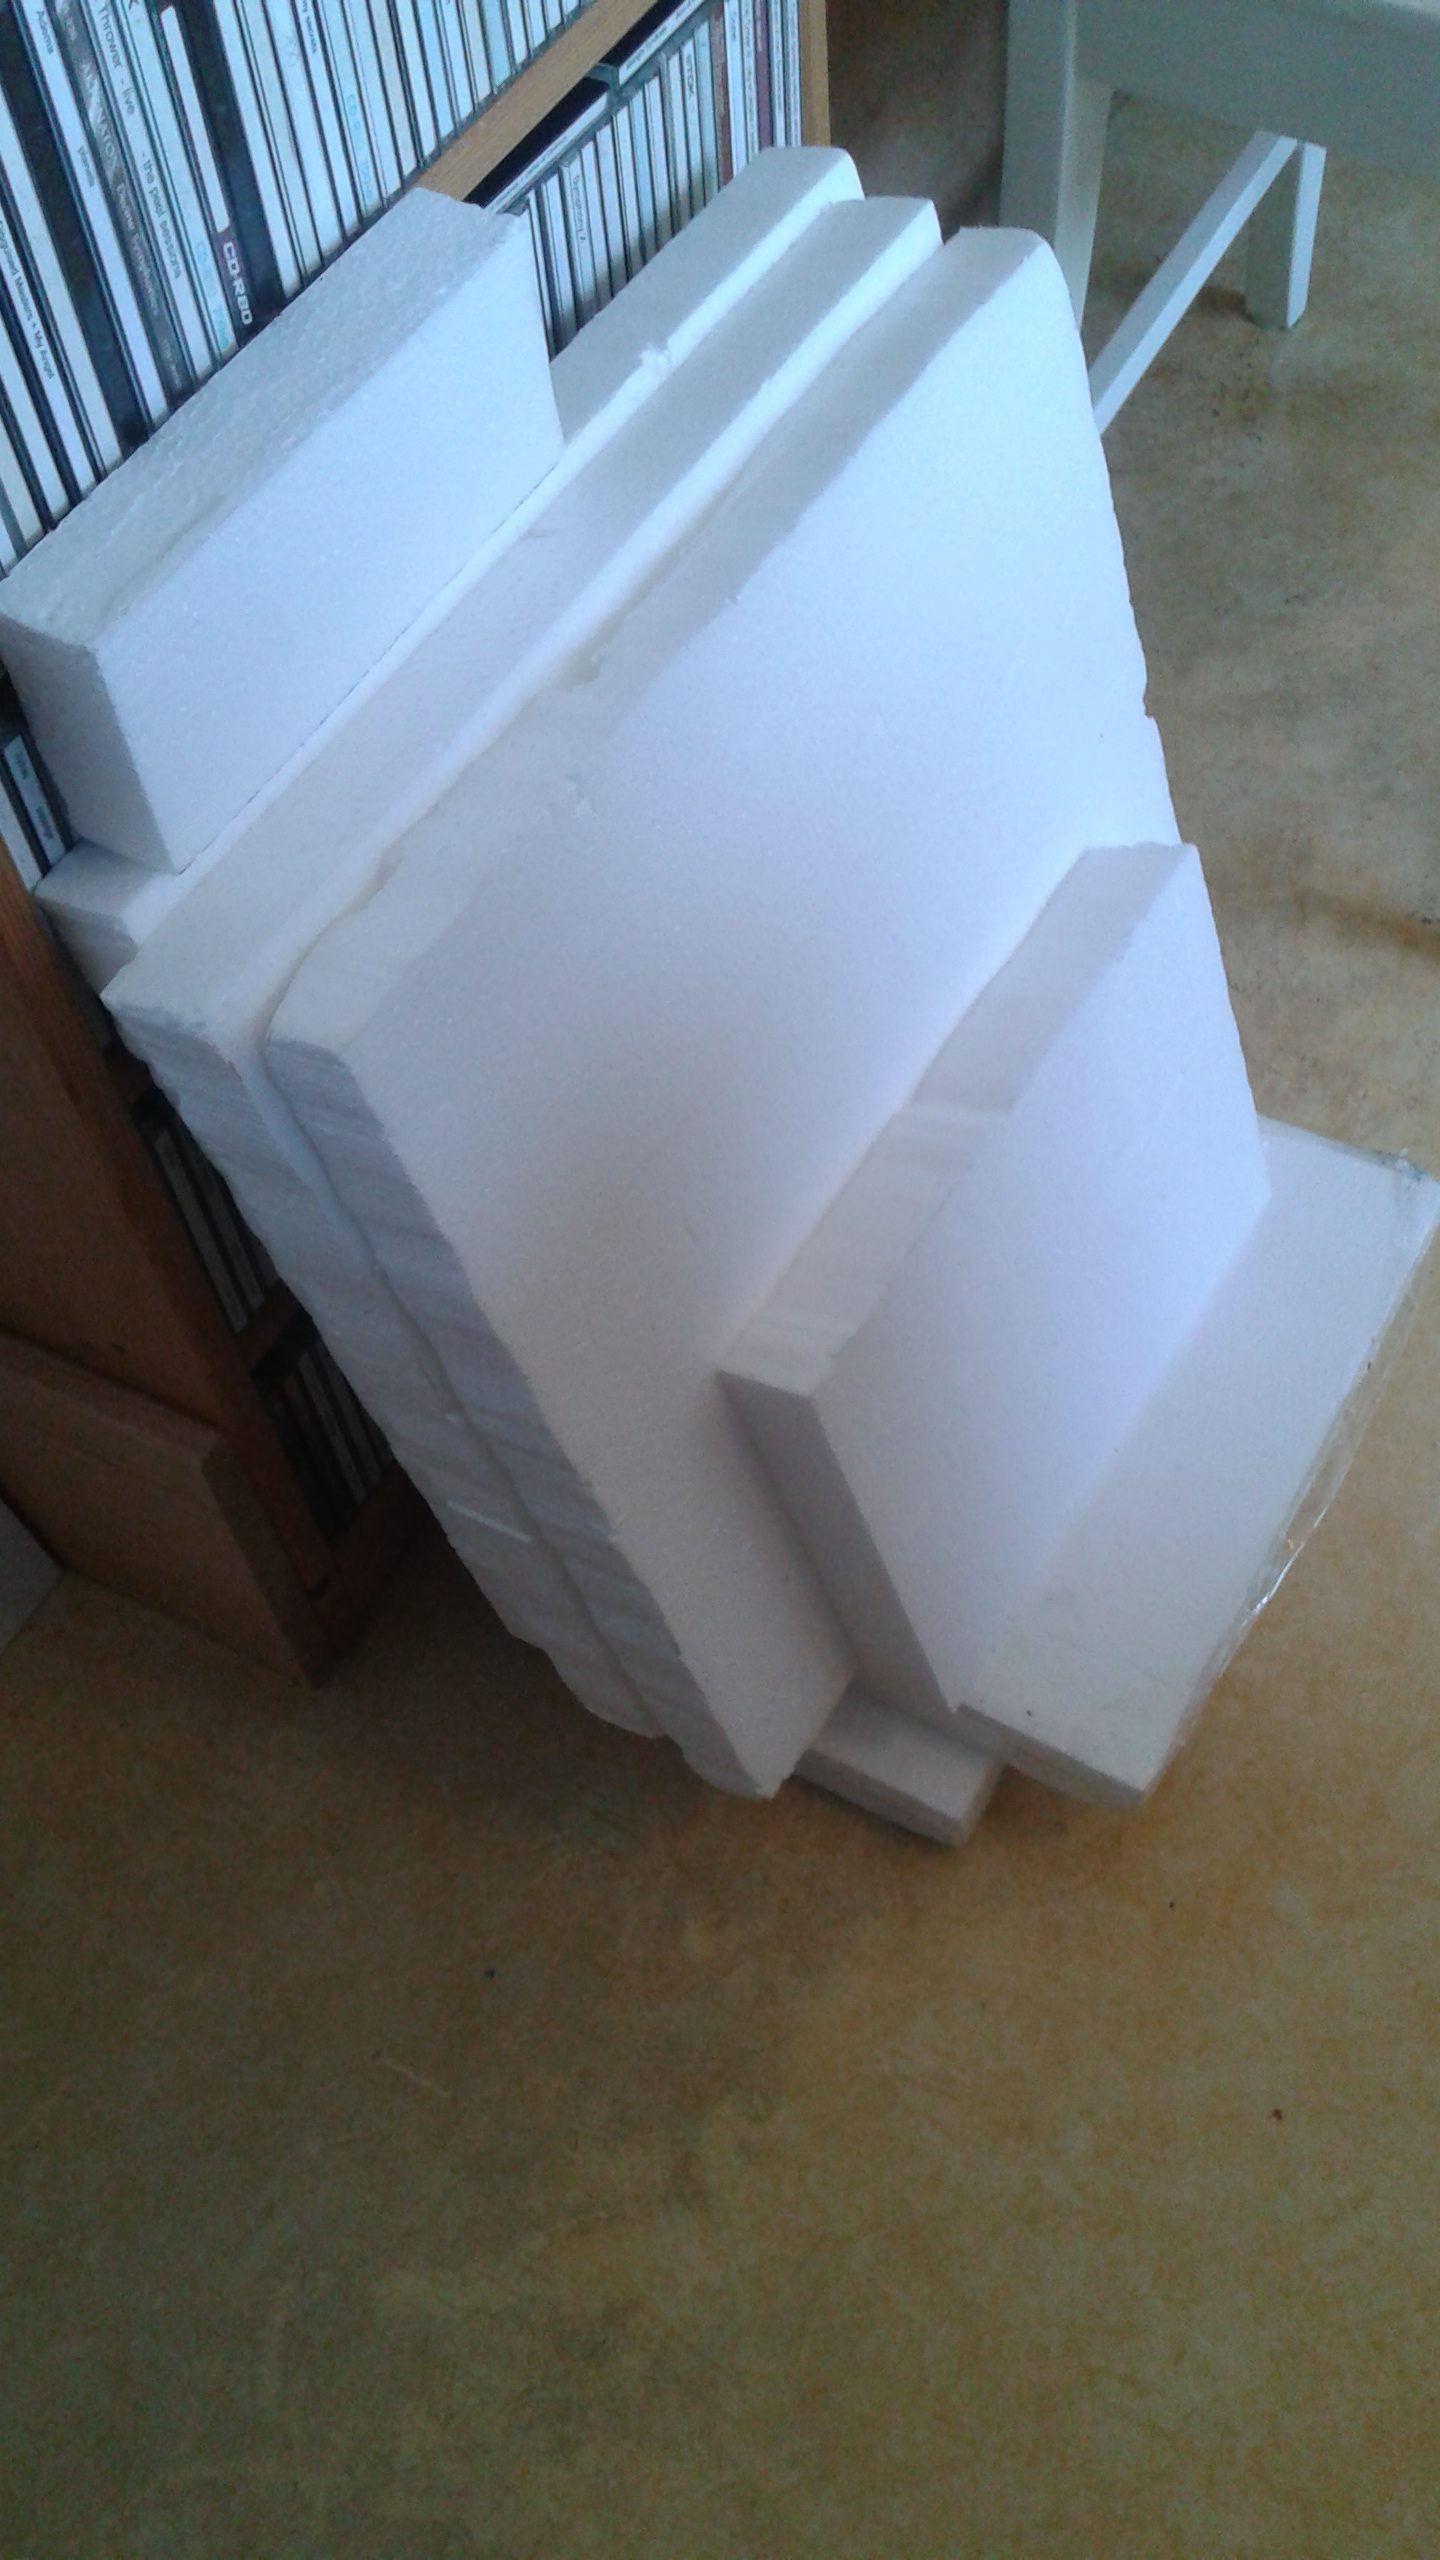
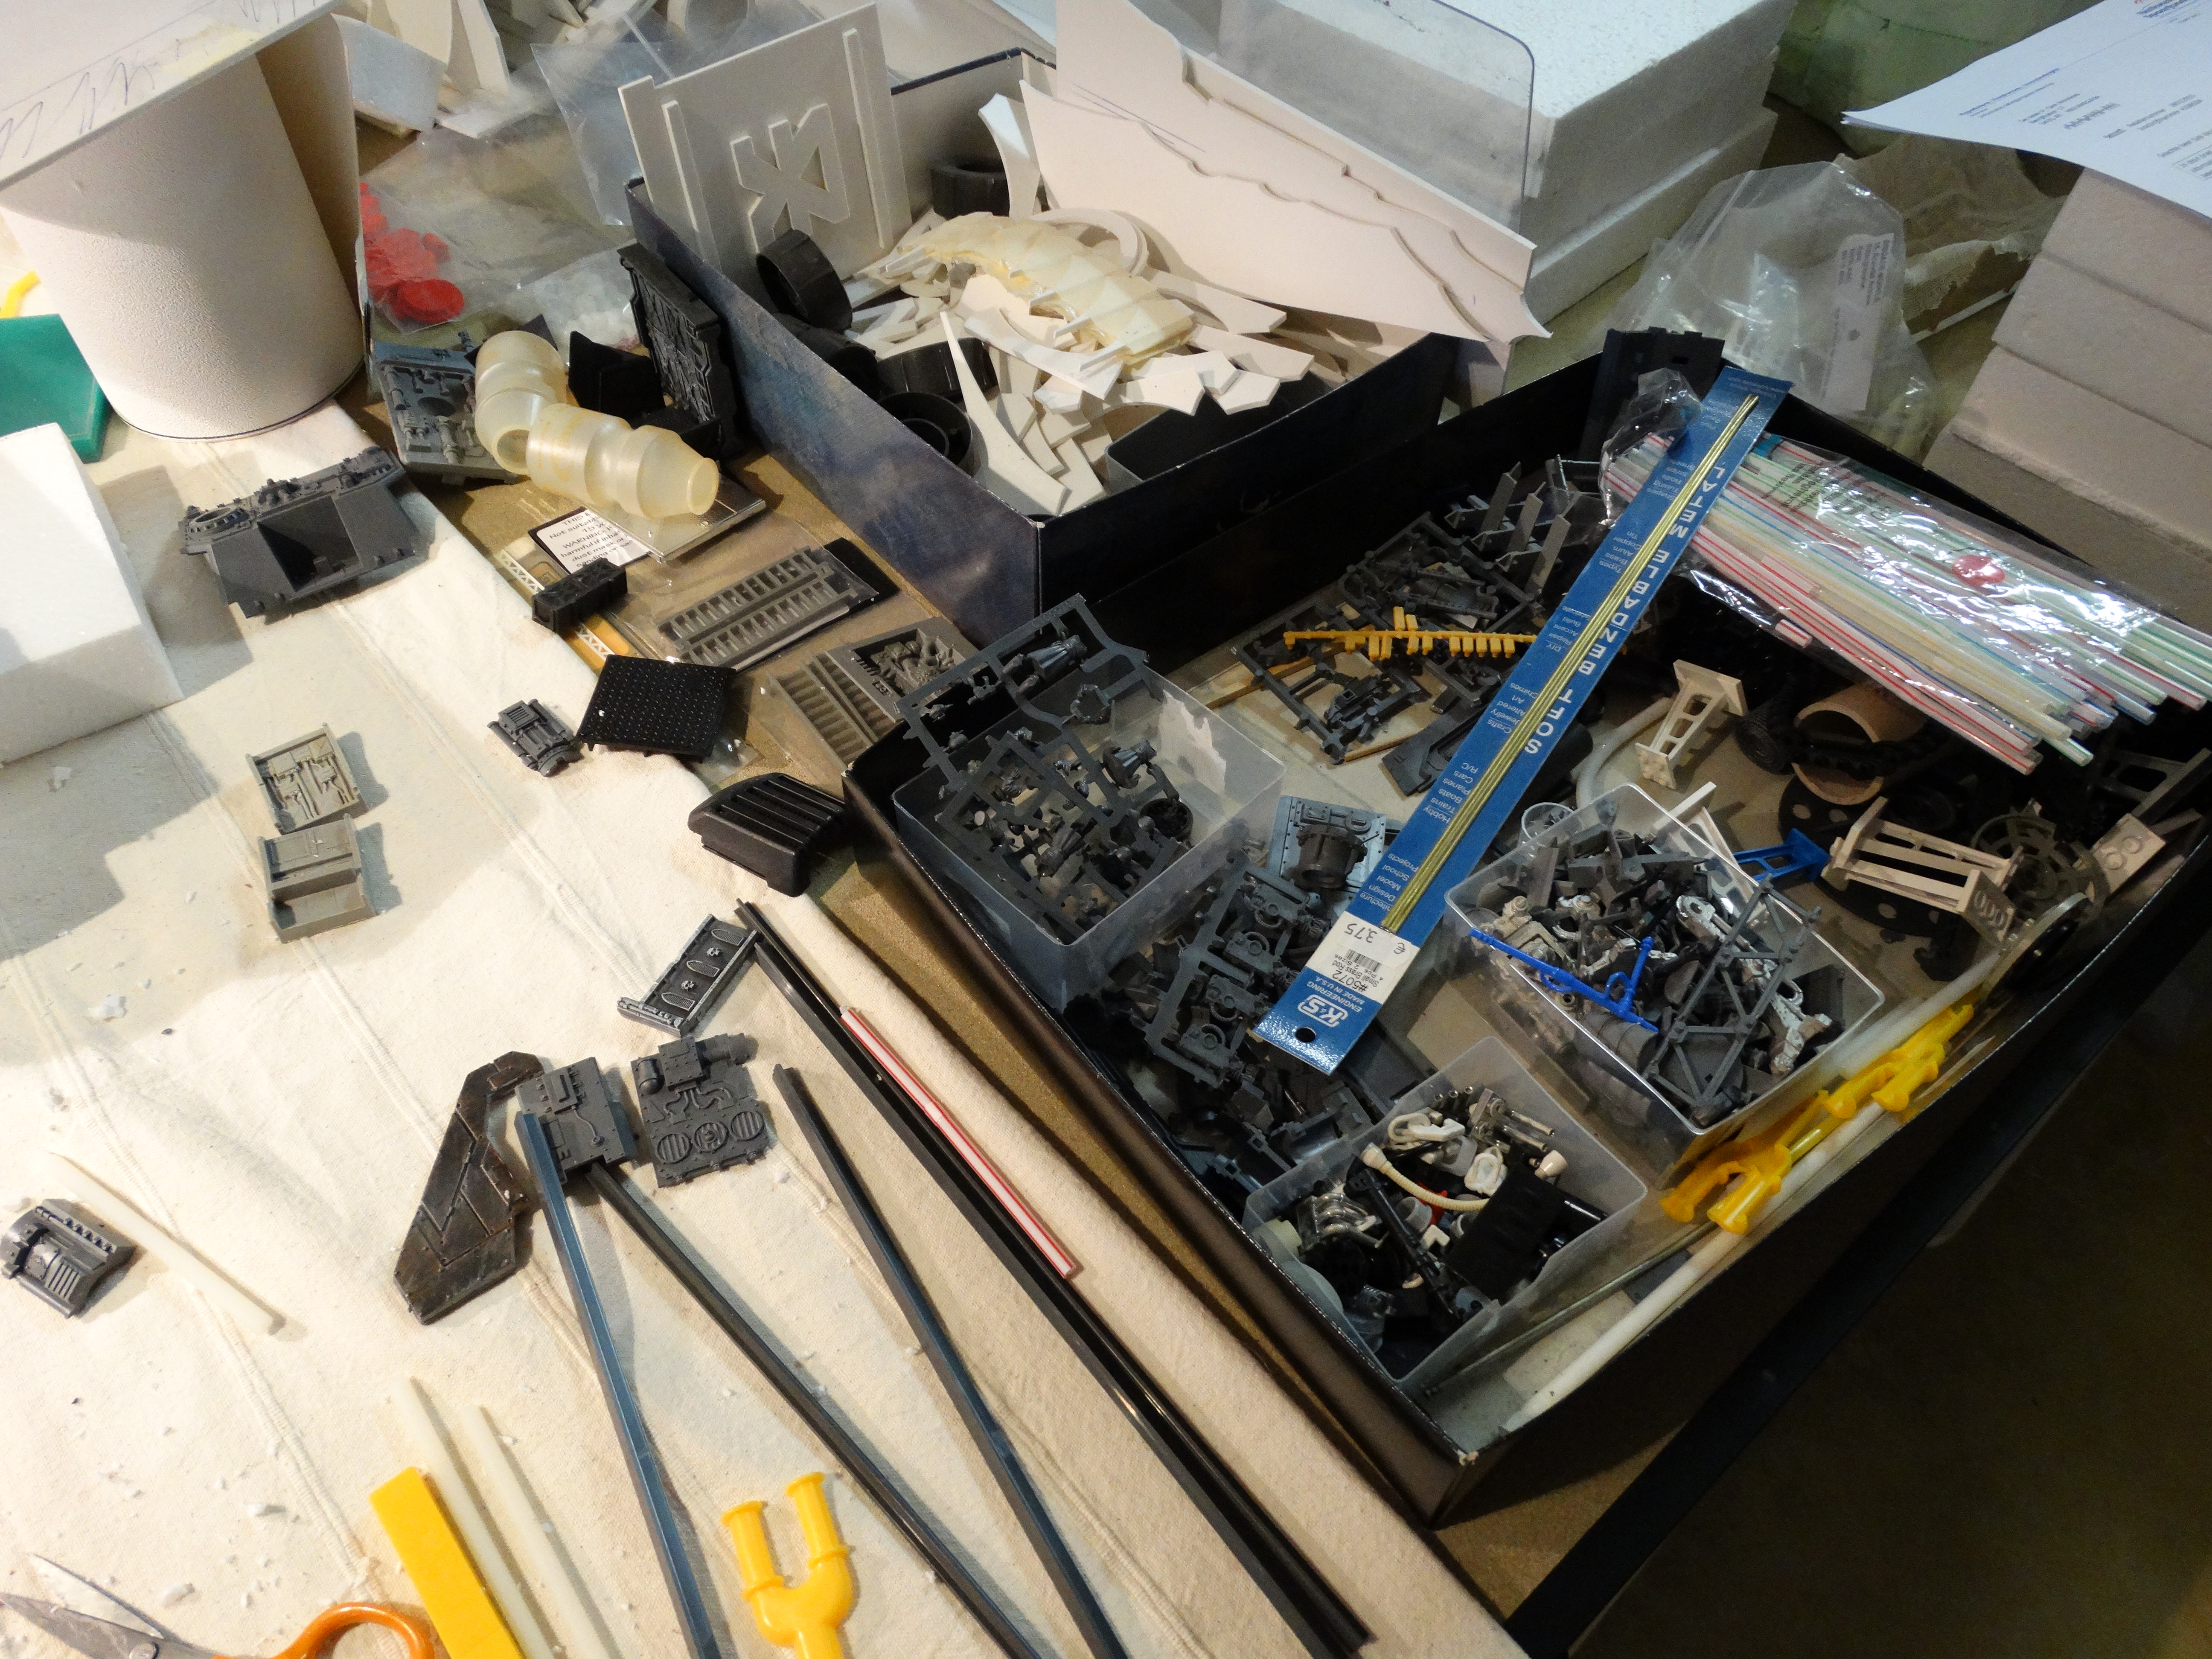
I want to start with a pvc sheet (3 mm thick) and cut the shape of the tunnel section. The walls will be made from simple styrofoam sheets I have laying about. The decoration will mainly be from my bits box and certain items I purchased just for this project.
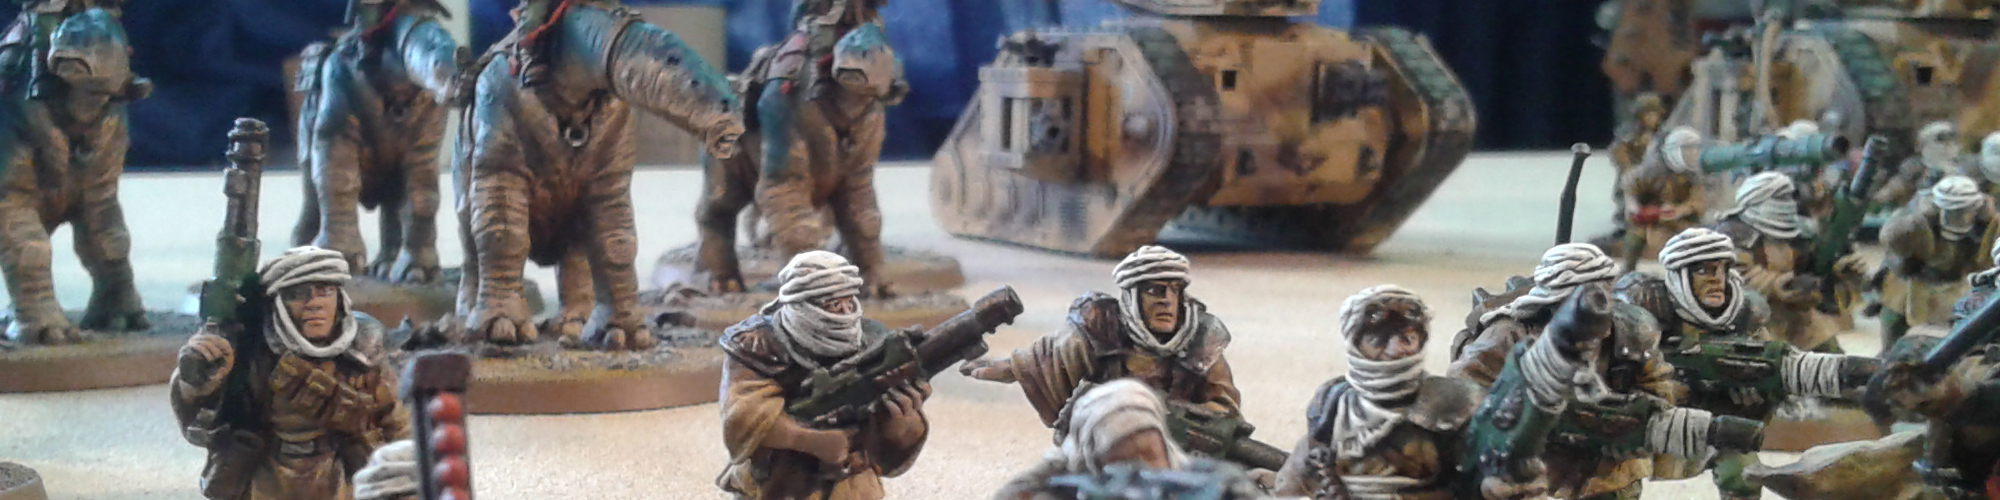
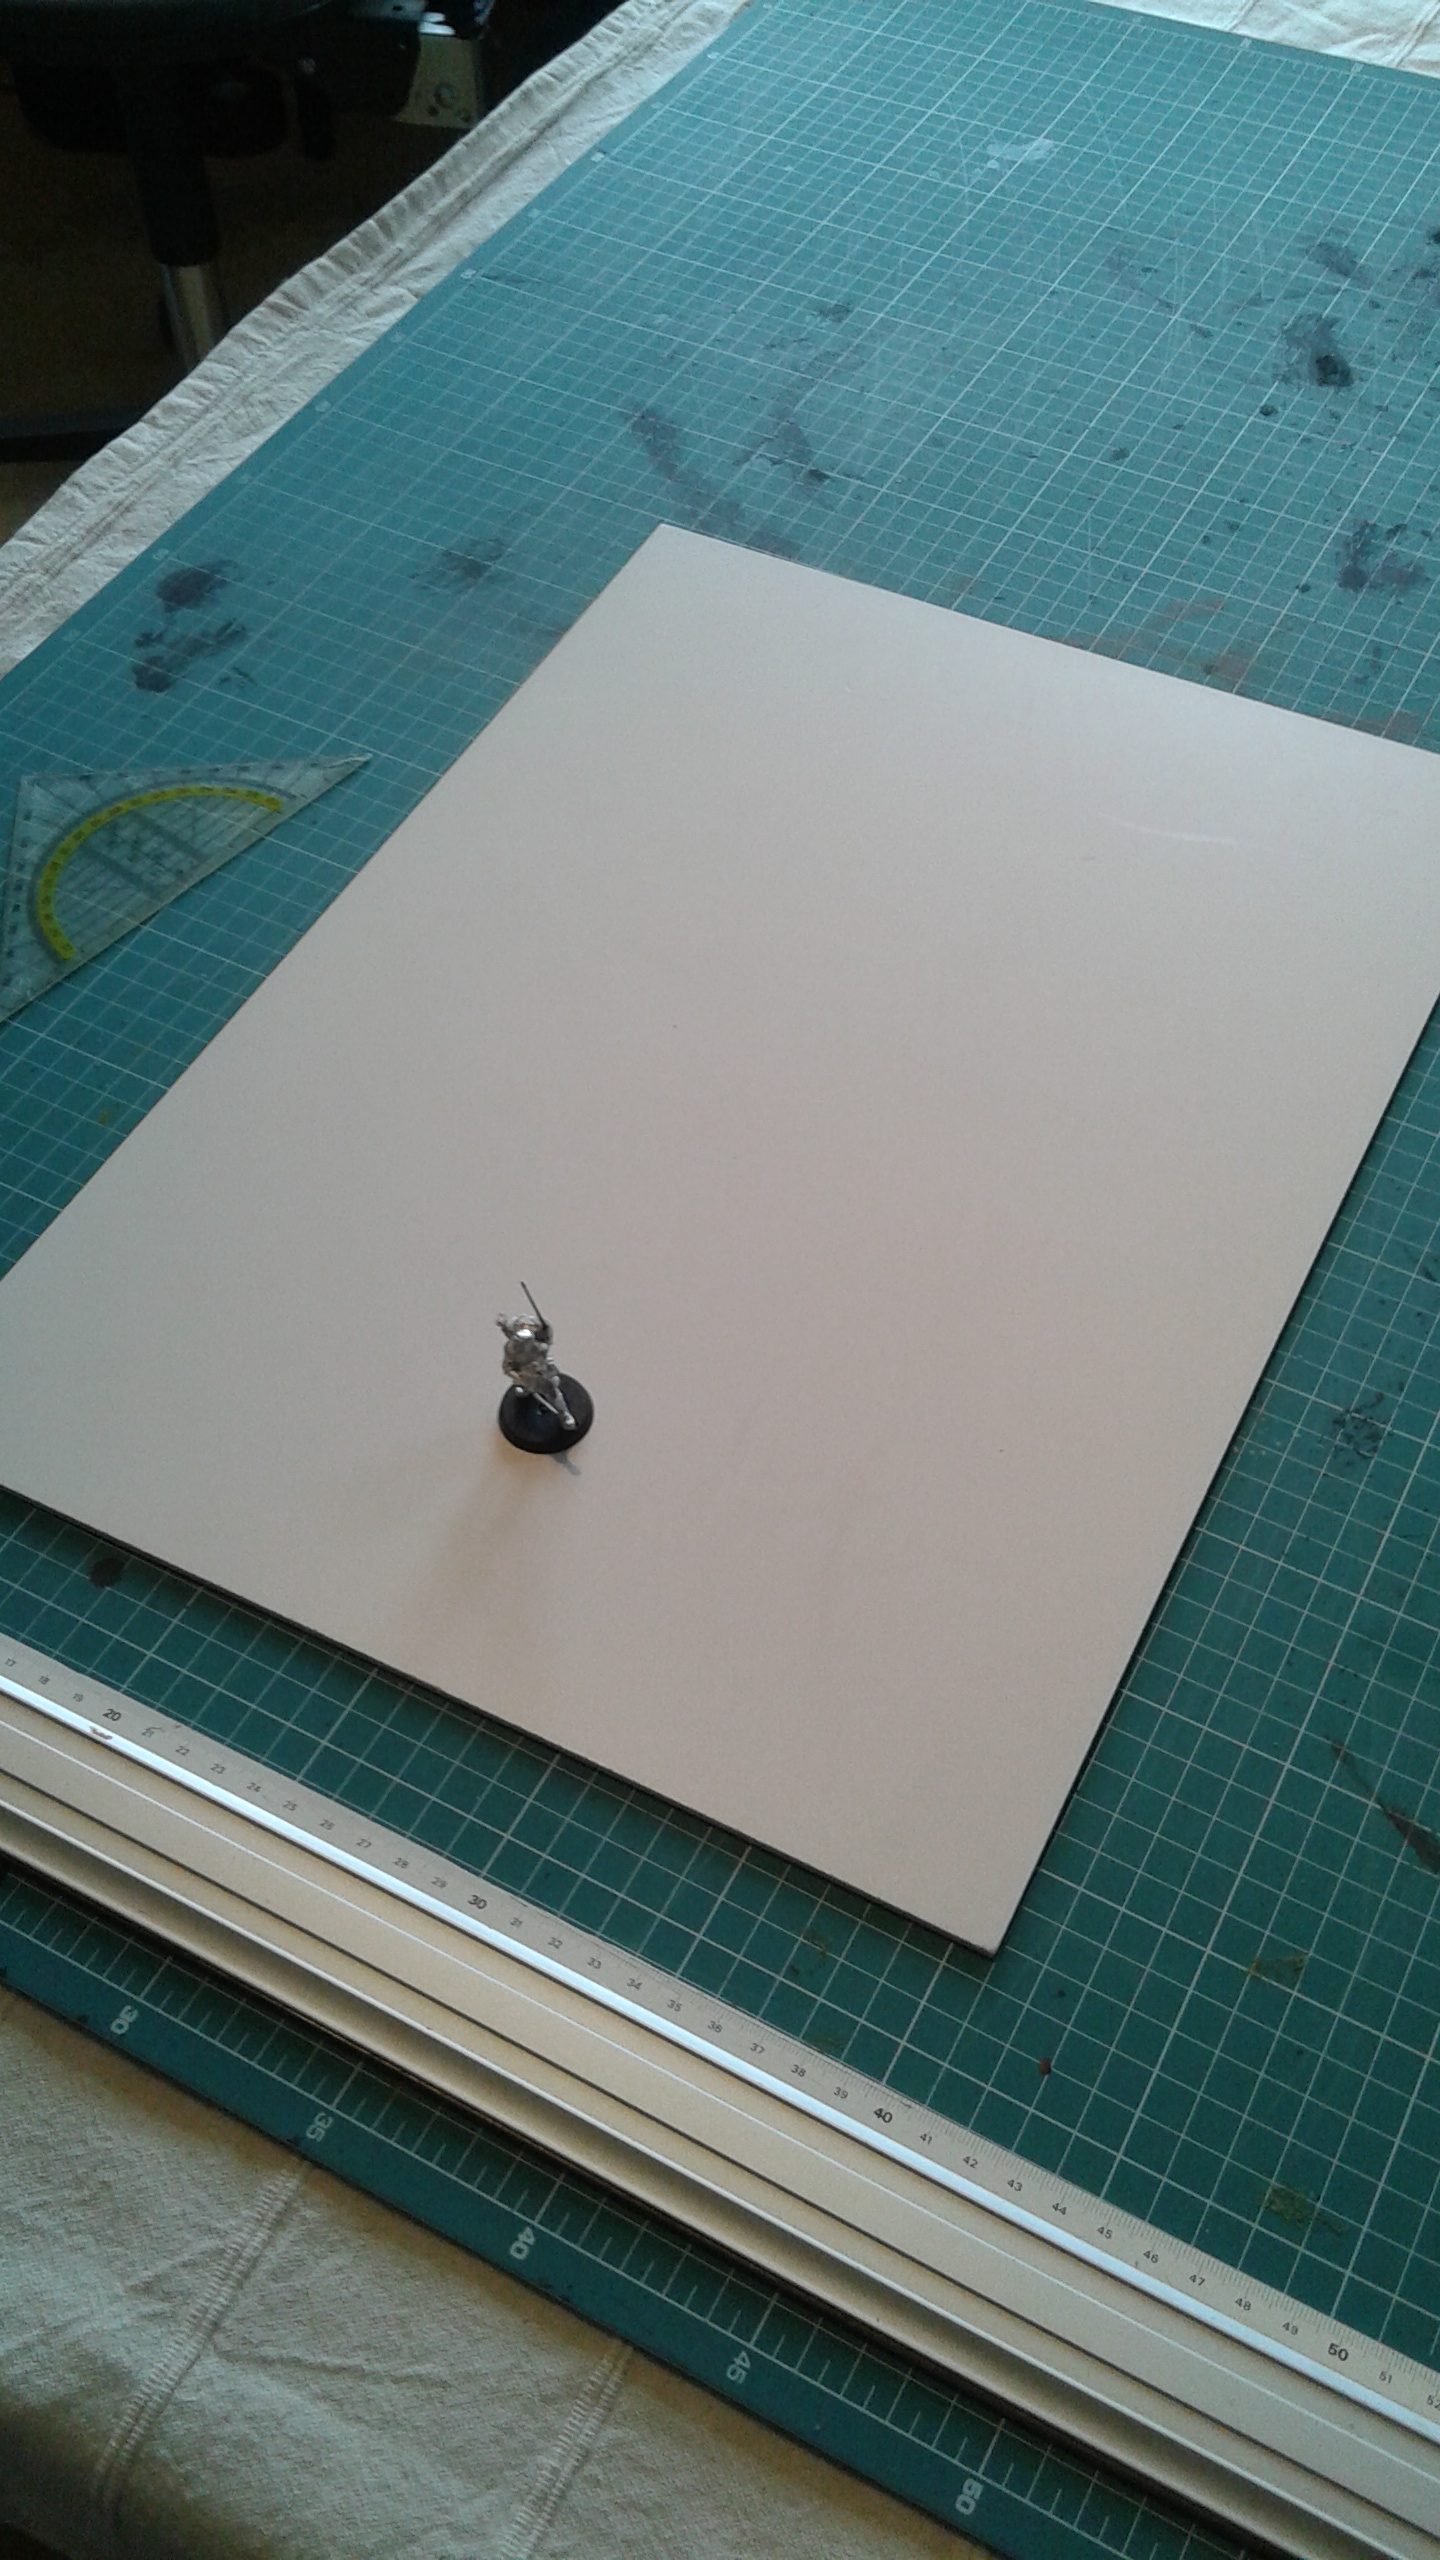
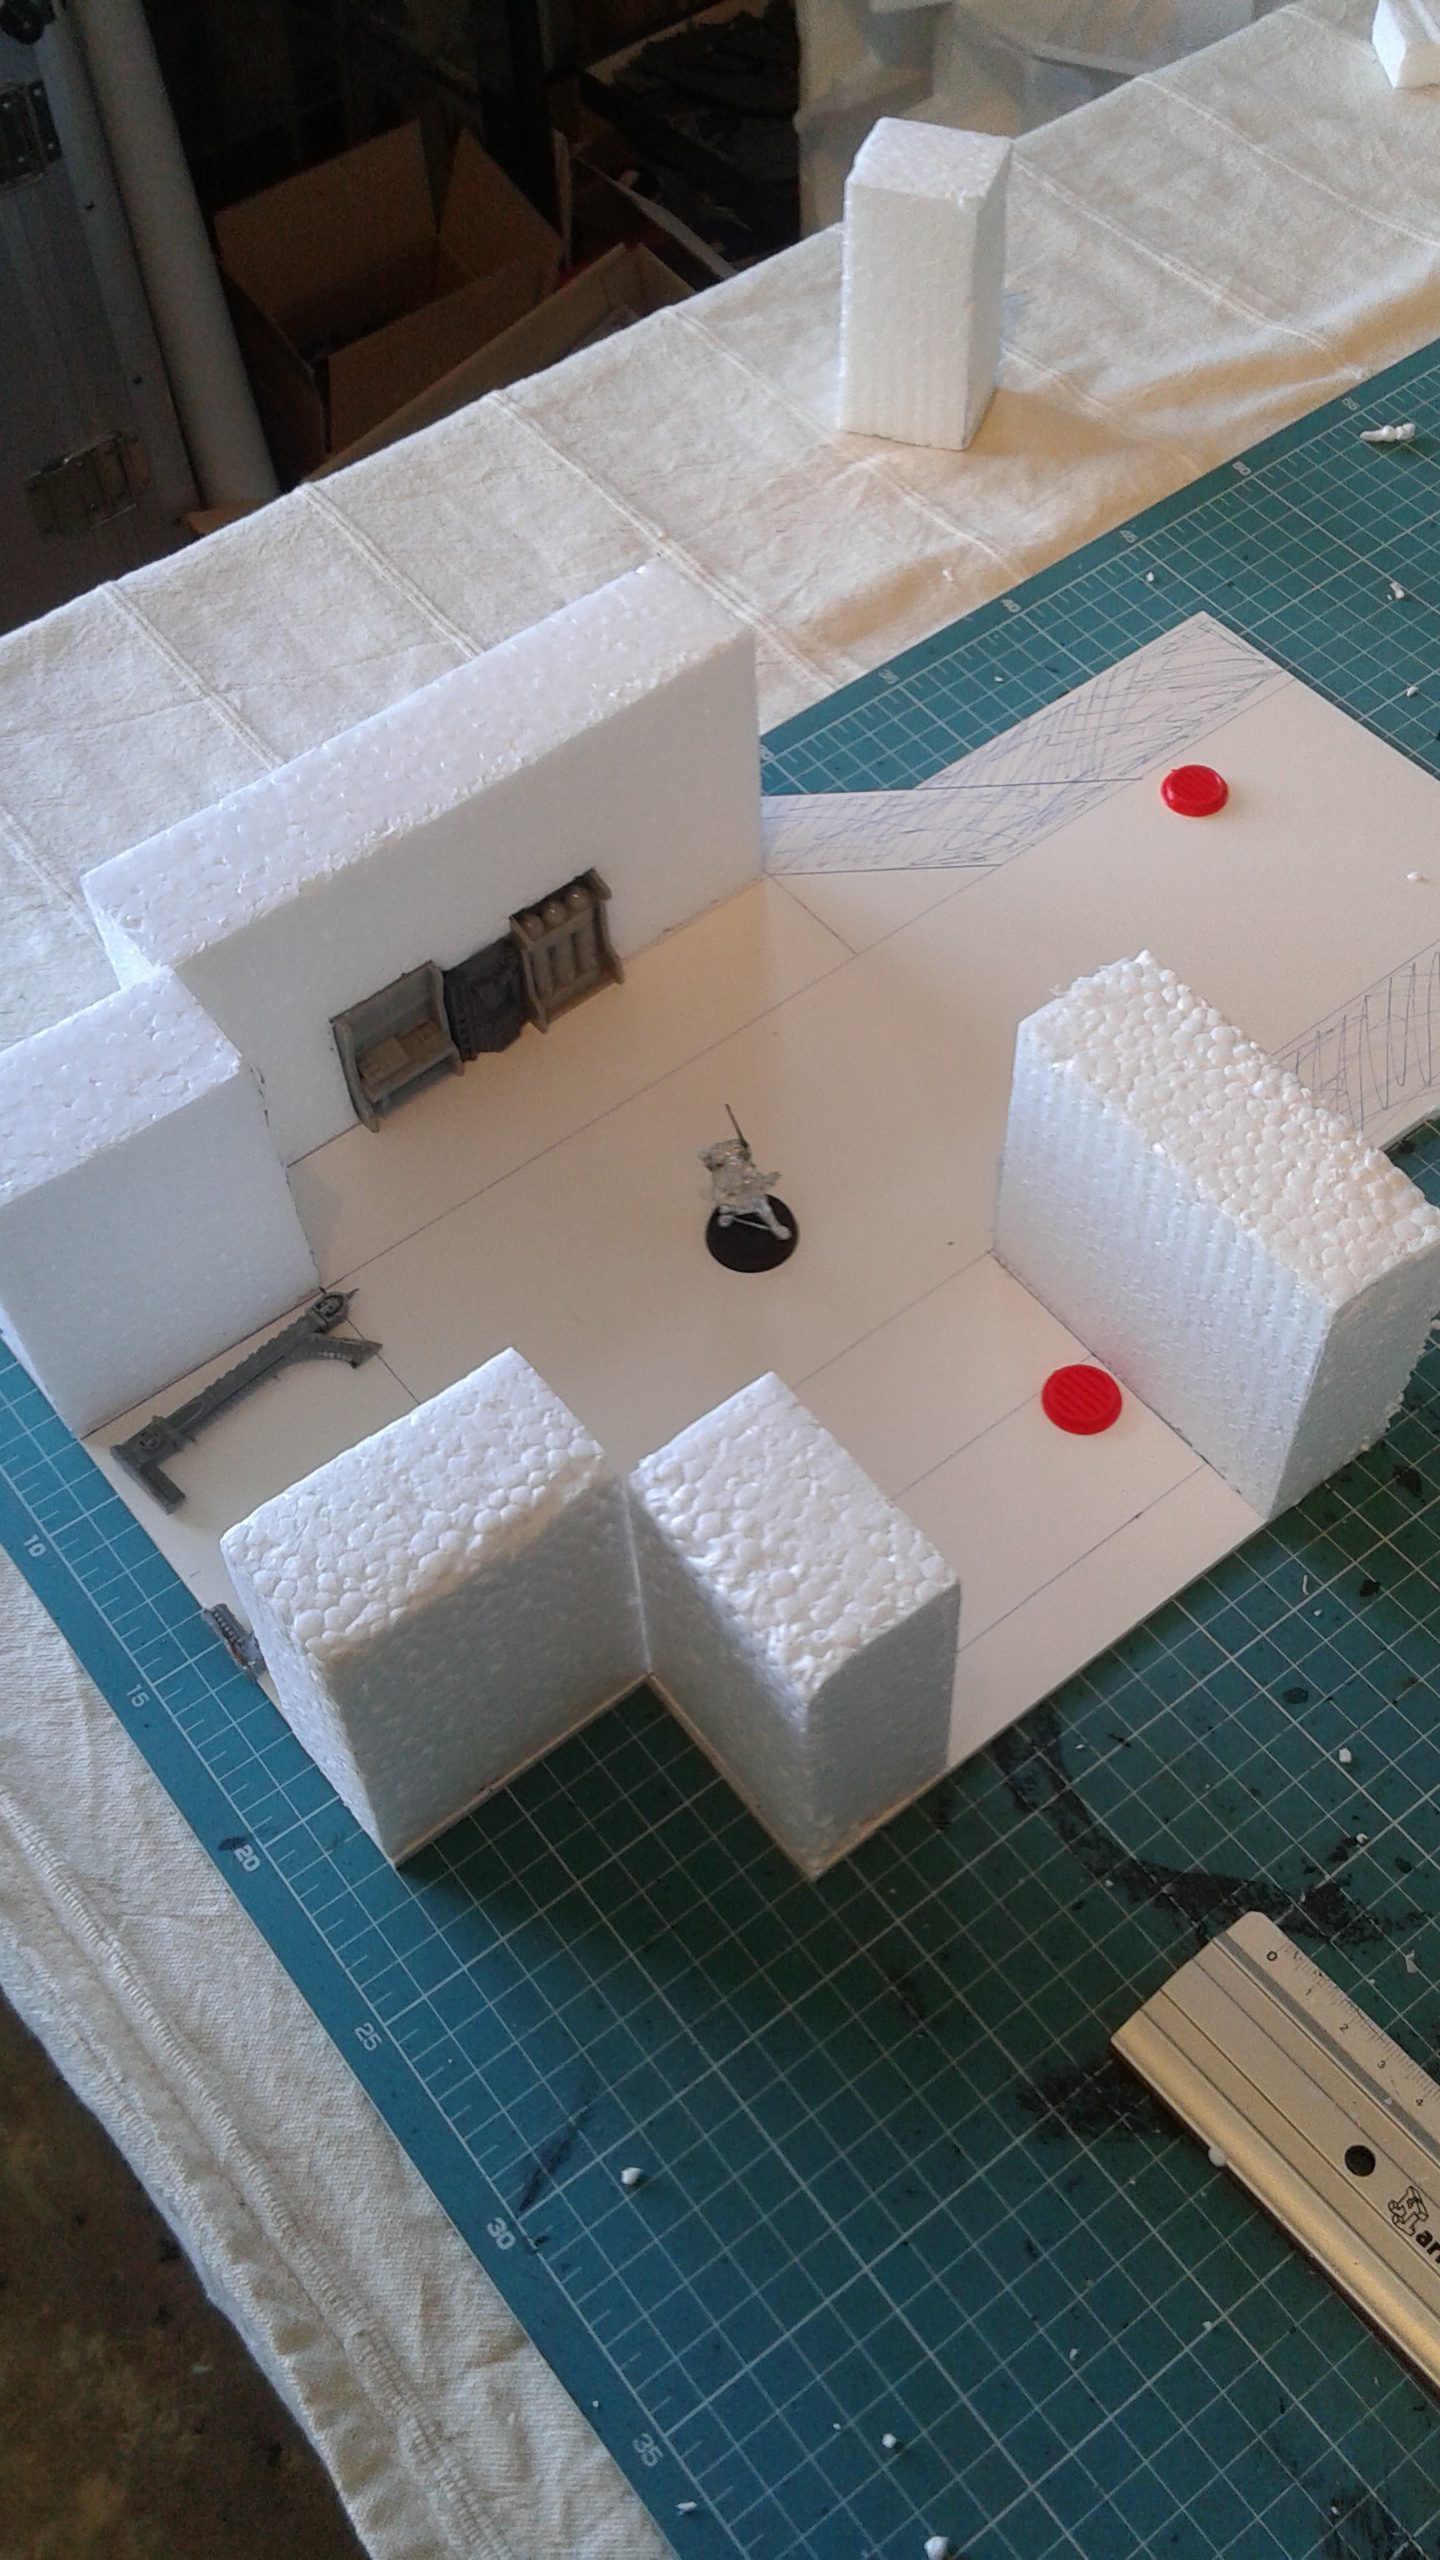
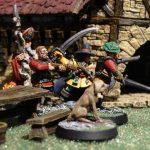
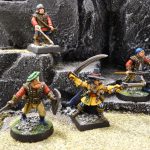
We start with the pvc sheet. I used a Tallarn model to see how wide I wanted to make the tunnel sections. They need to be wide enough for troops to navigate them, but still feel as a tunnel. So not to wide. Considering I also wanted to litter the tunnels with items such as ammo crates and fuel drums for the essential cover I went for 10 cm wide passageways. Some sections will have exceptions to this, but every section will begin and end with this 10 cm in order for all the sections to be linked in any way I want them. I sketched the general outline of the walls (in this case they will be 4 cm thick) and started to put some decoration here and there just to get a clear feeling of how I wanted it to be.
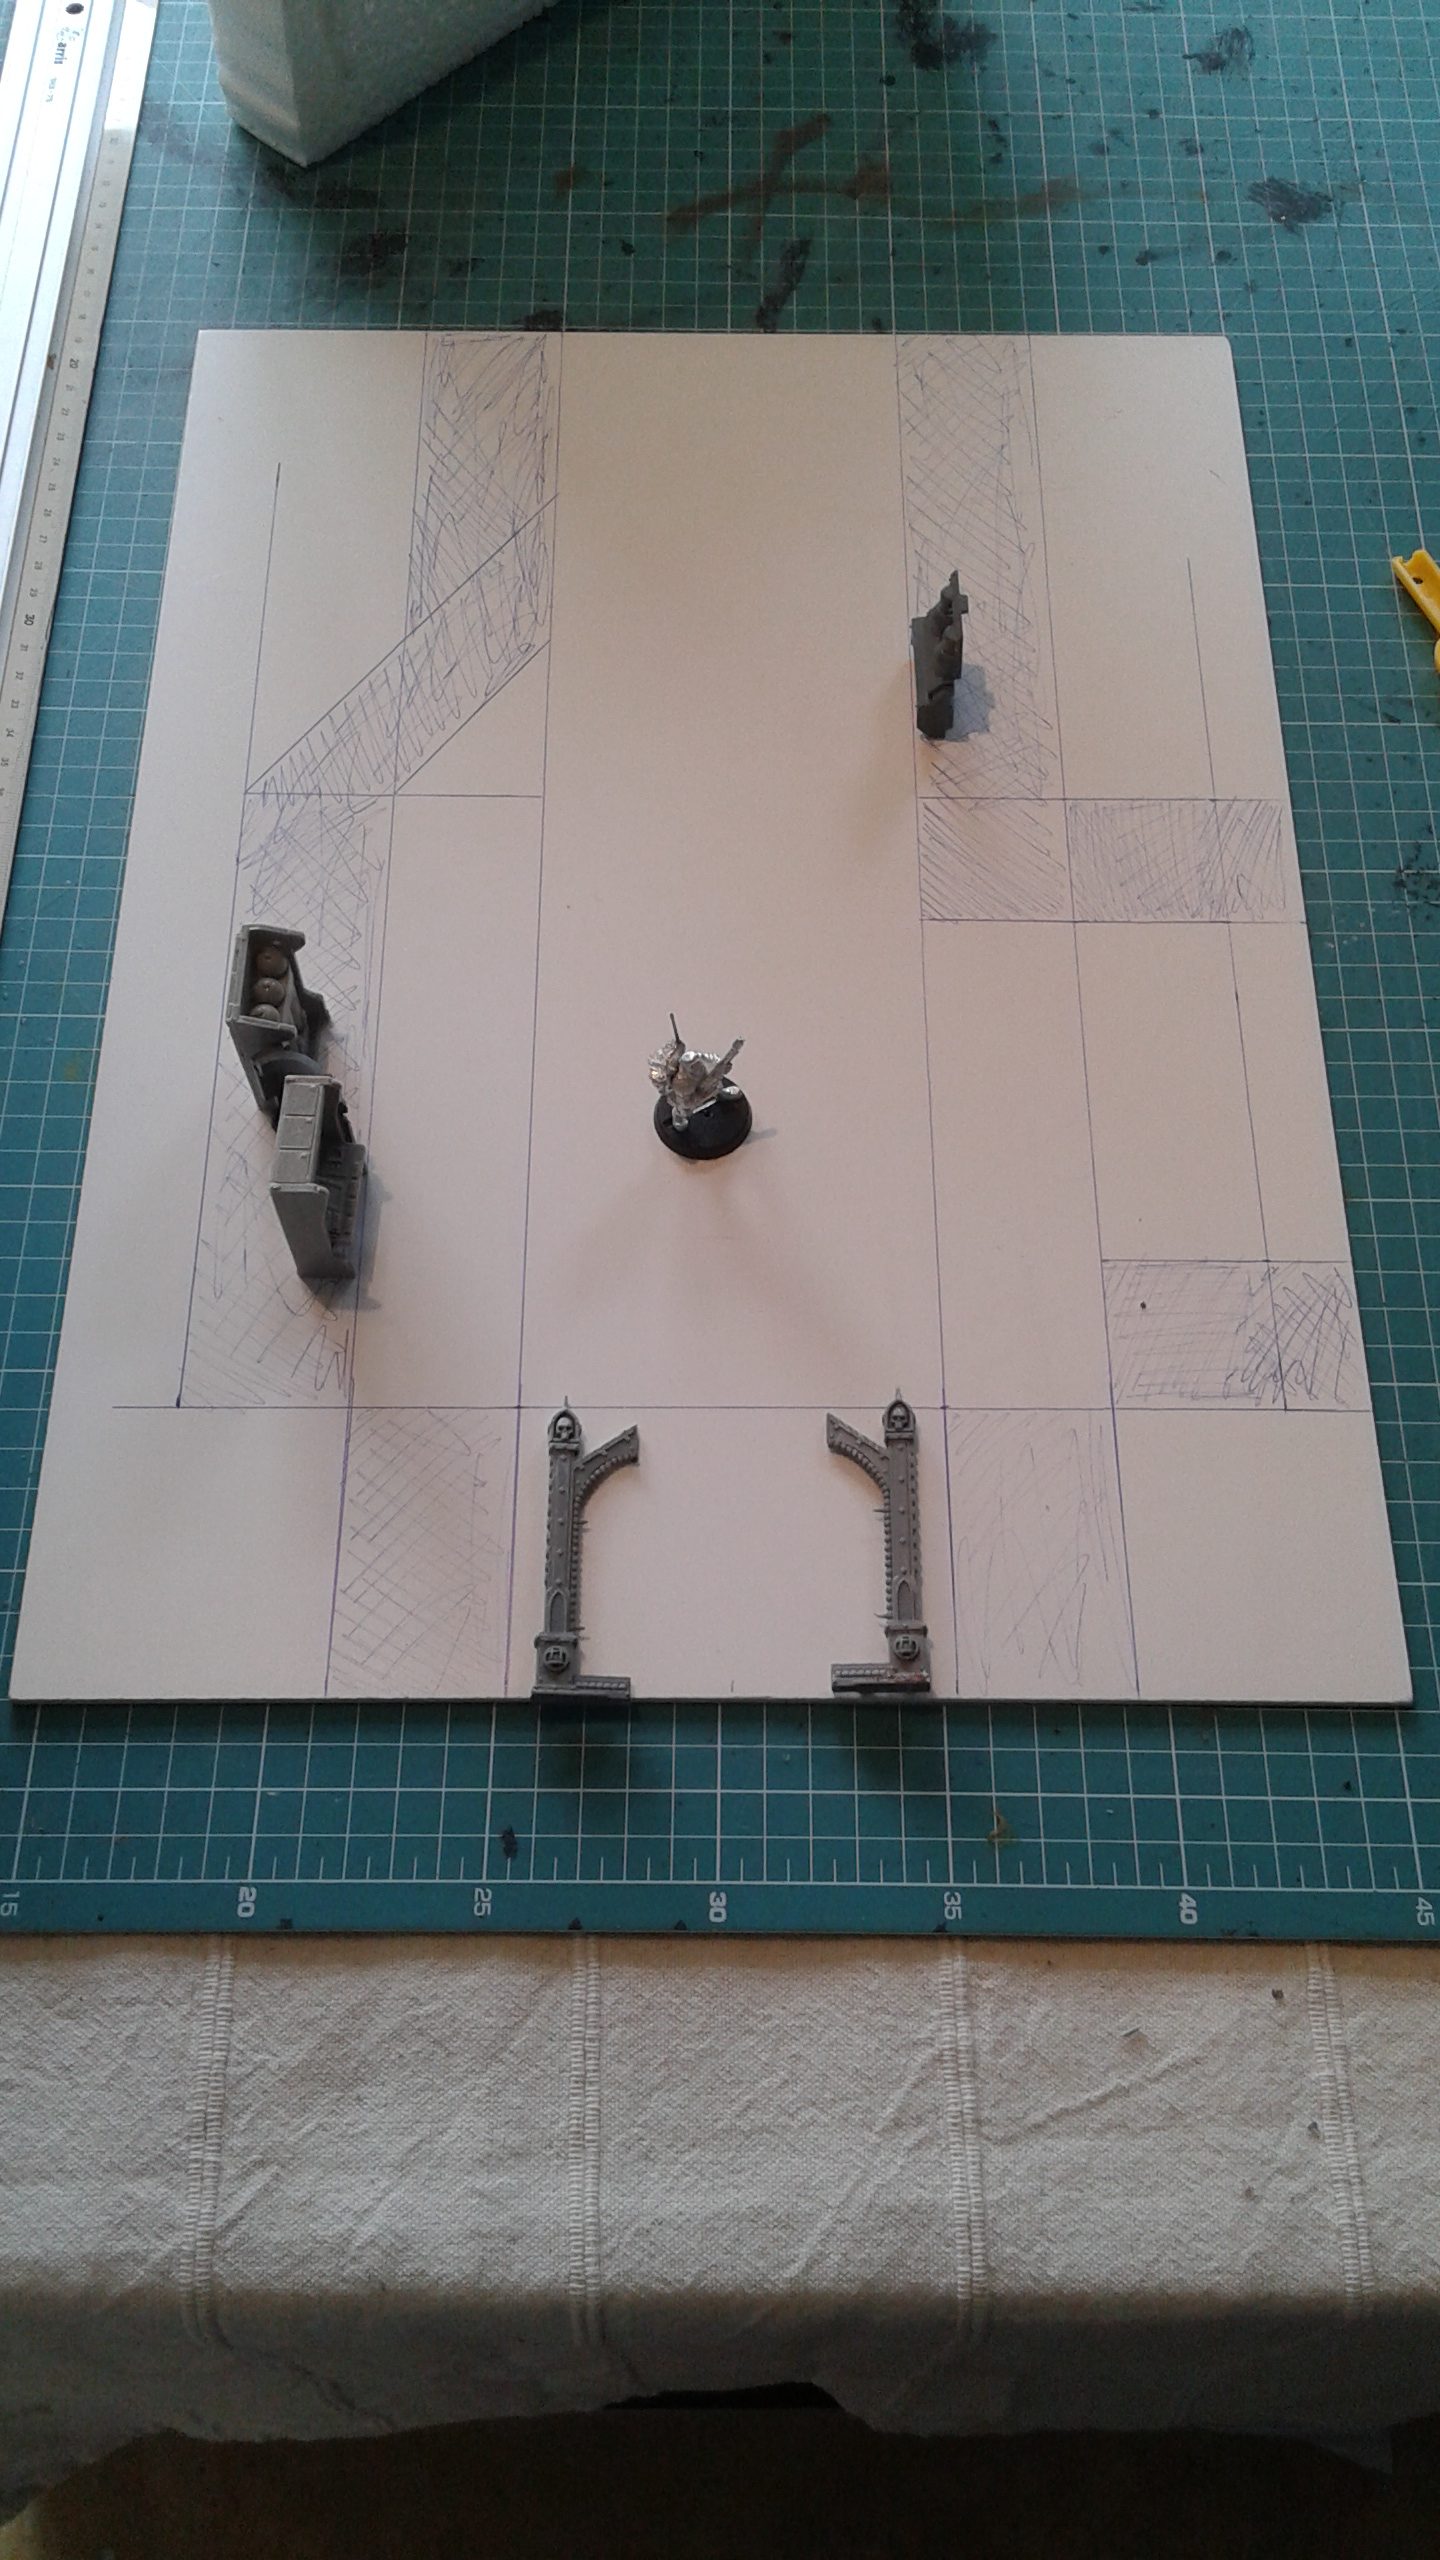
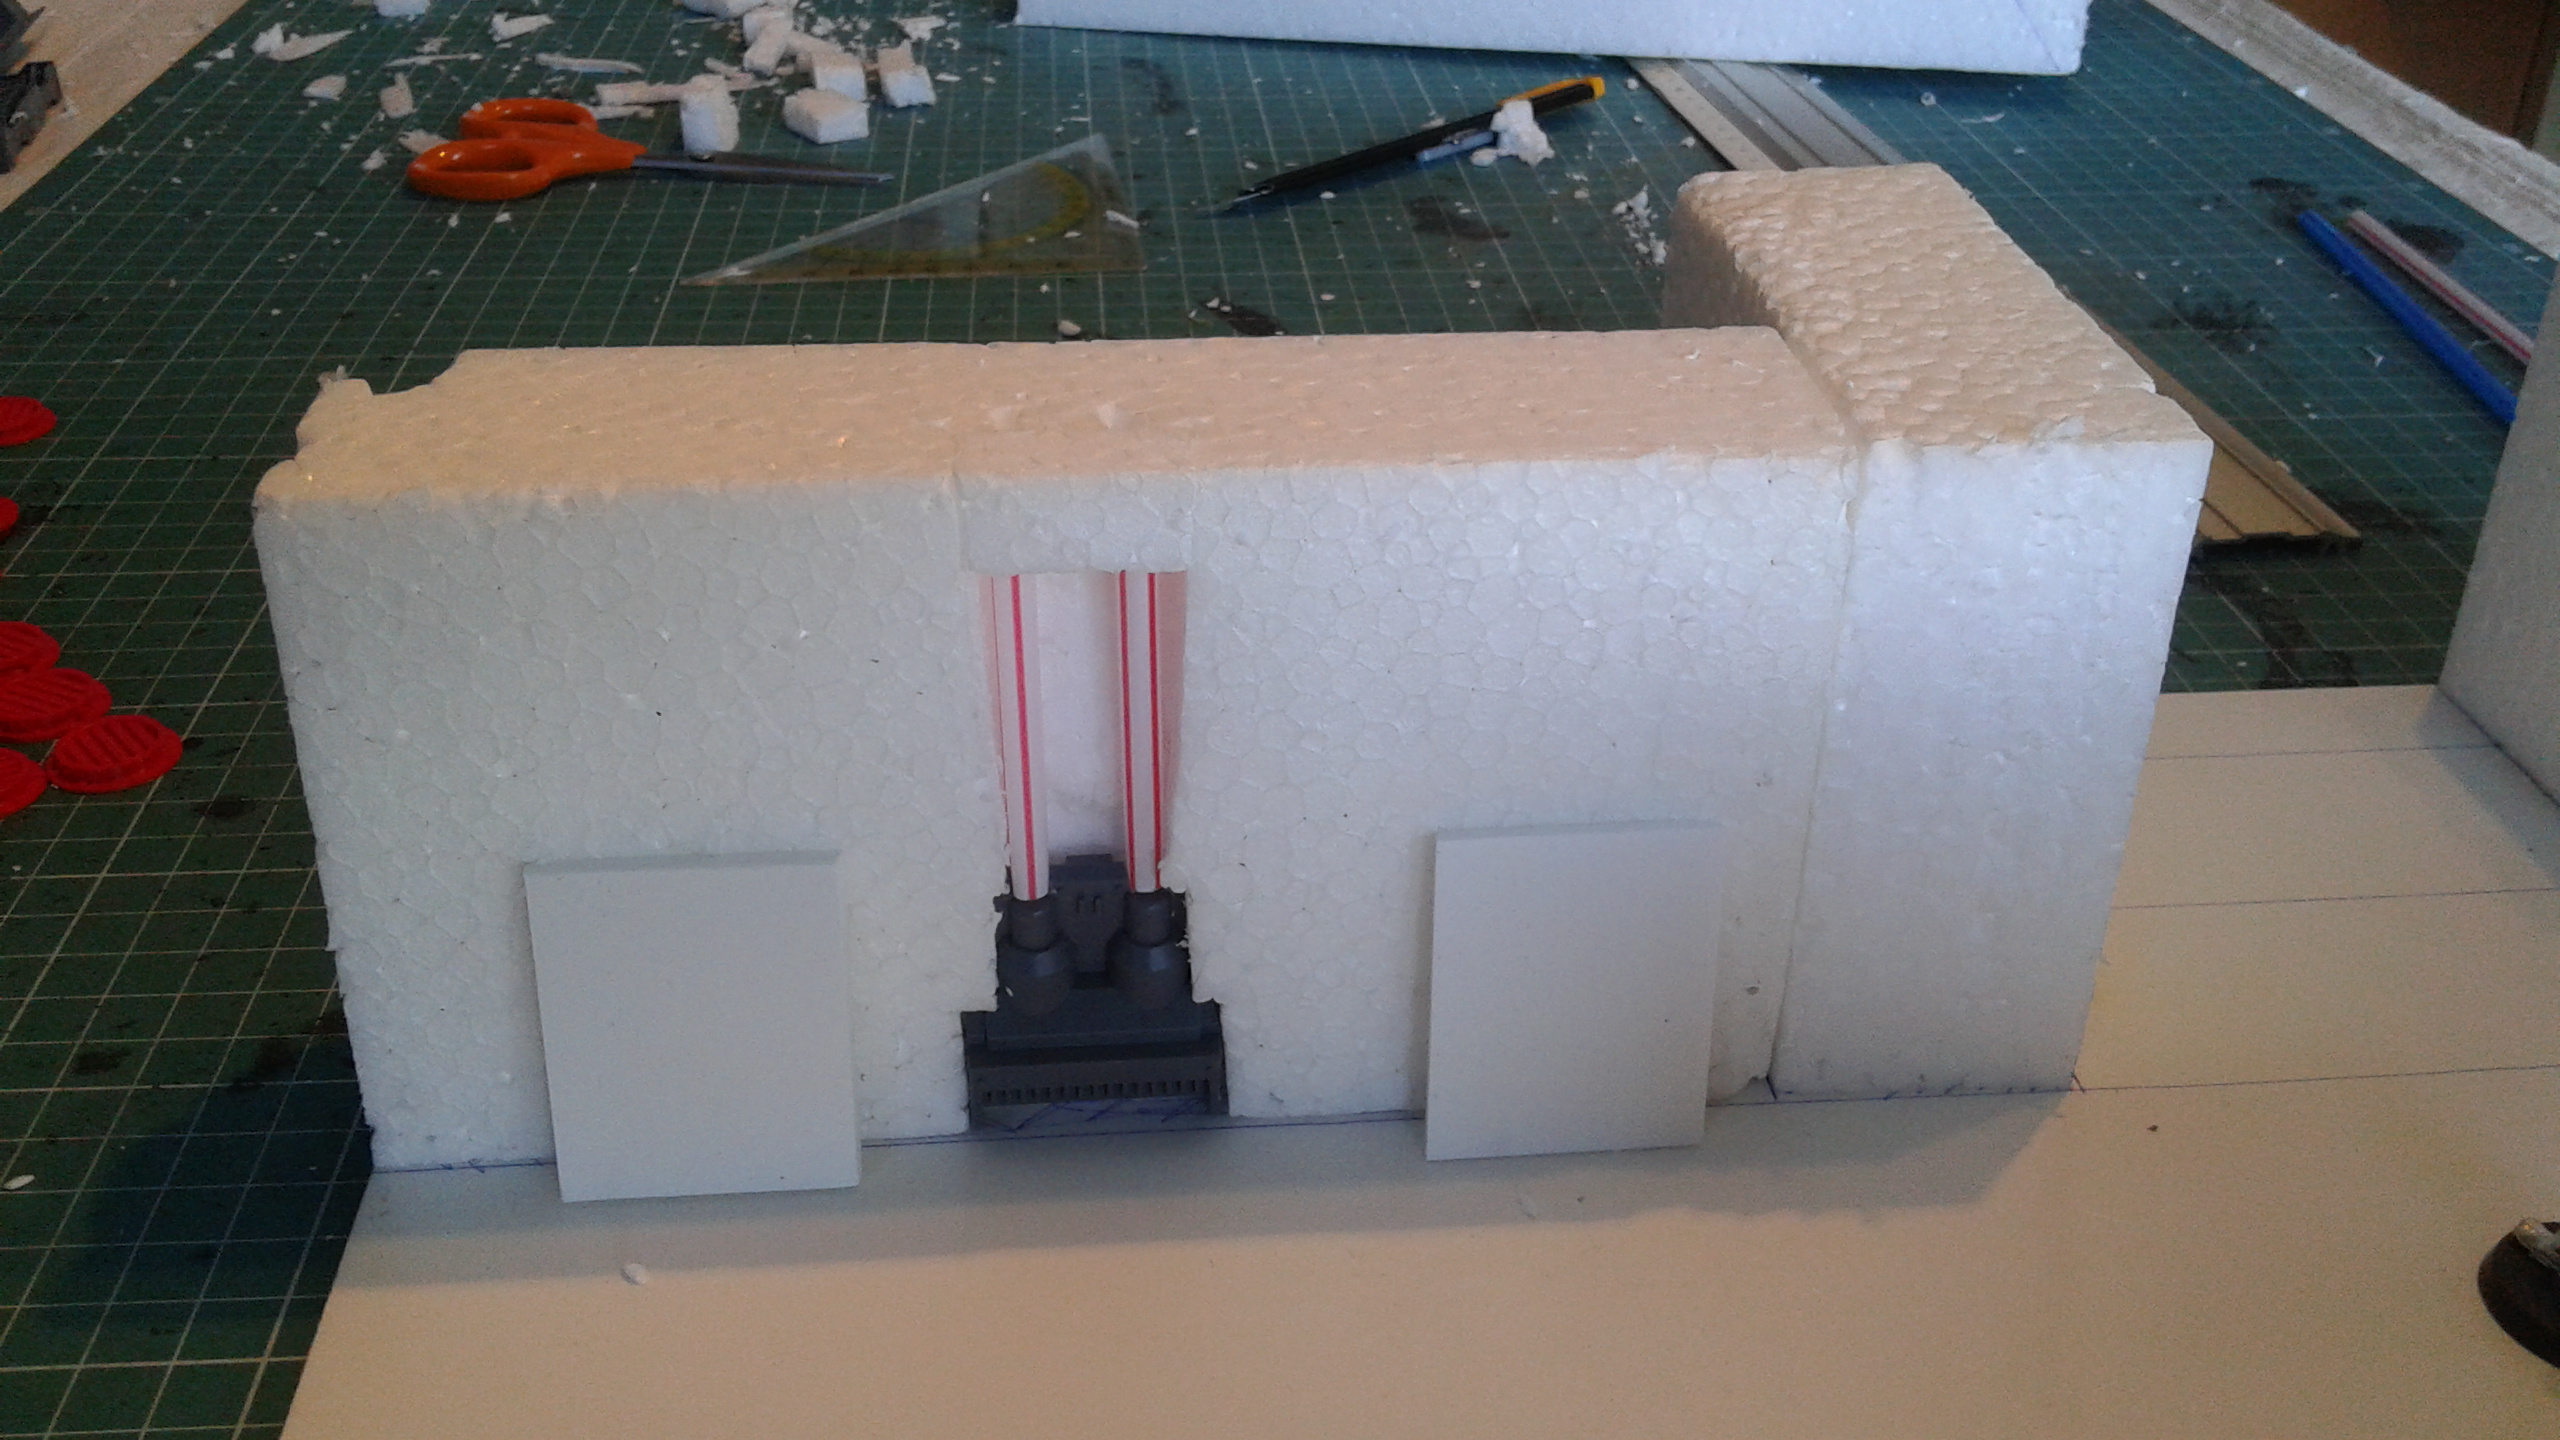
Next came the walls themselves. As I said I had some sheets of simple styrofoam laying about which I decided to use. It would make room in storage where I can then put these tunnel sections. I cut these to 9 cm high sections and then cut them to the various lengths needed.


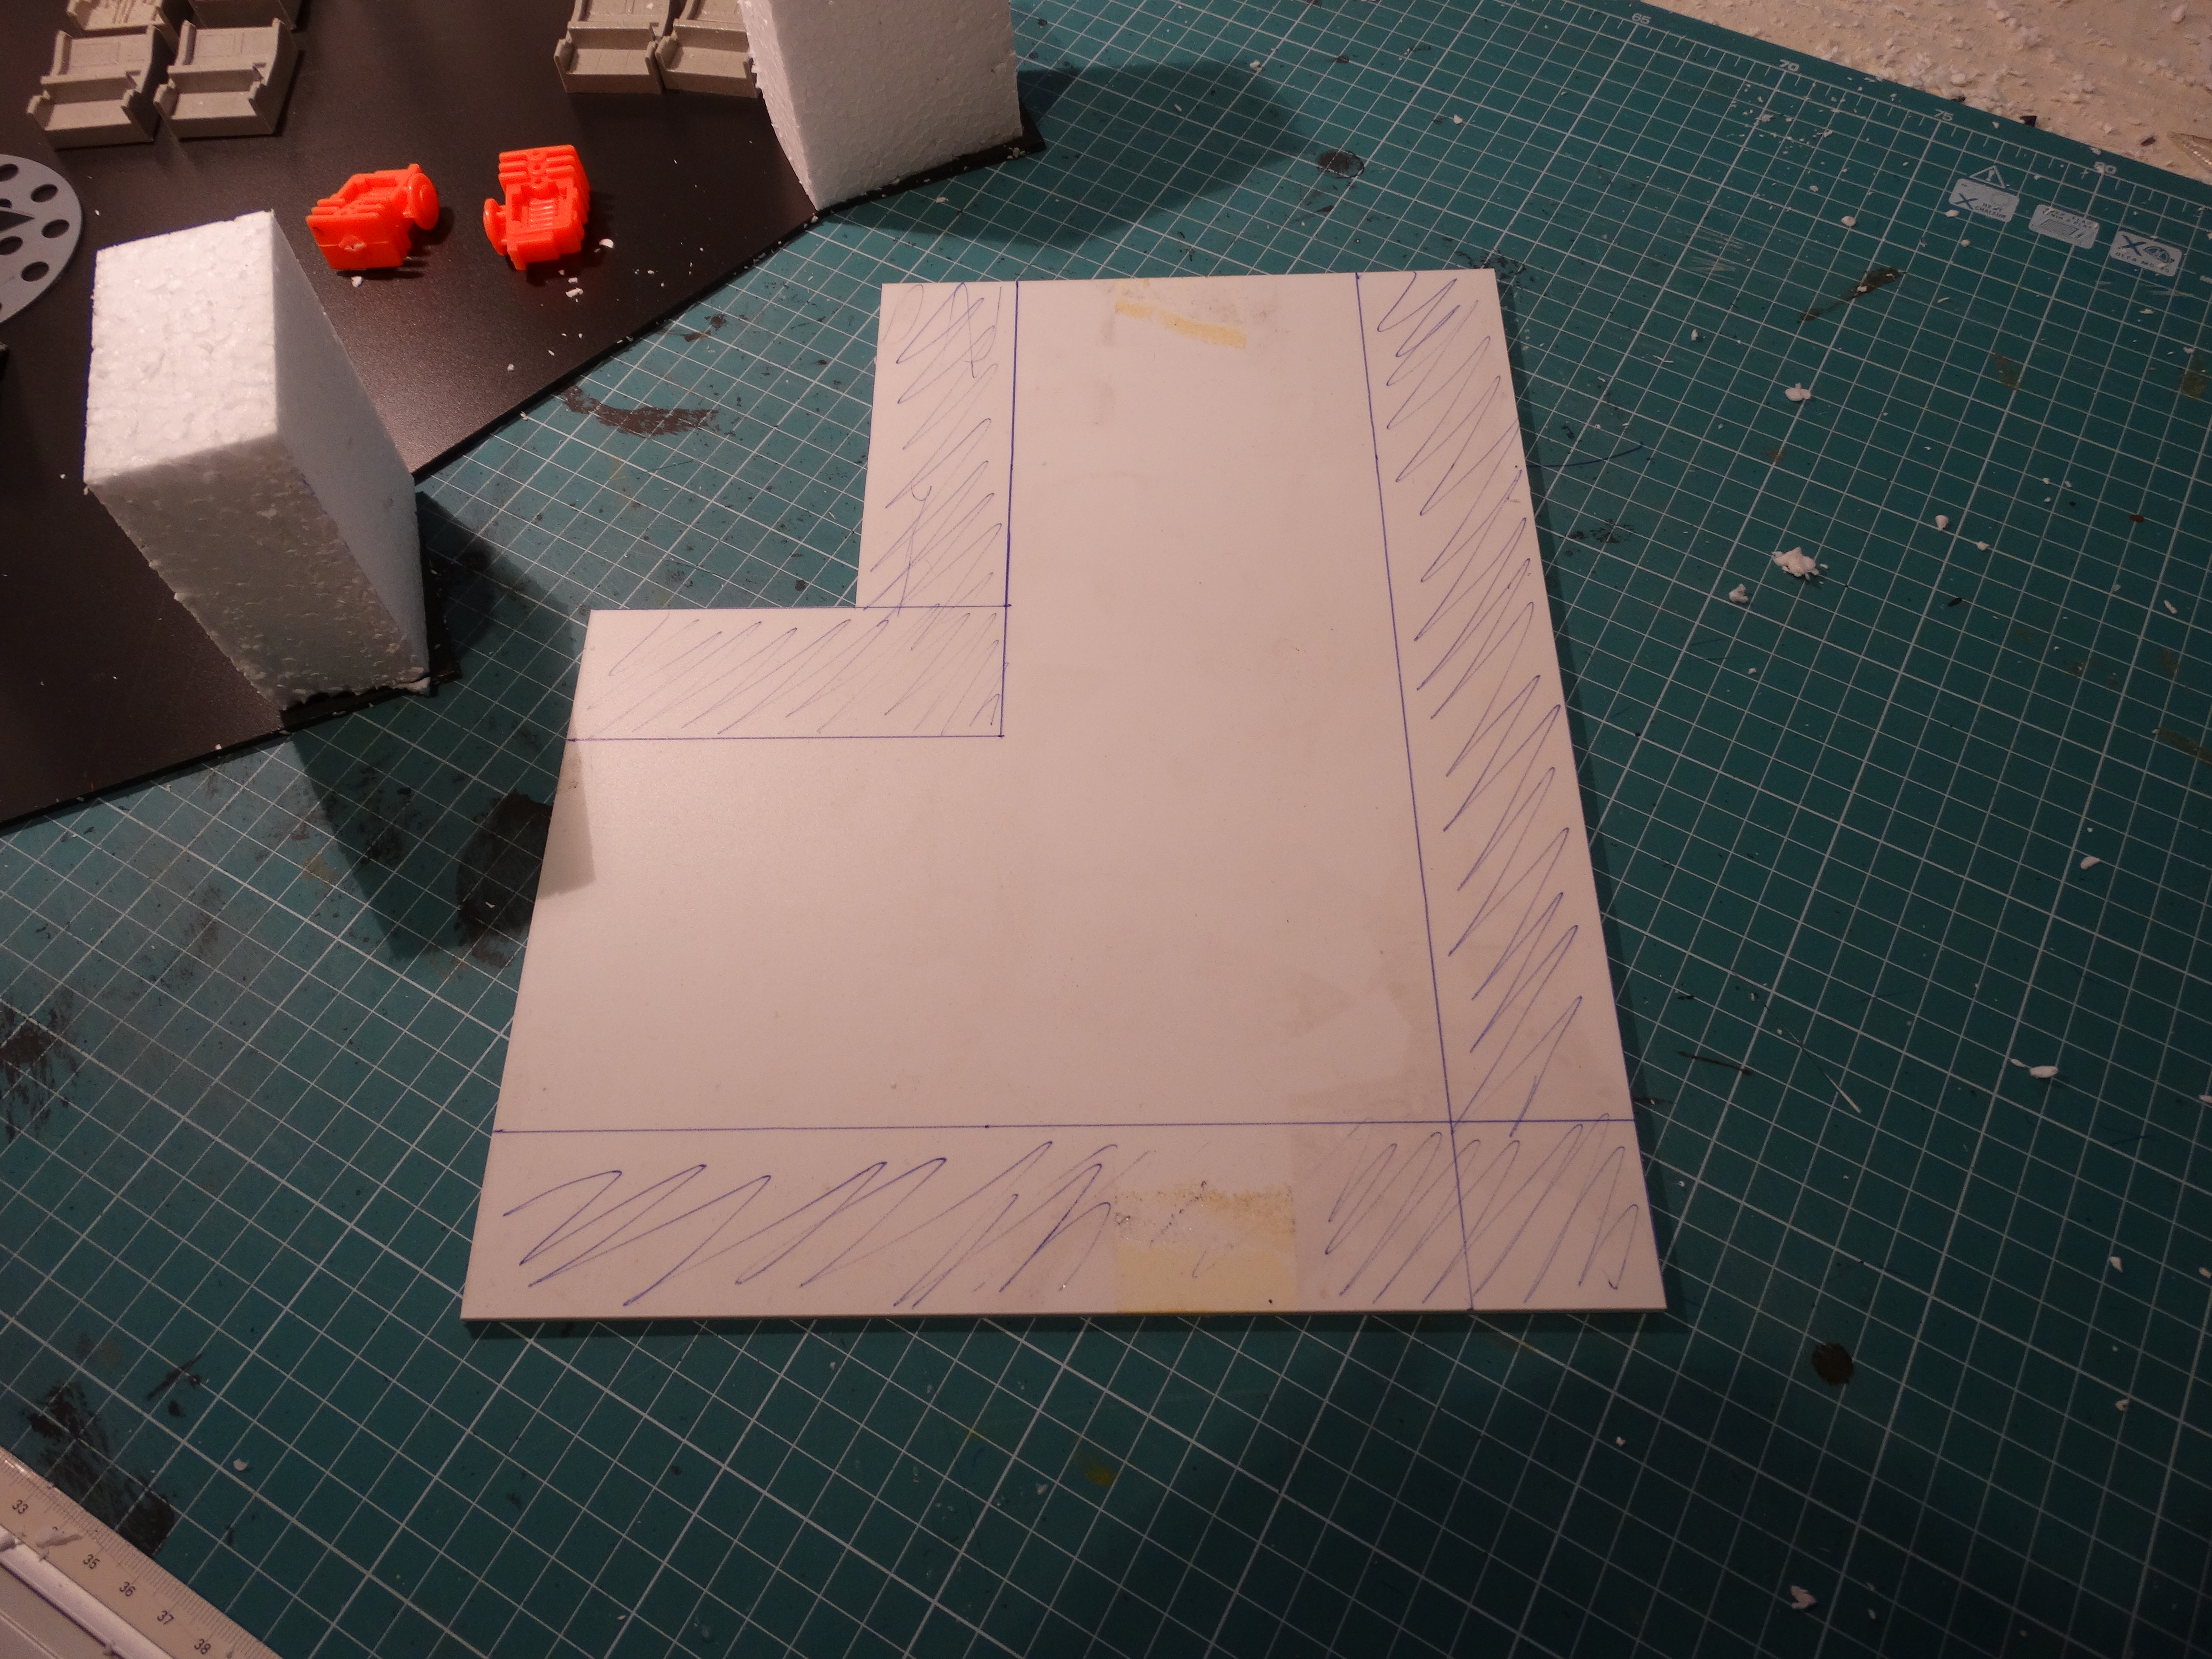
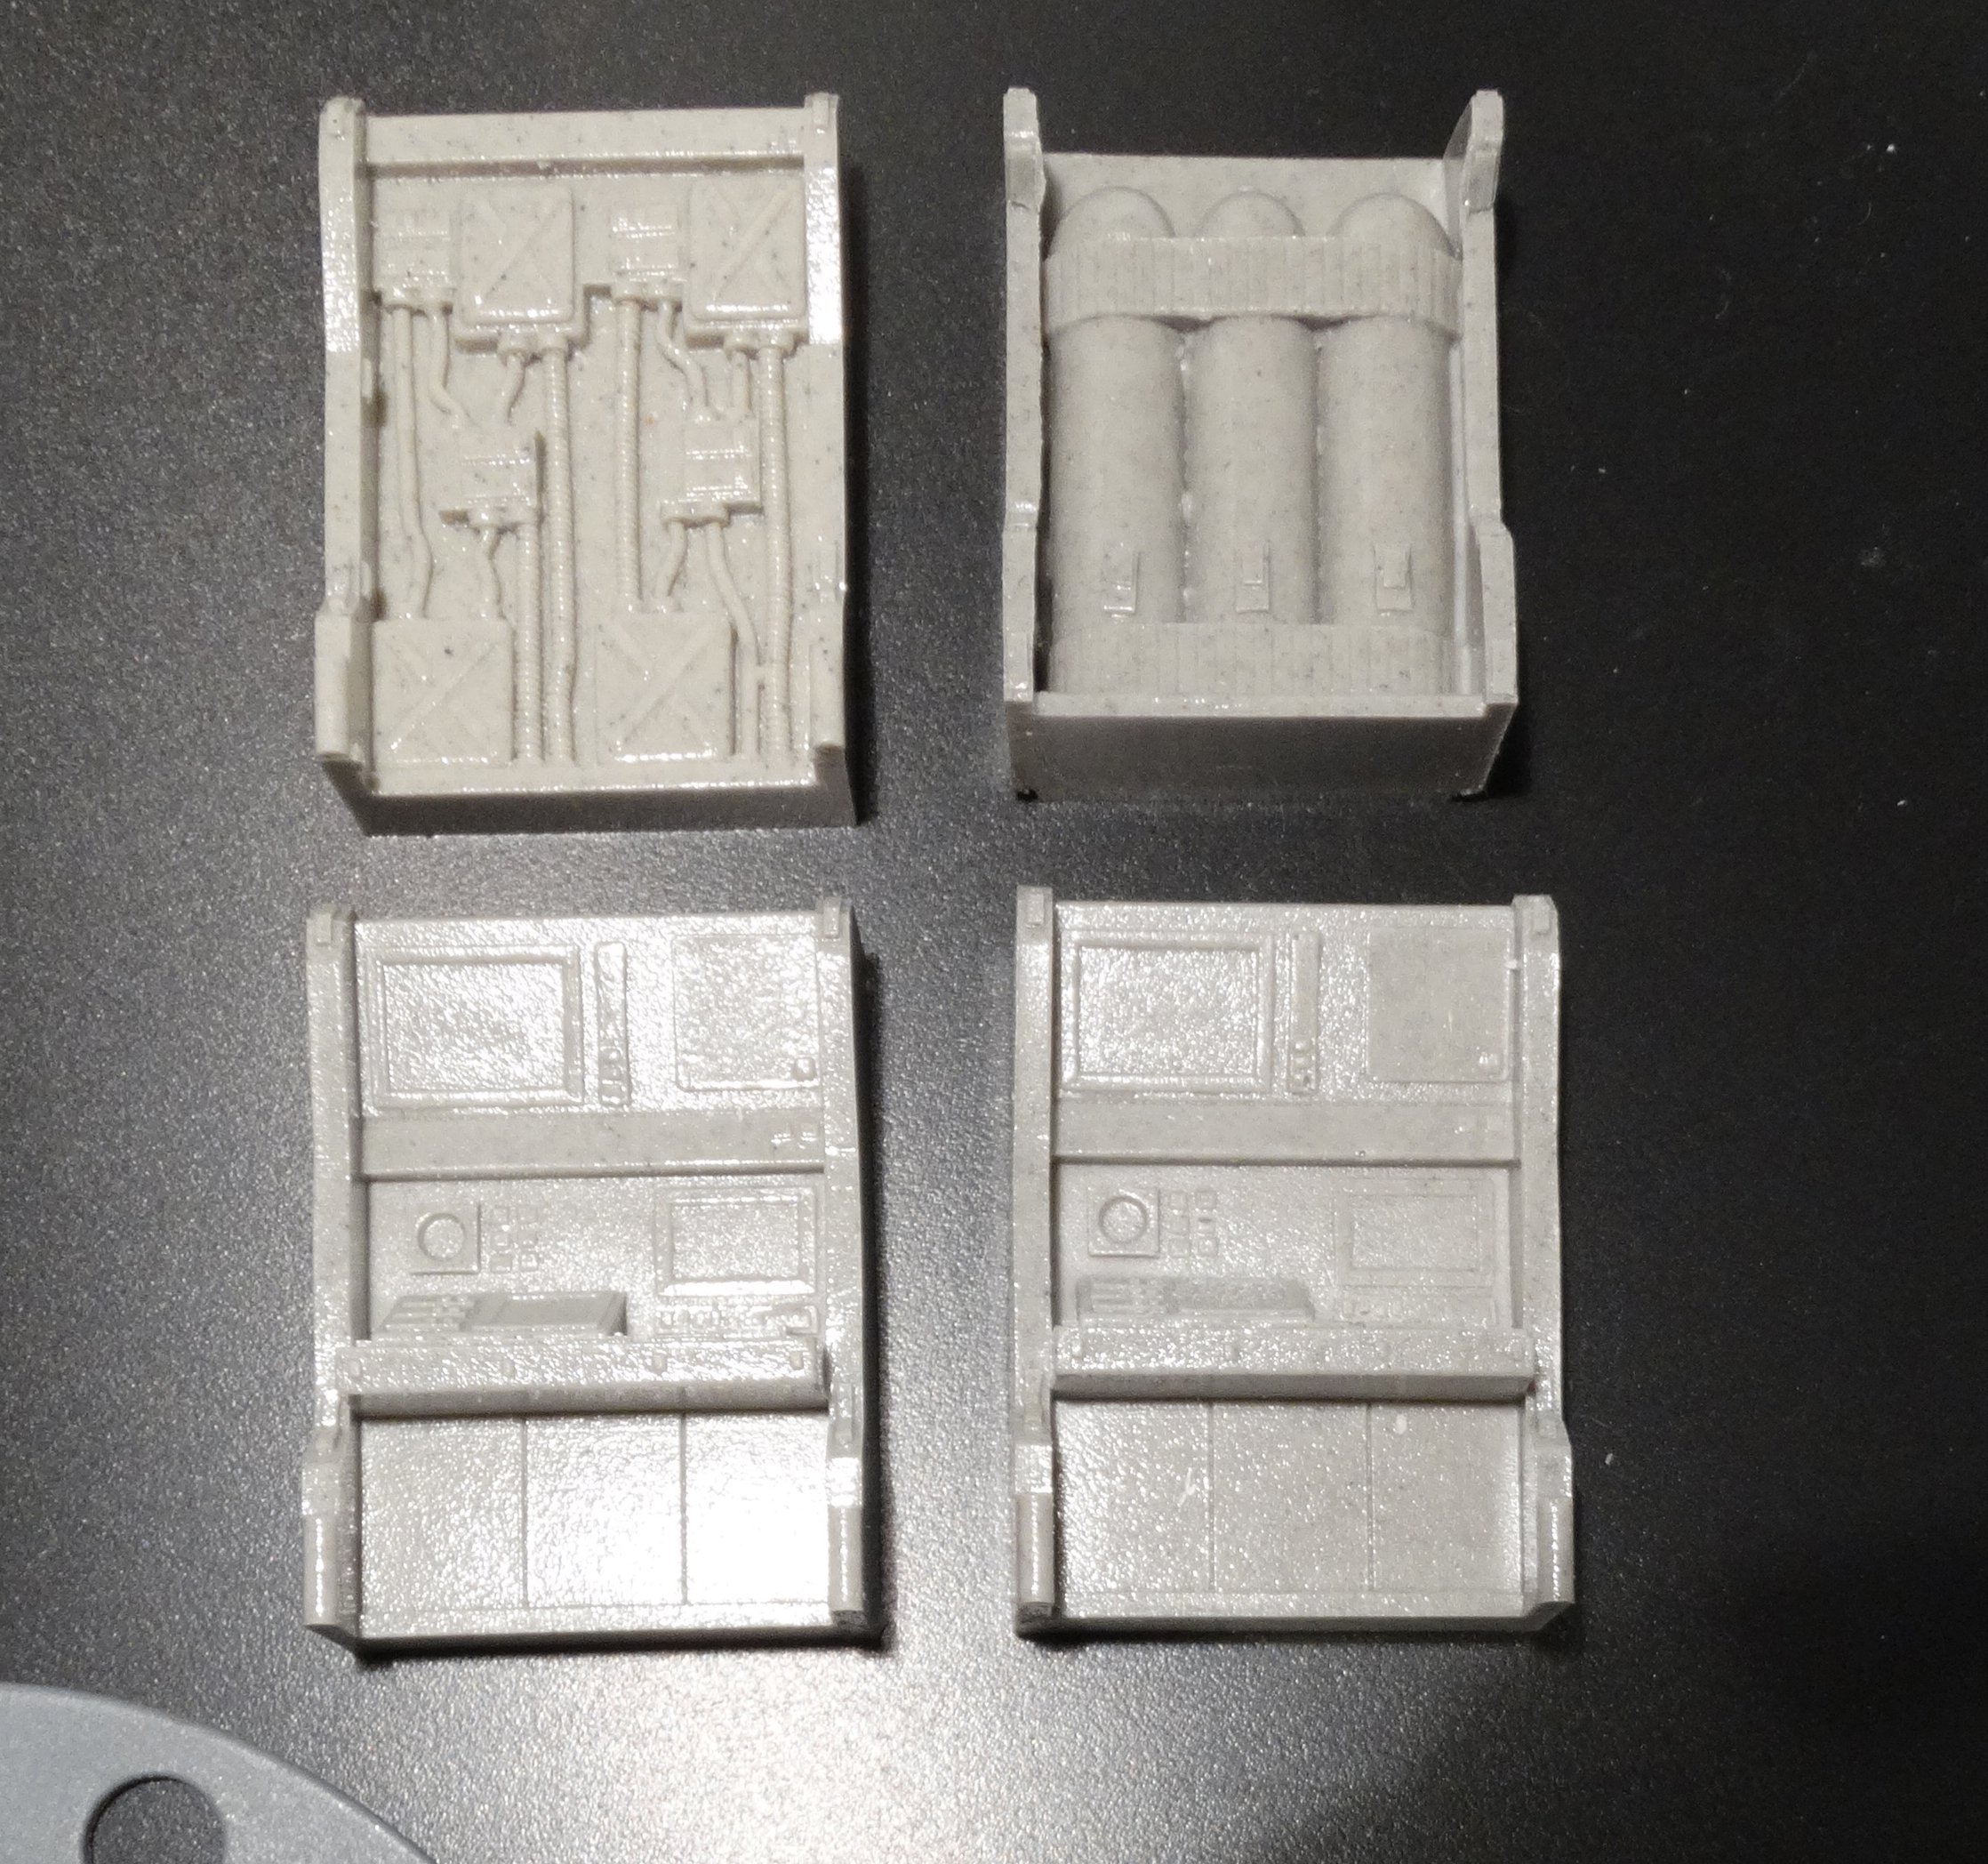
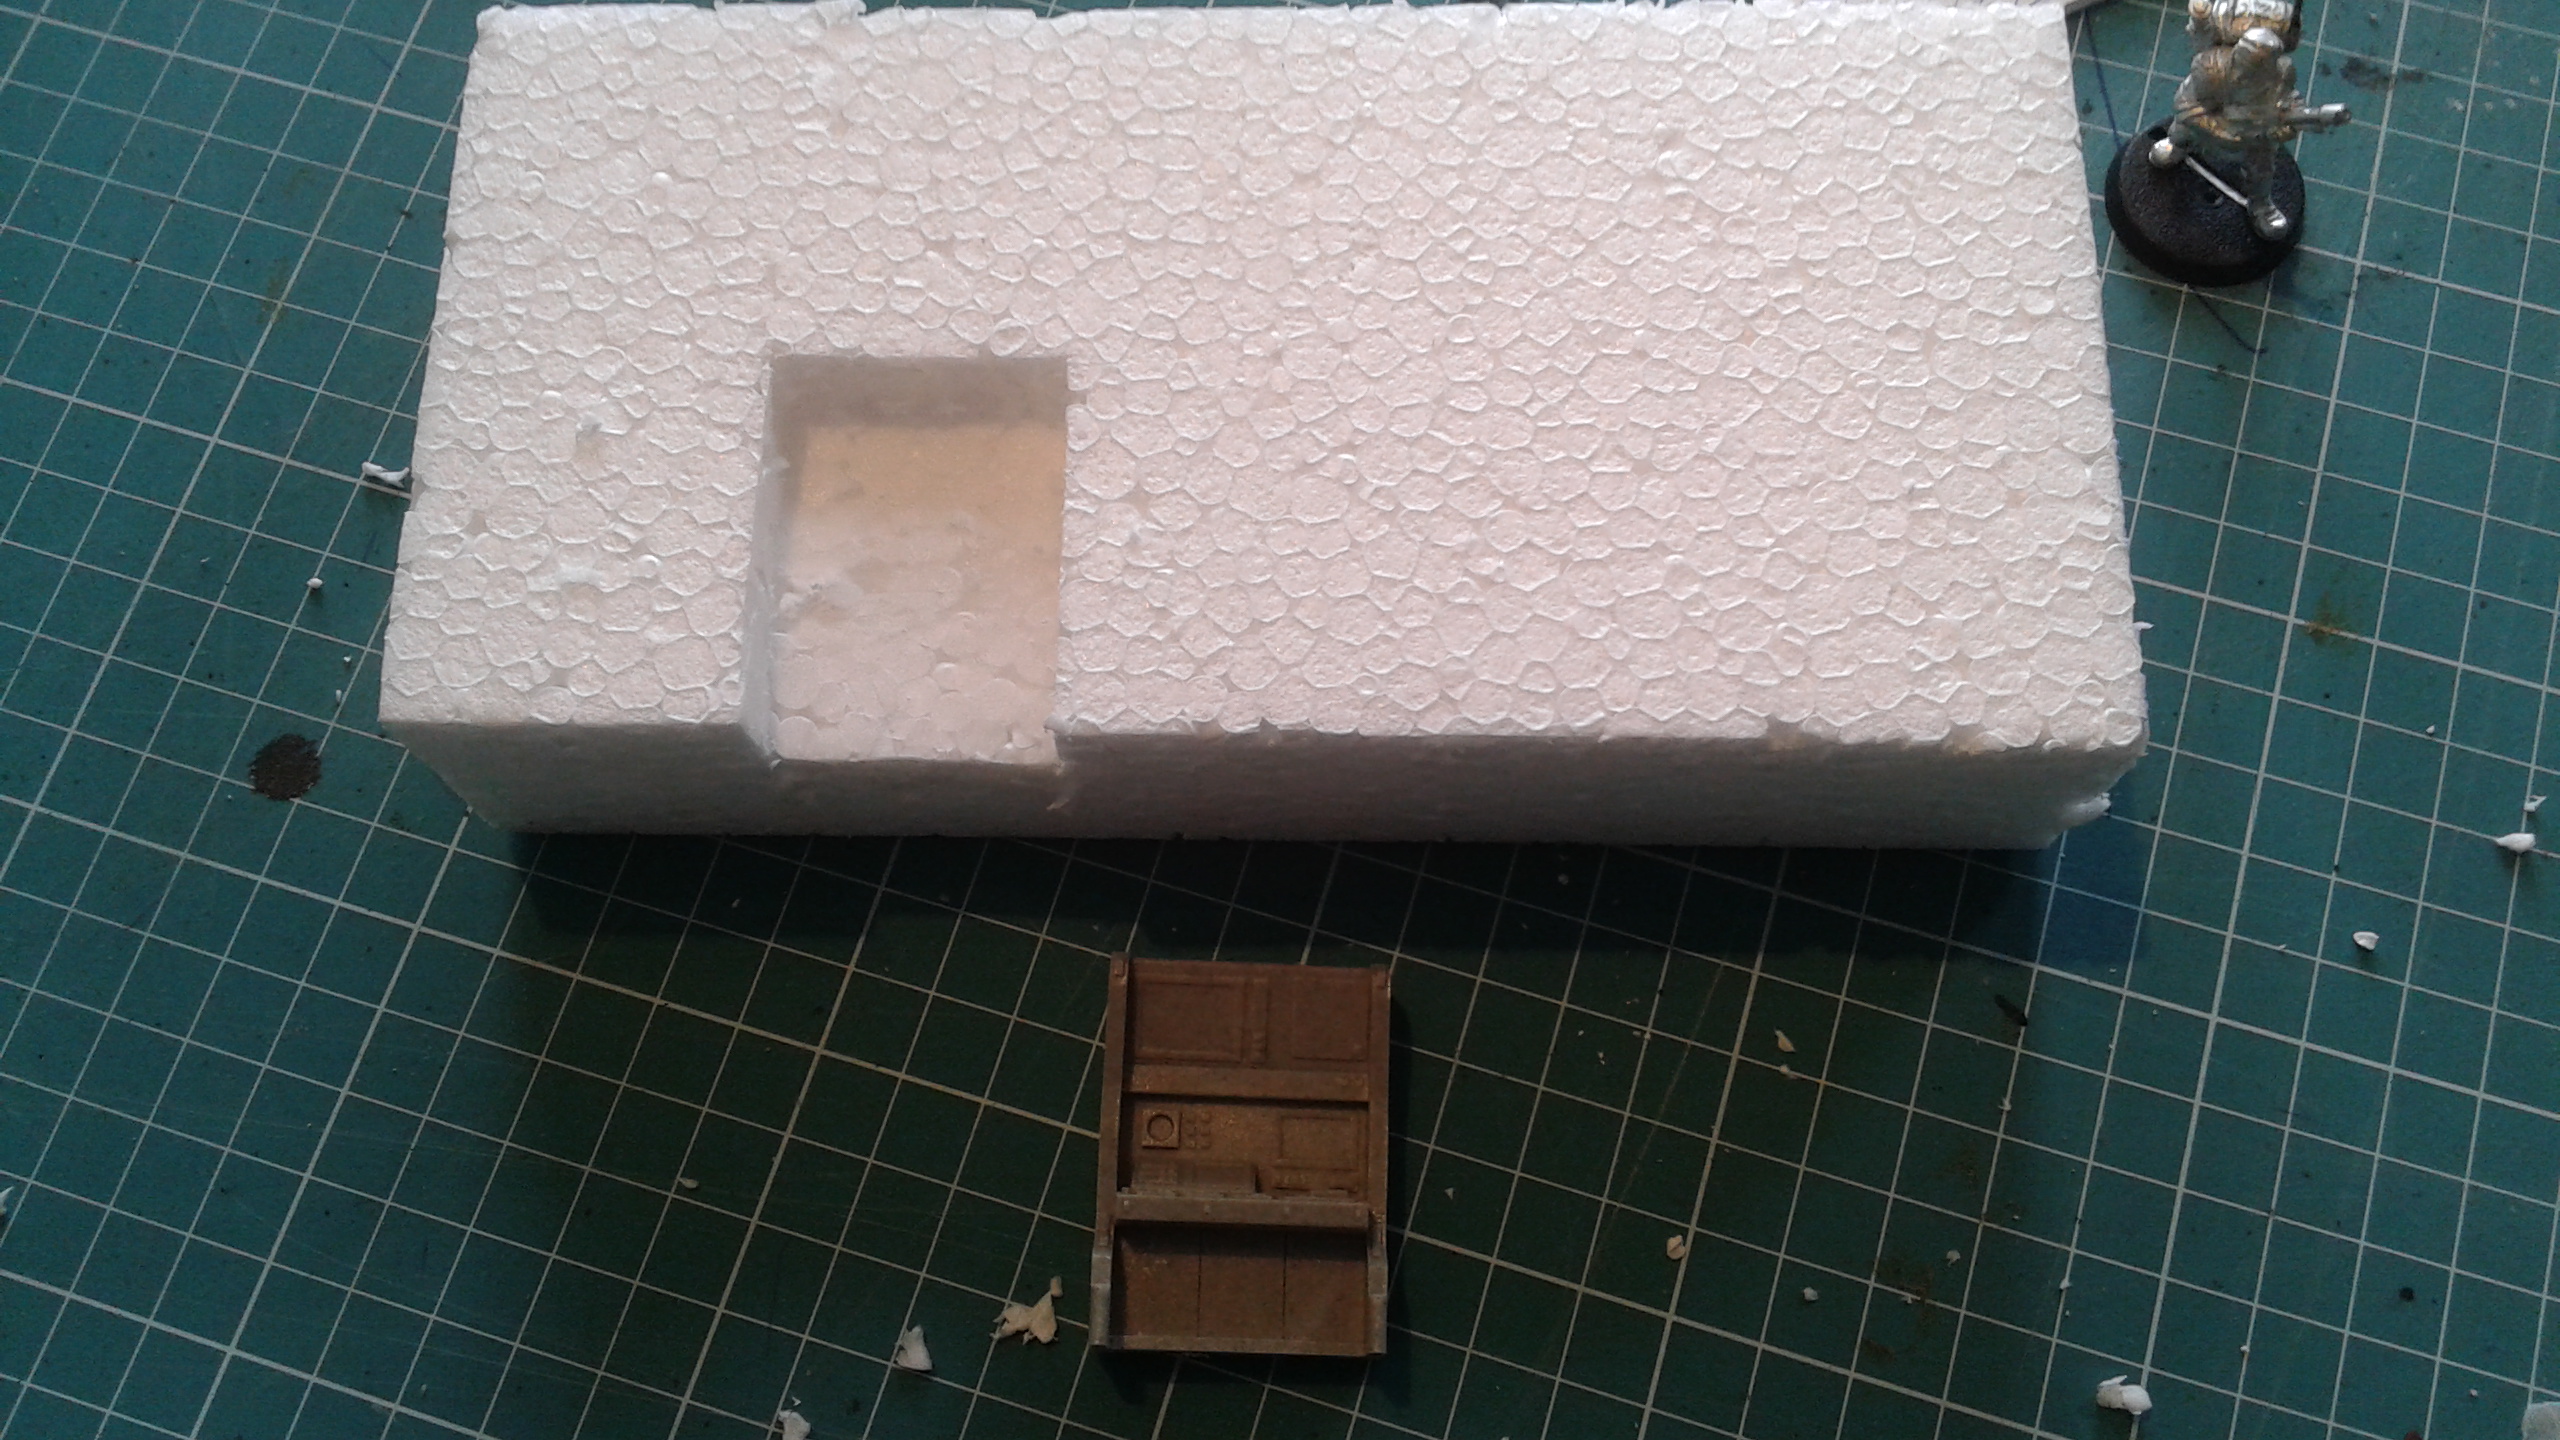
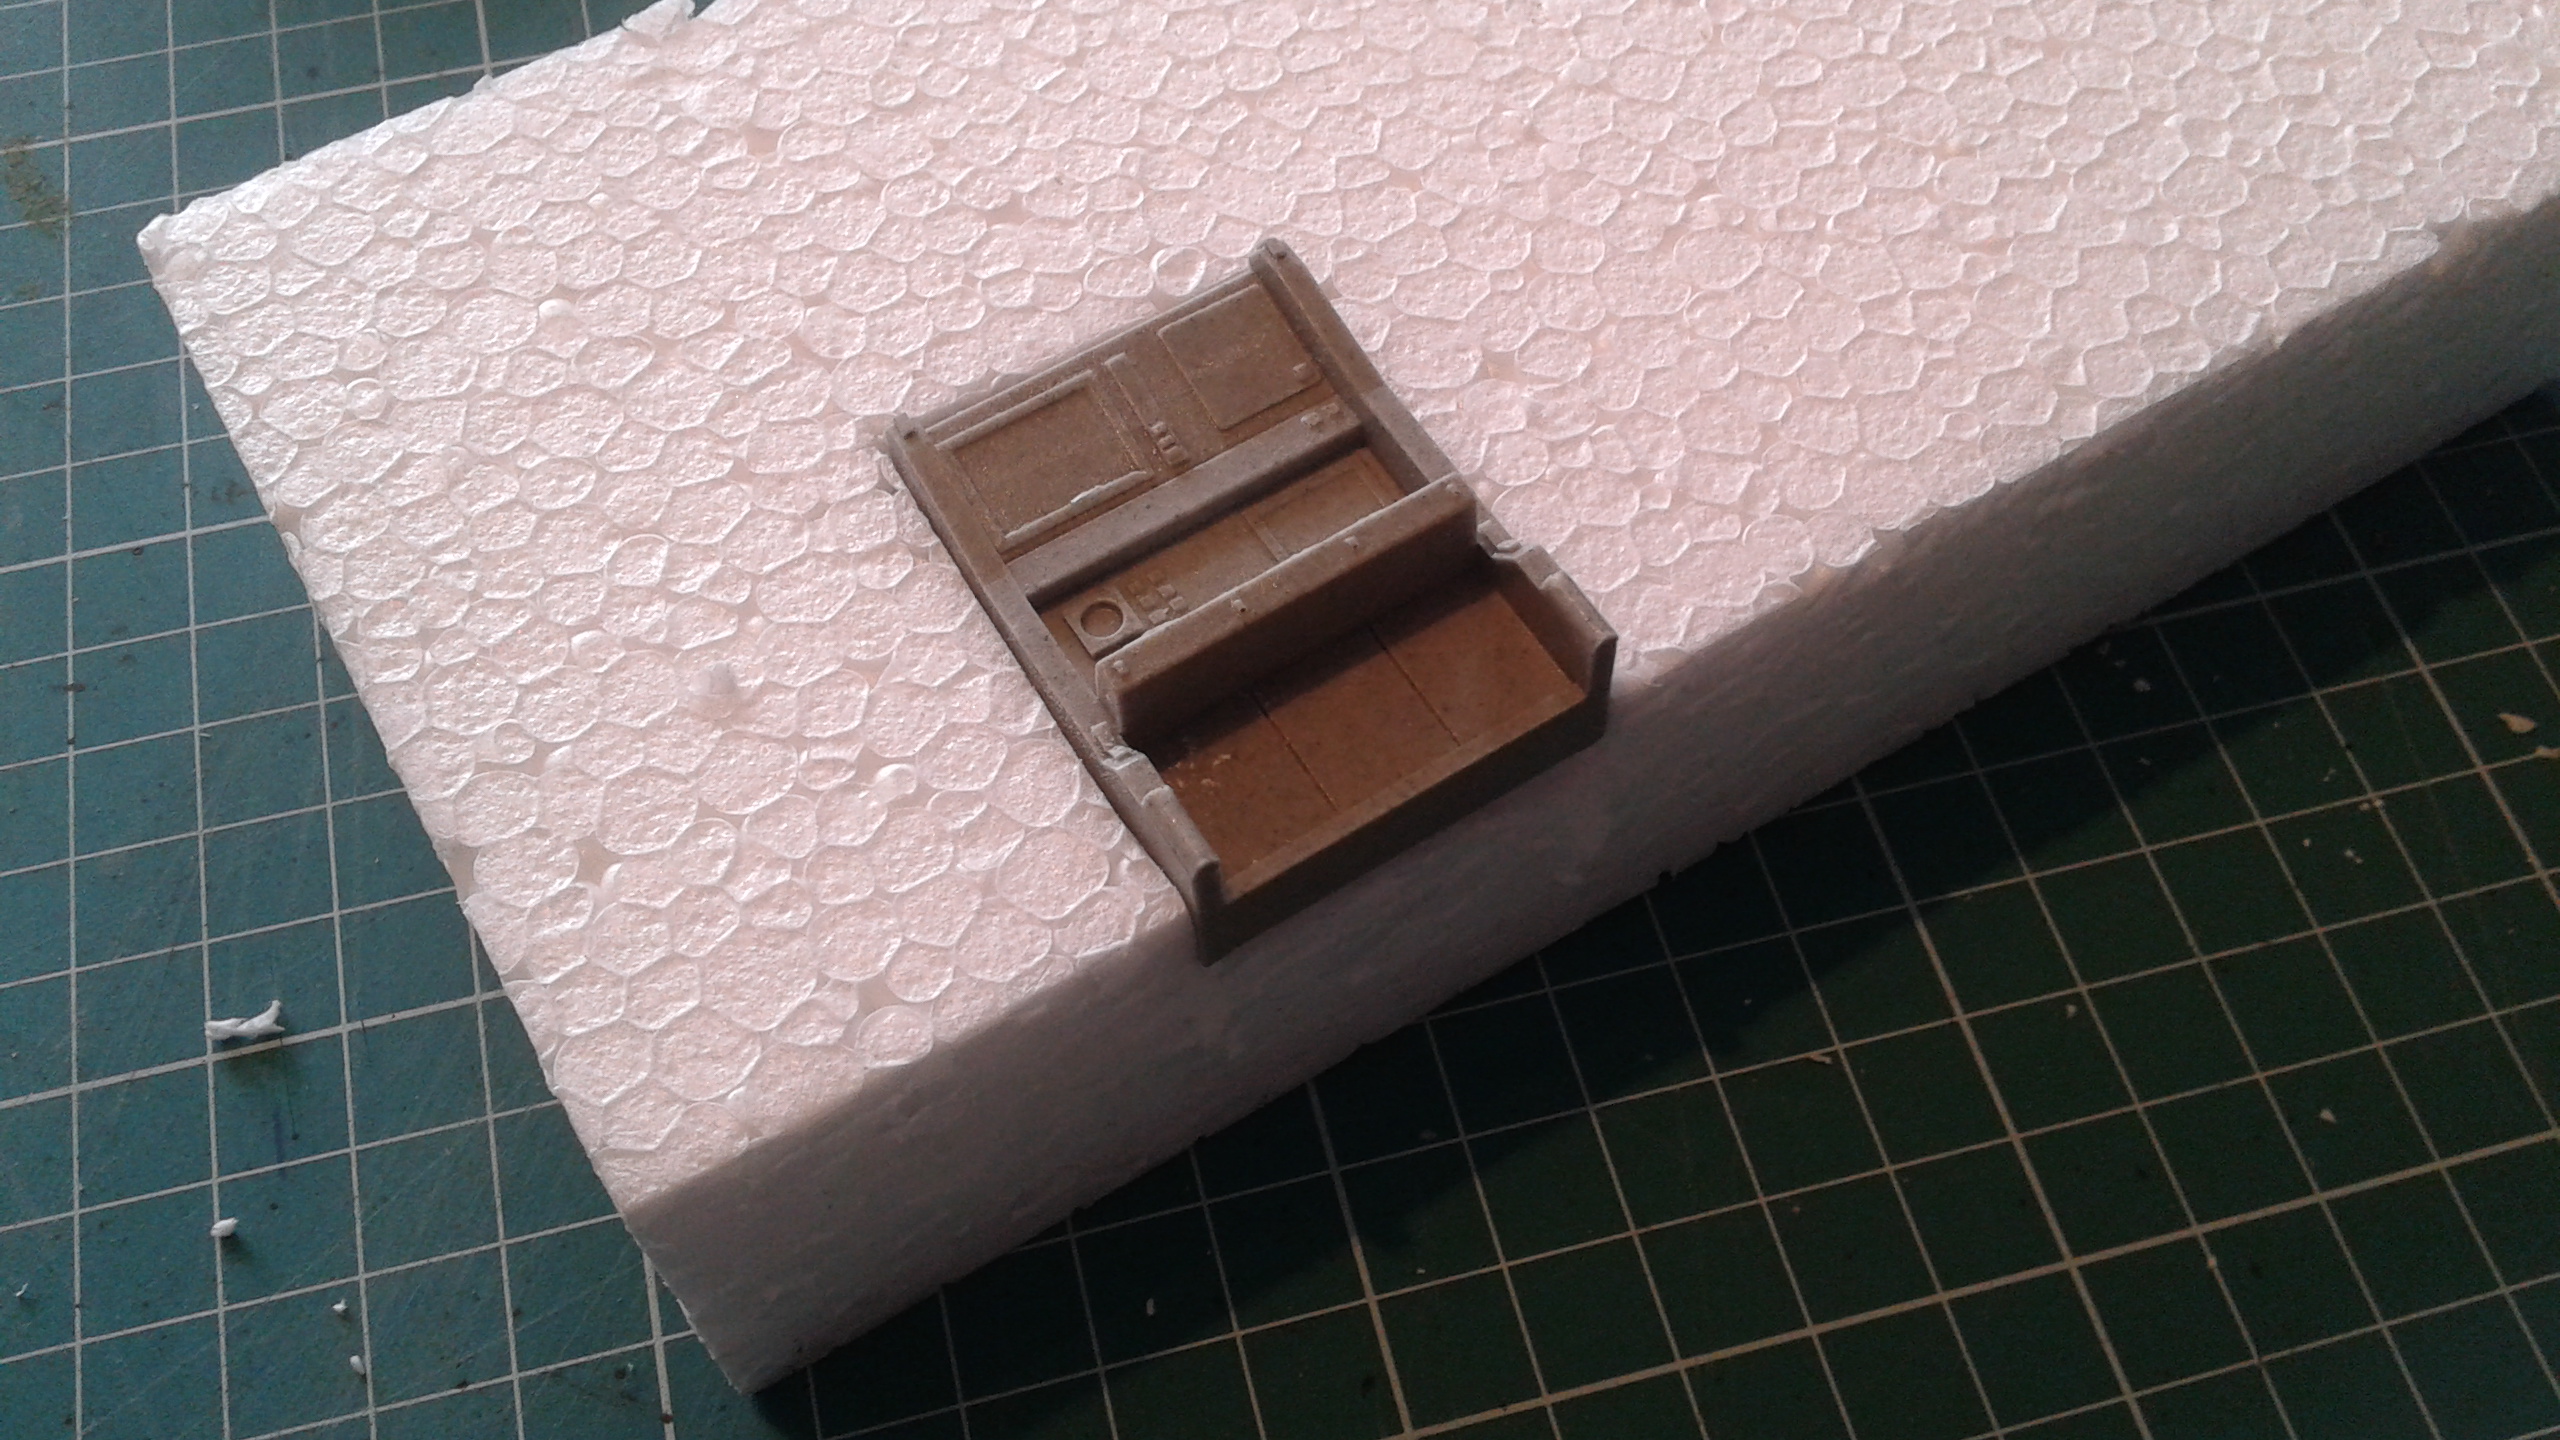
Before glueing the walls in place I had to make some adjustments for certain pieces of scenery to be installed. I bought some nice resin cast interior pieces from Ainsty Castings http://www.ainsty-castings.co.uk last year at the Crisis convention. I wanted them to be sunken inside the walls so I had to cut some sections to fit them. I also used this method for other pieces I found in my bits box.
All these pieces will not be glued just yet. Most of them I will paint before I will glue them into the wall sections. This way the painting will be much easier, but I need to plan the construction a bit better. So the walls will be painted first, but I will use some fine sand mixed in with the base paint which must not be painted on the parts were extra scenery will be placed at a later stage.
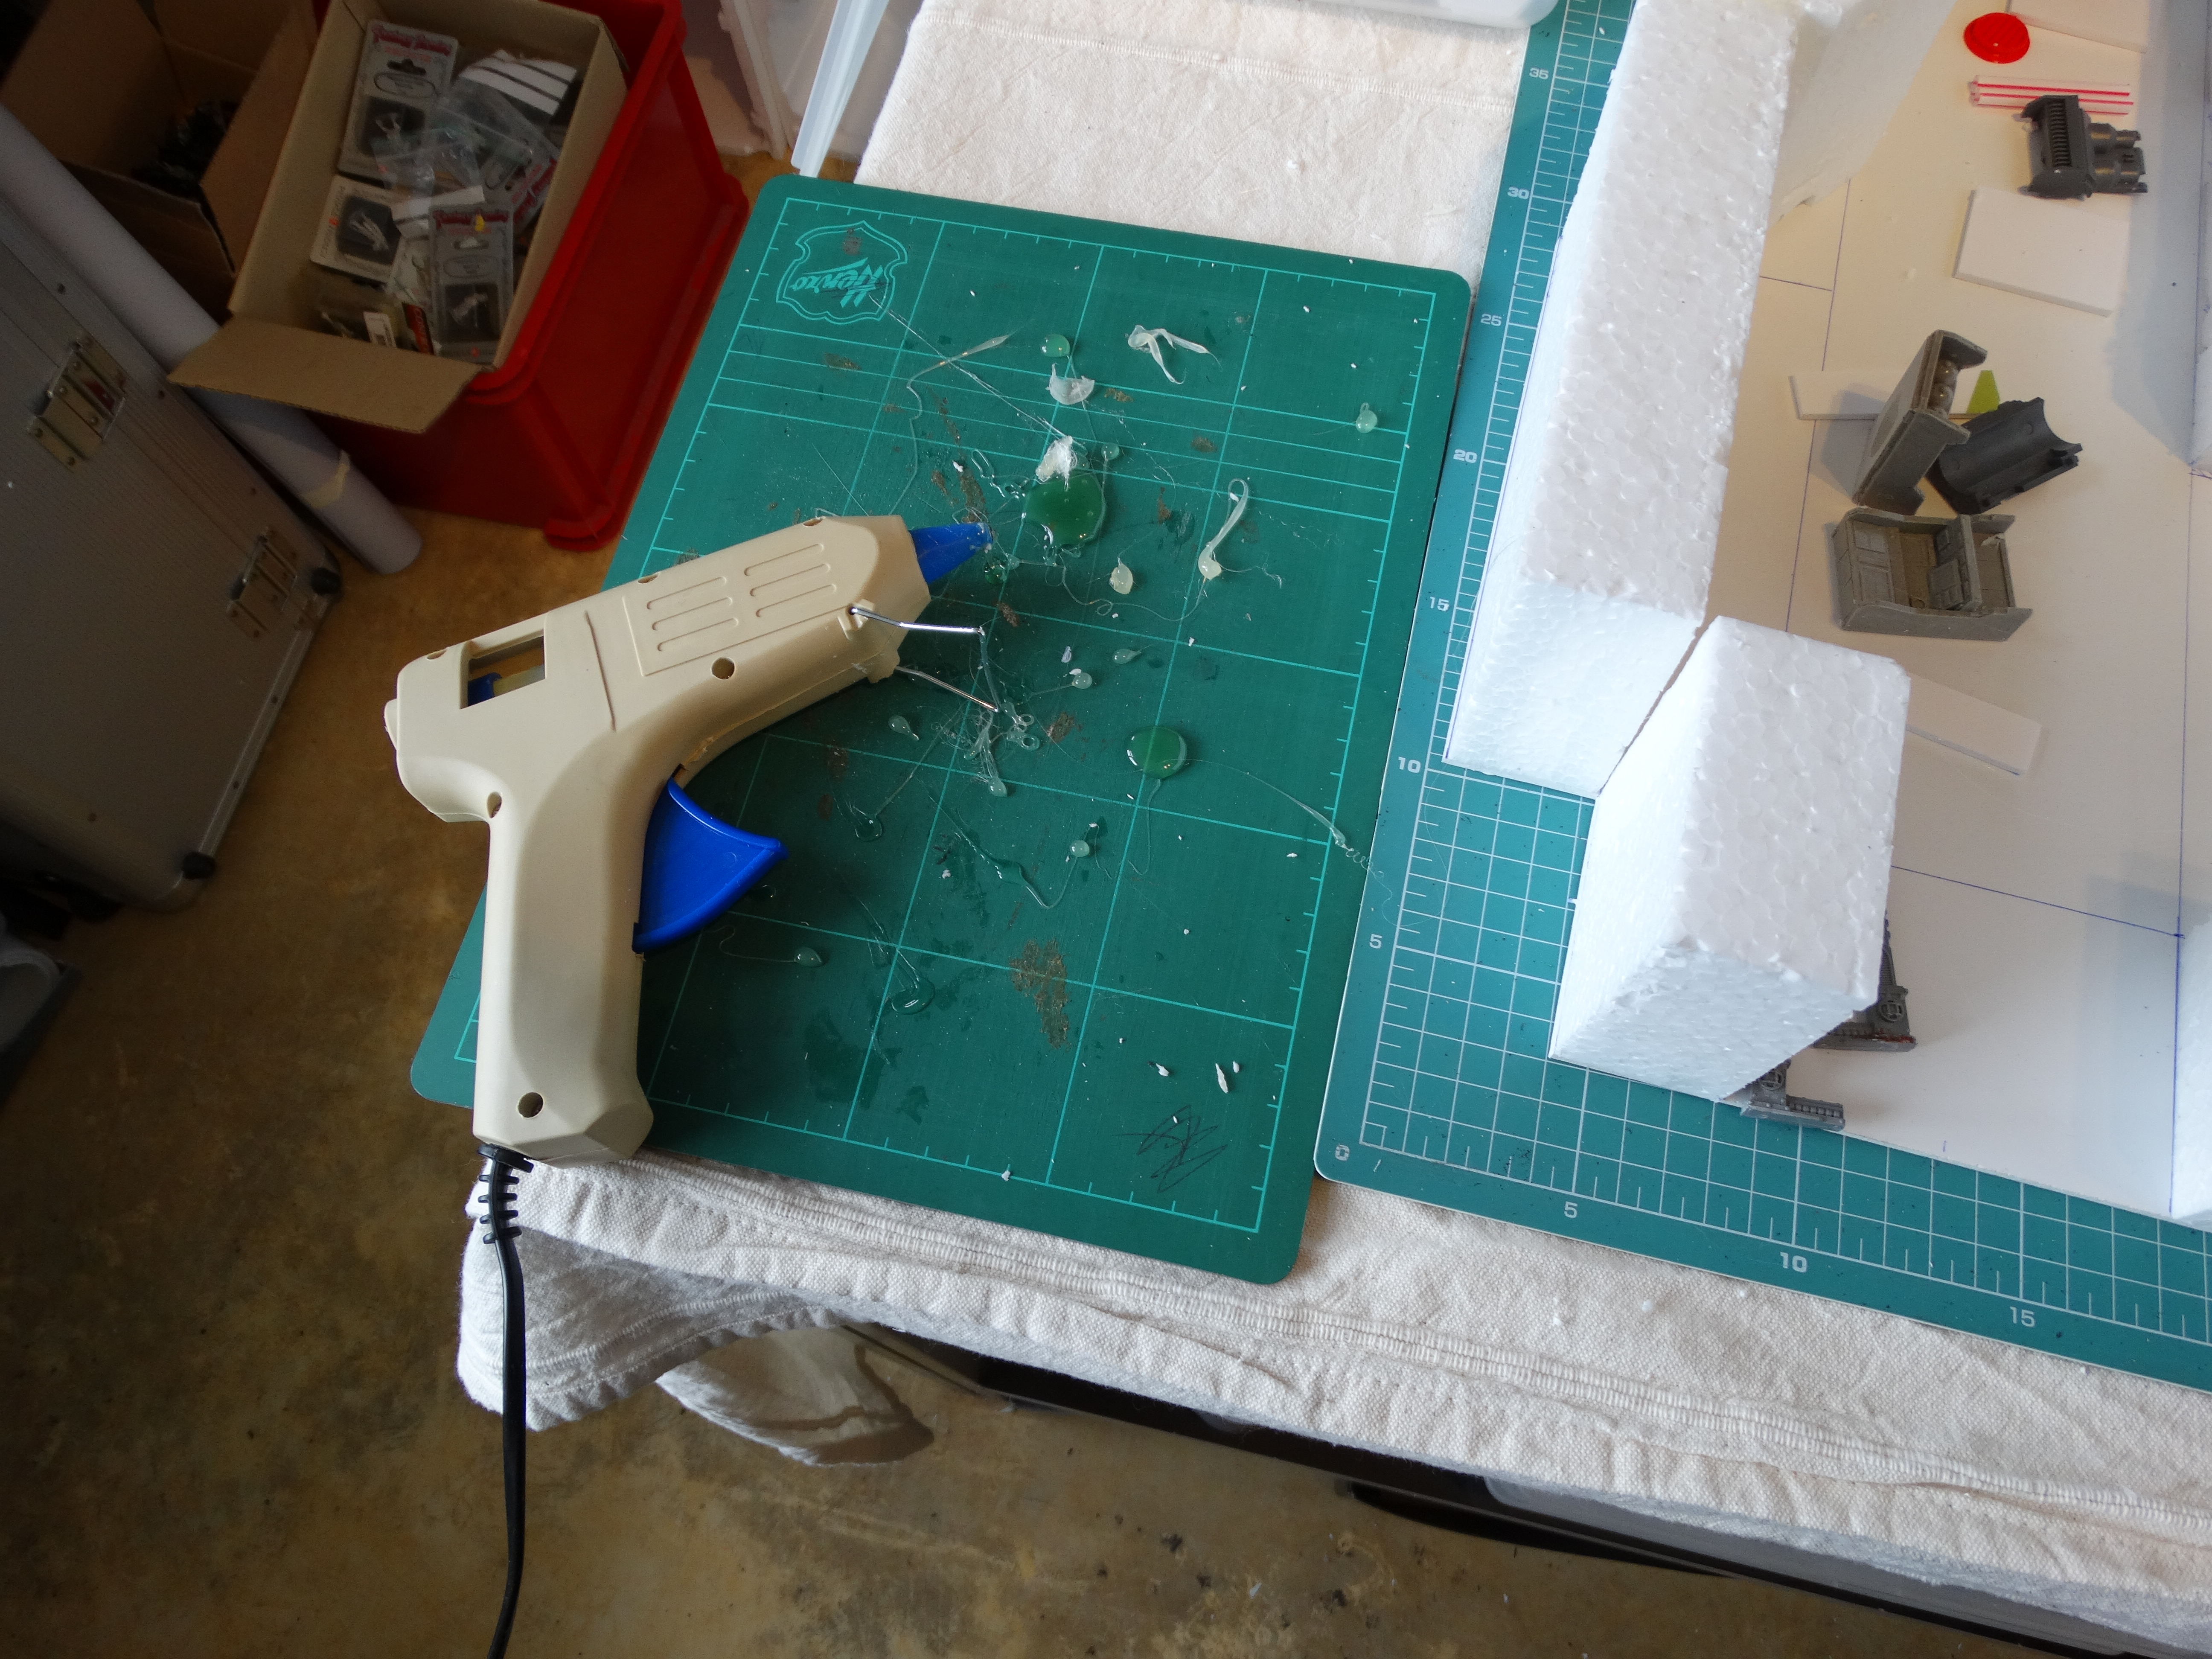
All the wall sections which are ready were then glued to the base by using a cheap and simple hot glue gun.

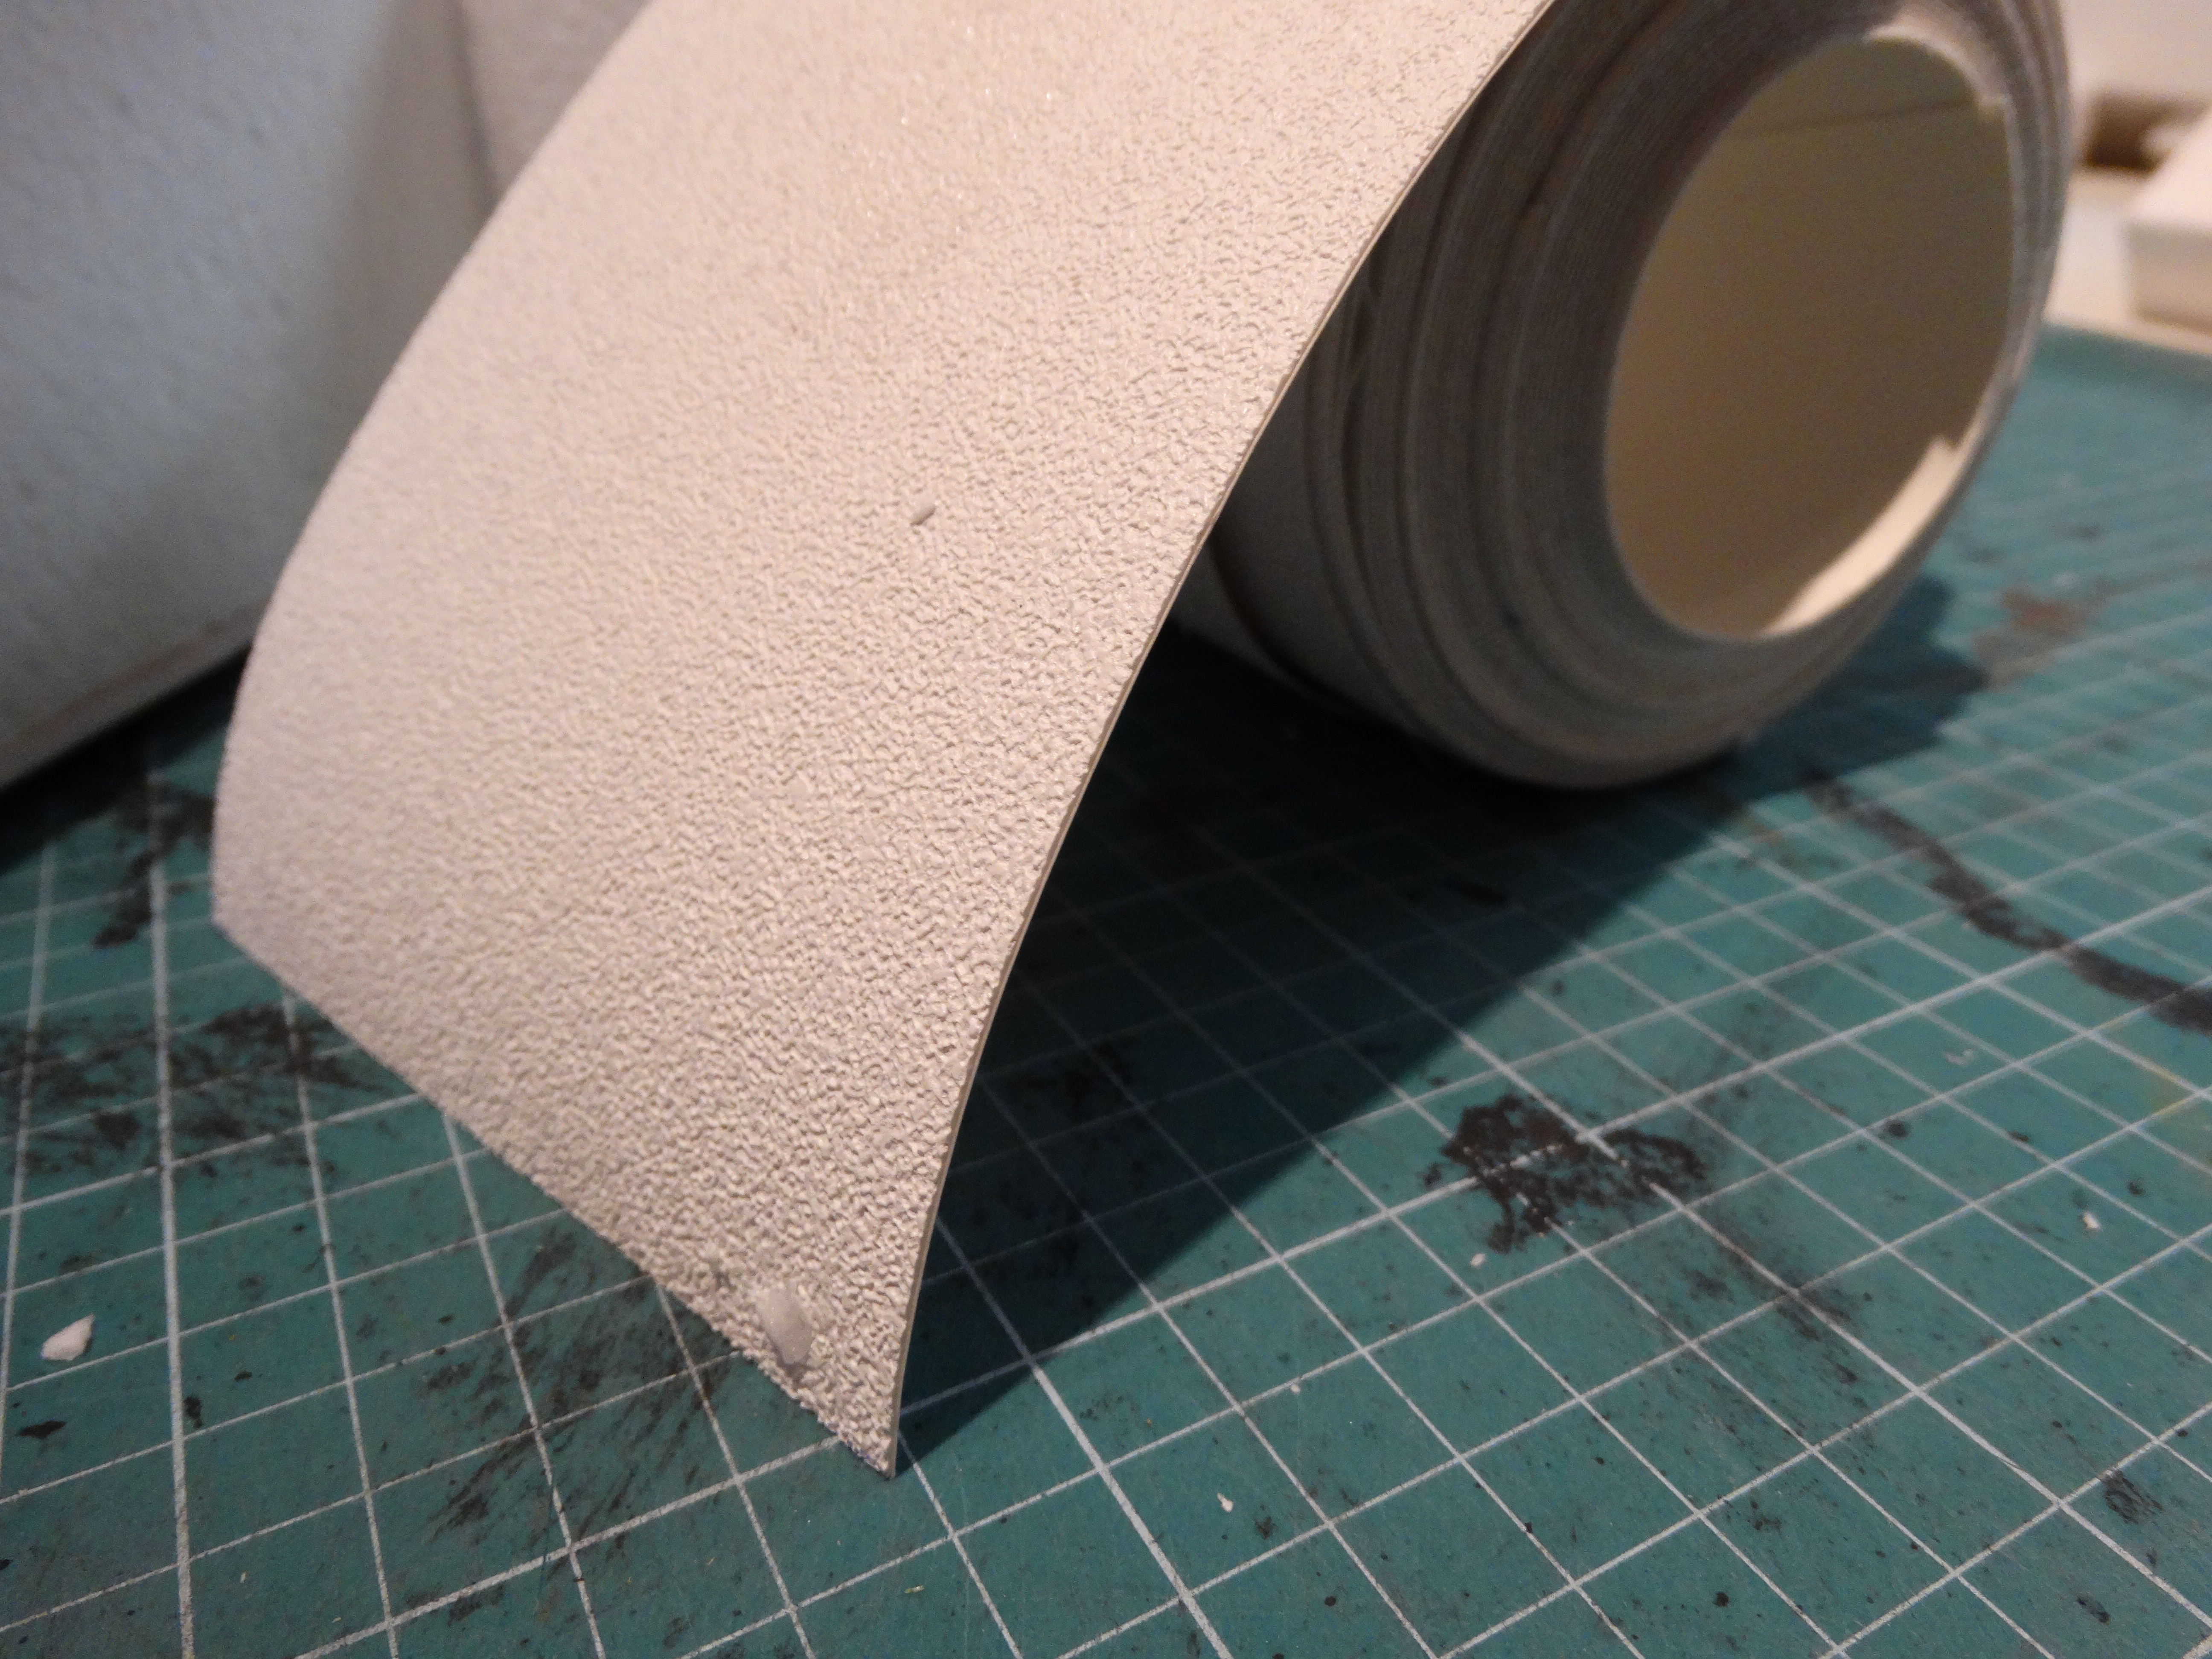
The floors will all be covered with a sheet of adhesive film which is used to make graphics on floors. This is a thick and textured adhesive which is very easy to use and gives an instant texture.


So far, so good. Next time I will be applying the first layers of basecoat. And from there on add the various scenery. I will also do some special sections, such as HQ-hubs and perhaps some that wil overlap one and other.

Pingback: Modular tunnel system – pt. II – The Desert Scorpions