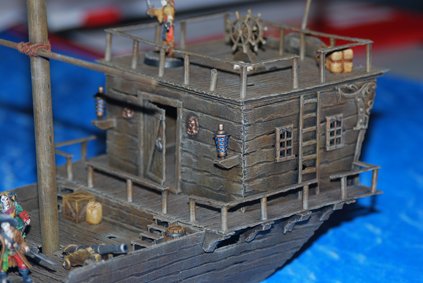
Since we have been playing more and more pirate games at my local gaming club it was time to finish the damned ship!
Construction had almost been done enough for me to start painting it. There were certain elements I would still need to add after this, but these could all be done at a later stage when the overall idea of the ship would be done and painted. That way it would be acceptable on a gaming table were all other players had painted crews and ship and scenery.
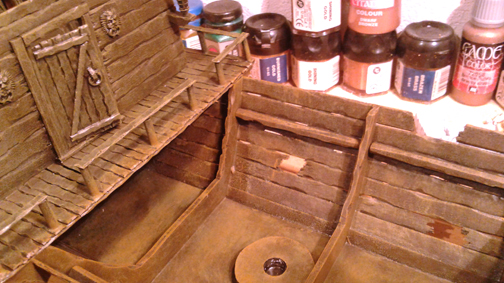
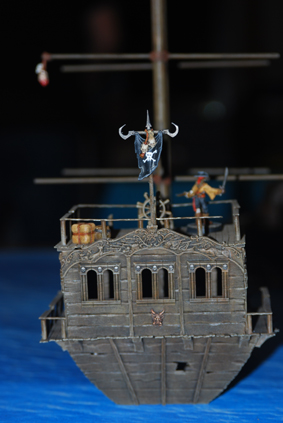
So I decided that the interior of the captain’s cabin could wait. So could the sails and rigging, the undead mermaid at the prow, the zombies in the prison hold and other details like extra guns in holsters on the main mast and such.
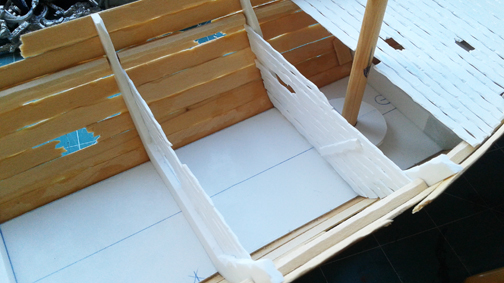
The only thing I needed to finish constructing before painting were the two walls of the prison hold below the decking. I made these using the same techniques as you can find in the first part of the construction description. 1 mm pvc strips that were glued one by one.

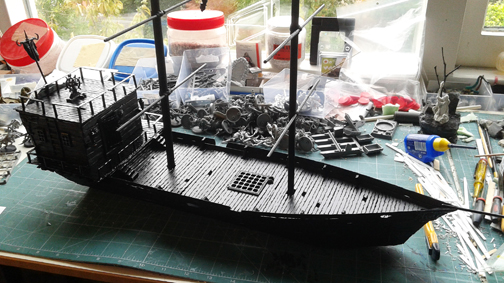
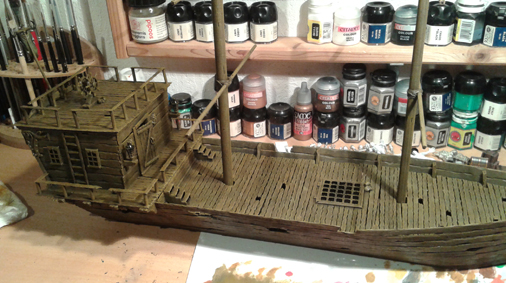
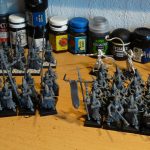
When these 2 walls were done I could spray paint the whole ship with a black undercoat. I undercoated all the detachable parts separately.
Firstly I painted all the ‘wood’ parts. In effect this is 99% of the ship. All other colors and details would follow after that. I used the same colors as I did with the bases for the crew so that they would match up. All following stages are simple and rough drybrush layers.
First up a heavy layer of rhinos hide.
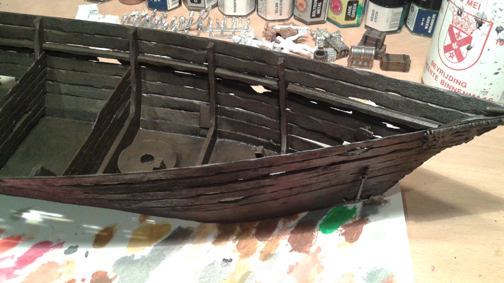
In the end the wood needs to have a certain old look, as if the wood has been wet a lot an just slightly rotted. To get this effect the next color is P3 Battledress green. This will ultimately result in a more molded look.
Bestial brown follows that stage with a more highlighted layer of snakebite leather.
To finish it off I used codex grey as a highlight to make the wood look older. A highlight drybrush layer of fortress grey finishes it all of.
Time for other parts of the ship. All metalwork was painted black again.
The metal bits were one in the usual way. Drybrush layer of boltgun metal with a highlight of chainmail silver. An overall dousing of nuln oil makes it all somewhat more realistic. Any other metal ‘look’ on the ship is done by this same principle, but with added drybrush layers of tin bitz, brass, bronze and gold.
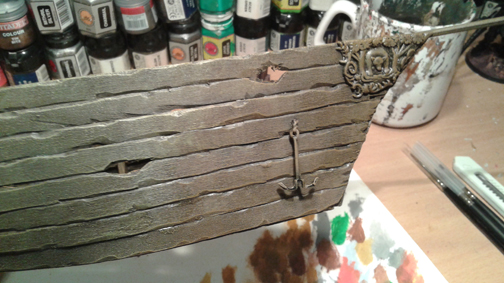
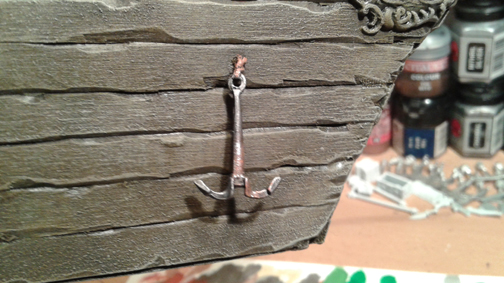
The anchors were given some extra rusted effects. Use a small drybrush to start with defining the area of the rust with rhinos hide. On top of this, but leaving the next colors just within the edges of the previous color, I use vermin fur and blazing orange. The final stage is done by highlighting certain parts with chainmail silver.
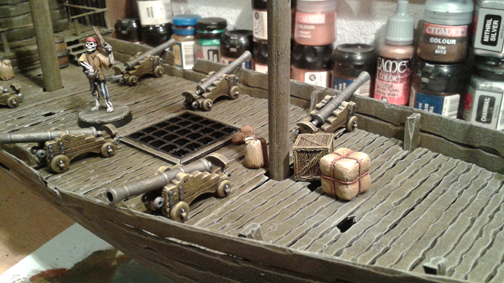
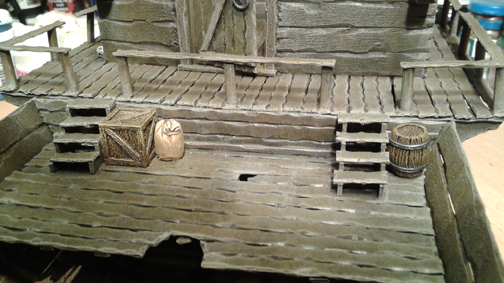
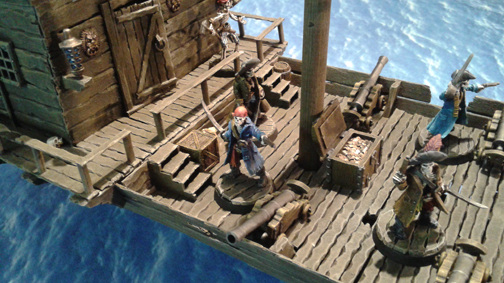
The scattered skulls were given a basecoat of bestial brown, some brown ink on top of that and next drybrushed with bestial brown, snakebite leather, bleached bone and white. Next is an overal coat of sepia wash and a final highlight with white. I had previously painted some crates and other items of stowage. Some of these I used to add more detail to the ship.

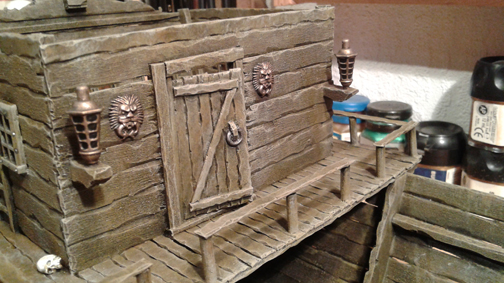
The lanterns were done with the aforementioned technique for metalwork, but with the added layers of bronze and gold etc. The glass pieces were done blocked out in black again. Next I made the lower half of each piece of glass regal blue (diagonally). Enchanted blue followed on the lower half of the darker blue part. A white line in the top part of the glass finishes it off.

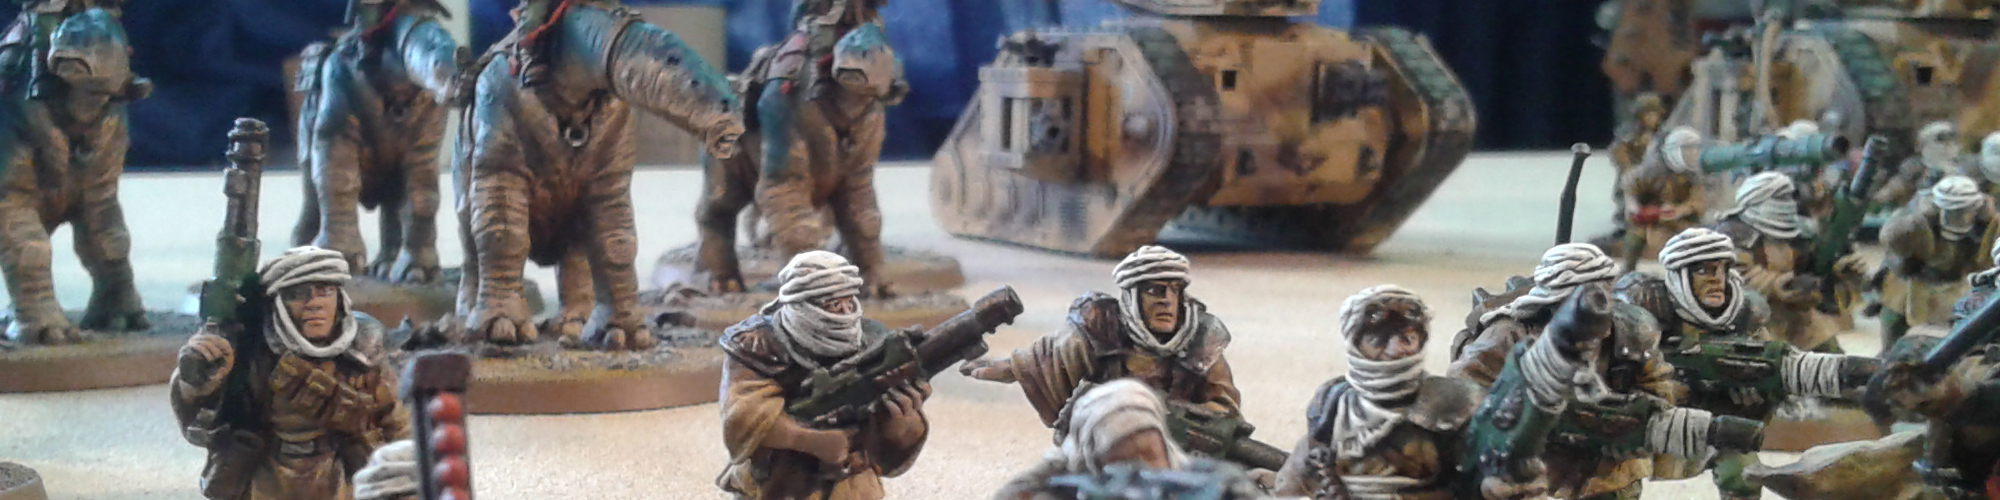
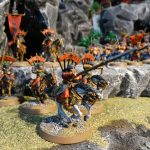
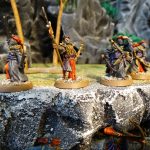
Finished! (sort off). But it was ready for a new game. A club mate presented us with a new game that would be the first of a Legends of the High Seas campaign he was cooking up. (All previous games had not been played as a campaign.) Here are some shots of the ship and it’s crew in action.
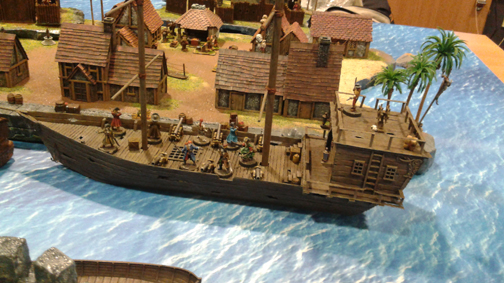
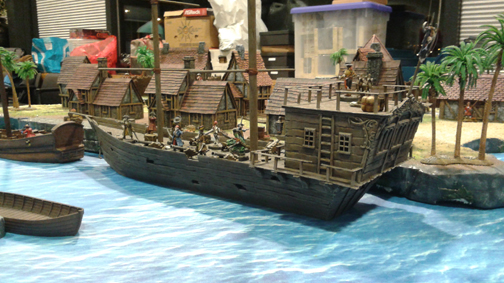
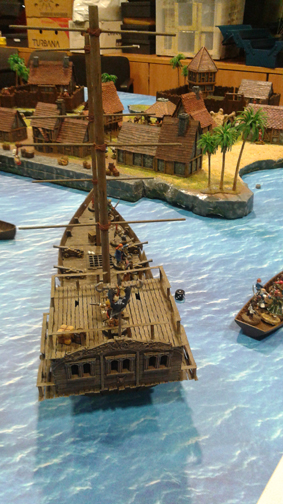
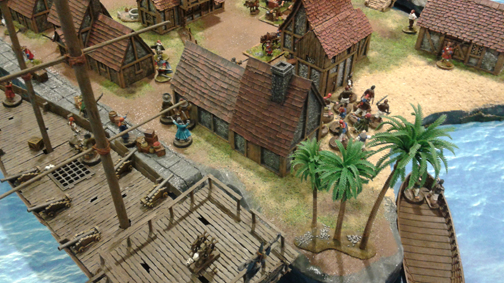
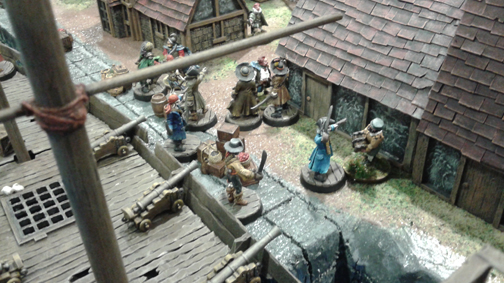
And some more pictures taken by Gerco Blok (another bloke at the club)


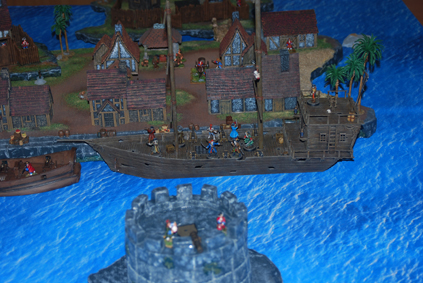
We had great fun invading Port Royale and relieving some of it’s inhabitants of their doubloons (and lives). One of the townspeople even got hit by a cannonball coming from point blank from one of the guns on my ship. He was back home the moment he stepped out of his door. Offcourse he went straight through his house and emerged through an enormous hole at the other end. There was a lot of snickering from me and my crew at that :-).
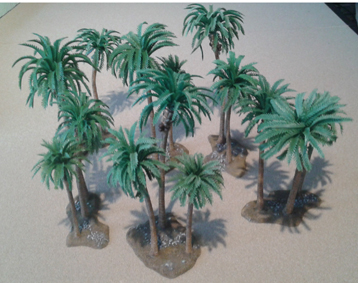
I also painted some palm trees for the occasion. I found these plastic trees very cheap at the Crisis convention a few weeks back. I glued those on top of some 3 mm pvc bases I made with some flock and stones. Base and tress were then painted (except for the green foliage, I just left that as it was).
That’s it for now. There will be more work on the ship and new crew members in the future, as well as some more terrain building like islands, coastlines and buildings and such. When I have made progress on these I will be sure to make new posts of these projects. But for now The parts that are done are sufficient for playing games at the club. So I might be doing some other stuff first. Like Tallarn :-).

What manufacturer are the palm trees from. Also, what club do you play at ?
The palm trees I found at a trader at the last Crisis in Antwerp. Some French guy who did not have a card or anything… So I can’t help you there I’m afraid. But I have seen some people at our club who found some Chinese seller with low prices and low shipping costs. Apperently they deliver super fast. http://www.ebay.nl/itm/231717033833?_trksid=p2060353.m2749.l2649&ssPageName=STRK%3AMEBIDX%3AIT
We play at the B.O.D. club at Utrecht. We did a wonderful pirate game yesterday, the second in our Legends of the High Sea campaign.
https://www.facebook.com/groups/517534221695550/