Well then, back to the modular tunnel system. Last time I promised I would begin painting unless I had some other idea to add before I could put on some paint. No ideas came to mind so ‘ere we go with some brushes and paint.
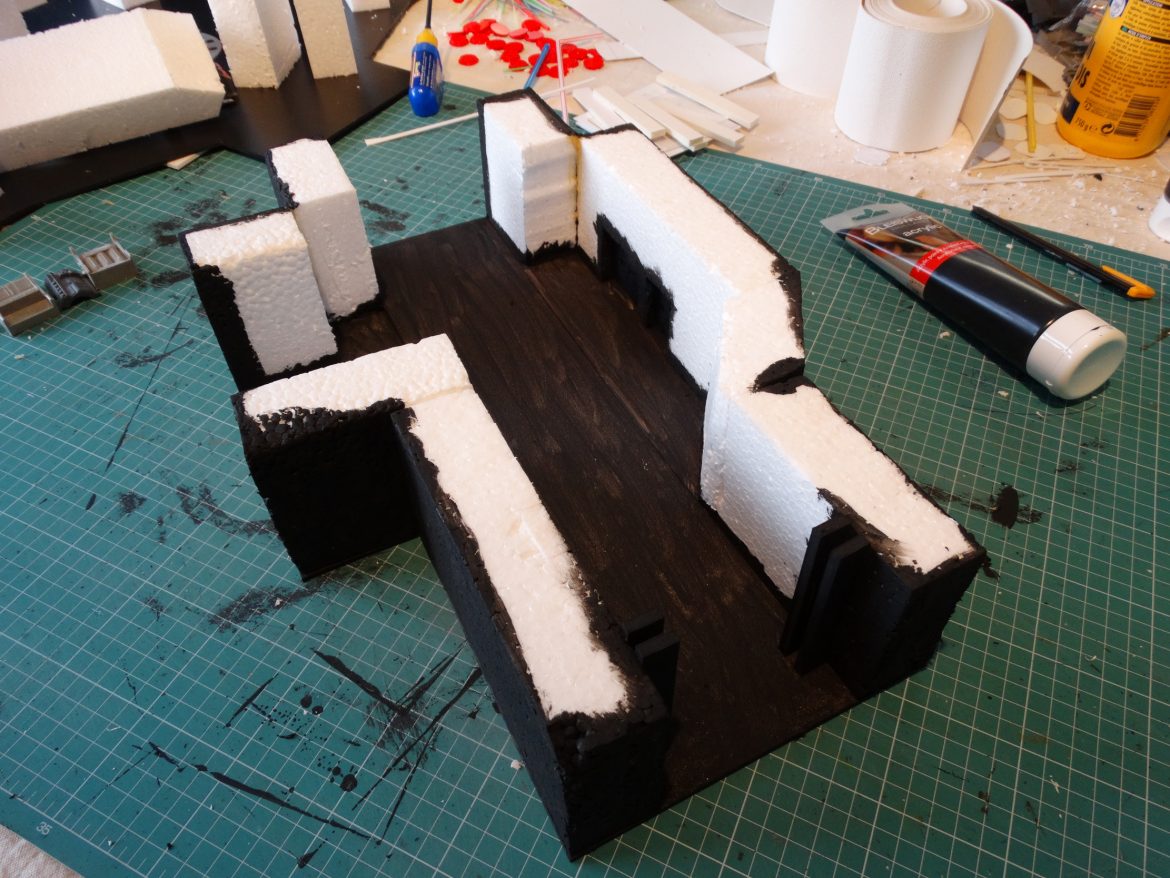
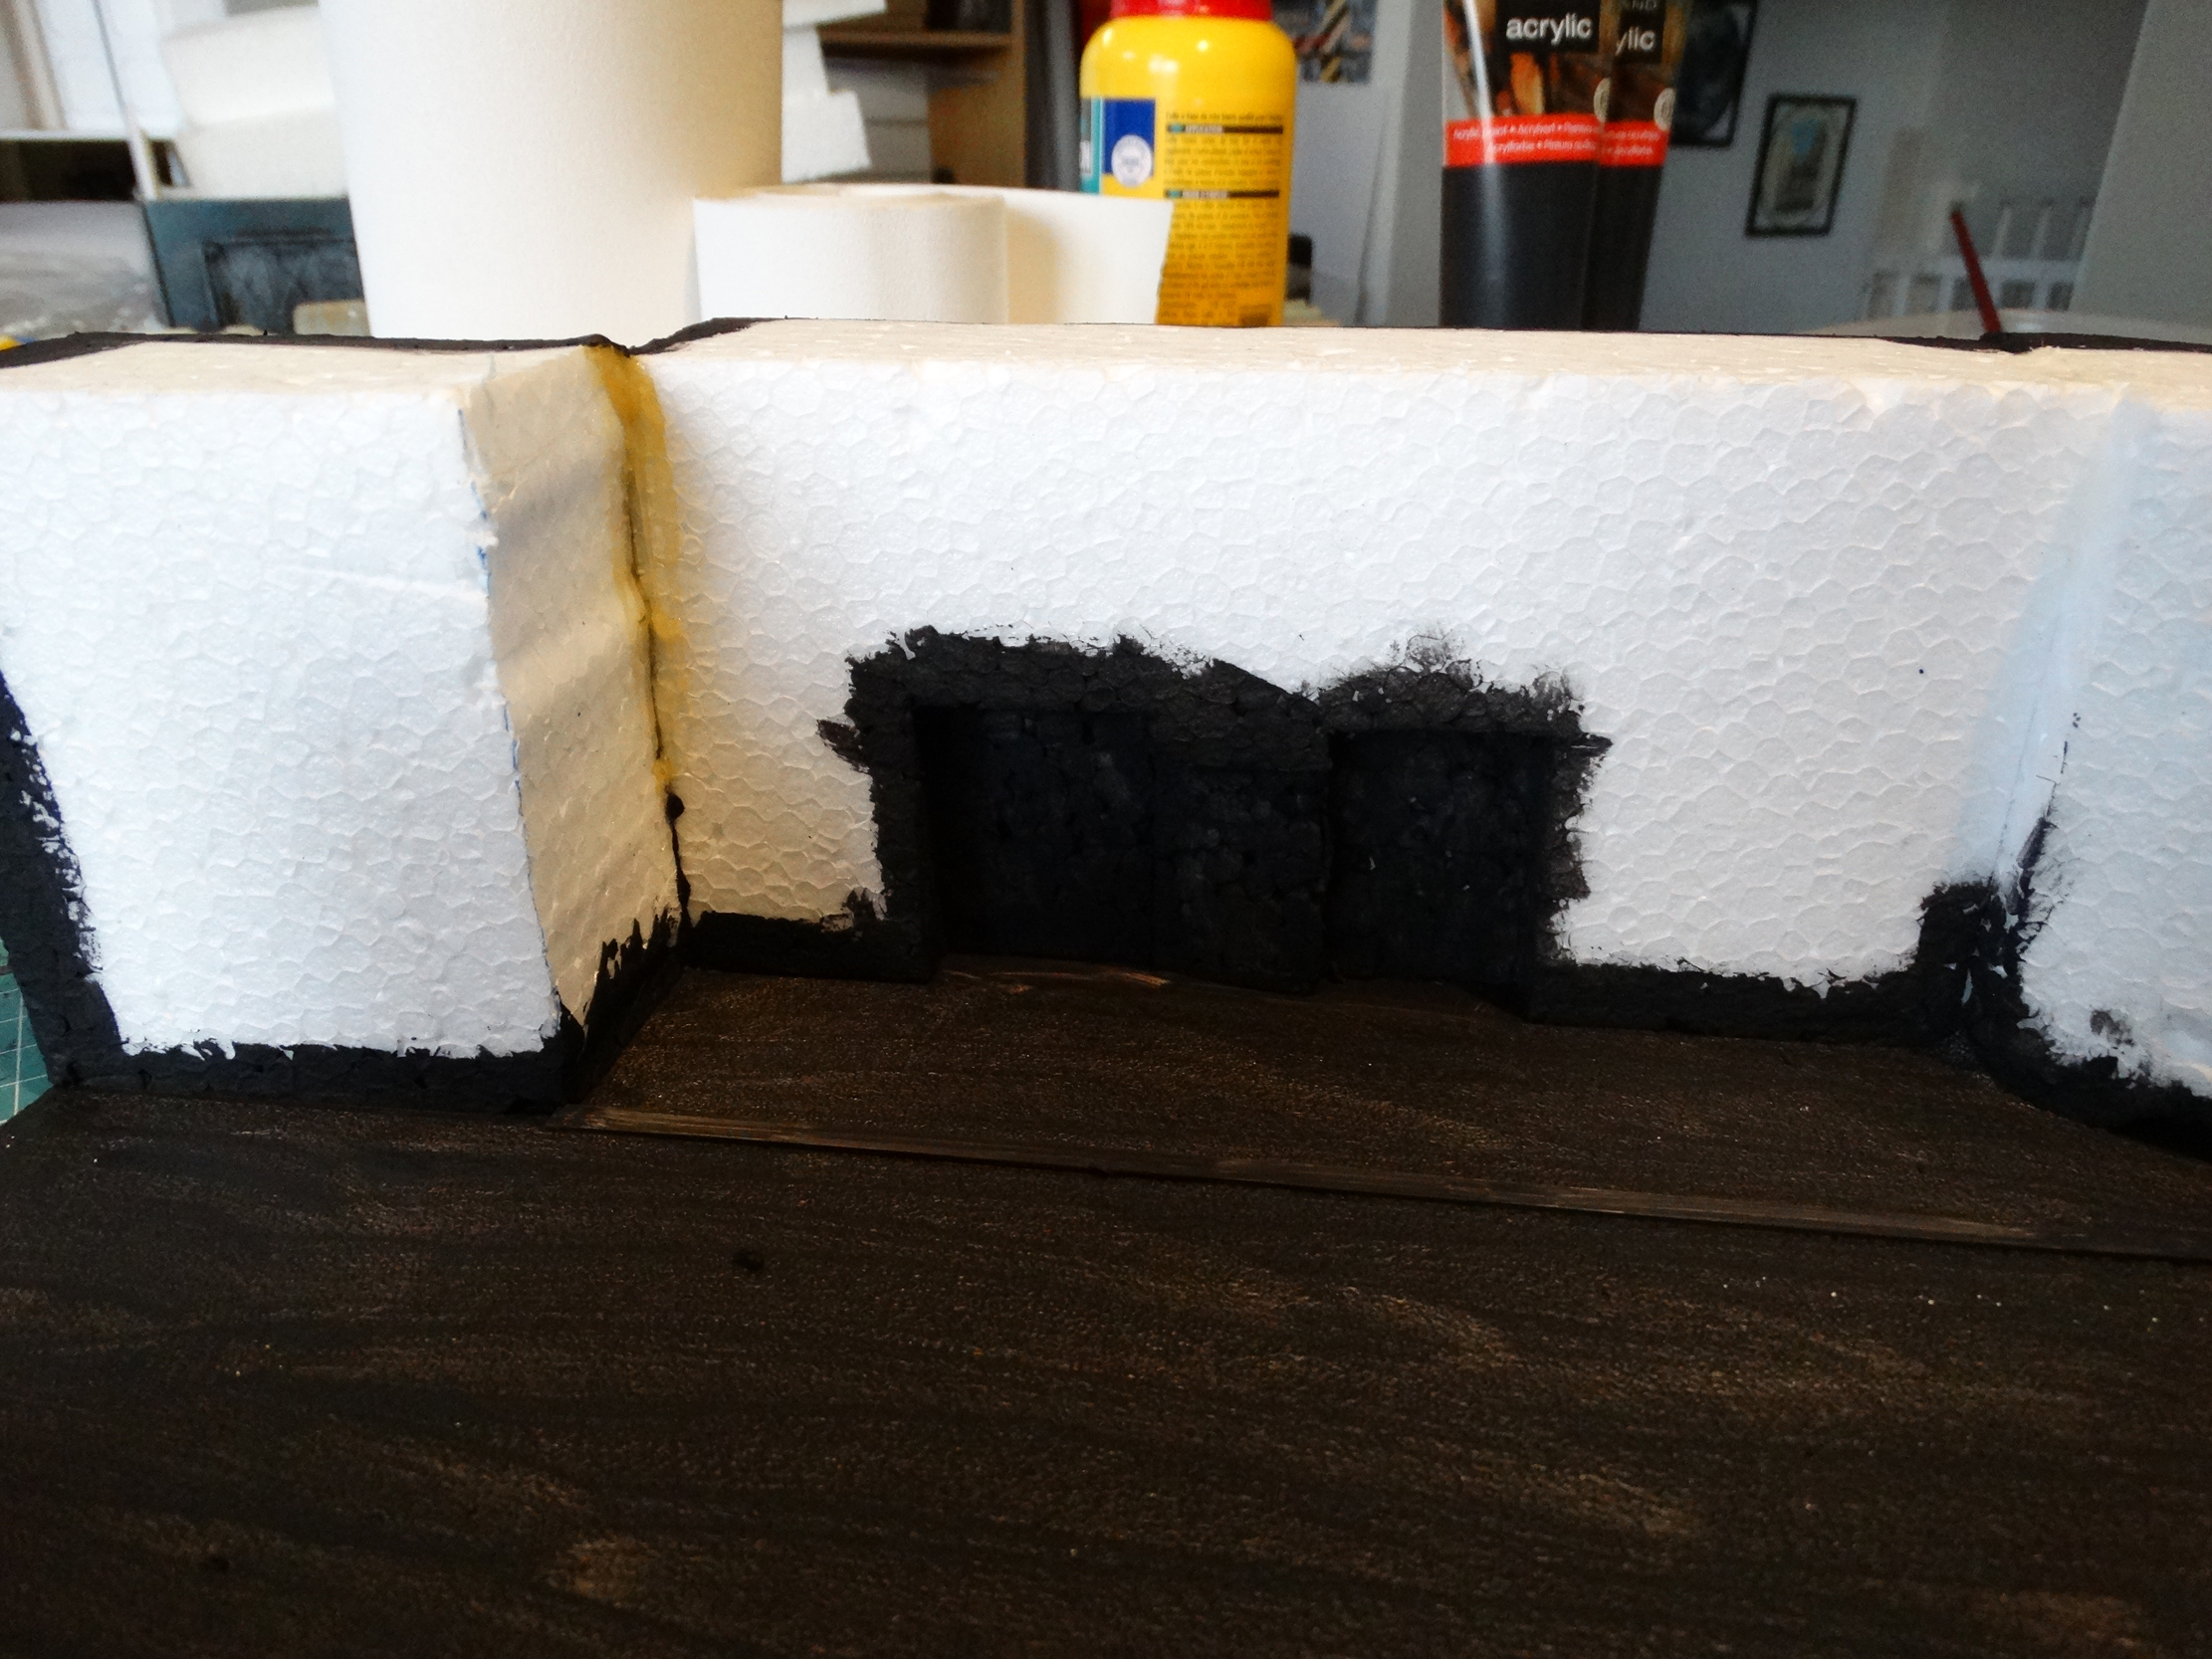
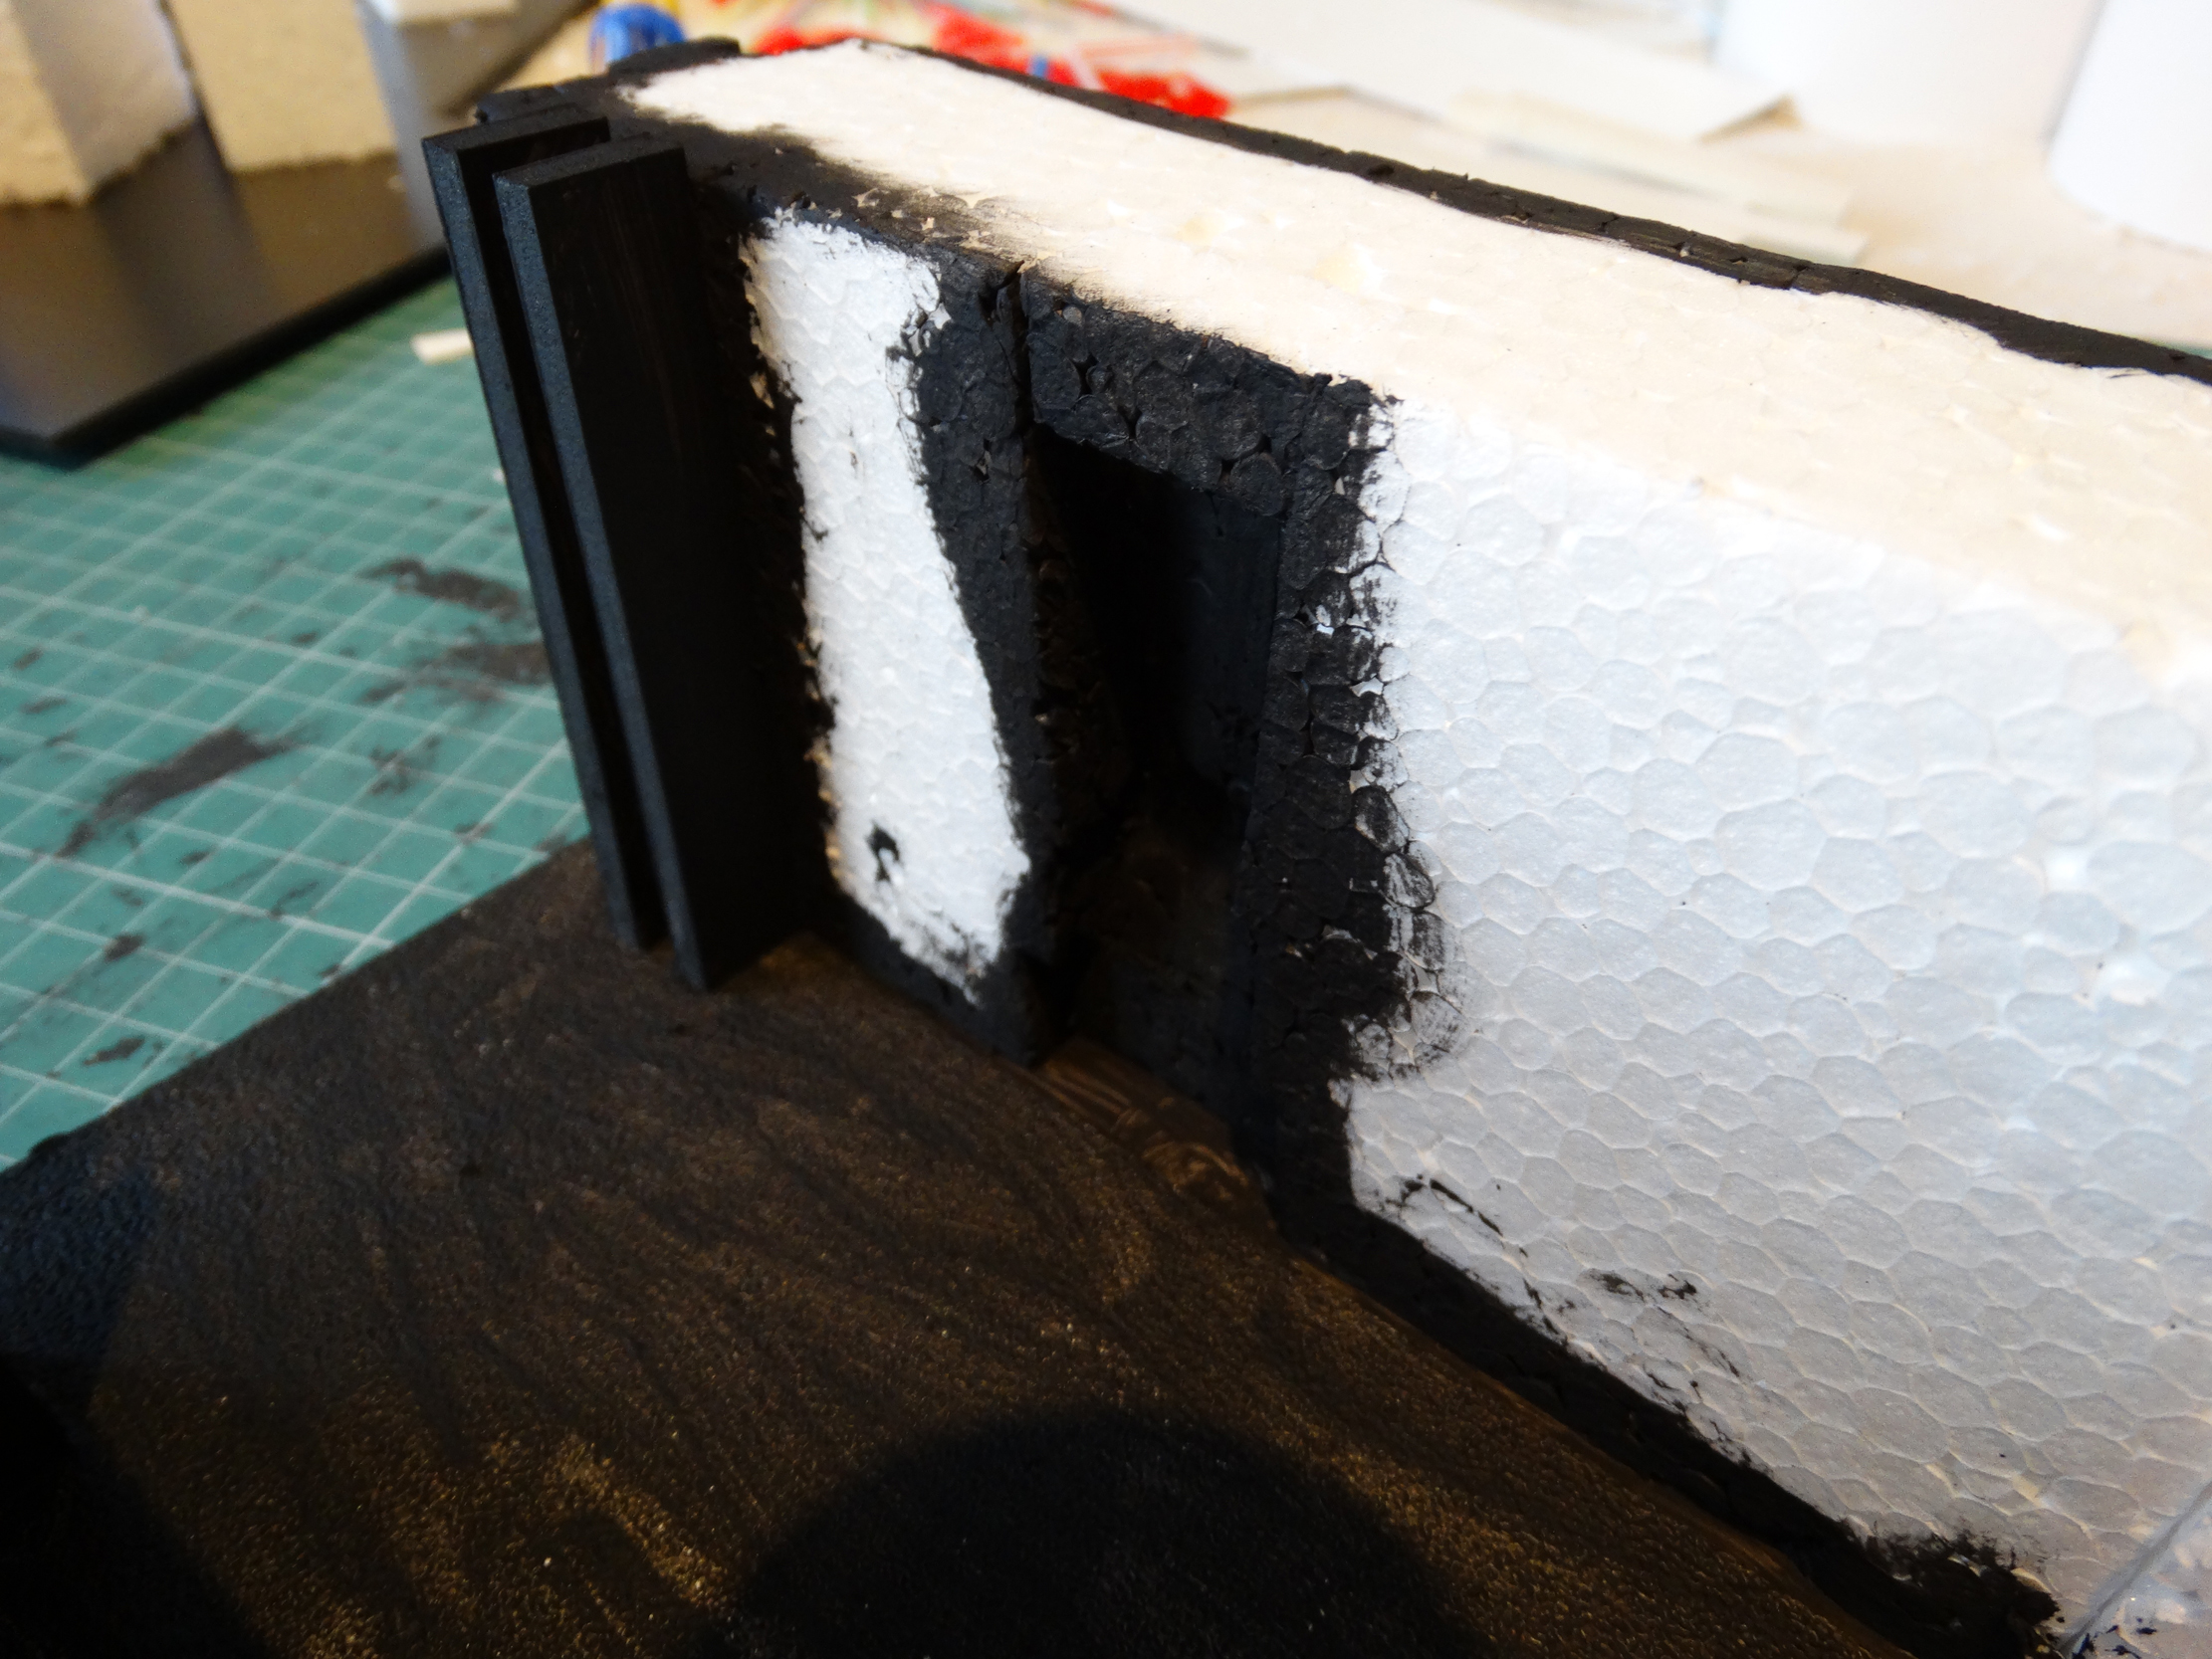
The first thing to do is basecoat the parts were no textured paint may come. The floor, parts of the walls where scenery pieces need to fit in, the parts were the doors will slide in and the parts were the wall sections will have to touch each other. For these I used a cheap acrylic black paint and brushed it on. Also do the bottom parts of the walls since the textured paint tends to really roughen your brush and makes it harder to paint these sections without getting textured paint on the floor sections.
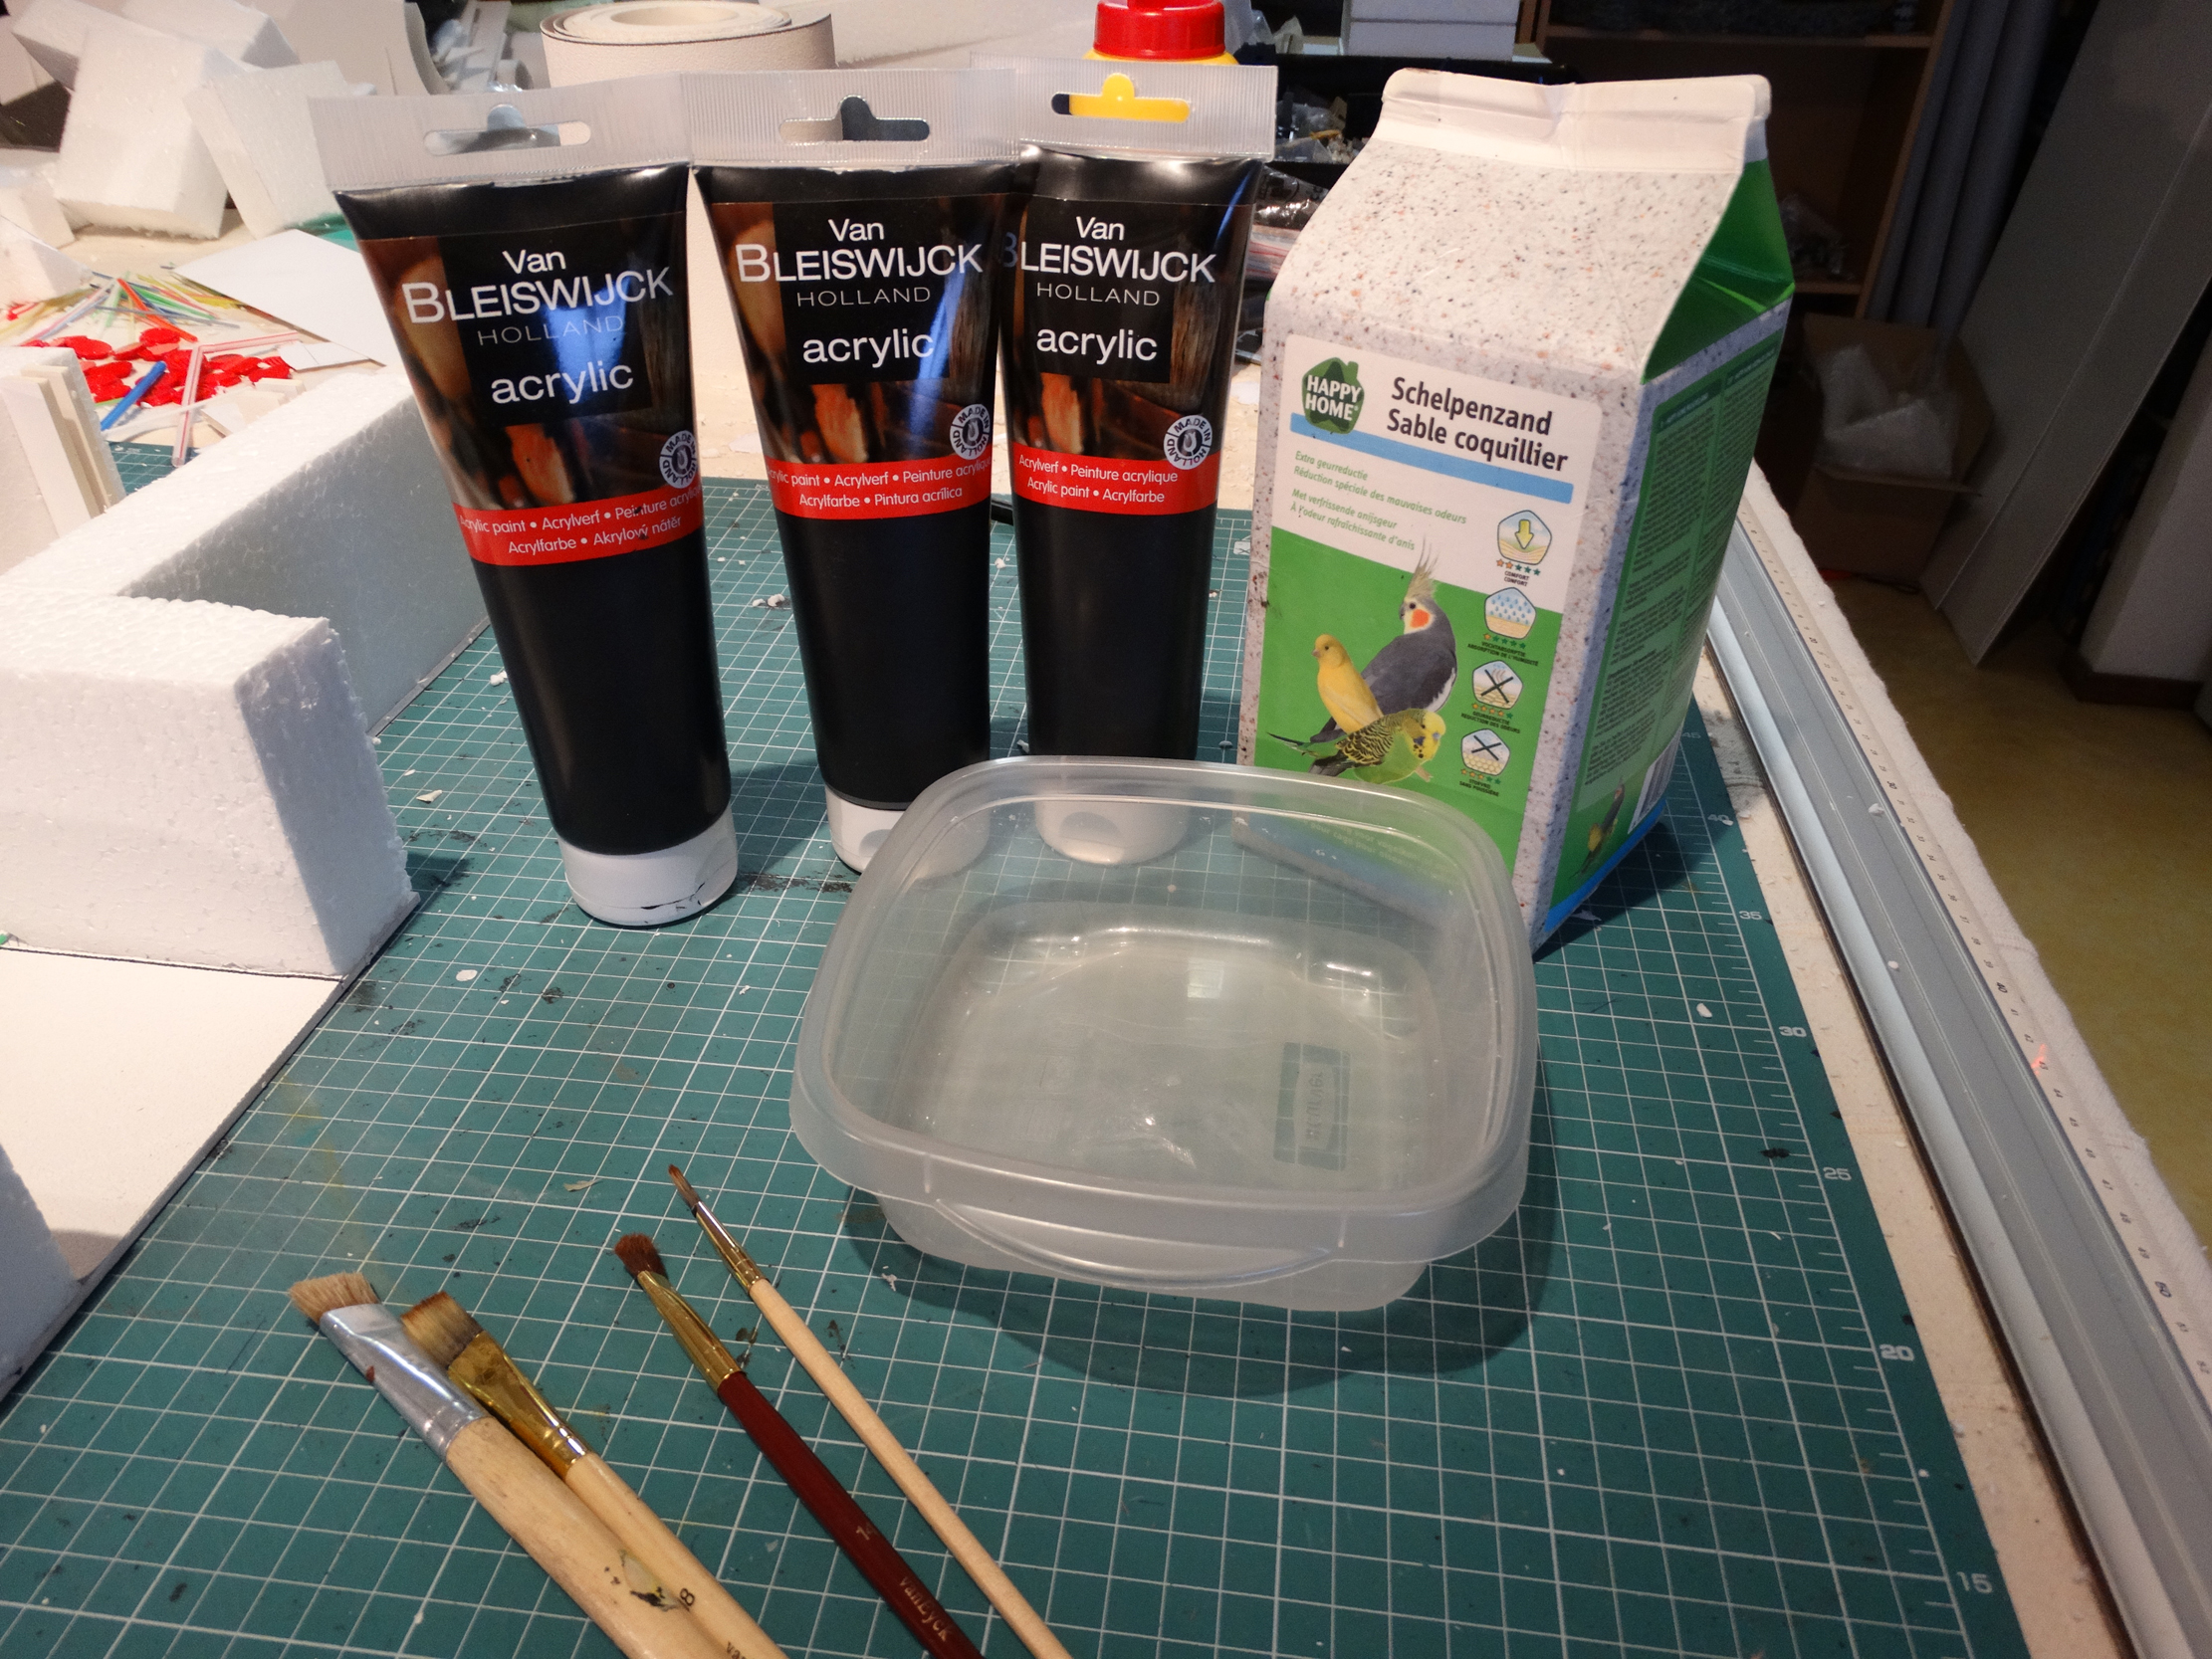

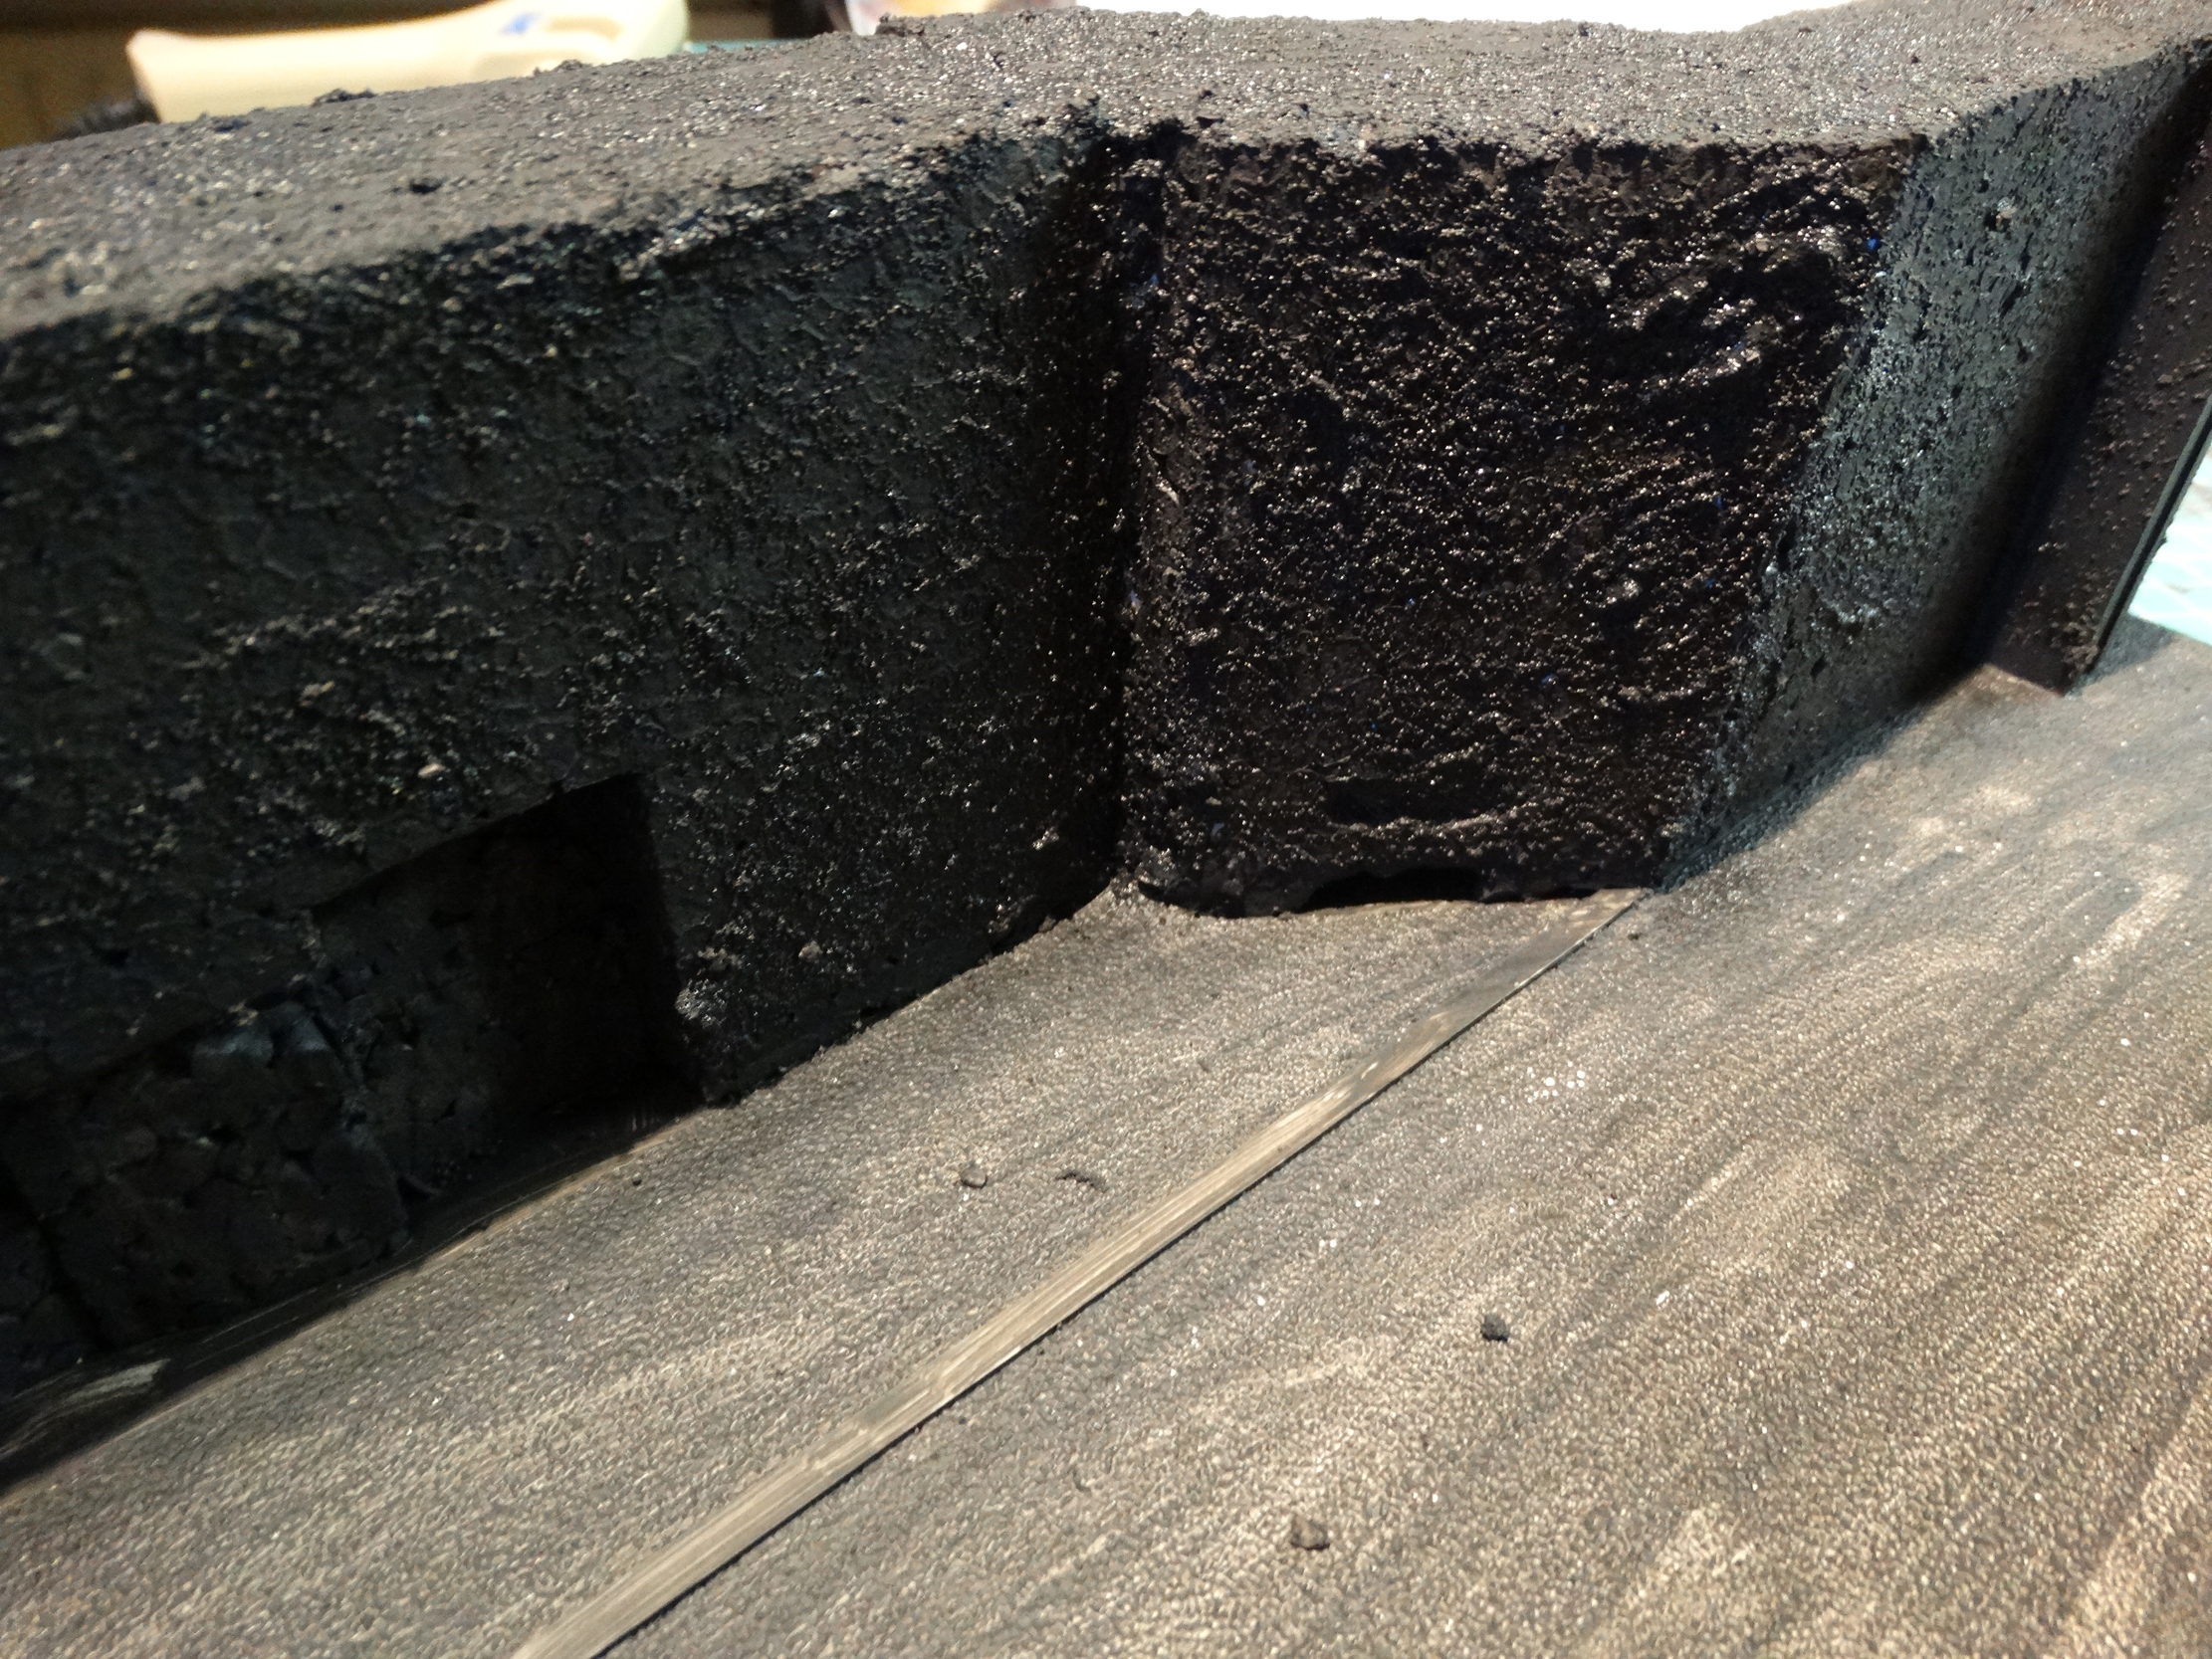
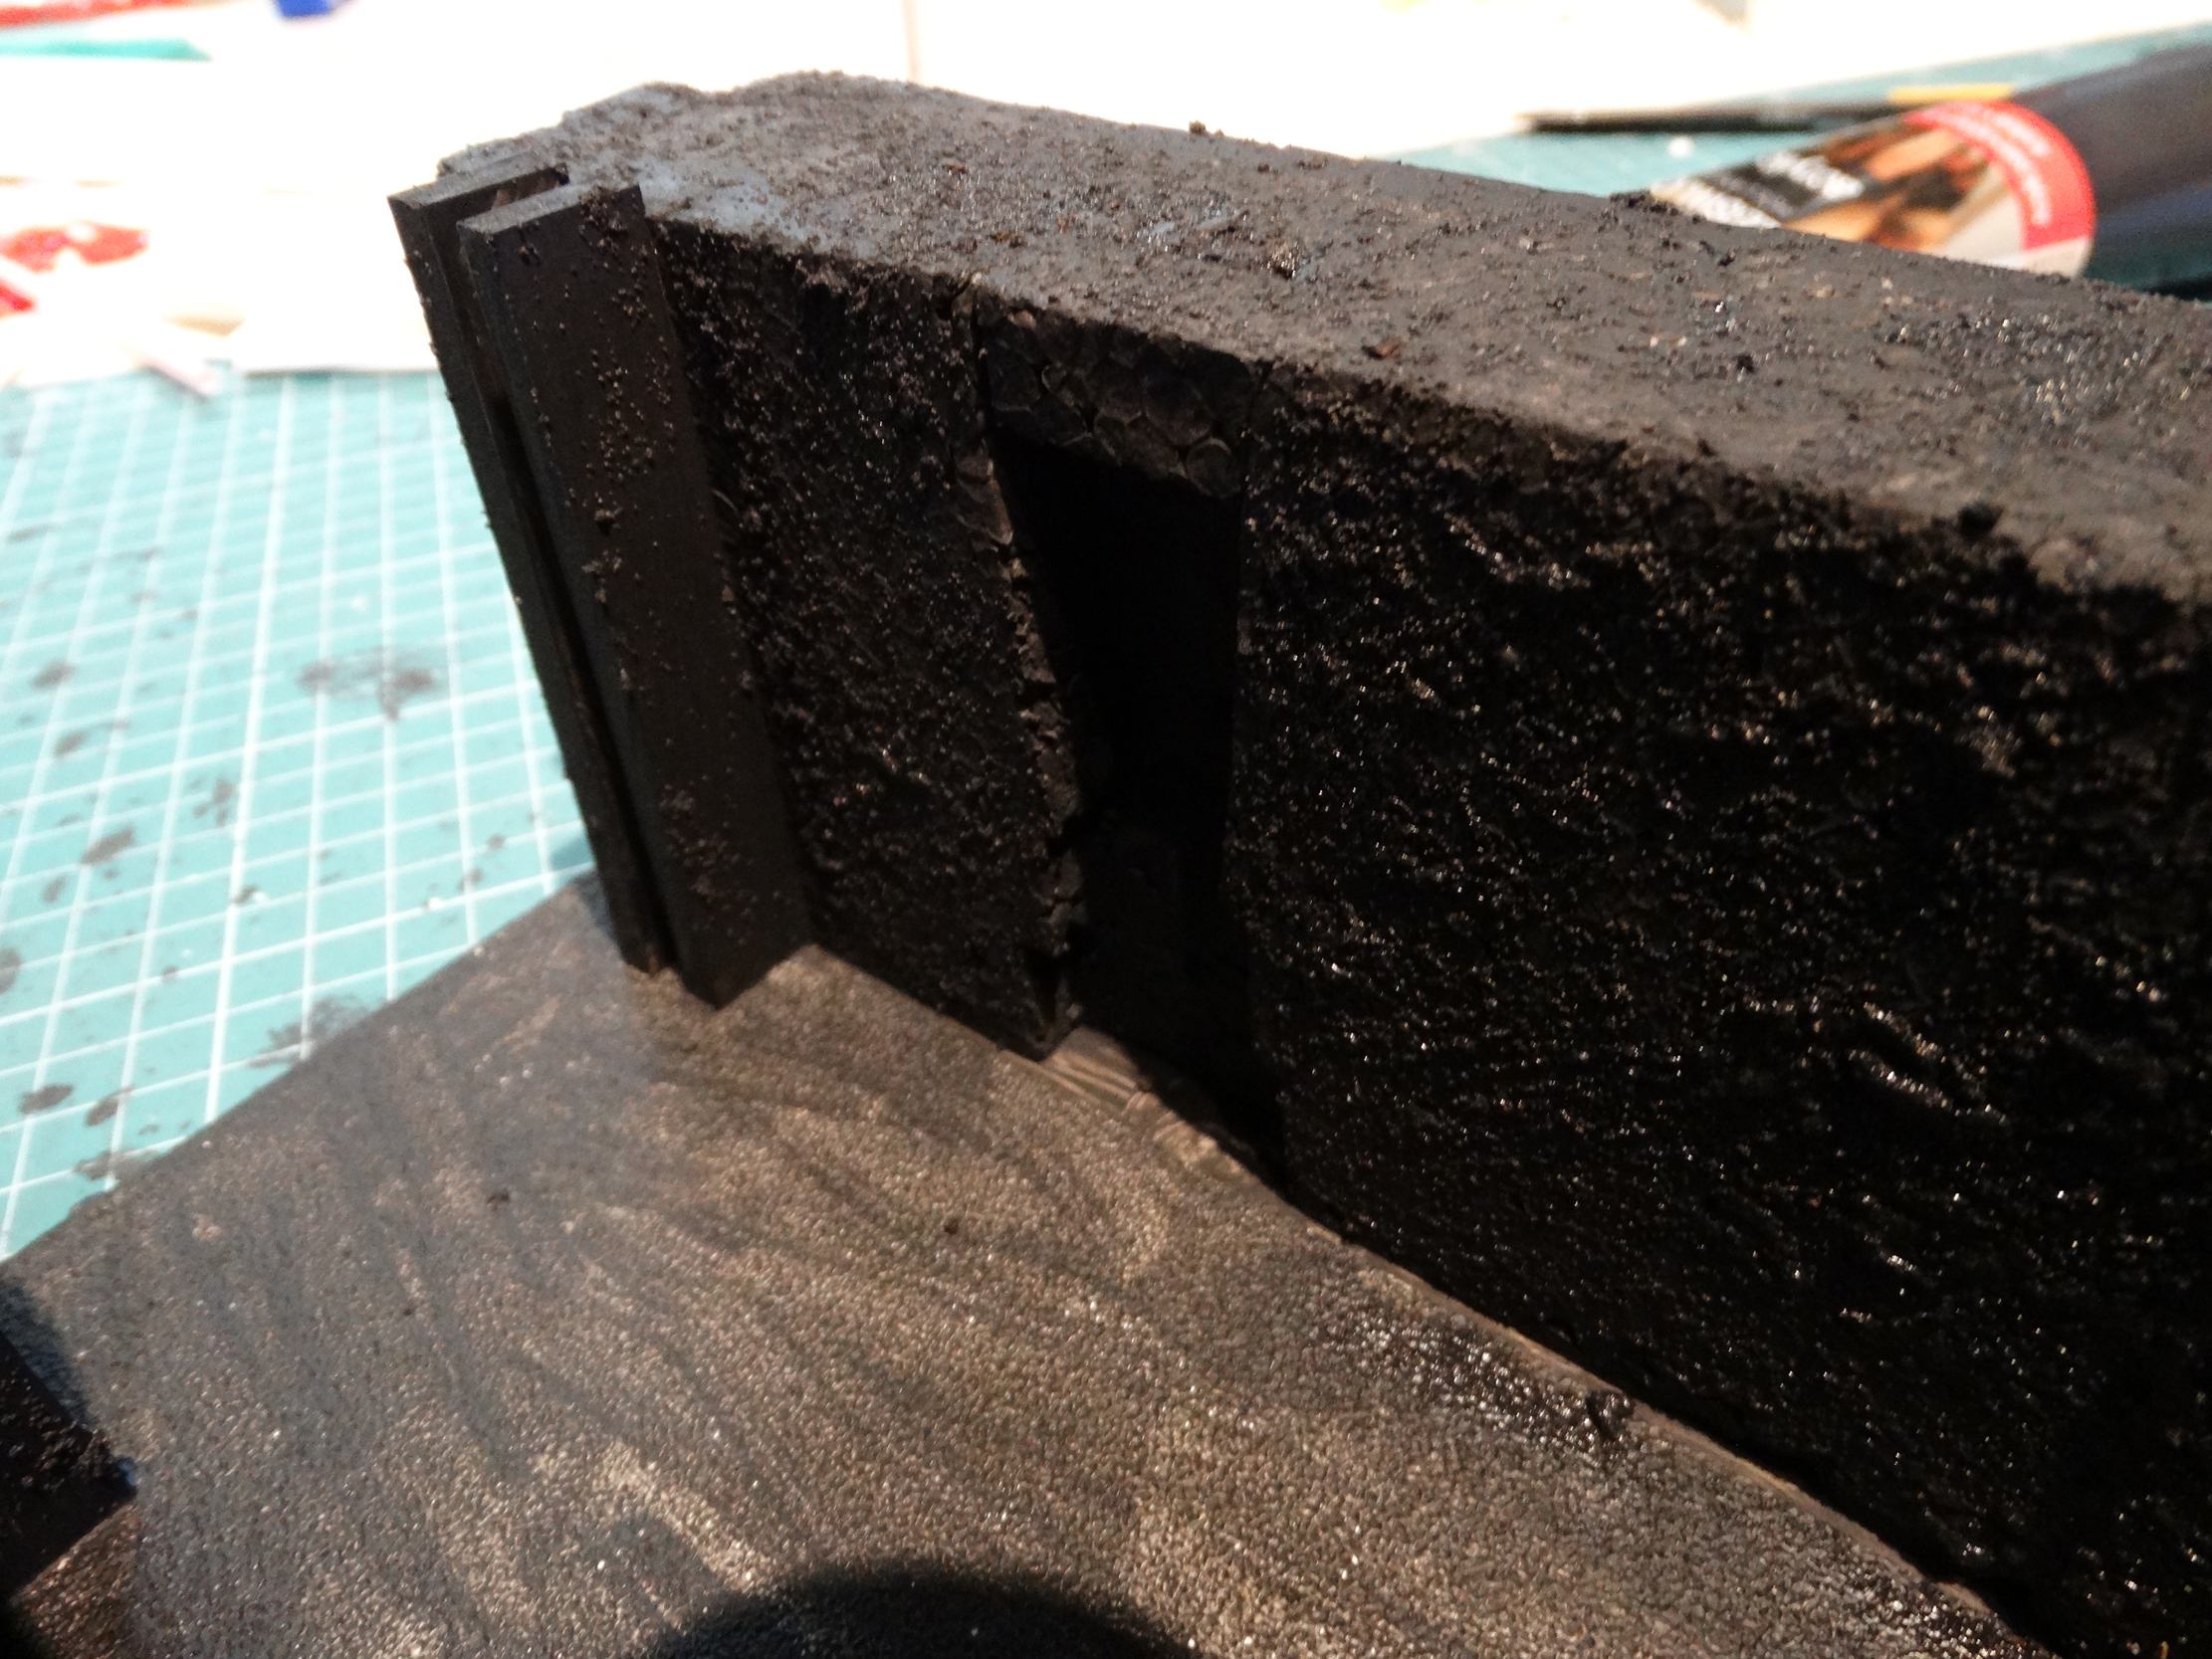
Let this dry for a while before you start the next basecoat with the textured paint. For this just add some fine sand to the same black acrylic paint. I always use the stuff that’s been put in the bottom of birds cages (google translate comes up with the term shell sand, but I have no idea if this is a correct translation). For some nice rough texture use about 1 part of paint to 1,5 part sand. Make sure to use cheap expandable brushes, they won’t last that long when used this way.

Apply the paint to the parts were needed and make sure to stay away from the parts were it is not wanted. There is black paint there already, so it would seamlessly fit even if you keep further clear of these areas then strictly needed. The texture makes sure the walls will really look like rough walls instead of painted styrofoam.
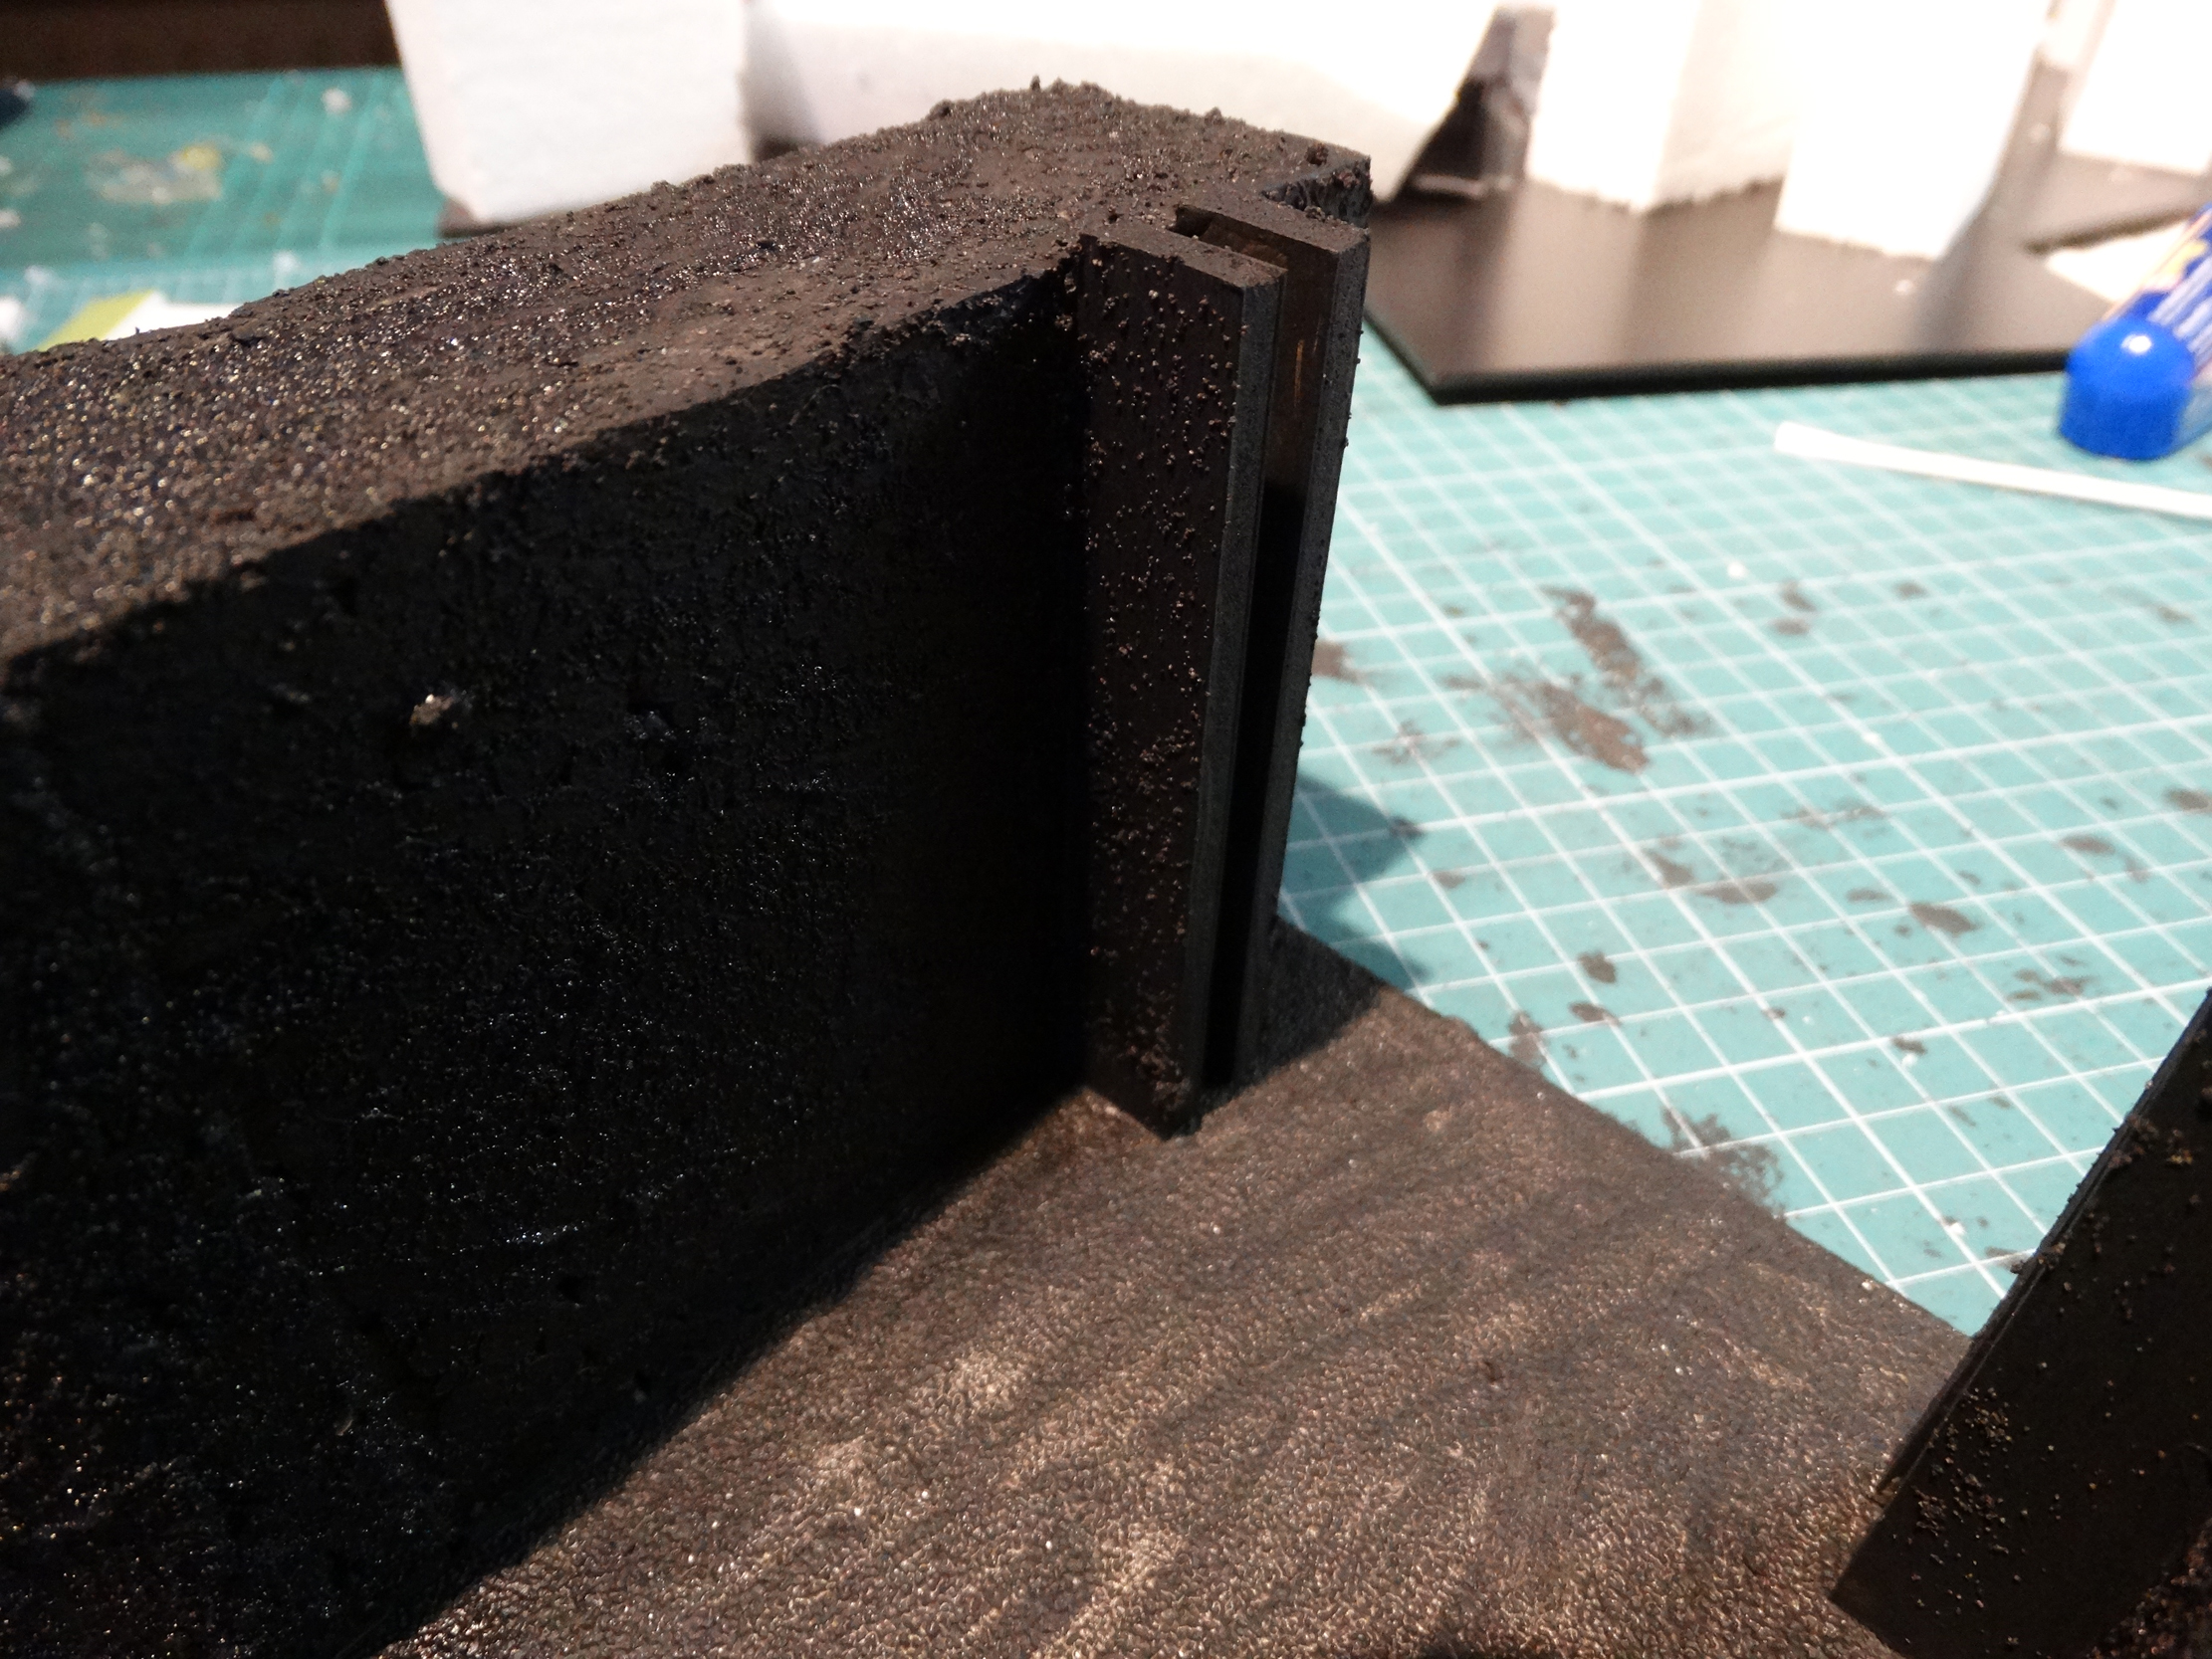
Once this is also dried you can easily pick out the small parts you missed and touch them up with regular black paint.
A short update this, but the next parts will be much more interesting since I will gradually be adding the scenery pieces and add more and more details to the walls. Until next time!